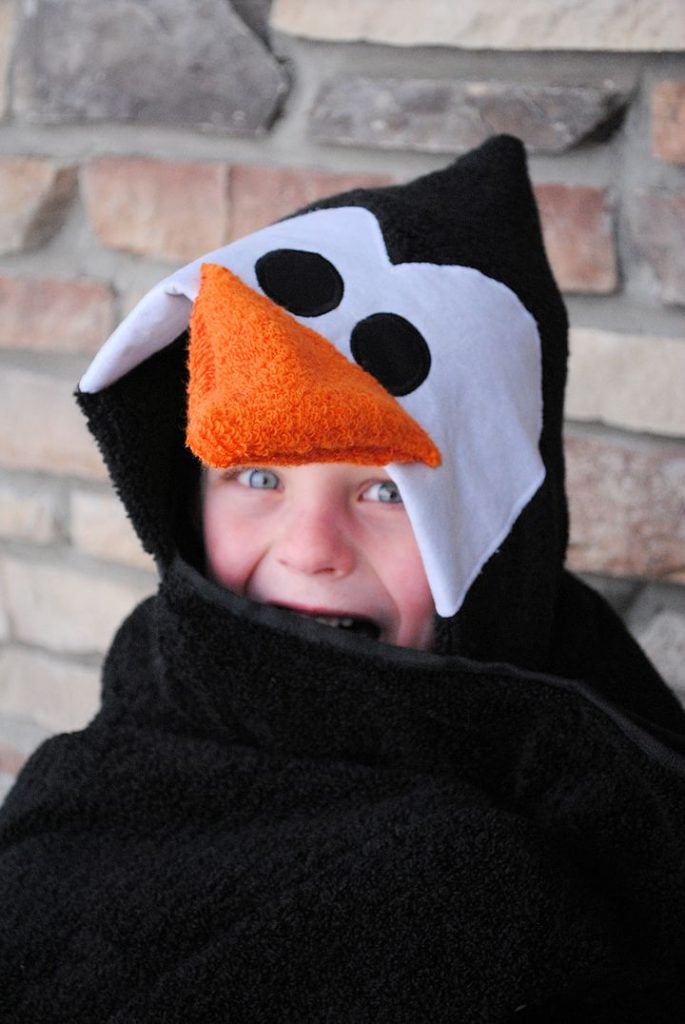
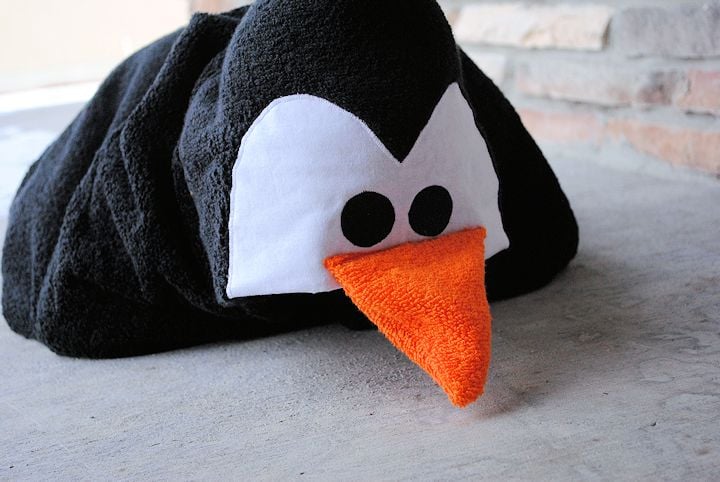
It’s January and it’s time for my monthly hooded towel! Nothing says winter cold like a Penguin Hooded Towel! (In fact it was FREEZING outside when I took this picture so I used my 4 year old instead of my baby and had him wrap up tight.)
Do you like him? He’s a little different than my other hooded towels, so it took a little tweaking to get him right. But he turned out pretty cute.
Penguin Hooded Towel Tutorial:
Supplies Needed:
1 regular size black bath towel
1 coordinating black hand towel
1 orange hand towel
Small amounts of white and black fabric
Fusing (like Heat N Bond)
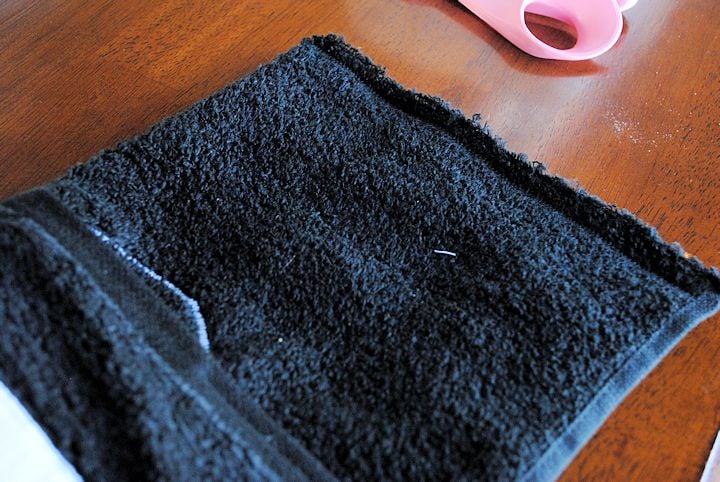
Start out by cutting your hand towel in half. Then, using the pattern pieces, cut out the face in white fabric and the eyeballs in black. Cut the fusing with the face pattern piece and eyeballs as well.
Grab your iron and adhere the white face part to the white fusing and the eyeballs to the eyeball fusing.
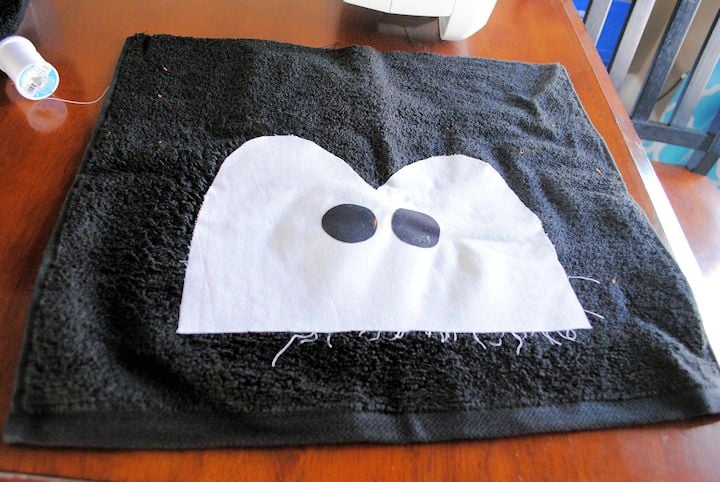
Then, place your white part on your towel so that it is centered side to side but a few inches up from the finished edge. Place your eyeballs where you want them and use your iron to iron them all in place: (trim your threads on your white piece better than I did-that was dumb of me)
Now you are going to applique around the white face and then black eyeballs.
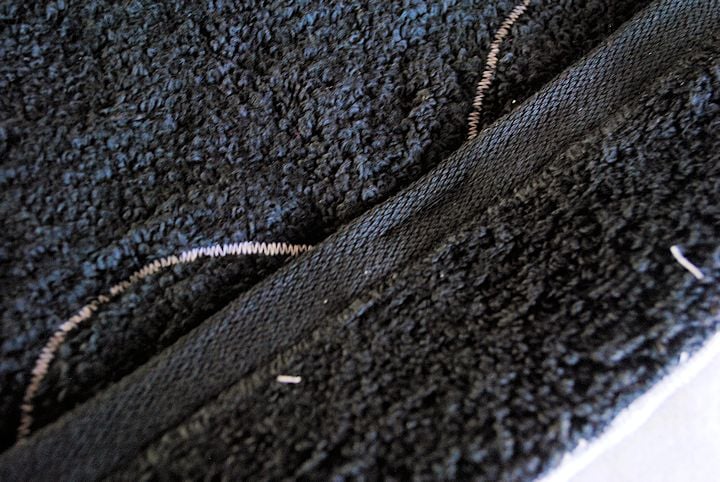
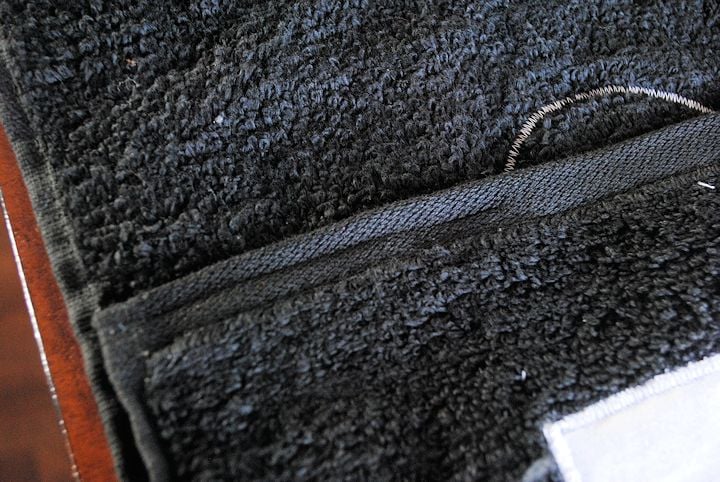
Then, you need to fold the lower part of your towel down so that the bottom of the white is folded under an inch or two. Pin it in place and sew it in three places on the back to keep it in place. You will sew on either edge and in the middle, just make sure not to go over the part where you face is or you will have a line for your face:
On one side:
In the middle:
And on the other side:
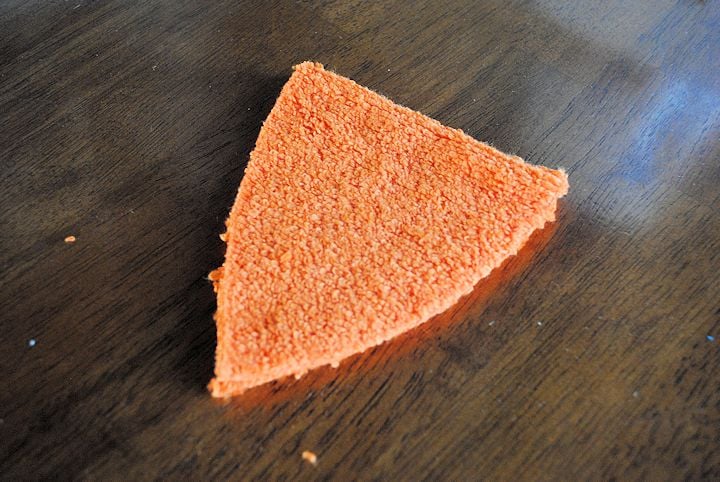
Now, cut out a beak from your orange piece. You need two pieces:
Sew around the two long sides leaving the third side open. Turn it right side out and pin it in place on your towel:
Now do a nice wide zig zag stitch along the top of it to keep it firmly in place:
Your face is done! Now fold your towel in half so that the face is on the inside and zig zag up the raw edge to form the hood.
Now you just need to attach it to your towel. I like to form a little pleat like this:
Sew the pleat in place and then pin your head so that the seam of the back of the hood matches up with the center of the pleat you just made. Pin the head along the towel and then zig zag it in place. And you are done!
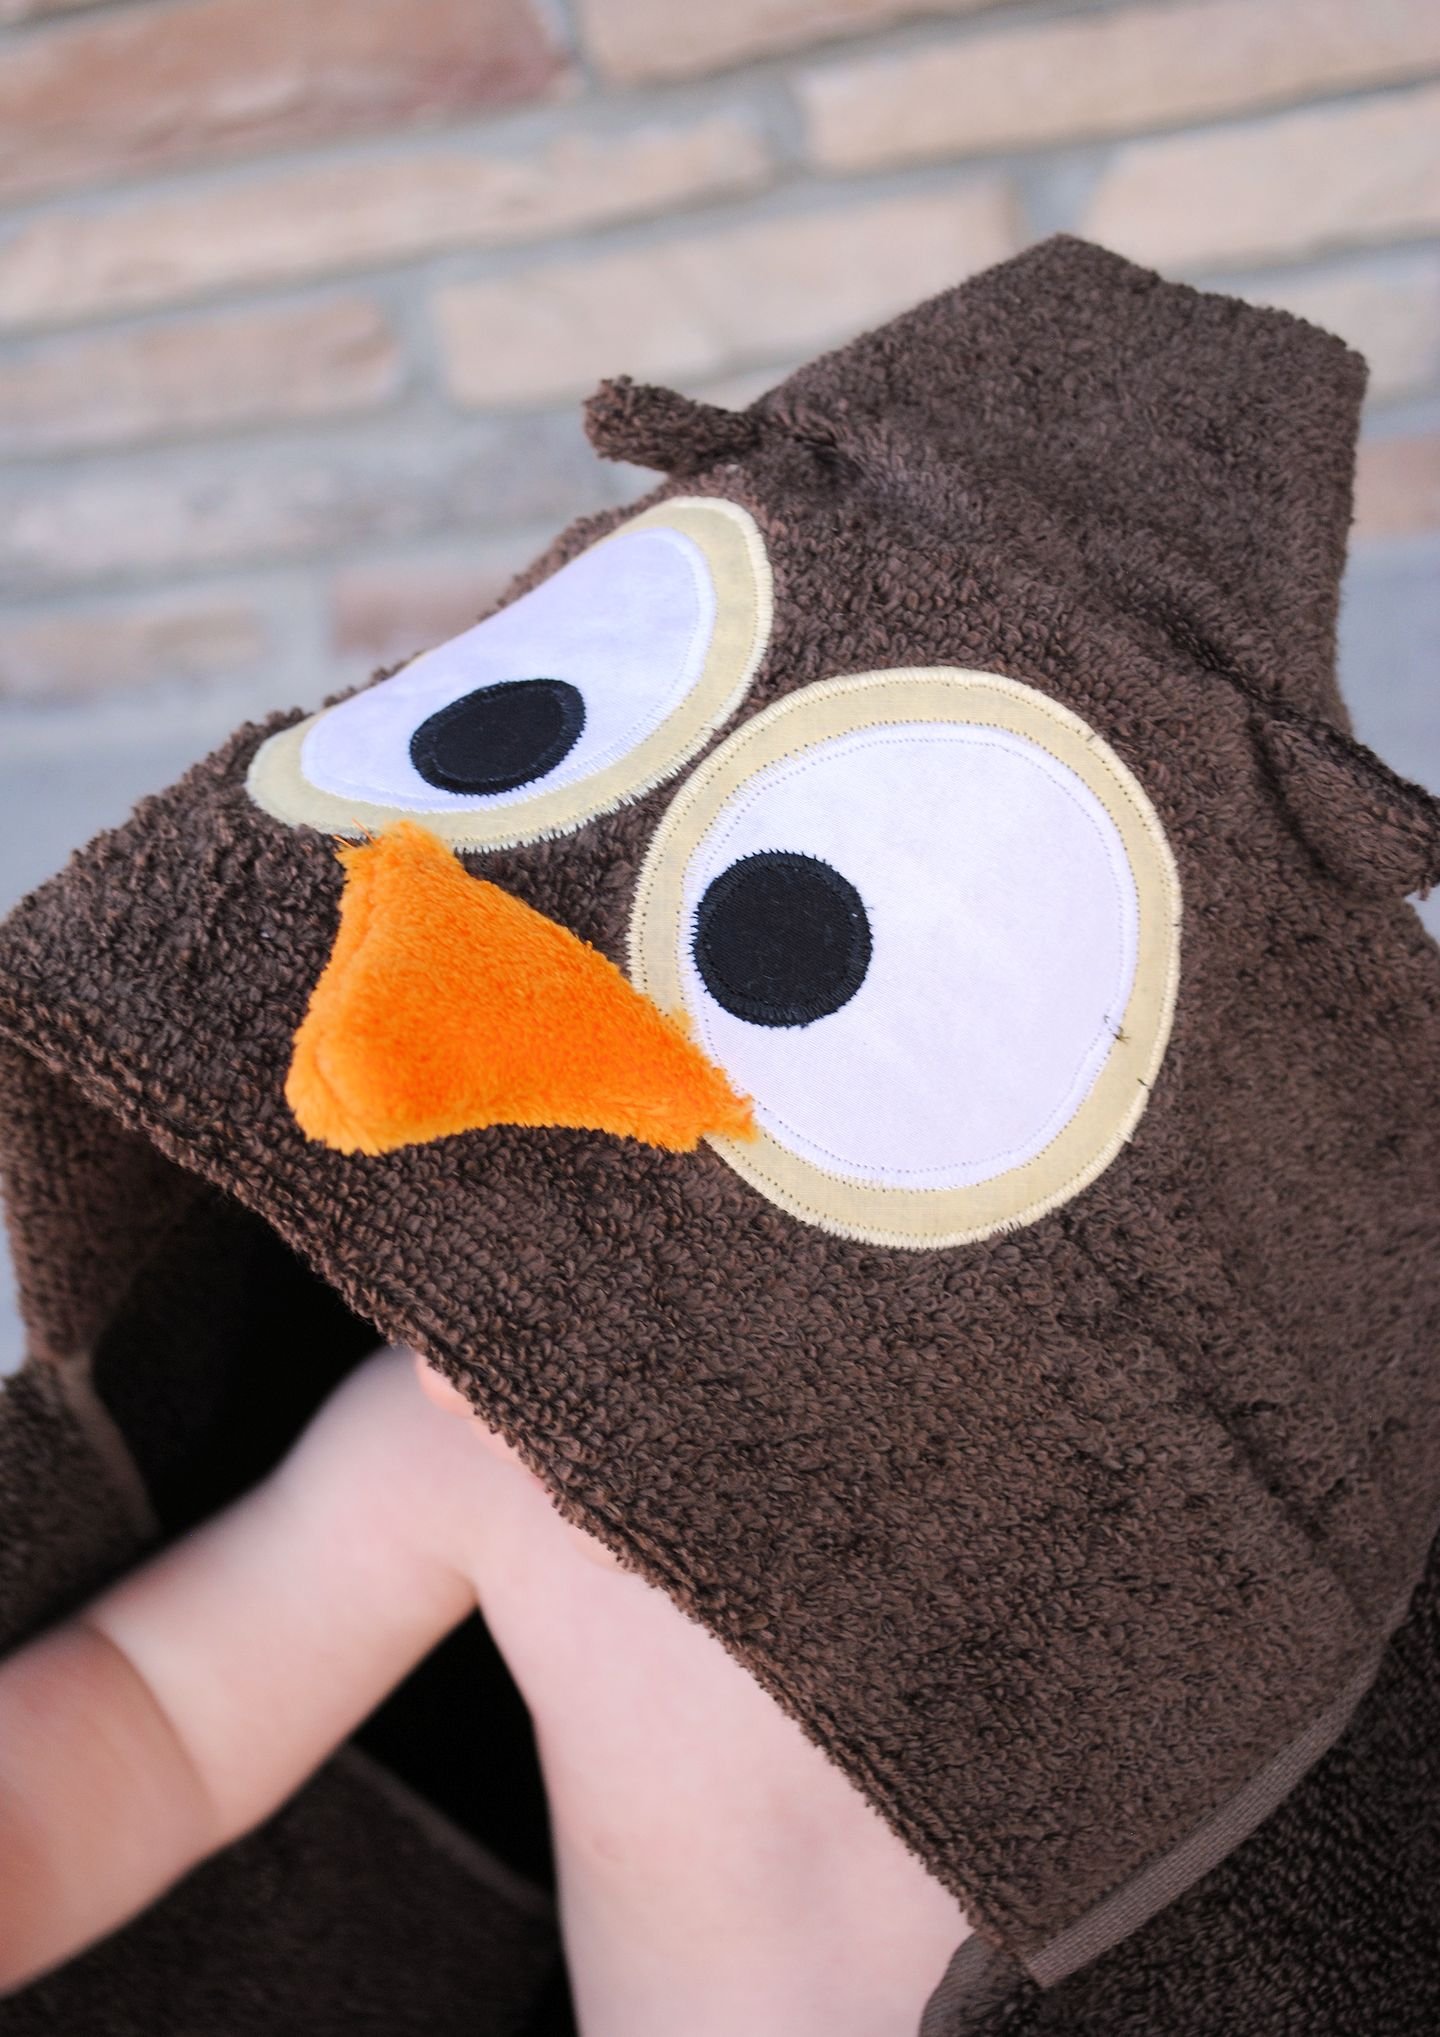
My 4 year old also wanted to demonstrate how penguins slide on the ice:
So that’s it! Want to sew more hooded towels? Check out the collection here.
Also, join me for my Learn to Sew series:






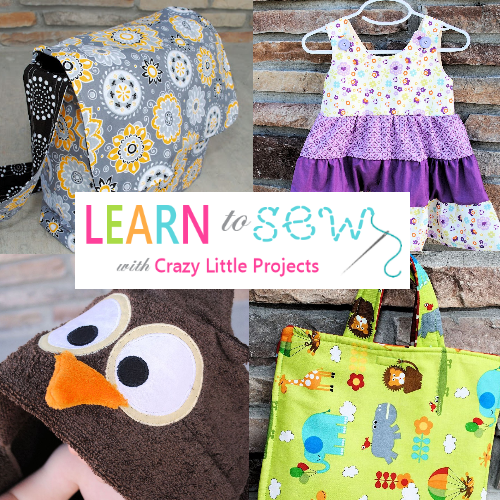

Diane says
When you cut the hand towel in half, is it across the width or along the length? Love this penguin.
Amber says
Width
Carla says
Are you making any new hooded towels in 2015?
Amber says
I should!!! Kick me if I don’t!
Diane says
I’d like to see Elsa, Anna and Hello Kitty. Want to give them a try?
Carla says
Did you sew across the top of the hood or just leave it pointy? (For the penguin)
Amber says
I usually sew across them so they aren’t pointy.
Lisa says
I just made this towel as my son’s first birthday gift. His older brothers love it. Thanks for the tutorial, this is the second thing that I have sewed!
Carrie @ Kenarry: Ideas for the Home says
I LOVE this towel. Penguins are my favorite. I’m new to sewing but your tutorial makes it actually look manageable for a newbie like me. Thank you! Oh — and I was wondering about washing the towels ahead of time. I see in your other response that you don’t bother but I wondered if the black of the bath towel bleeds into the white when you do finally wash it? I know that problem exits with some red fabrics but wasn’t sure about black?
Amber says
I’m not sure either so it wouldn’t hurt to do it. It’s always best practice 8 just get lazy. 🙂
Sara - My Merry Messy Life says
Hey Amber! This post is one of the favs from Hookin On Hump Day this week! Just didn’t see a link back to the party – can you add one, please? Thanks!
Amber says
It’s on my links page which is linked on my home page. Does that work?
Georgie Flynn says
Is it necessary to was the towels first or does it matter.
Amber says
I don’t bother.
Heleen says
Just wanted to thank you for generously sharing the directions for the hooded bathtowels. I’ve made the dragon and the reindeer for my two boys so far, and they are absolutely cute. The directions are such, that I, as a novice sewster could do it and had lots of fun in the proces. Thank you!! Can’t wait to see what you come up with next 🙂
Amber says
I love hearing that!
Angie says
Amber, thanks so much for sharing!! The hooded towels are way too cute. I have 9 small grand kids (4 boys 5 girls ) and when I make something for one…..well I don’t have to tell you…. so this is great! Fast, not to expensive and really really cute. For practice I made the owl with some old towels that I had. I have a question and if you would be so nice to find the time to answer that would be great. Are you folding the towel at top so that the width of the hand towel will meet end to end with the width of the bath towel. I could not get it to come one looking like one piece the ends (points of the large towel ) stuck out further than the hand towel The towel I used to practice was way larger than my hand towel and I could not get it to fit just right I think the problem was that my bath towel was so large – I may need to buy the set (towel and hand towel) so they are like in size. Again thanks for sharing these adorable hooded towels and I can’t wait to try some of your other patterns. Maw maw G
Amber says
If I am understanding your question correctly, no-the hand towel part is just centered in the middle of the large bath towel and leaves lots of bath towel still there to wrap around the child. Is that what you were asking?
Hani Shabbir says
Love this cuddly penguin towel. Thanks for linking up at Friday Fun party. 🙂
Have a nice weekend!
Sara - My Merry Messy Life says
Amber, you make the cutest hooded towels! Makes me want to dust off my sewing machine. And your pictures are great! Thanks for sharing at Hookin On Hump Day!
Amber says
Thanks! 🙂 I’m sort of addicted to hooded towels.
Sabrina says
This is amazing! Thanks so much for sharing. Going to check out all the others in your collection now… There’s something so adorable about a hooded towel.
Jessica @ A Humble Creation says
So cute! Thanks for the tutorial. Even though I sew, I never thought to make these myself. Such a great idea and much less expensive than the pre-made ones!
carrie says
Cute. My son is really into penguins but might be too old for this…I better not let him see the photo!
Amber says
How old is he?
Krista says
Love it!
Diana Rambles says
That is the cutest hooded towel ever!
Megan says
Could you use felt for the eyes instead of fabric? I have a bunch of white and black that I bought by the bolt so it would be great to use some of it.
Amber says
Yes you can but be warned that when you wash it it will get a little pilly.
Megan says
Oh yeah, ok thanks!