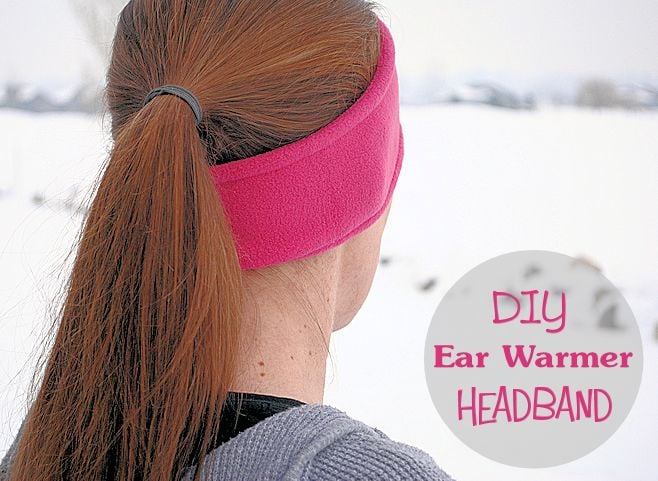
For Christmas my husband got me one of those ear warmer headband things that I can wear in the winter when I am running to keep my ears warm. (That is of course if the temperature would raise above like 10 degrees so I could actually go outside and run). I took one look at it and realized that’s about the easiest sewing project a person could make. You could make 50 of them. Every person you know could wear one these things are so easy!
Ear Warmer Headband Tutorial:
Supplies Needed:
Fleece-very small amount (probably 1/8 of a yard or less) BUT you need to make sure that you can cut your strips the stretchy direction (see below) so test which direction is stretchy before you buy it. You need to buy enough fleece that you can cut your strips the stretchy direction.
Matching thread
First, measure your head to see how big it is. (Incidentally, when measuring heads we discovered that my 4 year old’s head is almost as big as mine! He’s got quite the noggin.)
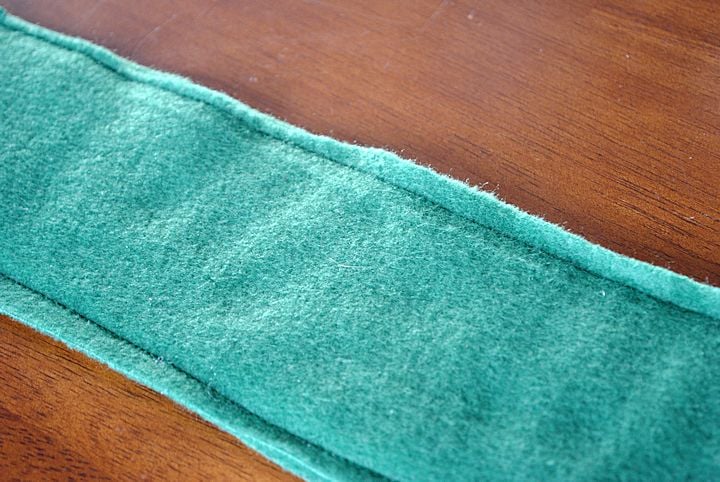
Now, grab your fleece. You are going to notice that if you pull it one direction it is stretchy, the other way, not so much. You need to cut 2 strips that are 4″ wide by the measurement of your head (so mine was 22.5″) but make sure that the long measurement is cut so that your strips are stretchy:
Now, put the strips one of top of the other (if your fleece has a right side make sure the right sides are together on the inside). Sew down each of the long sides leaving the short ends open.
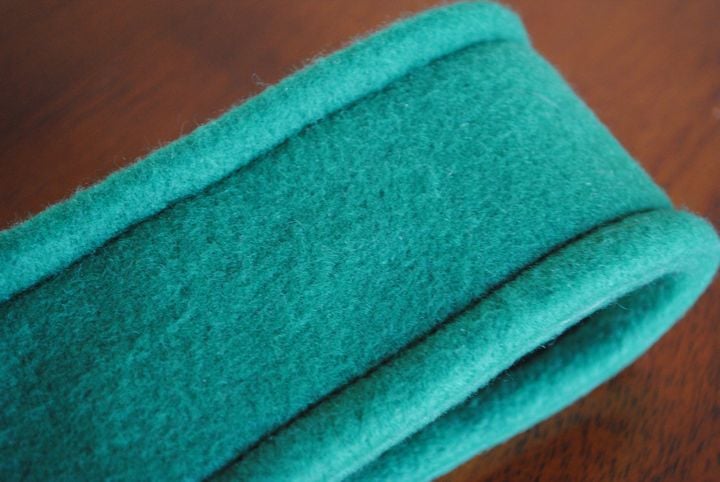
Turn right side out and top stitch along each of the long edges:
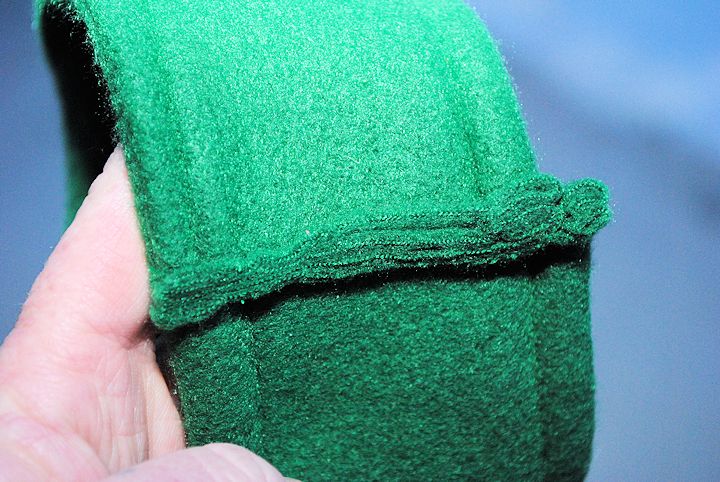
Then, grab both of the ends and zig-zag them together:
And that’s it! You’ve got a headband. If it is too large, no problem, just zigzag in a little farther.


Anita Carol Gambrell says
Thanks Amber! I had bought too much fleece at Christmas so now I know what to do with the leftovers!
Amber says
Wonderful!
mrsben says
For those who might be just logging on to this pattern, here is a wee tip if you wish to make it reversible and/or use two different colors ….. its easy to do. Add about an additional 1/2″ to the pattern/fabric ‘ on one end only’ and stitch to original point. When stitching the ends, line up both accordingly and stitch the seam line BUT when trimming, just do three layers and position/overlap one layer the extra 1/2″ over the other trimmed seams and top stitch into place. This will conceal the trimmed seam allowances and give a nice clean finish. Also it will give you the option of using two different colors of fleece. Footnote: Your top stitching will be barely visible due the nap of the fleece and you can trim any excess of the extra fabric. If using two different colors of fabric; when sewing you might wish to match of the thread and bobbin colors.
Sunny says
Hi Amber, I’m not sure I understand. Do I cut one horizontal and one vertical?
Amber says
No, just cut two of the same.
Ladette says
Thanks so much for this quick and easy pattern/tutorial. I was trying to make things for the homeless in our area and these are perfect for “scraps/leftover” fabrics.
Suzanne in TX says
Amber–do you have suggested measurements for toddler/child sizes in the fleece ear warmer headband?
Amber says
I don’t-the easiest is if you can measure their heads. If not, size this one down just a little. I don’t think kid’s heads are much smaller than adults. Toddlers size it down more.
Krista says
Hey, I would love if you would update this tutorial and perhaps do one that has a small zipper pocket for keys too.
kara says
Thanks!
wilma says
This afternoon I will make at least 1 . When the kids are home for school, probably I can take more orders….
Thanks a lot!!
WIlma
Hannah Elkington says
I made a plain one for my husband in lime green, and one with plaid one side and fleece the other for my sister in law, apparently they looked good on the ski slopes! Thanks for the tutorial.
Amber says
Good to hear! 🙂
Laura says
Hubby just said they look professionally made /store bought 🙂
Thanks for the tutorial!
Susan says
What a great way to use some fleece from other projects
Amber says
True!
KarenZee says
I am a real newbie at sewing, so what is a top stitch?
Amber says
You’re in luck! I’ve got a learn to sew series and lesson 3 is top stitching: http://crazylittleprojects.com/2012/11/learn-to-sew-with-crazy-little-projects.html
Briana says
When I made mine, I used two different colors so it matched whatever I wore!
Amber says
Great idea!
betsy says
Great. I make my grandkids pajamas out of fleece and always have scraps. I will now be making header warmers with all the left over material.
Amber says
Great idea!
Kari says
Thanks! Need these so I can put a bike helmet on my son when he is sledding. I had previously just used a hat because I didn’t want his little head to get cold. After a near miss yesterday I got serious about how to make the bike helmet work. Now we are good to go!!
Stephanie says
My mom lives and dies by these. (We have horses and live where it snows so they save her when she’s clearing snow or mucking stalls.) Definitely going to try these and make her my guinea pig! Thanks for the tutorial!
Jodi says
very cool idea. happy for the little instructional- I acutally have a hat I want to turn into ear warmers 🙂
Laks Pravin says
Such an easy project for a beginner like me…
Amber says
It really is like the easiest project ever.