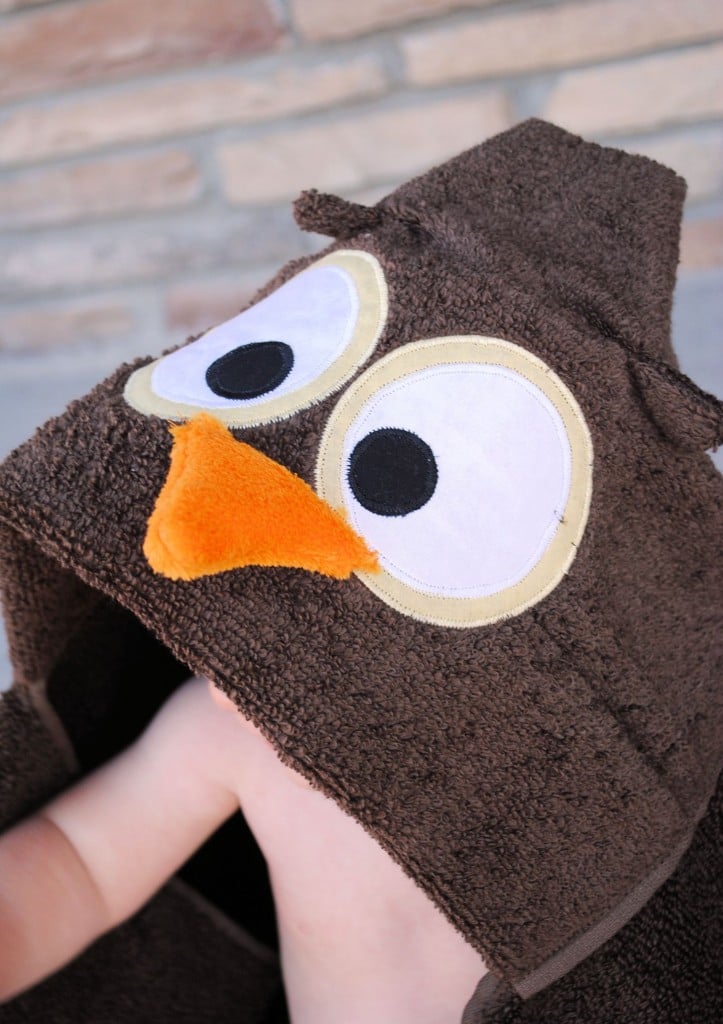
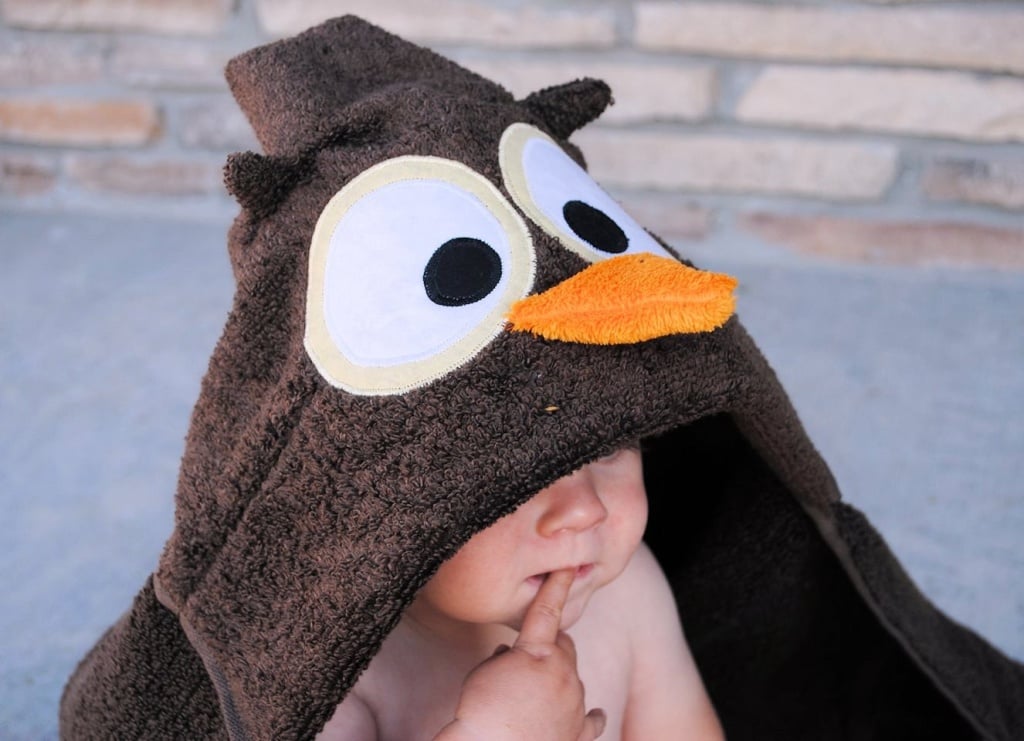
Whoooo likes hooded towels? I can’t believe just how cute these newest hooded towels turned out! (I make one each month-check out the others here.)
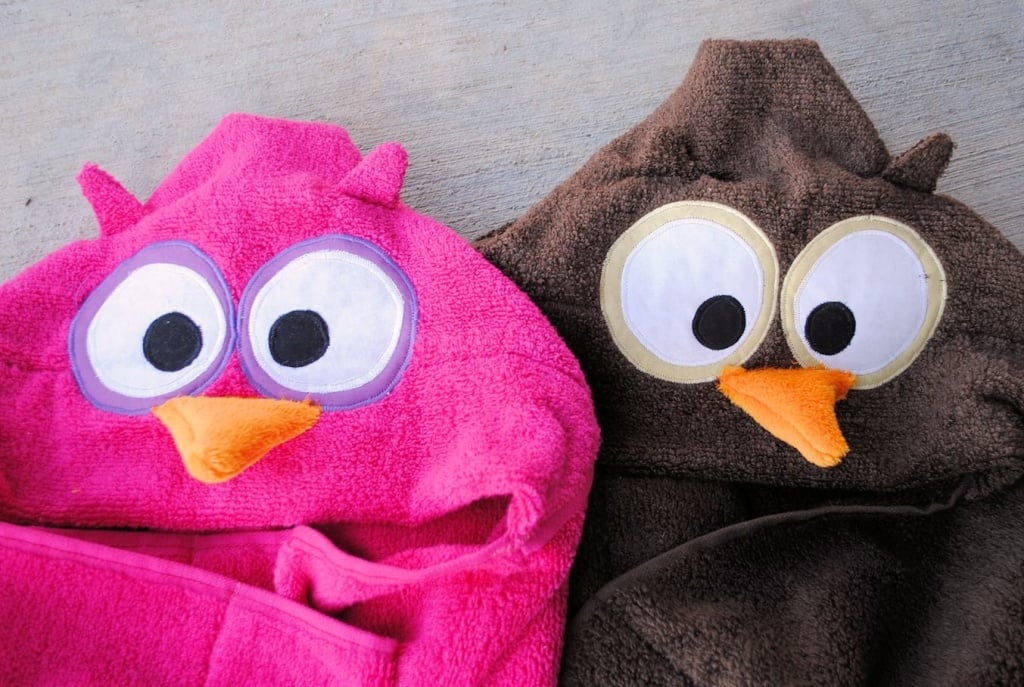
I have such a thing for owls-who doesn’t? They’re just SO cute! So when a friend had twins last week I thought a set of hooded owl towels would be perfect for her one boy and one girl combo. I hope she loves them as much as I do! These almost rival the cuteness of the dragon hooded towel from last month. I don’t know which I like best!
Want to make some owl hooded bath towels of your own?
What You Need:
1 bath towel (pick any color-owls of all colors are cute!)
1 coordinating hand towel
Small amounts of white, black, orange fabric
Small amount of accent color fabric for behind the eyes
Small amount of heat and bond
Owl Hooded Towel Tutorial:
This hooded bath towel is made just like all of my hooded towels. I go into the greatest detail on the hooded frog towel, so if you need more help, I would recommend looking at that tutorial.
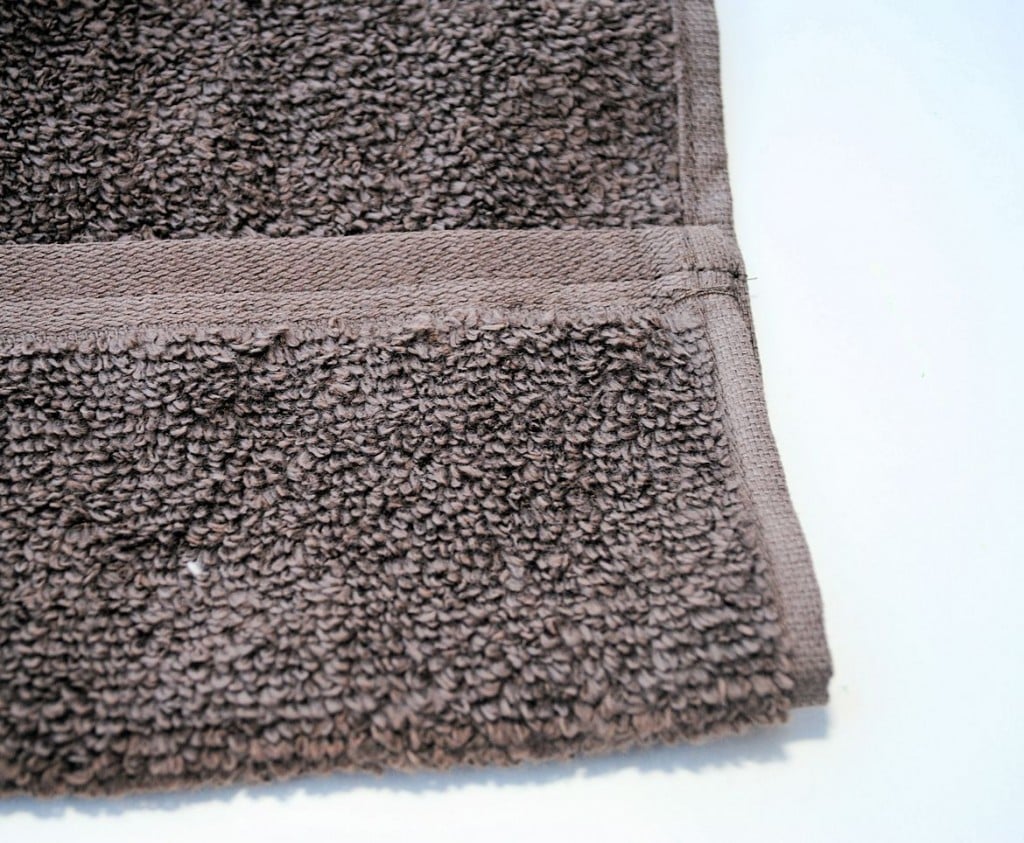
Start out by cutting your hand towel in half.
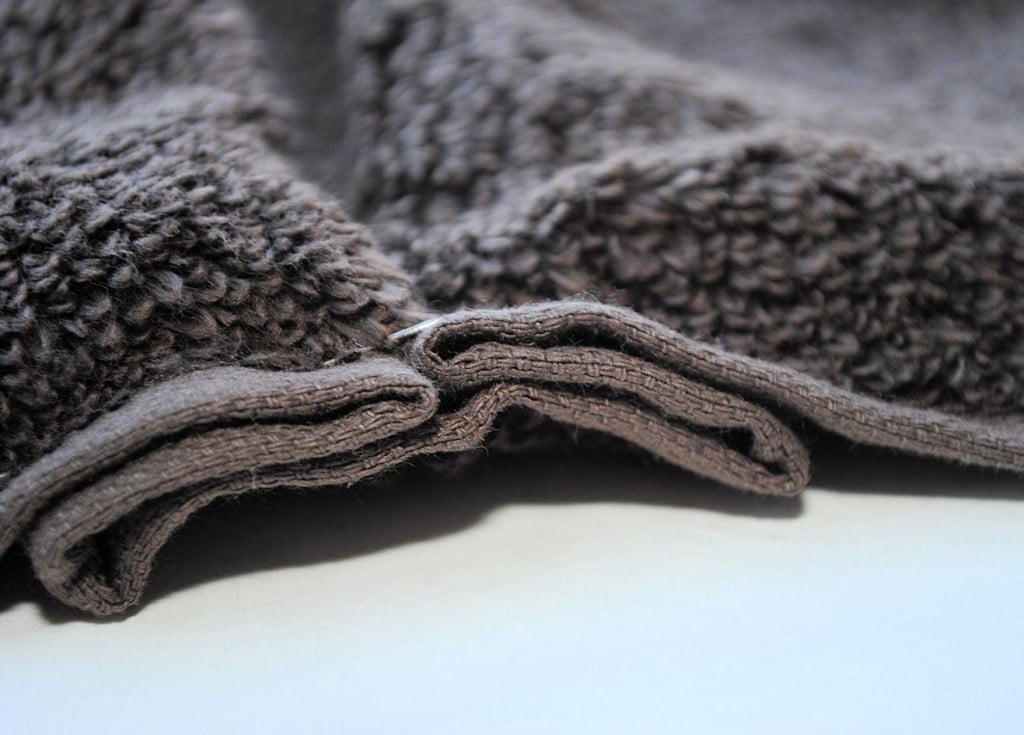
Fold the finished edge of the hand towel under about 3-4 inches, pin it in place and stitch it.
Now, flip it over so that you are working on the underside.
Cut out your eyes-you simply need 3 circles for each eye. One small one for the eyeball, a larger one for the white part and a slightly larger for the outer. Use any color you want for the outer. Adhere the eyes to your heat and bond and then place them where you want them on the towel and iron them in place.
Now, using a tight and small zig zag stitch (applique), stitch around each part of your eye-the eyeball, the white, and the outer ring.
Cut out your beak from your orange fabric. It just needs to be a little triangle. I used a soft plush because I had some on hand. Use that, use a towel or just use fabric, anything is fine. With right sides together, sew your beak on two of the sides of the triangle, leaving the bottom of the triangle open. Turn right side out.
Pin your beak in place and zig zag it unto your owl.
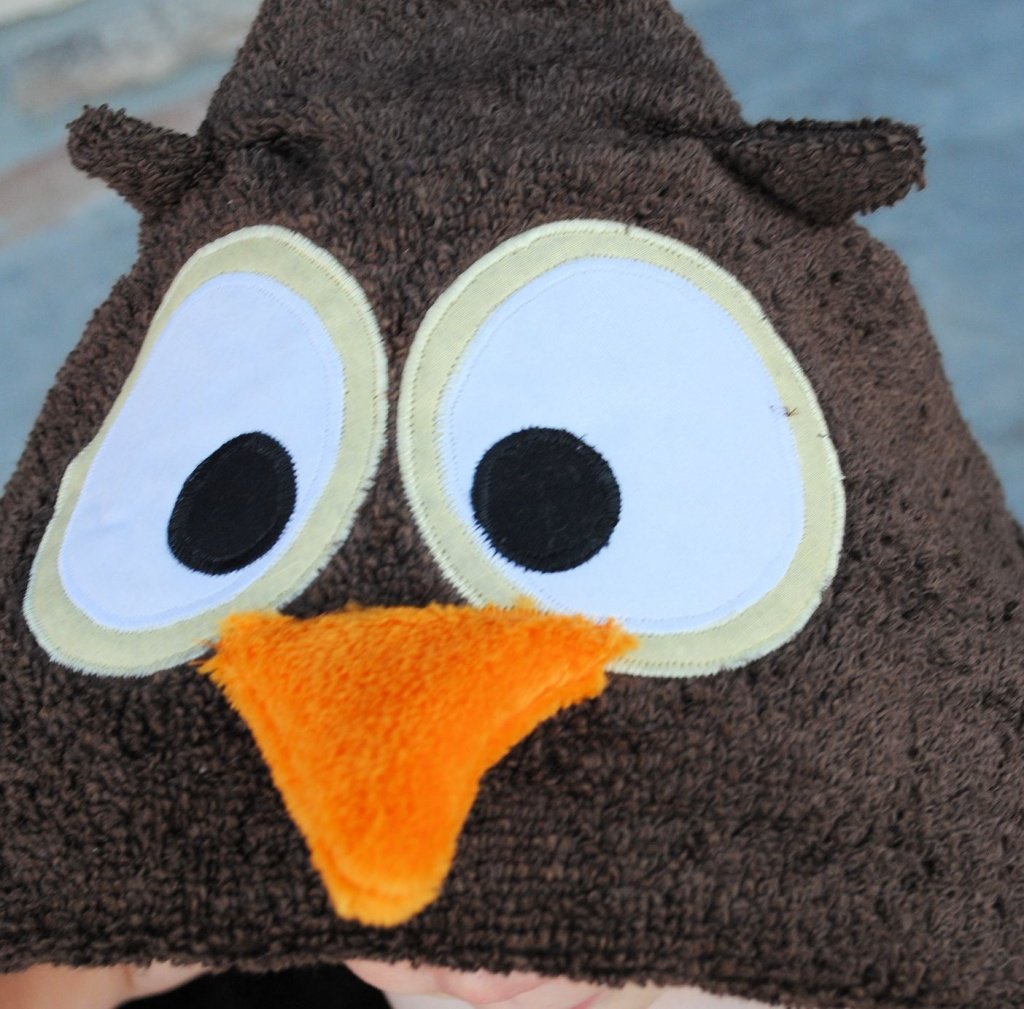
Here’s a close up of what the owl face should look like:
Using your leftover hand towel piece, cut out 4 little ear pieces. Again, just little triangles. Do the same thing you did with the beak-sewing two sides of the triangle and leaving the third side open. Turn right side out.
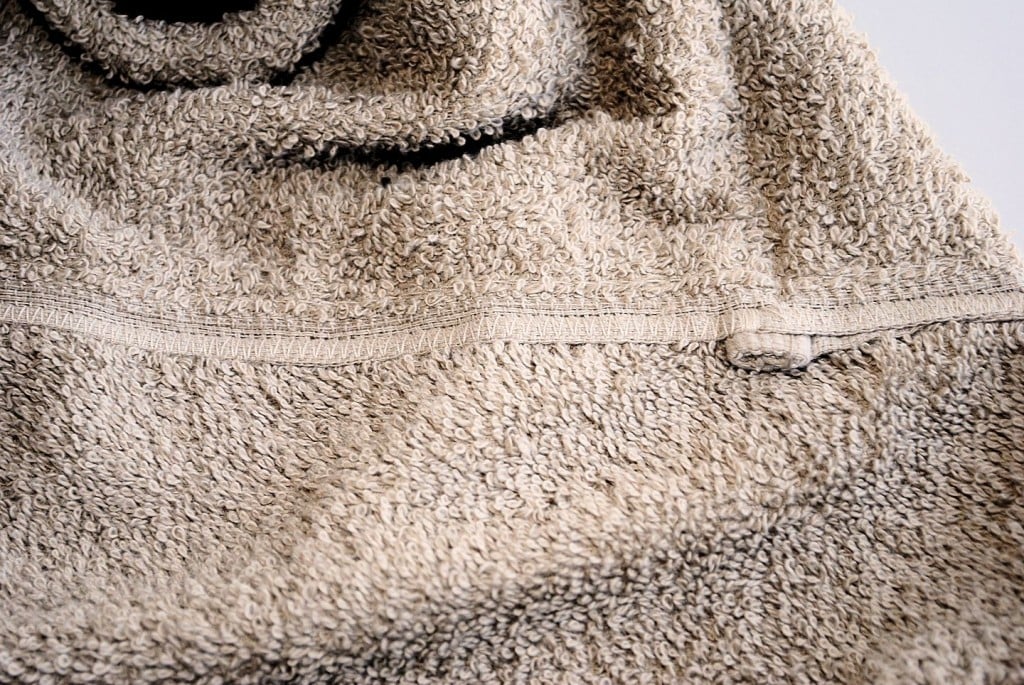
Now, figure out just where you want these little ears on your towel and cut a small slit and slide your unfinished edge of the ear into the slit. Turn the head inside out so that you are working on the underside and zig zag the slit closed, catching the bottom of the ear in it. It should look like this:
Snip off any excess ear on the underside.
Now, fold your towel in half with the face on the inside and zig zag up the raw edge to form the hood:
Keep your hood inside out and turn it so that it is laying like this and sew a straight line across the top of that tip (this is going to round out the head of your owl instead of making it pointy) and snip off the tip:
Now, turn it right side out and you should have a cute little owl face.
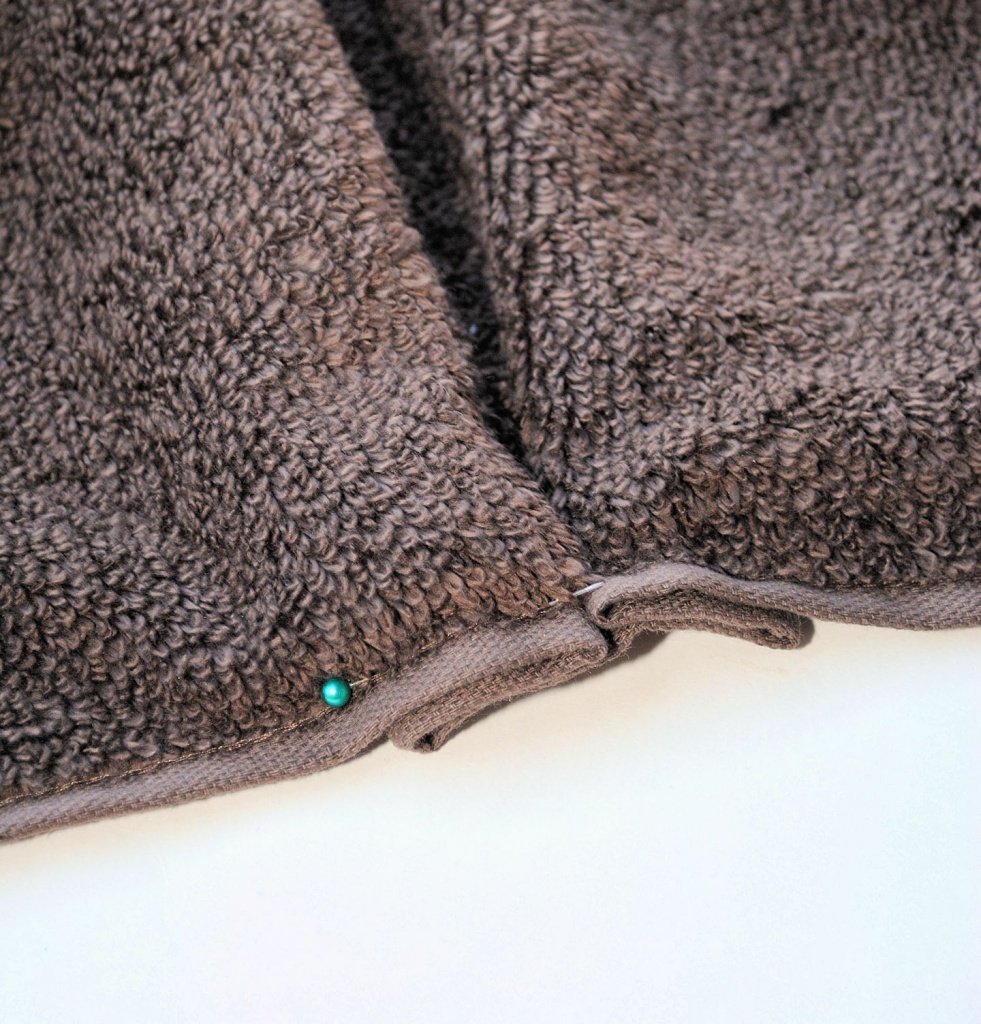
To sew it onto your towel, first find the center of the towel. Then make a little pleat like this:
Now, center your head along that pleat and zig zag it in place, sewing the full length of the bottom of your head:
And you’re done! Have I mentioned how much I love this little guy?
Like this? Be sure to check out other hooded towels:






Rosie says
Could you use felt for eyes and beak or would it not stand up to machine washing? Thanks!
Amber says
It would get pretty pilly with washing.
doris says
Amber, I have now made quite a few hooded towels using your patterns and I really am thankful to have them. I have a handicap which gives me problems with small areas but I am adventurous and I have a suggestion about ears. My handicap is Parkinson Disease which makes my hands shake; sometimes worse than at other times but always enough to make me think twice before making slits for the ears. I have modified the pattern for myself and I think it works wonderfully and looks even better than the ones I have made using the slits. You would not believe how many extra long slits I have had to carefully repair!
Here is what I do:
After I have cut out the ears and put them together, I trim the bottom edge which was the open end and carefully zig zag across that opening. Then I locate the spot for each ear and instead of making the possibly huge slit, I lie the ear down almost where it will go with the bottom toward the top. like an upside down letter V. . Then I stitch across the bottom of the ear and flip it so the ear is now standing up the way it should be. When it is flipped up and back in place, the stitches don’t show. As a final precaution, I stitch across the spot where the ears were flipped. This is to make sure the ear doesn’t decide to take a nap. Not a zigzag…a long stitch that won’t be seen in Terry cloth. I have hand sewn that part if I did not feel up to re-threading the machine for such a short spot.
Amber says
That’s smart! I know some machines can’t handle sewing through all the layers the slit way too, so I like that idea!
doris says
I love all of your hooded towels and am making as many of them as I can for our church festival in late October. I have the owl pattern but can’t find the pattern pieces. I also have not found the pattern pieces for some of the other hooded towels. Is there a way for me to find all of them if they are not on the pattern page. I wonder also if you have a list of ALL of the hooded towels you have done. I would like to make every one of them.
I made my zebra and it turned out ok but nothing as nice as any of yours.
Joan* says
I love your website. I have made many of your hooded towels and they are so cute and am not going on to make patterns of what ever character they are into.
Your tutorials are so easy to follow.
Amber says
Thank you! 🙂
Adé says
Thanks a lot for this tutorial. I made two owl hooded towels for friends. I hope they’ll love them. If you want to see them, it’s here: http://lespetitesmailles.wordpress.com/2013/08/11/ouh-ouh-est-mon-essuie/
Keep sewing! Your works are wonderfull!
Adé.
Amber says
Love them! Nice work!
Marianna Savercool says
Hi,
I was wondering how big you made your circles for the eyes? I looked at the frog directions and you have a pattern but there is a pattern for only two circles. How much bigger would you suggest I make the accent color for the eye? All of the towels are adorable and I can’t wait to finish the ones I’m making for my grandson.
Amber says
You can use the frog eyes for your white eye part on the owl and then cut 2 background circles for the owl that are just larger than those by about 1/2 inch or so all the way around.
Carissa says
Thanks for such a great tutorial. I have made 2 owl towels now and I just finished a panda towel following your same technique.
You can see my panda towel here if you’re interested: http://www.creativecarissa.com/2013/01/make-panda-bear-hooded-towel.html
Thanks again!
Abbie says
Great tutorial! I love all those hooded towels! I’m getting together with some friends with toddlers in less than a month for a belated Christmas party, and I’ve been starting to agonize over what cute, easy thing I can make for the kids that they’ll actually use. This is fantastic!!! I made my own version on my blog at http://muchgiven.blogspot.com/2013/01/owl-towel-hooded-adventure.html. I changed the hood style a bit, but quickly found out that your way was the right way, haha! 🙂 You totally made my (and my son’s) day!
Angela says
So darn cute! I think I would choose the teddy bear! or the owl.. yikes so cute hard to choose!
J says
My daughter loves cows… Any ideas for how to do a cow one? These are so cute, the “cow” look has me stumped though.
Lisa Hudson says
sew on circles and it will look “spotted” (similar to the lady bug) make nostrils similar to the way you do eyes and instead of ears do “horns”… Good luck…
Kim @ The Educators' Spin On It says
We have such a love for owls at both of our houses at The Educators’ Spin On It. We’re having owl week next week actually with tons of Owl Activities. Just pinned this onto our sewing board. Thanks for sharing!
Amber says
I know, Owls are just so cute!
Carissa says
I love this! I made one and posted a review and my real life results of your project on my blog here. http://www.creativecarissa.com/2012/10/pin-tested-carissa-approved-owl-hooded.html#
Thanks for a great tute.
Amber says
Oh I love this!!! What a fun idea and thanks so much for featuring AND approving my project. LOVE!
Kimberly @ A Night Owl says
Wow – super cute! Pinning this for sure! xo, Kimberly
Jacy says
Amazingly cute!!
I have a weekly Fabric Fun Friday post where I share fun projects/decor using fabrics…this will be perfect!
Hope you don’t mind me linking you up 🙂
Check in with my blog tomorrow to see!
http://www.artbyjacy.com
Blessings,
Jacy
Britni says
This is the cutest little towel ever! And I’m excited to feature you at the party this week! Thanks so much for sharing at my Throwback Thursday party 🙂
Lindsey- Impatienty Crafty blog says
LOVE! I’ve done some simple ones with names but such a cute idea 😉 now you’ve got me thinking I should do one for each season 😉
Charlene@APinchofJoy says
Adorable! I like the pink with the Liz Taylor eyes! Pinned. Thanks so much for linking on Busy Monday.
Jill @ Create.Craft.Love. says
You know how much I adore your hooded towels. This one is sooooo cute! Thanks for linking up to the Pomp Party! =)
The Bean Sprout Notes says
I love your hooded towels. Every single one of them!
Sarah says
Found you through the scavenger hunt and so glad I did! Following your Facebook now, you have some really cute tutorials!!
Winnie says
Very creative, and they look super cute!
I LOVE it
Katie says
I love anything owl and these towels are no exception. So cute! I would love for you to share this on my Blog Stalking Thursday weekly Linky Party! http://www.thecraftyblogstalker.com/2012/10/blog-stalking-thursday-62.html
Christina at I Gotta Create! says
Now those are just crazy cute!!!!
<3 Christina at I Gotta Create!
http://igottacreate.blogspot.com
Wildly Original linky party is open.
Katie says
I just love ALL of your hooded towels! This one is tooo cute though! Love owls! Thanks for sharing at {Homemade By You}
Melissa Whitcher says
Extremely cute!!! I wish I had some nieces and nephews that were still little! I will have to think of someone to make these for and give to.
Melissa
redflycreations.blogspot.com
Dena says
I’m visiting from the scavenger hunt and I think these are amazing! I have a new grandson and look forward to trying my hand at making some of these. You make it look so easy. Thanks for sharing.
Caitlin Walker says
Love! I’ve made oodles of hooded towels but never thought of an owl. So cute!
Grammy Pammy says
I love it!!! – Your creativity is amazing
jan says
love it!!! i have a couple of towels waiting for me to make for my grandaughters…this will be great……thanks so much for sharing!
Renee C. says
Those are so adorable! I love the Angry Birds ones – my son would go nuts for those!
I’m visiting through the Pinterest Scavenger Hunt and I’m now following you via email, and other ways too. Hope you get a chance to visit us too. Cheers! 🙂
Sarah McKenna says
You should have the little buttons on here that people can use to “like” “share” “tweet” etc. easily!
Sarah McKenna says
This is my favorite one yet!!
Jennifer says
This turned out so cute! Thanks for sharing the tutorial : )
Carole M says
Love this! I wonder if I can bring myself to whip some up for Christmas…. thank you!