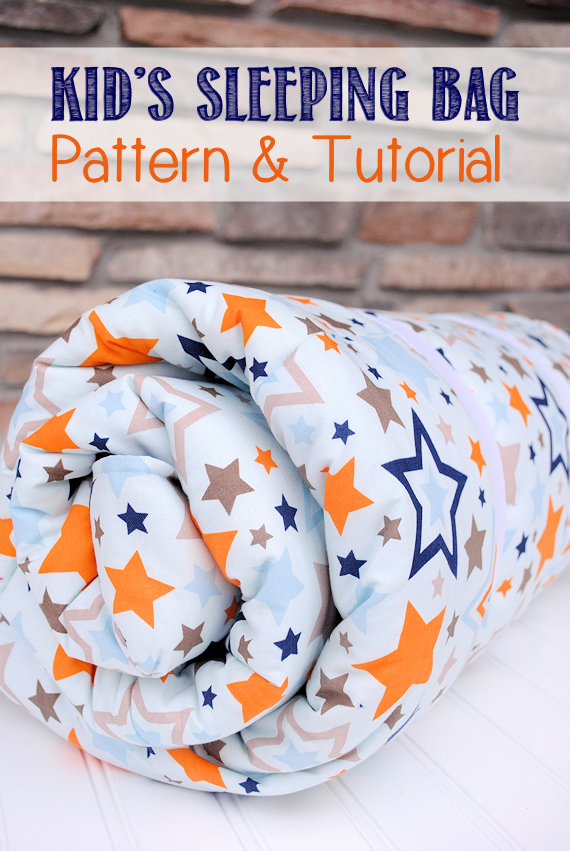
What’s the Project? Want to make your own blanket for your summer fun? This DIY picnic blanket and tutorial works great to sit on at the park and then rolls up and straps closed for easy storing and transporting. Perfect for all your summer fun!
I love summer so much! We spend a lot of days at the park with friends and I love having a good blanket to sit on in the shade of a nice tree.
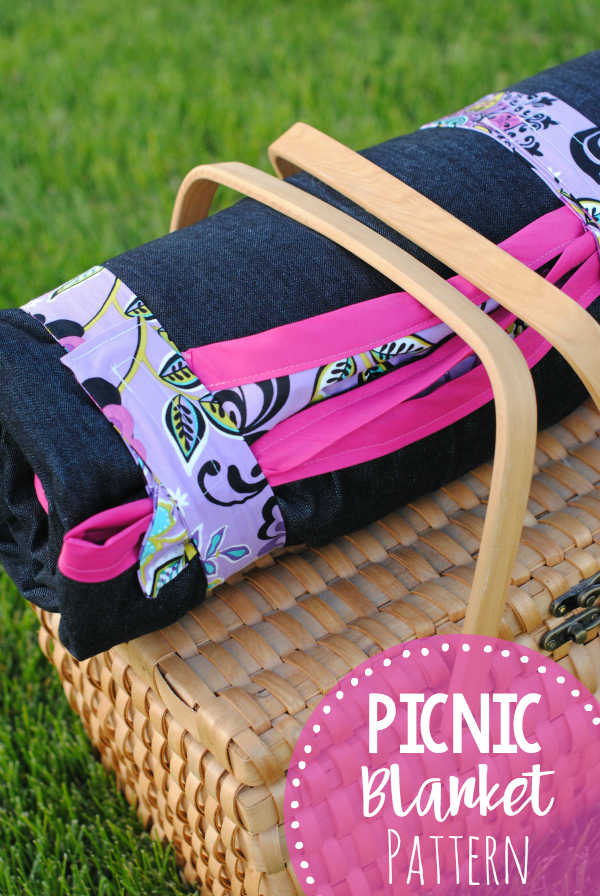
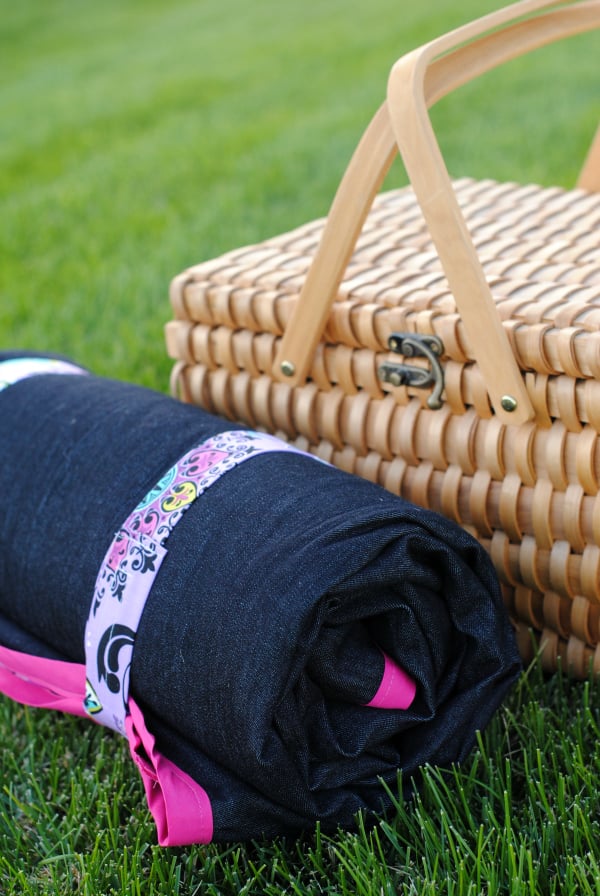
This year I am sitting on a new, bright fun picnic blanket. The best part of it though is that it has built-in straps so when I am done sitting on it I can roll it up, strap it and store it easily for the next park day.
Want to make a fun blanket like this? Here’s my DIY picnic blanket pattern and tutorial:
And here it is unrolled in all its glory:
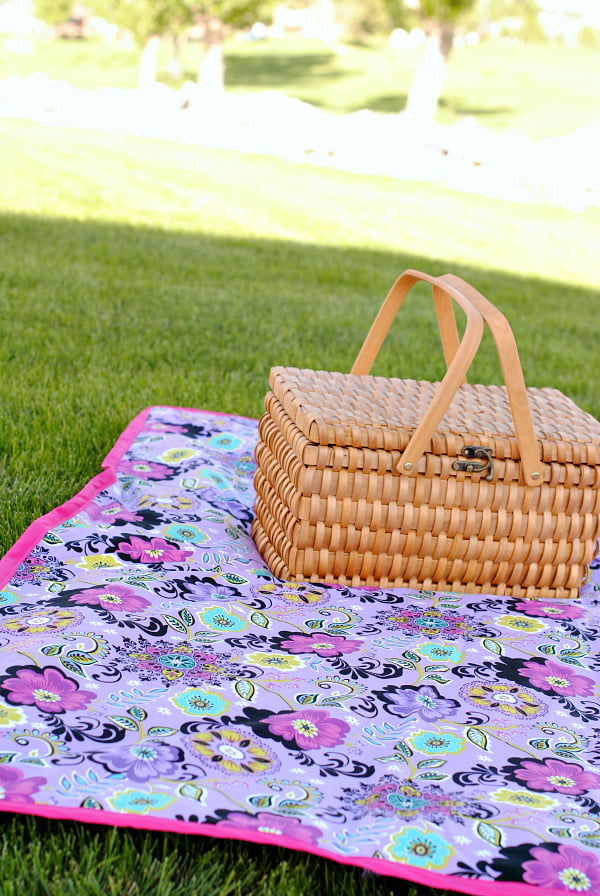
It’s cute, right? And you can make it in any fabric you want. I used denim for the bottom to make it nice and sturdy and then a fun, bright fabric for the top to make it summery!
DIY Picnic Blanket Tutorial:
Supplies Needed:
- 3 1/2 yards of fabric
- About 2 yards of heavy fabric like denim (the blanket is going to be 68 inches by 54 inches so depending on how wide your fabric is you will need to figure out how much to get. Denim and other heavy fabrics tend to come wider than regular cottons)
- 3 packages of wide single fold bias tape in a coordinating color
- 1 package of cotton batting
- 6 inches of Velcro
Picnic Blanket Instructions:
Lay out your large piece of denim fabric with right side down.
Lay a single layer of cotton batting across this and cut to fit.
With your top fabric, lay it on top of the denim and cotton and cut to fit. You will need to piece this fabric together by cutting 2 large pieces and then sewing a seam up the middle.
Lay that fabric on top and pin the blanket around the edges and in several places in the middle.
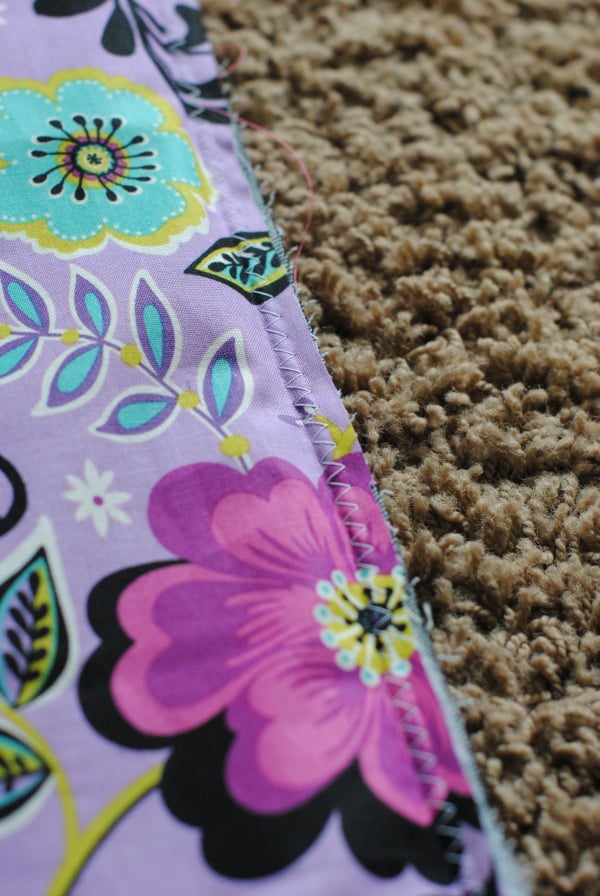
Zigzag around the edges of the blanket:
Then pin your bias tape all the way around the blanket. At the corners, I just cut them off. You can do mitered corners if you want, but this is a simple way:
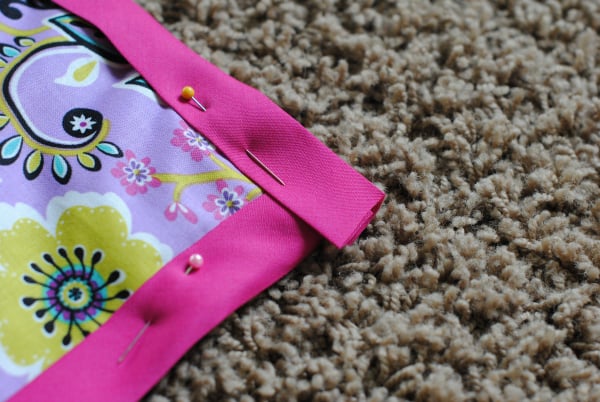
Sew all the way around this near the inner edge of the bias tape. At the corners do a zigzag stitch on the raw edges to prevent fraying.
Now sew a seam through the whole blanket right on the center seam you made earlier. This will help hold everything in place.
You need to do something to make sure that the batting stays where you want it when you wash this blanket. You can choose to add ties every 6 inches or so or you can sew through it to hold things down. Sew lines through it every 12 inches or so if you prefer-this will help keep everything in place.
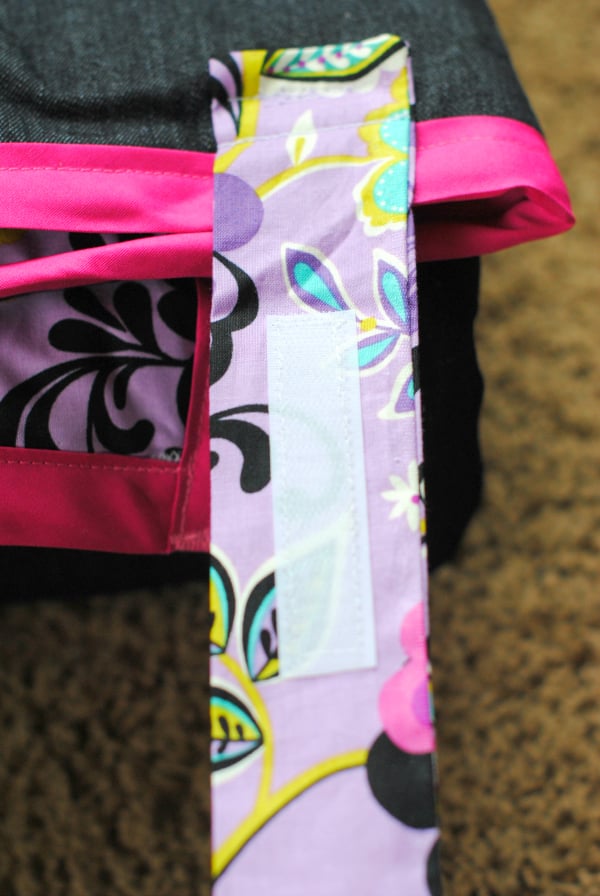
Now you need to make your straps. Cut two pieces that are 4 inches wide by 29 inches long.
Fold them in half the long way and sew up the long side and one of the short sides.
Turn right side out and fold in the open end, press and sew it shut.
Sew a 3-inch strip of Velcro on one end and a 3-inch strip of the other piece of Velcro on the opposite side of the strap and the other end.
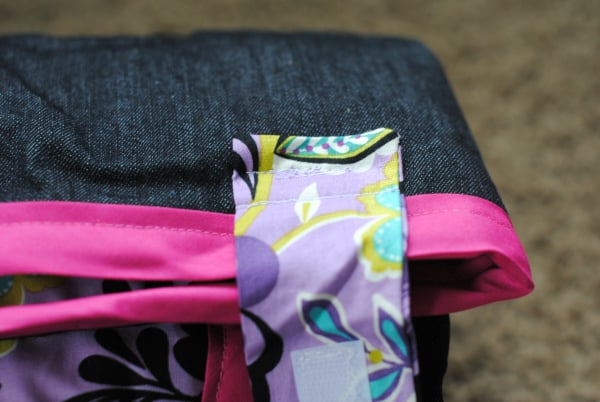
Sew the strap to the bottom of the blanket:
Roll it up and take it on a picnic!
This makes me want to go on a picnic! I hope you love making this DIY Picnic Blanket Pattern and Tutorial!
You Might Also Like:

Pin It:


Sharon says
I really like the idea of the straps to hold it in a bundle. I’ve been working on finishing up a VERY scrappy quilt that I plan to have become our picnic blanket. Now I’m planning to add straps to it!
Moira says
I love all your projects!
This one seems simple, but since I am a beginner, I was wondering if you could explain this one instruction: (You will need to piece this fabric together by cutting 2 large pieces and then sewing a seam up the middle.)
Thanks!
Amber says
Just because you can’t find fabric this big you will need to sew a couple of pieces together to make it that big. Does that help?
Moira says
Yes, thank you so much! That makes sense!
Cheryl says
Great idea! Here in Delaware, the sandy beaches are rough on blankets. This one looks sturdy enough to handle it. For myself, I would make and attach a strap. Probably in between where you have attached the roll-up straps. Thanks!
Ingrid Aspelin says
Oh how very nice!
Gwen H. says
Very simple tutorial I will make one to keep in the car. Thank you
Emma says
This is a very nice, simple tutorial, thanks! I’m definitely thinking I’ll make a picnic blanket with a denim back, what a great idea for something super-sturdy to throw on the ground!
Only thing is, you definitely need some quilting on this or it will be ruined after the first time you wash it. The batting will bunch and fall apart! Check your batting package and it will say how far apart the quilting should be (cotton is usually about 6″). To keep this a simple project, and not have to quilt through the denim, you should tie it every 6″.
Love that lavendar flower fabric!! Where did you find it?!
Amber says
Yes, you are so right. I need to fix this in the tutorial. This fabric was from Hobby Lobby.