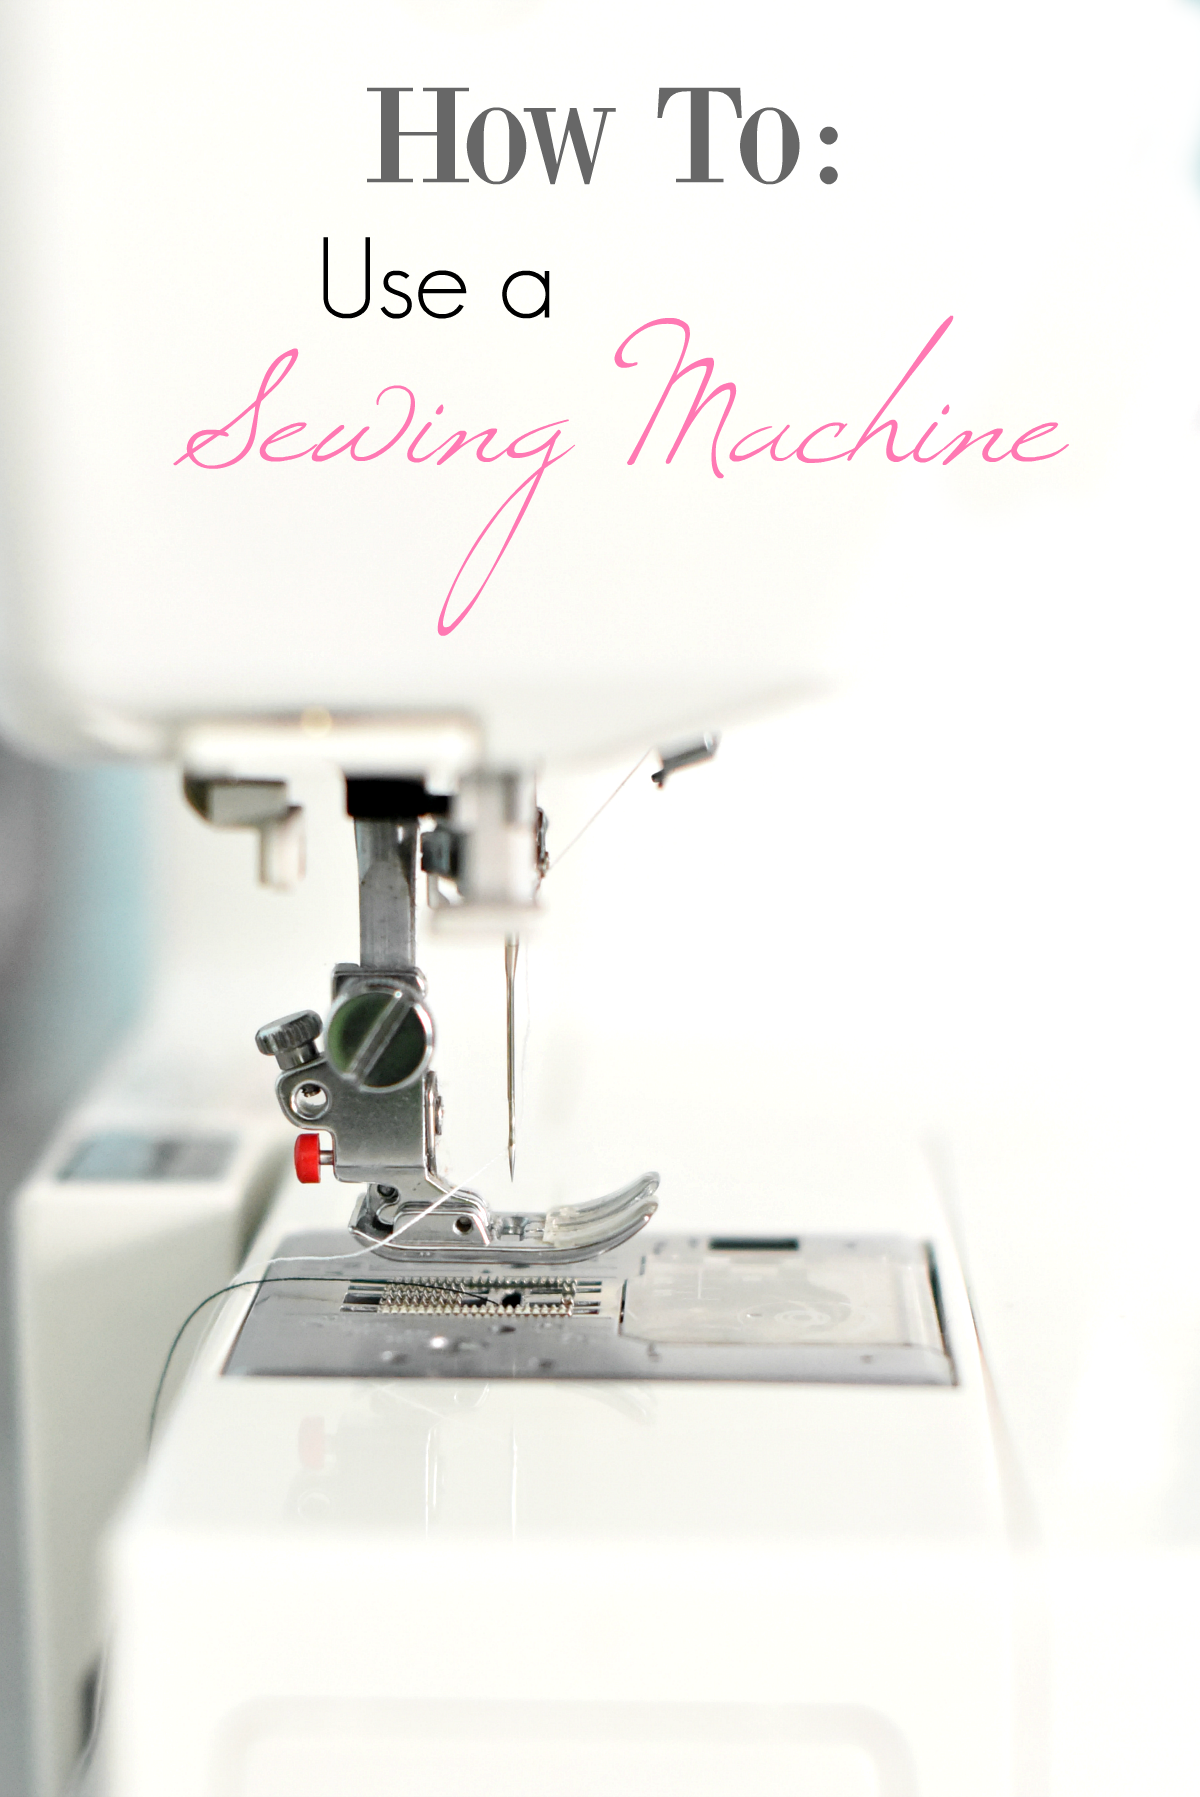
What’s the Project? So you got a new sewing machine and you’re super excited, but you’ve got one big question-how to use a sewing machine! You’re not alone and it’s not hard. This easy tutorial will walk you through the basics of using your new machine and get you sewing in no time!
OK, you’ve done it. You bought a new sewing machine, got one for Christmas or broke the one you bought 3 years ago out of its dusty box. Now what? What are all those buttons and levers? How do you turn this thing on? What do you do now?
Sewing machines can be exciting but also totally overwhelming when you don’t know what any of the gadgets are or how to use it! If you’re wanting to learn to sew, the first place to start is simply how to use a sewing machine! This guide will walk you through some of the basics and help you get started on a lifelong journey of sewing!

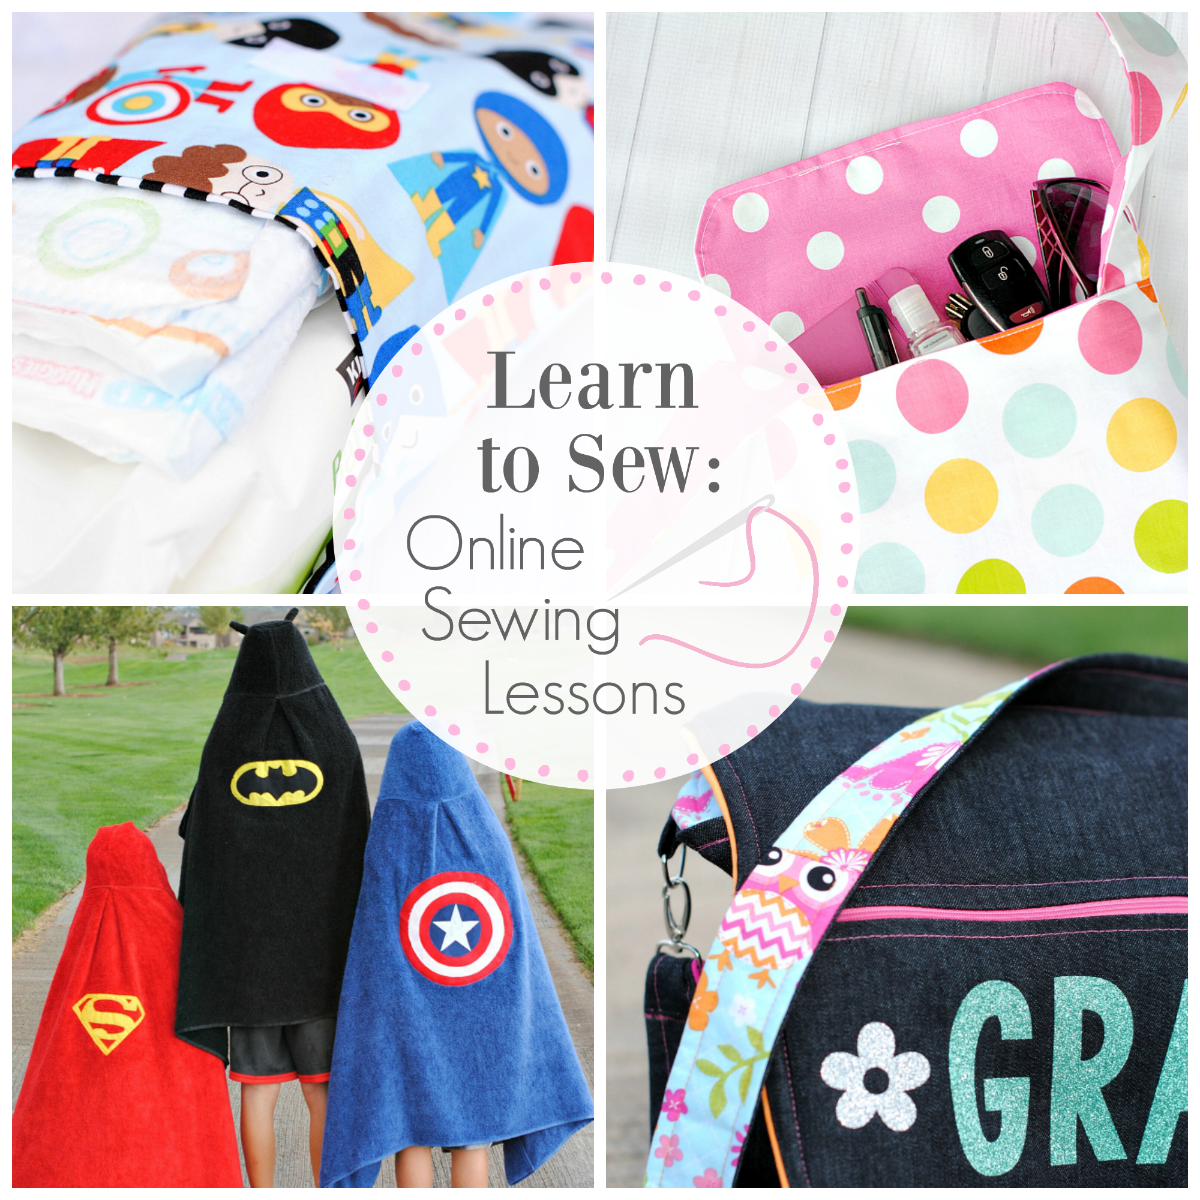
Learn to Sew Lessons:
If you are here because you have a new machine, I want to make sure that you know that I run a whole Learn to Sew series full of free online sewing lessons from everything you need to know to start sewing, how to sew a straight line and even which sewing machine to buy if you’re still in the market. And it’s all free. So be sure to check all of that out starting here.
But now let’s talk about how to use a sewing machine!
How to Use a Sewing Machine:
The first thing you need to know is that every sewing machine is different, so I am going to do my best to show you what you need to know but it will probably vary a little bit for your machine. Your user’s guide will be your new best friend.
I am going to introduce you to 2 sewing machines today. I will start with my friend Carrie’s machine because hers is probably more similar to most of yours than mine is. Then we will have a look at mine.
How to Use a Sewing Machine Guide for Beginners:
Carrie’s machine is a beautiful basic Janome. When I asked her if I could borrow her machine to snap some pictures I didn’t know she had a Janome too, but let me just say that I love Janome. You can’t go wrong with Janome. And from what I understand, Kenmore is the baby sister of Janome and I highly recommend them too. (Kenmore is what I started on.)
Now, as I show you Carrie’s machine, keep in mind that every machine looks different, but that yours is likely to have a lot of these same parts. Have your user’s guide or manual handy so that you can refer to it since your machine is probably a little different.

First off, find your power cord and your on/off switch:

The power cord is attached to the foot pedal. The foot pedal goes on the floor where your foot can comfortably reach it:

On the front of the machine, you will find several knobs. On this particular machine, there is a knob with letters-when you turn that knob you change what type of stitch you are doing-straight stitch, zig-zag, etc. Below that you find another knob which changes the length of the stitch-are they tiny, close together stitches or long, farther apart ones? That knob determines this. To the right of both of these you find a stitch guide which shows what stitch options this machine has (and again, you would select which stitch you want to use by turning the knob at the top):

How to Adjust Stitch Length:
On the side of the machine is a little wheel that turns. That’s called the hand wheel and will make your needle go up and down (and yes, I had to look up what that thing was called. Even my mom didn’t know.)

OK, here’s an important part of your machine and I apologize, I have a really fuzzy picture of it, but you can still get the idea right? This is the reverse stitch lever. When you want to sew backward, or in reverse (and you will often), you will pull this down:

Up near the top of the machine is a dial that adjusts the width of a stitch. For a straight stitch this wouldn’t matter, but for a zig-zag, this would determine if it’s a big, fat zigzag stitch or a small, narrow one:

On the far side of the machine is a knob that adjusts the tension of the presser foot. I don’t usually even touch this on my machine, but there it is, so now you know what it does:

This metal part on your machine is called the presser foot. You will lower it (there’s a lever just to the right and above it) to sew and then raise it to remove the fabric.

A few other fun features-here’s a little built-in measuring tape. How handy! I saw this on Carrie’s machine and realized mine has it too and I never noticed:

And did you know that the front part of the machine comes right off (and usually has storage inside)? This will be handy when you are sewing things like hems on pants and other small areas:

How to Thread a Sewing Machine:
So, how do you thread this thing? That’s going to be VERY important. I want you to practice this at least 10 times before we start the lessons. Now I can’t totally teach you how to thread your machine because every machine is different.
Here’s a video to walk you through the process:
Your manual will show you how. But most machines are at least somewhat similar, so let me show you how Carrie’s is threaded.
You start off by putting your spool of thread on the spindle at the top of the machine:

Make sure you have the spool holder in place to keep your thread from flying off (that’s the plastic thing you see on the left of the thread up there).
Take the end of your thread and somewhere on the top of your machine will be a few nooks and crannies for you to pull it through that will look something like this: (and see how the machine even has a little guide to help you?)

Now you’ll go down to the right of the grey part with your thread, loop it at the bottom and then go up the left side:

Then through the little “thread take-up lever” (that’s what it’s called) at the top:

And back down one more time toward your needle. You are now going to thread it through a few things. First this: (see the little metal piece right below the white part of the machine?)

Then this: (another little piece of metal-this one right at the top of the needle)

And finally, thread the needle.
Practice that a few times. You will get so that you can do it with your eyes shut.
How to Thread Bobbin:
Now, you also need to thread your bobbin.
Before you sew you will need to wind your bobbin. You actually need to do this before you thread your machine for a project.
Here’s a Video of the Process:
What you need to do is take one of your empty bobbin cartridges and the thread in the color you need. On your bobbin cartridge, there will be a little hole to stick the end of your thread through. You’re going to need to look at your own manual again to see how to do this for sure on your machine. It will involve putting your thread on your spindle, wrapping it around something like this: (see the little silver button on there, you would wrap it around that once, as shown in the diagram on the machine)
And then through the hole in the bobbin cartridge. Place the whole cartridge on this:

Keeping hanging onto the end of that thread even while your bobbin cartridge is on that bobbin winder. Slide the bobbin winder to the right. It is now ready to wind.
Keep hanging onto that thread and push down on your foot pedal. It should start to wind. As it starts, grab a pair of scissors and snip the thread you are holding and then let the bobbin keep winding until it is full. Slide it back to the left and remove it.
How to Insert Your Bobbin:
To insert the bobbin into your machine you will need to take off your bobbin cover and place your bobbin into the slot for it: (this part might look VERY different on your machine-if so, grab your manual):

Your manual will tell you which direction your bobbin spool should turn. For this machine, it should turn clockwise, so I want to line my bobbin up like this before I put it in:

Then I would place it down into that little hole for my bobbin and pull the thread through the little slot (see my diagram above) to get it secured into place.
Give the end of the thread a gentle pull and your bobbin should turn in the direction indicated.
Now, thread your machine. Using the hand wheel (or down/up button if you have one), lower your threaded needle all the way down and back up again and it should catch the bobbin thread and pull it up with the needle thread. Pull both threads to the side and close your bobbin case.
You are now set to sew.
How To Use a Computerized Sewing Machine:
Now let’s switch to my machine. Here are a few shots of my machine. I am showing you this because my machine is computerized. Does anyone have a computerized one? If so, here’s a walk through a few of the features:

Let’s have a look:
One of the biggest differences on a computerized machine is the way to select stitches. It has a touchscreen. Here you see some stitch options-currently with straight stitch chosen. If I want a zigzag, I would just touch that button:

And then I can adjust things like stitch length and width by touching the adjust button:

On the front I also have my buttons for reversing, putting the needle up and down and a fancy, stay in place knot:

There’s also a slide for how fast I want the machine to stitch:

Also, my machine has an automatic needle threader. (Very handy!)

Most other features will be the same as the machine I already showed you.
One other thing to note. On your machine, you will see something like this. See the lines and etchings on the sewing machine in this picture? Those are your seam guides. If a pattern tells you to sew a 1/2 inch seam, for example, you would want to line the edge of your fabric up so that it was parallel with the 1/2″ seam guide. This will make more sense as you start to sew a lot.

Hopefully this helped you learn how to use a sewing machine a little bit better. Now be sure to check out the rest of the Learn to Sew Series.
You Might Also Like:
Learn to Sew-Free Online Sewing Lessons:
Pin It:


Dharmendra Mehta says
Hi, thanks for sharing the kind information and tips on usage of sewing machine. I am sure this will help a lot.
John criss says
I have always been a fan of hand stitching, however, nowadays its pretty hard to quick and proper alteration with just your hands.
Lori Anne Alford says
This is a time when everyone is at home because of COVID -19 and I decided to take out my sewing machine that I found on craigslist for free!!! It is a 1972 Singer Stylist 518. It does not have a lot of bells and whistles but it works, and I have the manual and all the little attachments that came with the machine. I have used a newer machine in the past but thought that I needed to start from the beginning. I would like a new machine like I am sure everyone would , but it is not in my budget at this time. I just wanted to thank you Amber because I was intimidated until I started to read the beginning of your blog.
I pray that I am on a journey of a lifetime!!!!
Amber says
That is so wonderful! Best of luck and glad my blog could help!
Willie reiner says
Well you have explained everything in detail. And whatever was missing in your content is available in the forms of comments here. I’ll bookmark this blog. Thank you!
Sewing Spider says
Got lot’s of information from your project write up. It’s helps me to know very basics of using our machine.
Sara Wilson says
I have always been a fan of hand stitching, however, nowadays its pretty hard to quick and proper alteration with just your hands. I personally started using a sewing machine and my first mistake was about not taking care of thread tension. So please make sure you adjust the thread tension according to the fabric. And Amber really very helpful article, thank you for this 🙂
Sew For says
I, like many others, received a new machine for Christmas. I am thrilled to begin sewing again. This machine has embroidery capabilities as well. I am excited to learn to use those options to enhance my home and my children’s homes as well.
Thank you for your sewing series; I am thrilled for it to begin. You are doing a great service! Thank you!
Thank you again!
Amber says
Good luck with the new machine!
Elle says
I inherited a sewing machine from my mother in law and it’s older. Only one thing I know how about the machine was to turn it on. I studied it like how to thread and so on for a lil while and I got sidetracked. Now, all of the sudden I have this urge to start learning again and I googled about “how to sew beginners” and I stumbled your website and I must say this is the one of the most beautiful and informative website about sewing I have ever stumbled on.
Thank you for sharing your knowledge. It is a blessing to have people like you.
I’ll be back once I progress.
Take care! x0x0x00x0x0
Amber says
Oh thanks so much!!! 🙂
Digitizer says
I loved the way you described this! Thanks for being so helpful.
shehnaz kadri says
Very in detailed explained. Apperciate it. The close pictures and explanation made me love to janome. Really like the feet control features and the stitches options. As the beginner i think its the best.
Barbara Harris says
I have been sewing for many many years, but you know what? I have been threading my bobbin the hard way. I gave your way a try, and it is a total game changer!!
Amber says
Well glad to help! 🙂
Apaikunda Mungure says
I LOVE THIS…
Kate Marie says
Thanks for the photo guide! My mother gifted me her old sewing machine a few months back but I still haven’t touched it because there’s no manual and I have little to no idea what I’m doing. I remember as a girl I would watch her sew sometimes and she would magically know where to thread everything! I’m hoping I can find a manual online if I need more help, but here goes nothing 🙏
Tracey says
Amber, your blog and tutorials are fantastic . They are so thorough and clear. I am a beginning sewer, but I have had a few a small strokes and loss of blood flow to a few areas of my brain. It really affects the way I learn and how I perceive things. Would you ever consider doing a video version of these tutorials? I learn better by hearing and seeing rather than by reading. I am sure I can’t be the only person out there with that issue. If you did a video version, these would be absolutely amazing. Bless you and thank you for giving your time to teach others.
Amber says
Yes, I need to! It’s just hard!
Tamara @ Creative & Curly says
Hi Amber — this is SO awesome! (found via Pinterest) . . . I learned some super basic sewing stuff when I got my sewing machine before college (2004-ish?), but have always wanted to do more than just hem my pants for my short self, lol! Thank you so much for posting this 🙂
Amber says
You’re welcome and thanks for your kind words! 🙂
anikie says
I just bouhgt my new empisal machine now im strugling and as it is my first time using sewing machine i dont know what to do . when i start with sewing my machine get stuck on top of the fabriec then im strugling to take the fabric out. pls help
Amber says
Sorry I am not sure! Maybe try a different thread and double the fabric over to see if that helps?
polly says
What’s your facebook page called? bhow can I find you?
Amber says
https://www.facebook.com/crazylittleprojects
polly says
Do you know of any website for troubleshooting?I’m trying to start a new project, and since I haven’t sewn in a yr or so I got my machine cleaned/tuned up before I bought any supplies.It worked fine in the shop after being tuned up, but now that I’m trying to start a new project, the little teeth under the presser foot-I don’t know what their real name is- the teeth that pull the fabric through the machine as it sews, they aren’t moving the fabric.:( so the needle just keeps going up and down in the same spot, the fabric isn’t moving…I hope to be able to fix this glitch myself since I just spent 40bucks getting my machine, which is usually wonderful!!!! cleaned and tuned up–any ideas?
Amber says
I have had problems with mine before and just googled the problem and found help. Have you tried that?
Kim says
The feed dogs are down. (That’s what the teeth are called). There is a switch somewhere that will put them up. Mine (Janome) is on the back of the bed behind and to the right of the needle. If you have a computer machine look for the feed dogs button, check your manual
Amber says
I don’t know-sorry!
Bruno says
On the Janome 525 the feed dog button to lift and drop the feed dogs is under the sleeve arm which can be located after removing the attachments/tool tray. Its underneath the arm at the back of the arm.
Shaima says
This is very helpful, I would like to mention it on my blog if you are ok 🙂
Amber says
Of course!
Nicole says
Hey! i just found your blog and i know I’m a little late in taking this class. i just have a quick question. I just got a Singer Talent about two days ago, so I am super new at this, and while i was reading the book it says my machine has an automatic needle threader and I don’t have the slightest idea how to use it. i was wondering if you know how to use this and could possibly explain it a little clearer. Thank you so much for these lessons, i’m sure these will help me a lot.
-Nicole
Amber says
It should be a little lever that you pull down on near your needle. There is a little hook that goes through the eye of the needle then you pull your thread through the hook and release the lever and it threads
saja says
love it ^^
I am new for sew field and I like it. I have Janome sewing machine and it is similar to your friend machine.
I will be sticker here :]
Heather says
I’ve had a ton of friends ask me sewing lessons. I’m no expert but love love love to sew. Any advice or suggestions?
Amber says
Just do what I did with the learn to sew lessons….start with the very basics like a straight line and have them practice a lot.
Jenn says
I know this was a posted awhile ago, but I am so glad you are keeping it up. My 9 almost 10 year old daughter has been begging me to teach her how to sew with the machine. We will both be using your site as I never really learned, just always winged it! Lol. Looking forward to your lessons and some bonding with my girl! Thanks again!
Kerrie Hogueison says
Just discovered this blog. I was given a pretty nice brother sewing machine for my birthday and I haven’t really used it too much yet. Hopefully this will help me learn how to use it. I do love it though it runs well and I don’t have to use a pedal.
Amber says
I hope you will love using it!
Nannette says
I’ve been having problems with my modern sewing machine. After I stitched the back of the cloth looks like bunch of spool of thread ( be is straight stitch or zigzag) any recommendation?
I dont really know about sewing, just trying to learn how to sew! Appreciate sharing your experience.
Thank you!!
Amber says
Something is probably off with your tension. It can help to put one color of thread in the top and a different color in the bobbin so you can tell which is the one causing the problem.
Elly Smith says
Hi Amber.
My sewing machine is a very basic Brother (not sure which model) and only does a few variations on zigzag and straight stitches. Will this be enough for the series? How do I do a satin stitch with this machine?
Amber says
Yes, those are really the only 2 stitches you need. To do a satin stitch you just need to set your zig zag stitch to sew so that the stitches are very close together. Your manual should show you how to do that if you don’t already know.
robyn says
Just wanted to say thanks so much for your learn to sew tutorials. have just started to make things for my baby and loving it and your tutorials have helped iron out a few bewildering things for me
all the best
Robyn
Deanna says
So Happy to find your site! My machine I bought at Sears “years” ago was brand new when I put it away and never used it again and am wondering if I pull it out will it work. I remember having a big problem just trying to sew lines on material….the thread kept knotting up and skipping up messy on the back side. I am a beginner on a machine but have hand sew everything all my life…never wanting to mess with the “Thread Problem” again. Any suggestions? I may just need a NEW machine that does a lot of the neat stuff I see and like:>)) Thanks so much and nice to meet you all! Deanna on the Oregon Coast!
Amber says
I would recommend a tune up. Sometimes they just need the pros. I am going to do a post very soon on machine recommendations. Watch for that maybe next week.
Sarah says
What Janome model do you have? I have a sewing machine, but was thinking about getting a computerized one and wanted to know how you decided on the one that you did. Is it really worth it to pay $500+ for a machine? Does that make sewing easier?
Amber says
Mine cost quite a bit more than that (at the time I was using it for a very successful business so it was an investment) but I have never regretted it. I will say that a Kenmore can be just as great though.
Yvonne says
Sarah, you asked if a more expensive machine makes sewing easier. I have to say yes. Several years ago when I got back into sewing, I had an older Singer (1950’s) and I felt like it was doing a great job. Long story, short…..I ended up taking classes at a local Bernina dealer where you used whatever brand of machine you had. I watched those using higher end machines just breezing on thru things while I struggled with every step. It felt like I was fighting the machine all the way. Once I tried the Bernina, I was sold. Everything went so much smoother. I’m on my third Bernina (due to upgrading to get one that embroiders also) and I LOVE it. I used a Janome at a friend’s and also liked the way it ran and many of the features it had. On the other hand, I’ve used other low end machines at my two daughter’s and still can’t believe the difference. I’ve heard, Buy the best you can afford and you won’t be sorry.
Amber, like many others I’ve sent my granddaughter and daughter to your blog. Hopefully, they are taking these lessons. I’m taking them myself as a refresher and would like to say what a thorough job you are doing. Thank you so much.
Amber says
Thank you for sharing your advice Yvonne. I have a very nice Janome and spent too much on it (embroidery on it also) but I have never regretted it. I use that baby all the time and love it. Thanks for sending people my way too. Love it! 🙂
Rachel says
Tonight I was really excited to bust out this old sewing machine that I got as a hand-me-down years ago and practice threading it. Unfortunately, I do not have the manual, and I have not had luck finding an online copy tonight. It is a Kenmore, model 385.16524000. Do you have any resources or ideas of where to look? Thanks!
Amber says
Oh that’s tricky. Are you on the facebook group? Do you want me to ask on there? I wonder if you can find a similar machine and use the manual for it? Most Kenmores probably work similarly.
Rachel says
I am on the facebook group. I’m super bummed! I’ve never used a sewing machine in my life. I’m sure it needs to be oiled, so I need to know how to do that as well as basic operations. Thanks!
Amber says
Someone on there said to try Sear’s website-that they have all the manuals. Did you try there?
Rachel says
I did try it. They had a ton of manuals, but not the one for my model 🙁
Rachel says
I did try it. They had a ton of manuals, but not the one for my model 🙁
Amber says
On other idea is to go to a local sewing repair shop and I bet they could help you at least figure it out.
Sarah says
I had to purchase my manual because I had long lost my manual. This is the site I used. I ended up getting a pdf download for about $8.00.
http://www.mastersewusa.com/masmag_free_manuals.html
Rachel says
My amazing husband actually offered to buy me a new machine. I have no idea where the money would come from, but if I ever do buy a new one, what features would you recommend?
Amber says
Rachel-you can get a very good Kenmore or Brother for a pretty good price. I am borrowing a neighbor’s machine right now while mine is in the shop and it’s just a basic Brother and it is very nice!
Rachel says
I finally got a copy!!! Yay!
Amber says
Yay! Where did you find it?
Andrea says
This is so great! My sister is new to sewing (like BRAND new, has never even touched a needle) and her mother in law got her a sewing machine for Christmas…I sent her straight to your site, and I am making her follow along step by step with your lessons, because patience in teaching sewing to newbies is not one of my better skills 😉
One thing with the winding of the bobbin…on my machine (a 12 year old kenmore) you pull out the hand turn wheel to stop the needle from going up and down while winding the bobbin, do newer machines not have that option? Nothing was mentioned.
Thanks so much for your wonderful site!
Thanks for your
Amber says
Nope, I don’t have to do that on my machine, but that’s a good point. That’s why I want everyone to keep their manual handy too because every machine is so different.
Tami says
I, like many others, received a new machine for Christmas. I am thrilled to begin sewing again. This machine has embroidery capabilities as well. I am excited to learn to use those options to enhance my home and my children’s homes as well.
Thank you for your sewing series; I am thrilled for it to begin. You are doing a great service! Thank you!
Peggy Maeder says
Brilliant idea! i am a retired FACS (formerly Home Ec) teacher. The #1 lesson is to know your machine no matter where you purchased it from! My suggestion is to use your “instruction manual” and go page by page. Make notes. It won’t take long to get the machine to work. It just takes patience and practice. Getting frustrated is what causes beginners to never try again. Stop. Walk away then try again. Practice makes perfect. Sewing is creative. Even mistakes can be used as a lesson.
Happy Sewing. PS find a friend that might have some knowledge of the skill. Internet has the answers too!
Amber says
Yes! I am going to try to really emphasize not getting frustrated and quitting. Just going slowly and not expecting perfection right away.
Jourdan says
I just wrapped my machine yesterday, so I can’t wait until Christmas to go over this post again!!
Karie {Girl Going Country} says
I got a sewing machine for Christmas (YAY!) and am bookmarking this post so that when I have time to sit down with it and get it out of the box, I’ll know what everything is! Looking so forward to your Learn to Sew series in January!!
Linda says
Awesome ! Thanks so much for this. Santa is bringing me my first ever sewing machine so I will definitely be referring to this lesson (and the manual). I am so looking forward to being able to fix things for myself rather than having to find a friend or pay a seamstress. What fun !
Dori Troutman says
In doing a google search last night for patterns for animal hooded towels, I came upon your blog. Let me say that it is just about the best one I’ve seen for sewing projects, ideas, and tutorials. I am not a beginner sewer but I have a daughter that is and I’m referring her to your site. I purchased her a new Janome a couple years ago to help her get started (I have a 20 year old Bernina that will NOT stop, so can’t justify buying anything new for myself!). I’ve been very impressed with her Janome. Thanks so much for your great blog, your great ideas and inspiration!
Amber says
So very happy that you found me! 🙂 And yes, send your daughter my way.
Christine says
Hi I am Sydney, I am 8 years old and I want to learn how to sew. My mom has a sewing mashine and when I watched her do it I thought, “That is so cool! Oooh, that peddle thingy mabob looks fun!!!” I went on this mostly because I wanted to learn how to sew and partly because my reading log said read a blog and respond. This really helped me learn and I can’t wait to start sewing!!!
P.S: I love your blog!!!
Amber says
Oh have so much fun learning to sew!
Ariana says
Wow! Nice to meet a fellow child interested in sewing machines! Sorry to bother you (and you wrote this two years ago…) but I couldn’t help to reply. Your story is the same as mine. I’m so happy to know I’m not the only kid interested! (I’m Ariana. Twelve years of experience LOL)