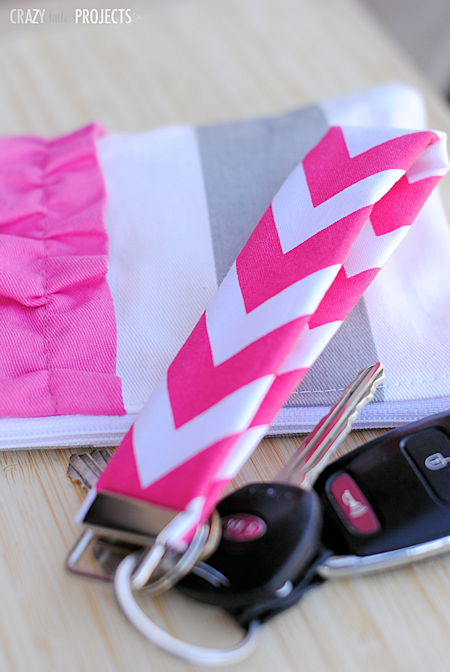
Bags are probably the thing I sew more than anything else. There’s just something very satisfying about sewing a bag. Plus, they are easy. To go along with our bag theme this month, I created 2 bag accessories that you can sew to go along with your bags! Today I’ve got tutorials for Key Fobs and for a little mini Ruffle Zipper Pouch:

They are both pretty quick and easy to make and you can make them to match your bag! Or make them as a gift to give to a friend.
Let’s start with the zipper pouch and then they key fobs will be below that.
Mini Ruffle Zipper Pouch Tutorial:

Supplies Needed:
- Small amounts of 2 fabrics (great way to use scraps)
- 7 inch zipper
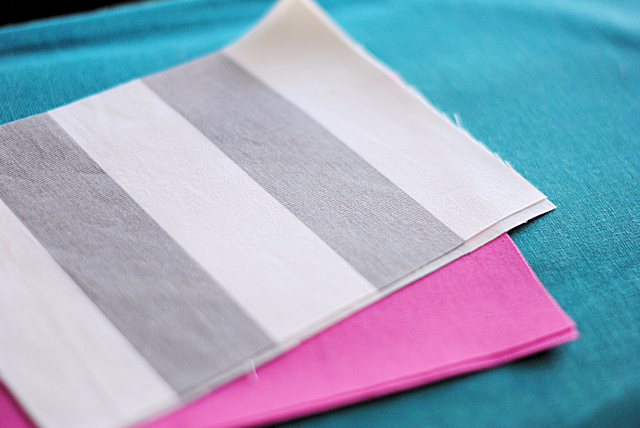
Cut out your fabric. You will need 2 pieces each of 2 different fabrics for a total of 4 pieces. Each piece should be 7 1/2″ wide by 5 1/2″ tall.
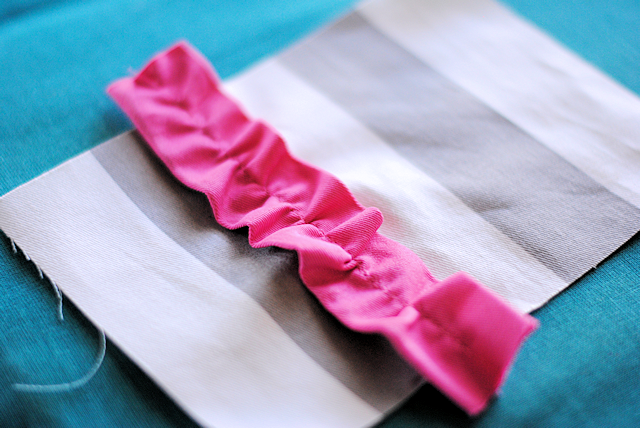
Now, if you want to add a ruffle to it, there’s a tutorial for that here. Make it so that both ends can hang off this ends of the fabric. Sew it in place where you want it on one of your outer pieces:
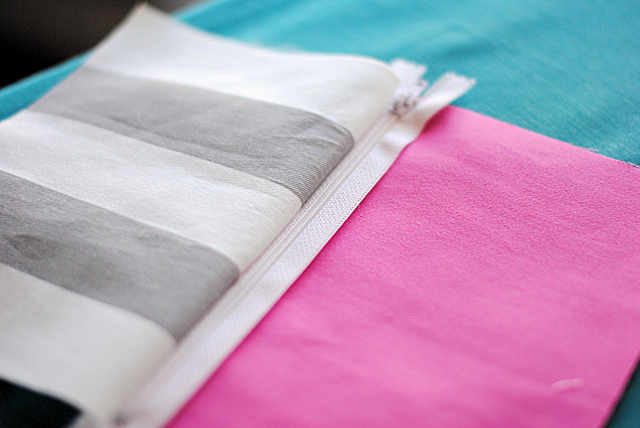
Now we will begin to put the bag together. Grab one of your outer pieces and one of our inner. Place the fabrics together with right sides together and the zipper sandwiched between them along the top edge with the right side of the zipper touching the right side of your outer fabric.
Sew along the top-through both layers of fabric with the zipper in between. Move the zipper pull out of your way while sewing. Halfway through you will need to stop and move it again so that it is out of your way the whole time:
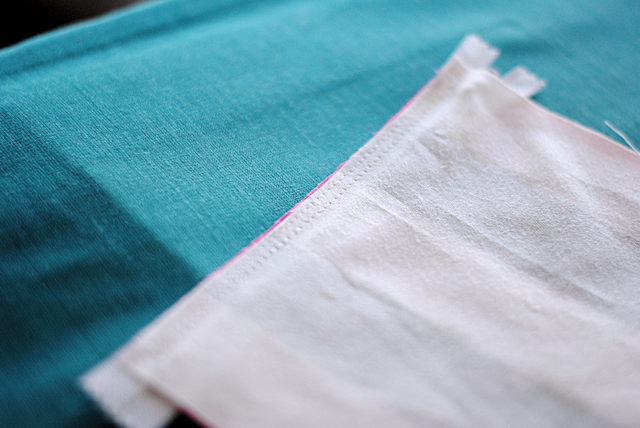
Here’s what it should look like when you are done:
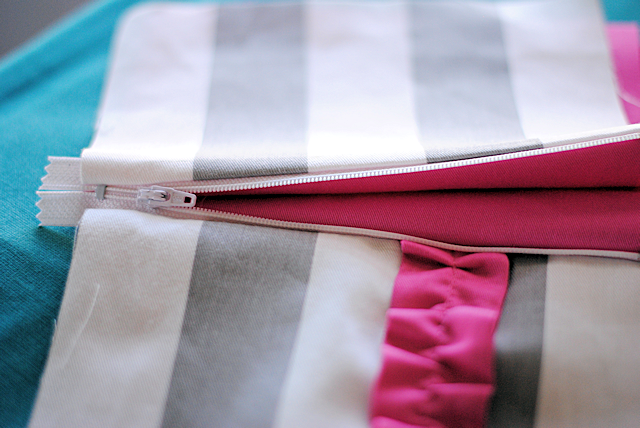
Now do that with your other two fabrics and the other side of the zipper. You will sew right through the ruffle and there will be excess hanging off. Just cut that end off AFTER you sew this step.
Now it should look like this:
Press everything nice and flat:
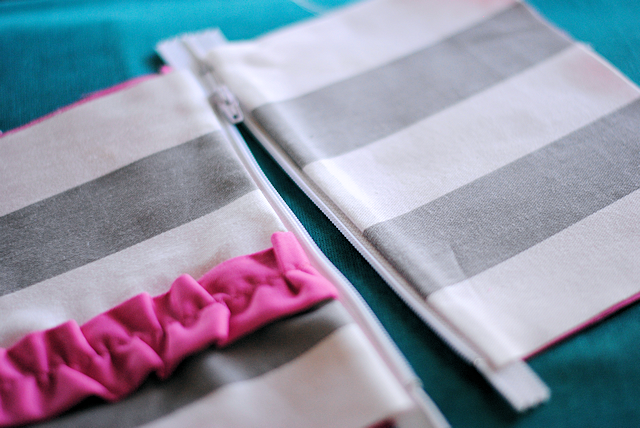
Top stitch along the zipper on both sides of the zipper.
Open your zipper most of the way. Fold the bag so that your fabrics are touching with right sides together. The outer pieces will be touching each other and the inner will be touching each other. Sew all the way around each of those. Leave a small opening to turn it when you are sewing the inner part:

Trim off any excess zipper or ruffle and turn it all right side out. Poke out the corners to get them nice and crisp and stitch your opening shut. Press is all nicely again and you’re done! 
This is perfect for carrying things like keys, credit cards, pens, even your phone.
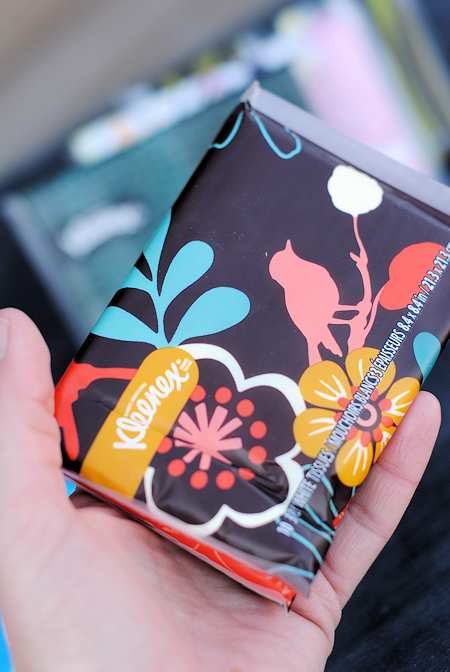
It’s also perfect for carrying a small package of Kleenex! These new Kleenex designs are really nice aren’t they?
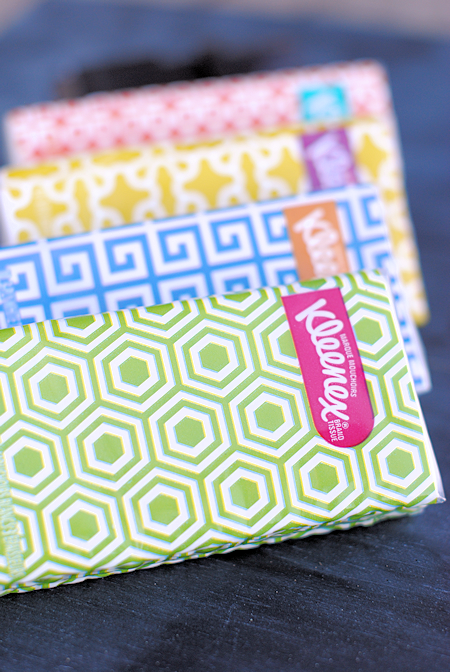
I love the bright, bold designs! Guess what?! Kleenex has a whole new line of beautiful designs for all of their packaging.
Try this:
- Go to Kleenex’s website and take the Style Quiz! It’s not only fun, you get a coupon when you are done!
- Tell me which of the new packaging options is your favorite! Comment below. I loved the Green and Blue geometric designs in the image above. Which is your favorite?
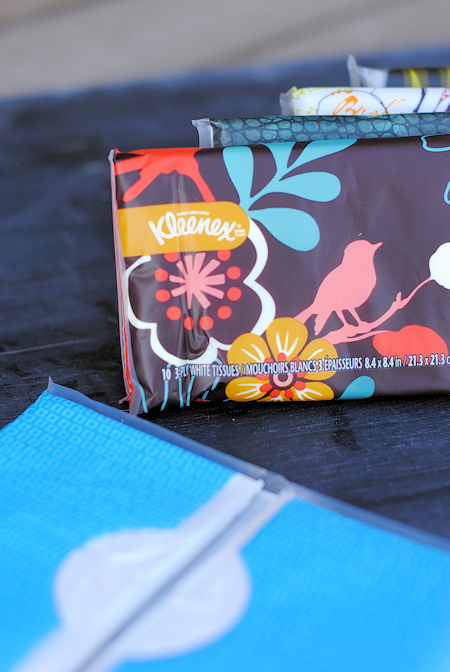
Another fun new addition to Kleenex are these pocket size packs:
Just grab it and tuck it in your back pocket, shirt pocket or wherever is handy. They open easily and fold back up for easy carrying:
OK, now after you visit Kleenex, let’s try the key fobs.
Key Fob Tutorial:

Supplies Needed:
- Key Fob Hardware (I got mine online but I believe craft stores should have them too?)
- Small amount of fabric (great way to use scraps)
- Small amount of fusible fleece
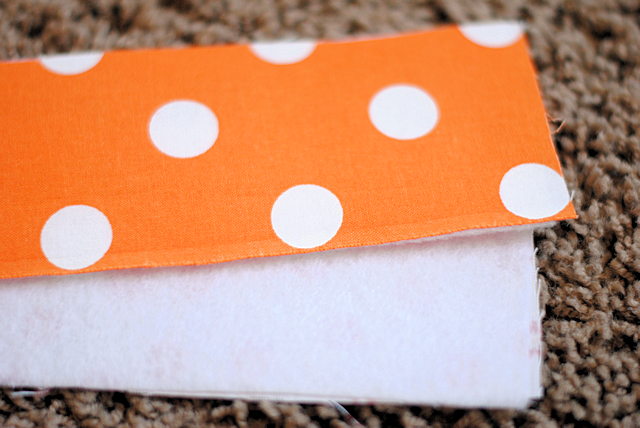
These really are so easy to make! First, cut your fabric out. I can’t tell you exactly what size to cut it, because it will depend on the size of hardware that you got. Mine is 1 inch wide. So I cut my fabric strip 2 3/4″ wide by 12″ long. This gives me enough fabric to fold it in half and it together. With the seam allowance (3/8″) that should make it end up 1 inch wide after it is sewn. Calculate this for the width of your key fob and then cut out your fabric.
Cut a piece of fusible fleece exactly the same size and fuse it onto the back of your fabric:
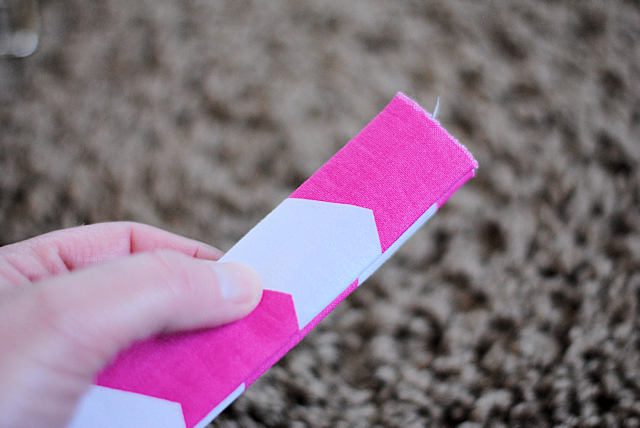
Then fold it in half with right sides together and sew the length of it. Turn it right side out:
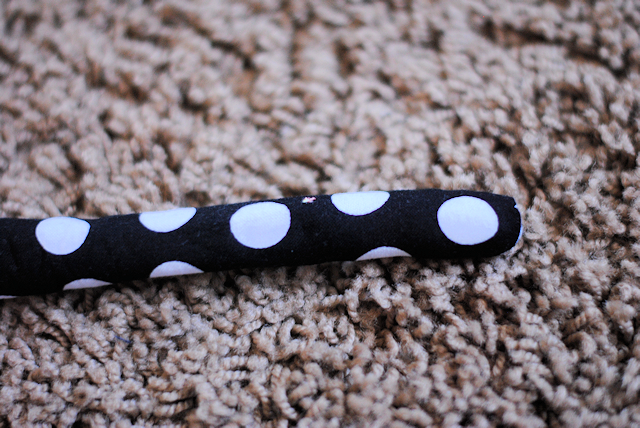
Then press it flat. Fold it so that the ends are together:
And place your hardware over the ends. Squeeze it shut with pliers on either side:
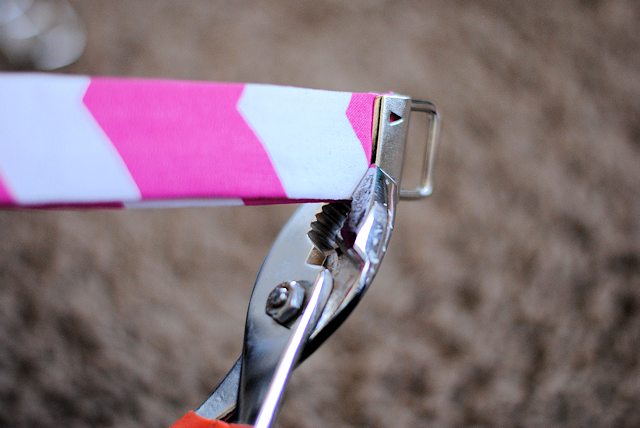
And you’re done. Told you that was easy right? Now make a million! (I am! I’ve got plans to make at least 200 in the next month or so for a big conference I am attending soon. They’re that easy and that fun!)


Have fun! And don’t forget to tell me which design you like best at Kleenex!


Cheryl says
Great Tutorial on the key fob. I made five this afternoon. I would have made more, but I ran out of key fob sets. Thanks so much!!
Jenifer says
I’m super confused on how to make the keychain fob. I’m new to sewing so I’m not great at understanding only written instructions. Plus this isn’t very detailed it’s showing that you used to have a video available for the keychain projects, but the video isn’t showing up 🙁 I’m so obsessed with these keychain fobs! Before I forget, do I HAVE to use fusible fleece? I got my sewing machine the day before lockdowns started in my state so all I have is the tear away interfacing. I have medium and heavyweight. I also have batting. Would any of those work? Thank you! You have so many amazing projects! I’ve found so many that I love!
Amber says
No you definitely don’t need to use fusible fleece. Any sort of interfacing should work. It just won’t be quite as bulky.
Connie says
I tried the key fob. Went out and bought the key fob part….$4.00 for 5 of them. Made 2 and even though I am a very strong person, I could not flatten the part that attaches to the fabric enough to keep the fabric from pulling out. So wasted 2 key fobs because once you put them on you cannot take them off and reuse. I really wanted to like this project and give them as Christmas gifts, but can’t keep buying the metal parts and having them fail. I know this is not your fault, but wondering if you have any hints?
Amber says
I’m not understanding what went wrong?
Rene Haky says
Why not just make the end with a small opening to put a key ring Through it?
Ann says
Where did you order the hardware? I can’t find any
Amber says
Did you try etsy?
Taylor says
I’m so frustrated! I’ve been trying for a solid 2 hours now to pull my key fob fabric right side out and I’ve had no success (I have destroyed the fabric though). Any other tips? Maybe a tutorial?
Amber says
Are you using something long and skinny to help push it? A chopstick, your scissors?
Sherry says
For super small projects I attach a safety pin with a string and pull it through.
Gayle says
I just made the zipper pouch and love it. I wish I could attach a photo of it for you. This was my first-ever zipper project! I’ve made other projects you’ve posted and have to say your tutorials and directions are great (sometimes it doesn’t click in my brain until I’m actually doing the project, but your directions have always gotten me thru the project.) Thanks so much!
Amber says
Yay! Happy to hear!
Sherry says
What type of fabric do you recommend for a semi-stout key fob? I know you can use really any fabric but am curious if you need a stout fabric or if the fuseable fleece takes care of that.
Thanks!
Amber says
Definitely try a duck cloth/canvas if you want it extra sturdy.
Dorothy says
Thank You for sharing the directions for the key fob & zippered pouch. These will make great little inexpensive, yet useful gifts, for almost any occasion.
Tammy says
Any tips for turning the key fob piece right side out? I’m having a heck of a time ……
Amber says
Use scissors or a chopstick to push it through and have pliers handy to pull as needed.
Alli J says
Thank you for the pouch tutorial! I was excited to make a Star Wars pouch for my little boy. I am a beginner sewer however, and the pouch tutorial was not very clear and detailed enough for me. Had to rip out seams twice and got quite frustrated. I eventually figured it out though. Just a forewarning to any true beginners looking to make it 😉
Taylor says
Can you explain better, once you have sew the zipper on both sides, which sizes need to be sewn to what? And how to then turn it all inside out? I am so confused.
Amber says
I have a few more places that describe the process. Try this: http://crazylittleprojects.com/2014/08/laptop-bag-pattern.html
Or this: http://crazylittleprojects.com/2013/07/zippered-pencil-bag-pattern.html
Lolly Jane says
CUTE and easy tutorials!! My fav pattern is Pop Goes The Color. Too cute!
🙂
Jean says
Believe it or not…I have been unable to find the clasp/fob for the keyring. I looked at Hobby Lobby, Michaels and two Wal-Marts. The folks working (at all of these places) just looked at me oddly when I said I wanted a keychain fob. When I described it…no one had a clue if they had one or not. Now I can understand that at WM but the other two should at least know what it is…Anyone have an online shop that doesn’t charge as much s/h as the items cost? (I would like to try a couple before buying a bunch.)
Y’all have a good day..jean
Amber says
Some other readers have said the sMe thing-that you’ve got to get them online. Maybe buy a bunch and make them as gifts?
JoAnne says
I just ordered some of the hardware thru a shop on Etsy.com . Can’t remember the shop name right now but if you go to Etsy and Google key chains or key chain hardware it should come right up. Fast shipping and different sizes offered too.
Jean says
Wow..you are right. There are lots on etsy. I was going to make teacher gifts for end of year. Now I’ll shoot for Christmas. Thanks..
mare ceballos says
Amazon!! 50 for $20.00
Debbie Tangora says
Look in the section where the jewelry making supplies are. Also try Joann Fabrics.
Joy Burch says
Amazon has them. Just put in a search for key fobs clasps. I ordered some and got them in about 3 days.
katie says
Love the idea of making a key fob and the zipper pouch is too cute!
Jillian @ Hi! It's Jilly says
What a cute project! Pinning!
Sallie says
I like the Blossom pocket pack. Thanks for the tutorials.
Crystal says
Love the key chain and zipper pouch!! Super cute!! Thanks for the tutorial 🙂
kathleen babbitt says
loved your new project you have shared with us. I tried to go to the kleenex site and take the quiz but I wasn’t able to find the quiz?
Linda bailey says
I love these little projects. I am going to start making some little gifts for Christmas . Thank you !
Jansie Martin says
I love the flower motifs. I am never without those mini Kleenex. Never!! Love your tutorials. Thanks for sharing.
Kristy Williams says
I am so going to make these to go with my new purse.
For the Kleenex I liked several, but my favorite has to be Stop and Smell the Roses.
Diane says
I might have to try that one day. Who doesn’t need a bag for makeup? Looks so simple. I am a simple sewer.
hayley says
im a beginner sewer too diane and i can make those zipper pouches in 12minutes beginning to end – they are super popular!