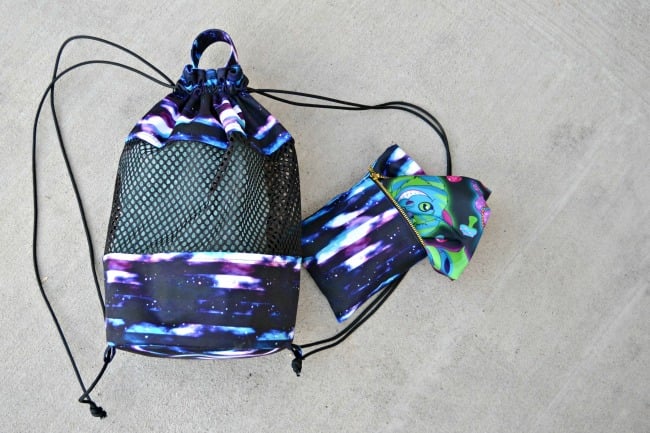
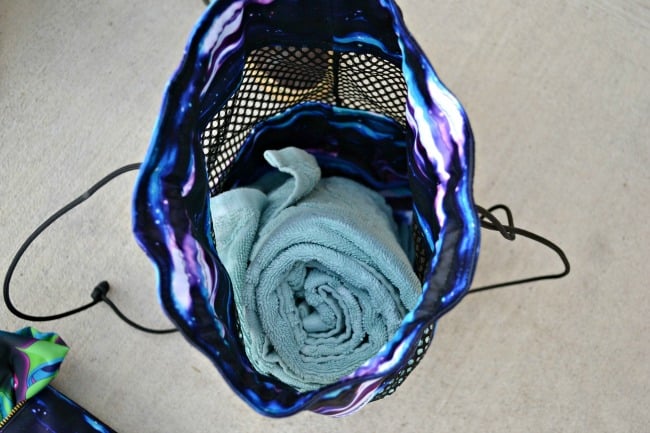
Summer is on its way and one of my favorite parts of summer is sitting at the pool and watching my kids have a great time! Who else loves the pool? Or the beach? Today we have Karly from Paisley Roots here with a fun Beach Tote Bag Tutorial. It’s made from mesh to make it PERFECT for all things summer! Check this out:
Here’s Karly!
Hey! It’s Karly from Paisley Roots! Are you getting as excited for summer as I am?? This winter has been exceptionally cold and long for me and I am just dying to get into our sprinkler, swimsuit, and popsicle days! I love making my kids swimsuits and was thinking that a Beach Tote would be the perfect thing to make to help out with our lake trips this year!
The wet bag is 5.25″ (13.5cm) wide by 8″(20.5cm) tall.
Beach Bag Tote Pattern & Tutorial
Supplies Needed:
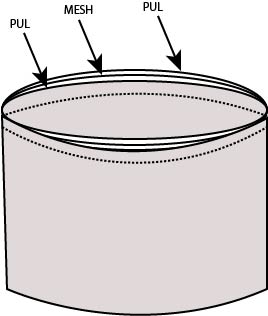
- 1 yard PUL – Mine is from Sash Fabrics (matches my kids swimsuits!)
- 1 yard MESH
- Matching Polyester Thread
- 4 large Eyelets
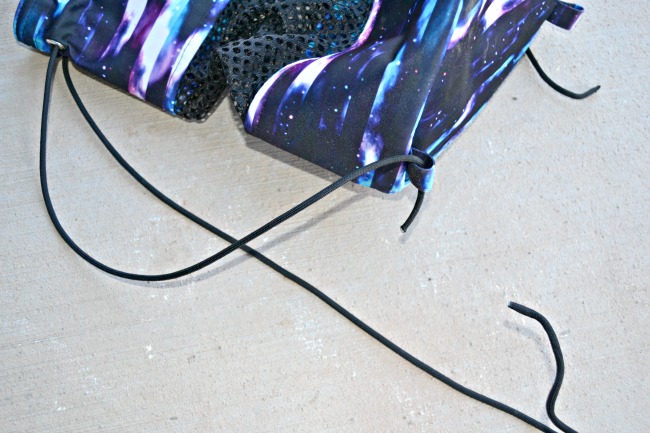
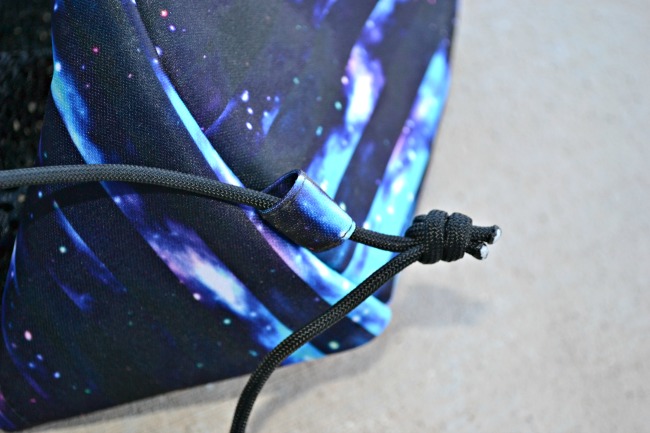
- 1 package 5/32″ Paracord
- Bias Tape
- Ball Point Needle
- Lighter or match to burn Paracord ends
- Beach Bag Tote Pattern Pieces
Supplies for Wet Bag:
- 1 – 6″ zipper
- PUL (6″ by 16″)(15cm by 40.5cm)
- Matching Polyester Thread
NOTES:
Since PUL is a laminate fabric, once you sew into it, the holes will remain. The same goes with pinning, which is why I recommend using Wonderclips instead of pins.
Always backstitch at the beginning and end of seams.
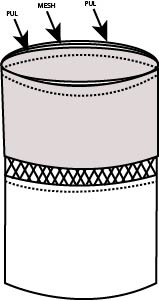
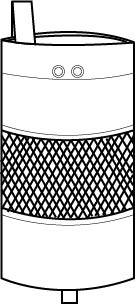
Instructions for Beach Bag Tote:
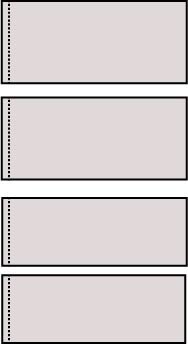
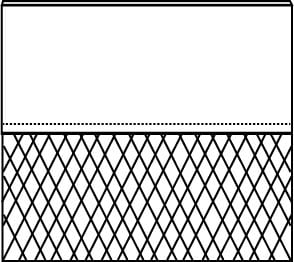
Cut 2 Top layer pieces (25.75″ by 5.75″) (65.5cm by 14.5cm)
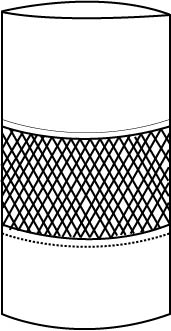
Cut 1 Mesh layer piece (26″ by 5.75″) (66cm by 14.5cm)
Cut 2 Bottom layer pieces (25.75″ by 4.75″) (65.5cm by 12cm)
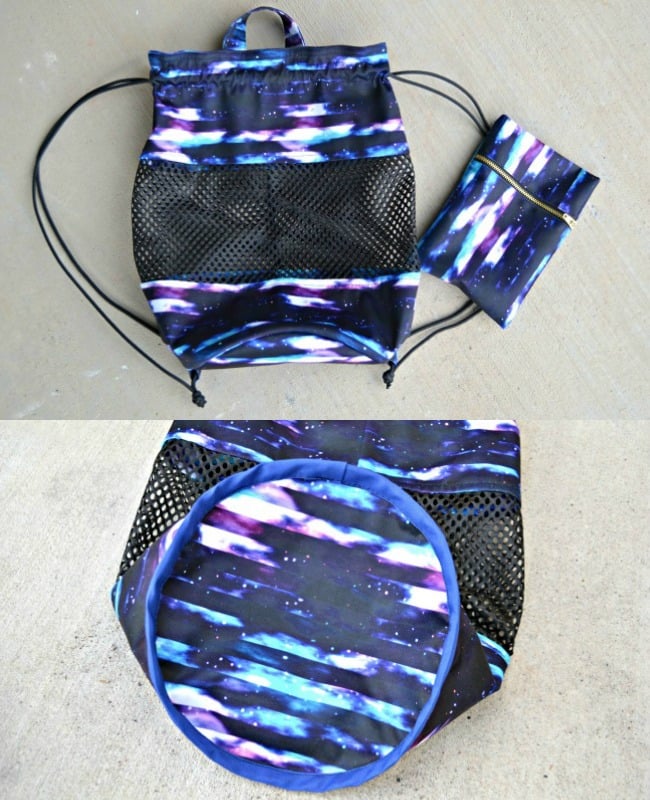
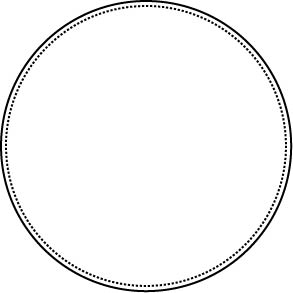
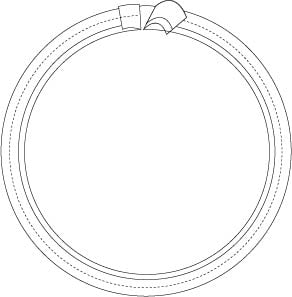
Cut 2 circle for the bottom of bag
Cut 2 Loop pieces (2″ by 2.75″) (5cm by 7cm)
Cut 1 Handle (5″ by 3 3/4″) (12.5cm by 9.5cm)
Two scrap pieces of PUL (1.5″ by 2″) (4cm by 5cm)

Set aside.
Turn mesh inside out and sew along the seam again with another 1/4″ (.5cm) seam allowance forming a French seam.
Set aside.

Pull it right side out.
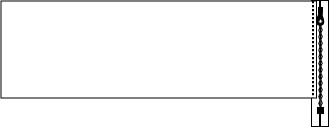
Align so the seam is in the middle and sew two topstitching threads down both sides using a 1/8″ (.2cm) seam allowance.
Repeat with the other loop.
Set aside.


Repeat sewing the other edge with a 1/8″ (.2cm) seam allowance.
Sew 2 more topstitching line 3/8″ (1cm) from each edge.
Set aside.

Baste along the edge.
Set aside.
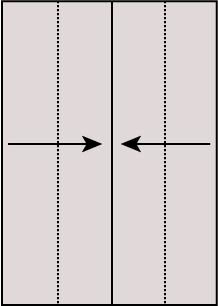
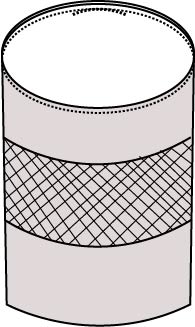
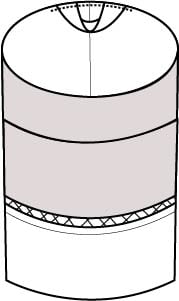
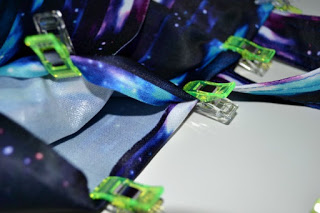
Align seams and place PUL right sides together with the mesh sandwiched in the middle.
You can use Wonderclips to hold in place.
Sew along the top edge using a 3/8″ (1cm) seam allowance, removing the clips as you sew.
Sew along the top edge using a 3/8″ (1cm) seam allowance.
Set aside.
Baste in place.
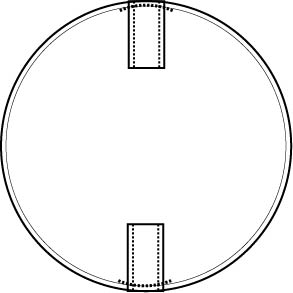
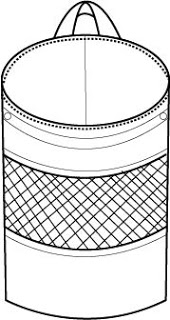
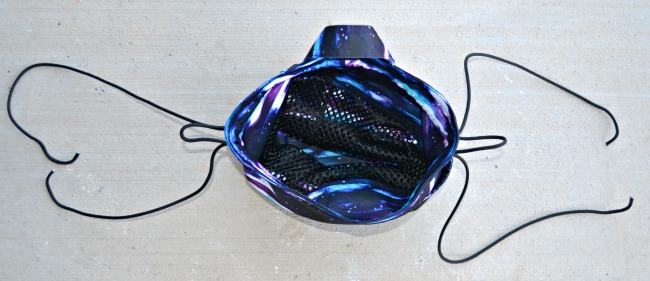
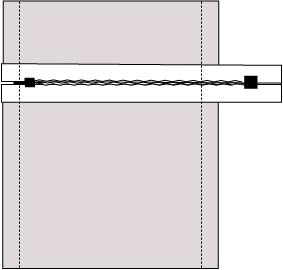
Align the circle with loops facing the inside of the bag and the seam in the middle between the two loops.
Sew using a 3/8″ (1cm) seam allowance.
Sew using a 3/8″ (1cm) seam allowance, removing clips as you sew.
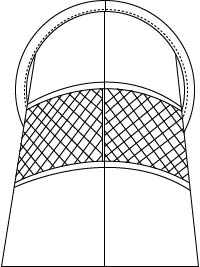
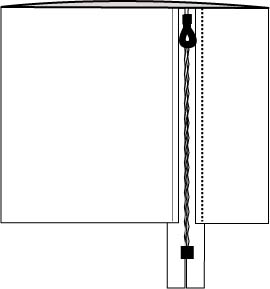
Take your handle and place it on the right side of the PUL, one part on each side of the seam. Make sure the same side of the handle is facing the right side of the PUL.
Baste in place.
Use Wonderclips to hold both PUL tops together.
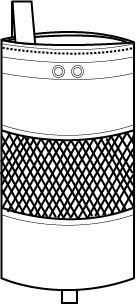
Topstitch a line 2″ (5cm) from the top of the bag.
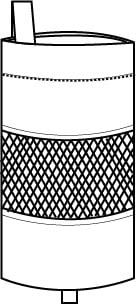
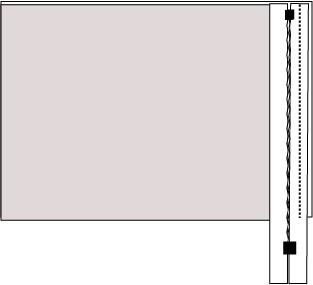
Place a scrap piece of PUL (1.5″ by 2″) (4cm by 5cm) under each eyelet on inside of the bag to help support it.
Place your eyelets.

Make sure your handle is facing up away from the seam.
Sew along the top using a 1/8″ 9.2cm) seam allowance.
Topstitch another line 3/8″ (1cm) from the top seam.
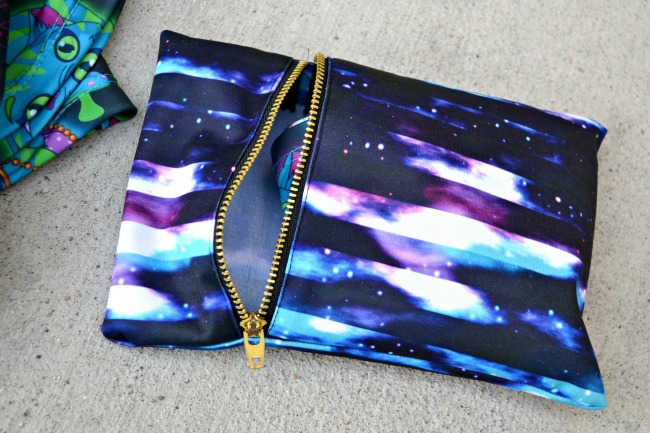

Fold the bag over and align the other short side to the other side of the zipper, right sides together. Sew in place.
Pull the bag right side out and topstitch the seam 1/8″ (.2cm) from the zipper.


Kat says
Great tutorial! I can’t wait until it’s beach season. Can I ask what you use to draw your instructions/patterns?
Amber says
I don’t really do patterns-so when I do, it’s a sharpie and a piece of paper. Super classy! 🙂
Karly says
Hey Kat! I use Adobe Illustrator to draw up my patterns and tutorials. 😀