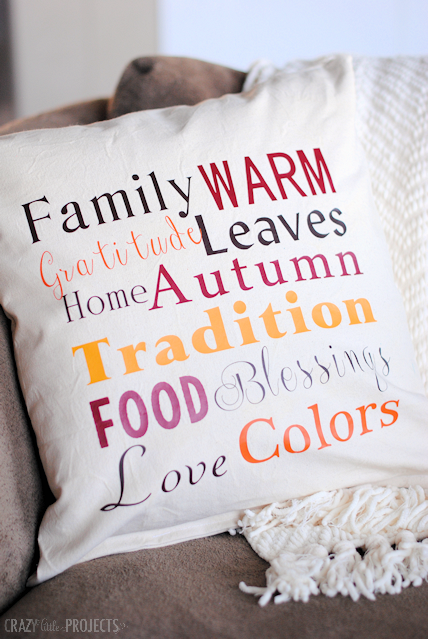
What’s the Project? These cute DIY Christmas throw pillows are so pretty and make a perfect accent for your couch this holiday season. You’ll love making it and it will look fabulous in your home.
Do you ever do a project and then love it so much that you just can’t stop staring at it and loving it?
That’s how I feel about this project.
I finished the Christmas pillow late one night and set it on my dresser as I climbed into bed. As my husband and I laid there talking I just kept looking at it and saying “I love that pillow!” I love it when a project turns out like that. I hope you will love these too. They are Thanksgiving and DIY Christmas Throw Pillows that you can easily make yourself!

Ok, I guess this one is more of a Fall pillow, but I imagine using it during November:
I made these using my Cricut Explore machine. You’re going to for sure need a cutting machine of some sort to make these. If you don’t have one, now is a great time to get one! So many fun holiday projects that you can do with one!
Thanksgiving & DIY Christmas Throw Pillows:
Supplies Needed:
- Pillow Form: Mine is 20 x 20 inches
- Fabric: You’ll need about a yard of fabric. I bought canvas fabric but you can do just regular cotton if you prefer. The canvas is just a little nicer. Note that my canvas was 60 inches wide. Whatever you buy, make sure that you have enough to cut two pieces that are about 20″ by 21,” so if your fabric is a different width you may need to adjust how much you get.
- OR buy a pre-made pillow cover if you are not the sewing type.
- Circut Cutting Machine
- Cricut Weeder Tool
- Iron On Vinyl: For the White (on the Christmas pillow) I used Cricut vinyl, for the other colors I bought it at Expressions Vinyl here. I found white at my craft store but not the other colors so i had to order them online.
- Iron
Instructions:
If you are making your pillow cover, cut your fabric 20″ by 21.” Cut two of these.
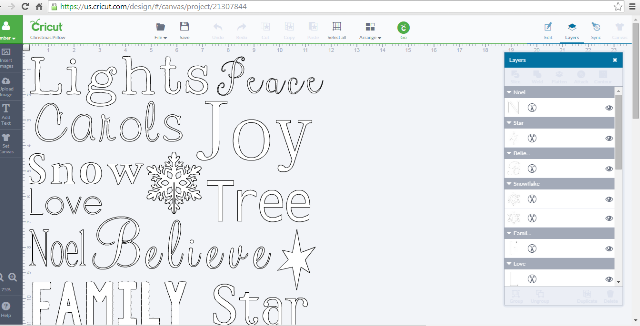
In the Cricut design space, I designed this: (get it here so that you can use it when you are logged in to design space)
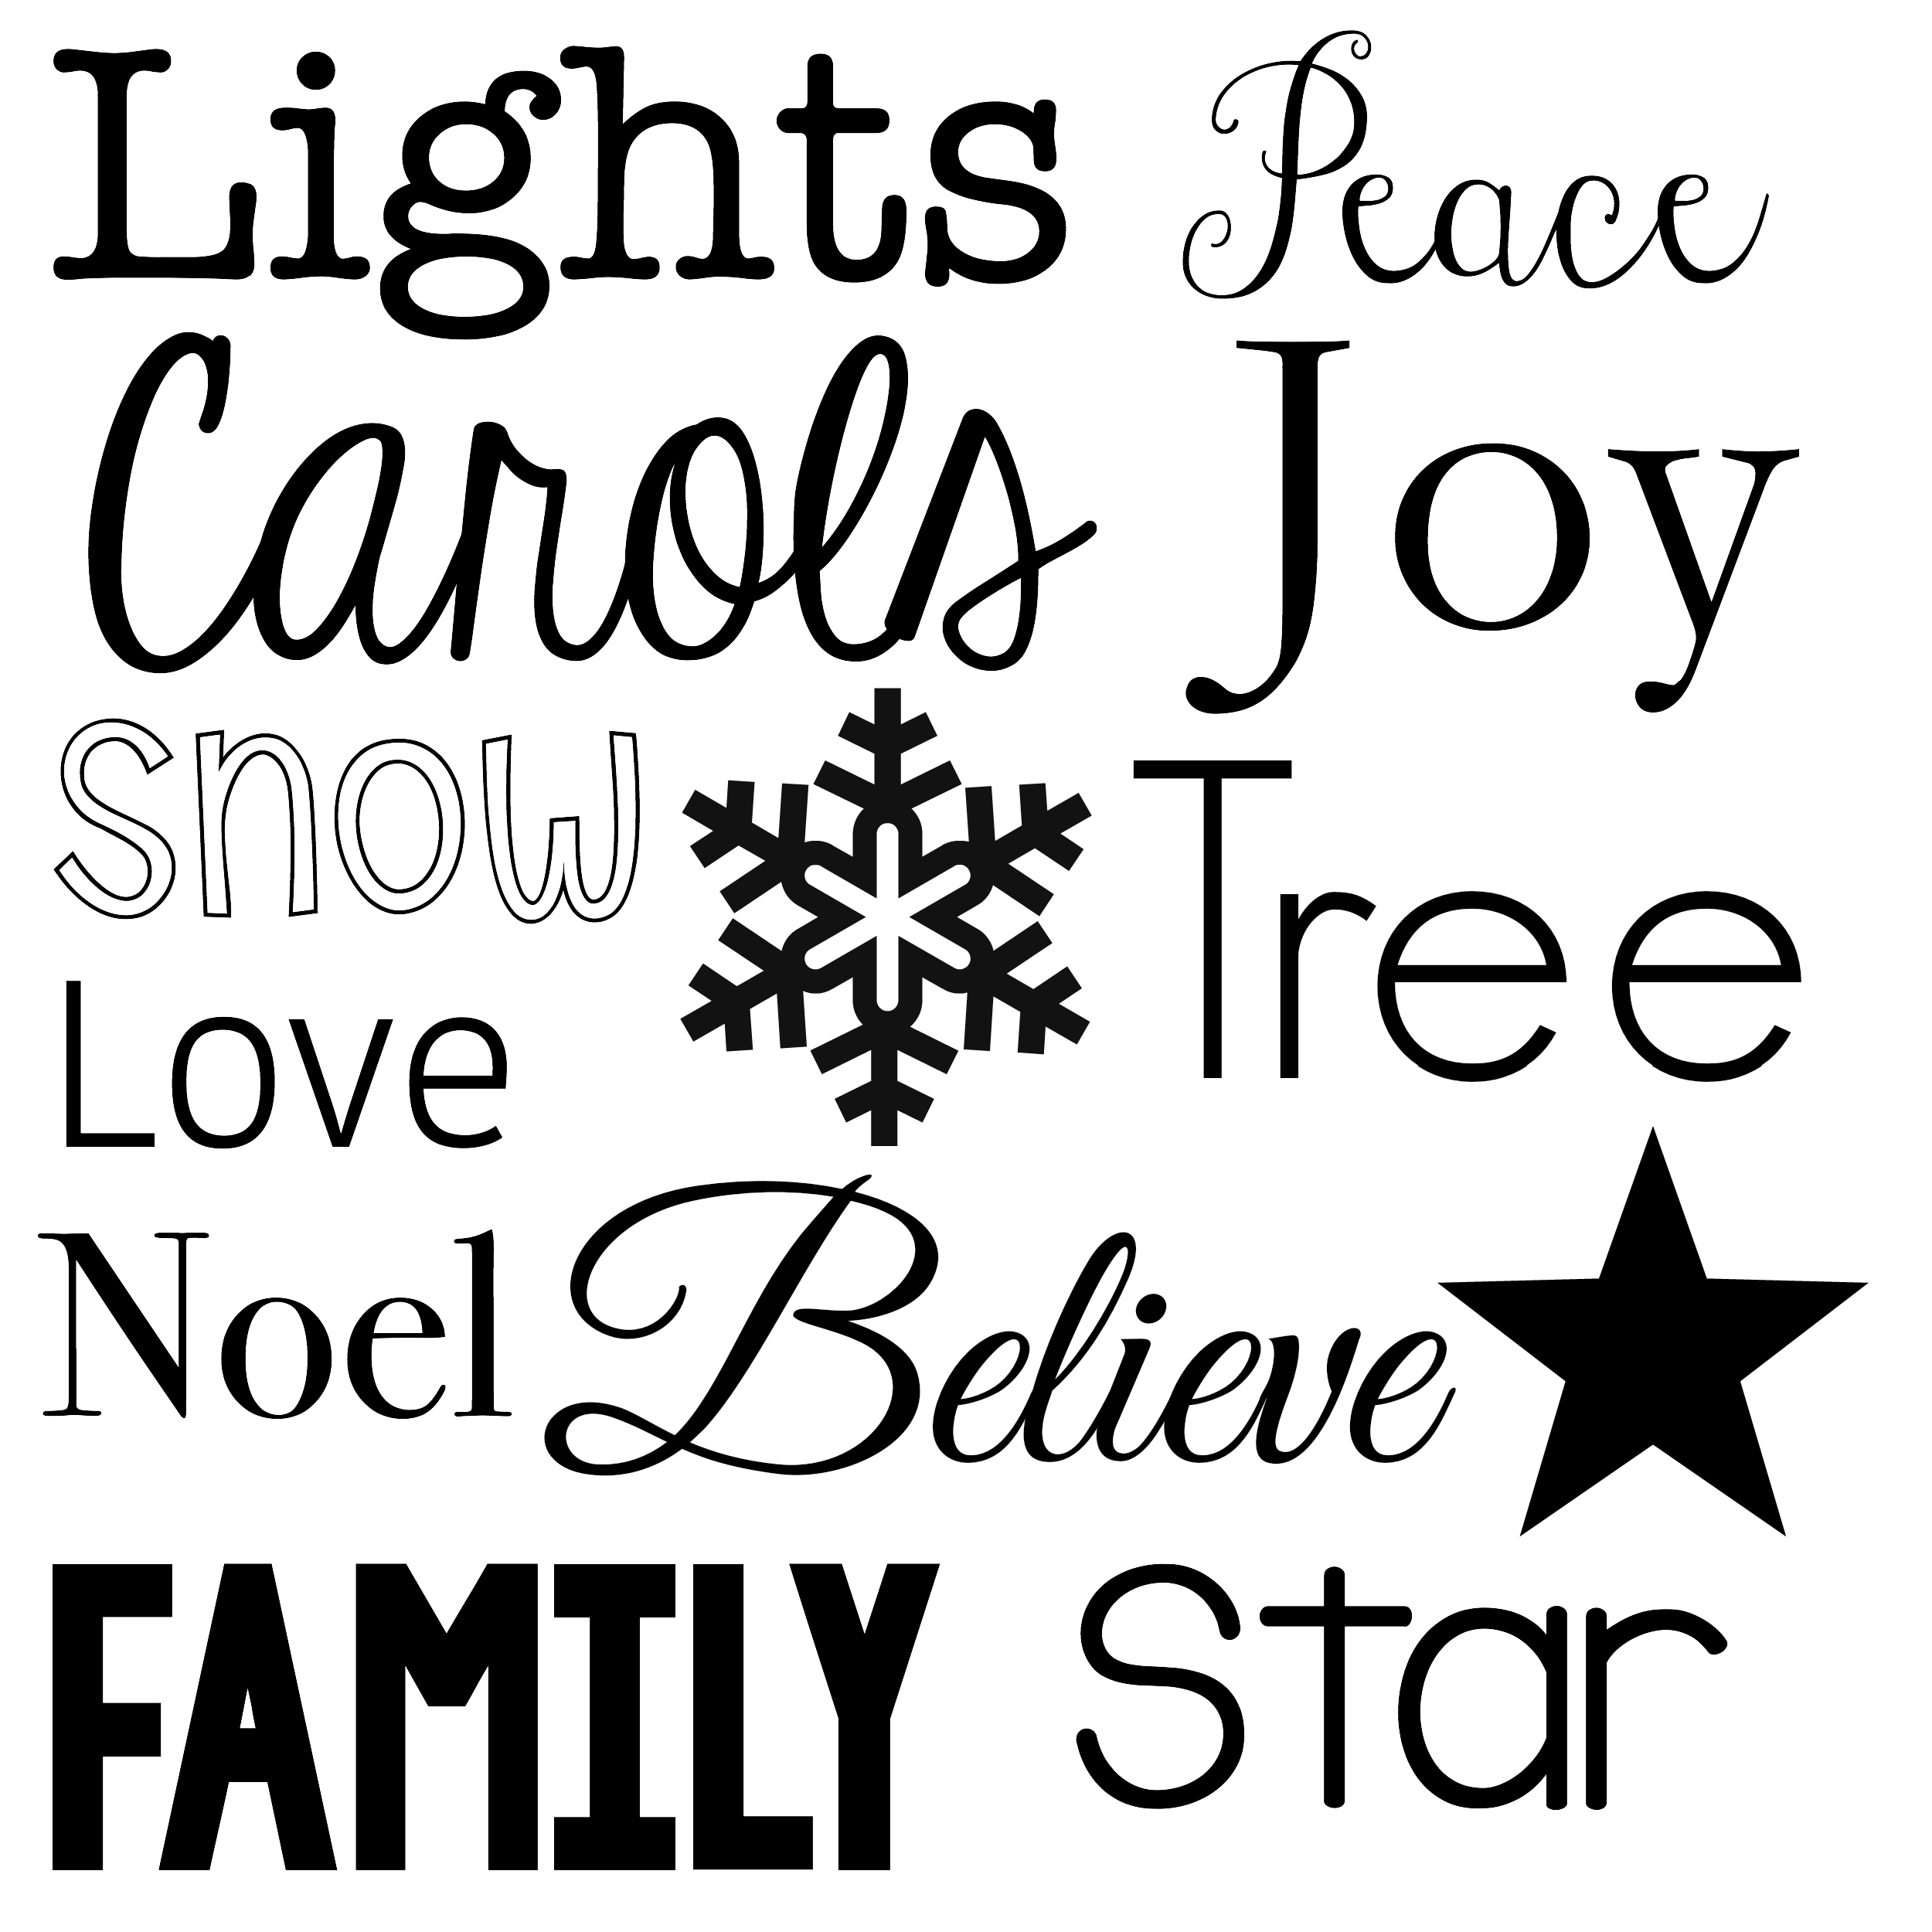
If opening it in Design Space doesn’t work or if you are using something else to cut this file, here is a graphic that you can use. Save this and then open this in your program and then cut: (Note that this is slightly different. I lost the original file when I switched computers, so I recreated it as closely as I could.)
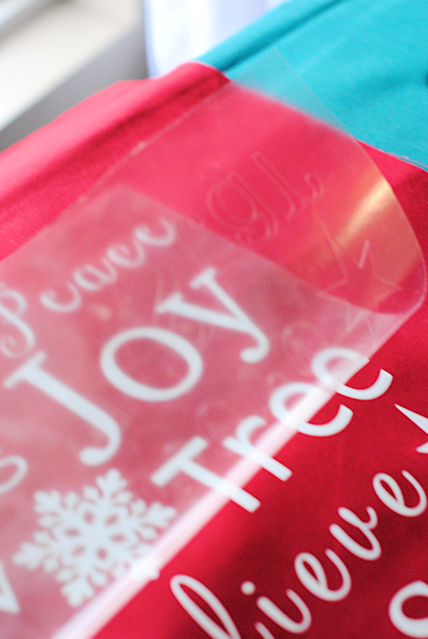
For the Christmas pillow, cutting is easy because it is all the same color. You will just use one sheet of white iron on to cut.
Put it on your mat with face down. Before cutting make sure that you click mirror image so that it cuts it backward.
Cut it out, then peel everything but the words out. I used my weeder to get all the little stuff.
Grab one of your pieces of fabric. Center your vinyl on the pillow form with the sticky side down.
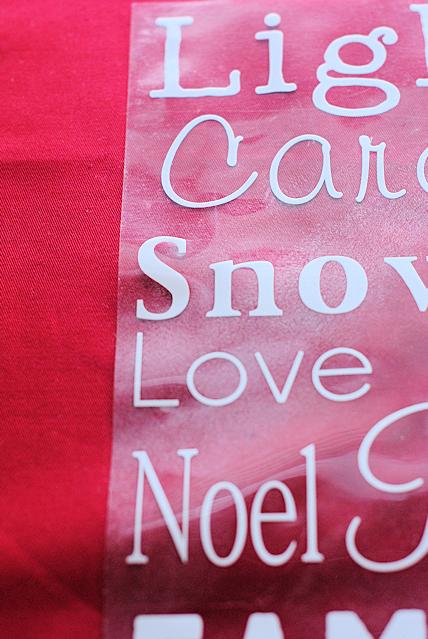
Heat your iron up to the highest setting with no steam. Place a piece of fabric over your text and iron for several minutes:
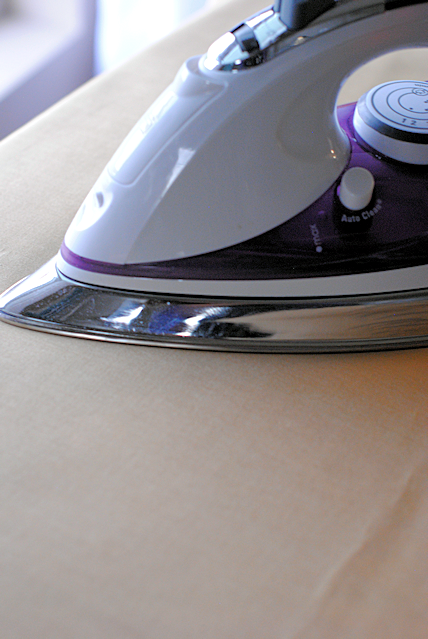
Make sure you go back and forth over the whole thing. When you think you have ironed it enough, gently lift part of the plastic sheeting to see if the words have adhered. If not, keep ironing. If they have, gently peel off the plastic:
Now grab your other piece of fabric and sew around the pillow leaving about a 10 inch opening in the center of the bottom. Turn it right side out and push out all of the corners.
Stuff your pillow inside and then sew the opening shut.
For the Fall Pillow here is access to the template.
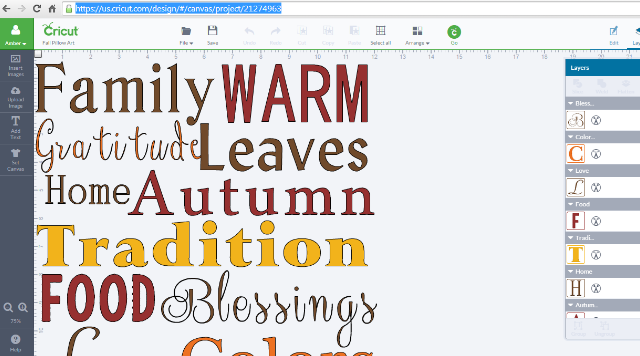
Here’s a graphic that you can save and use for this one if you prefer or if that works better:

This one will cut on 4 different sheets and then you will need to piece it together to iron it on, so it’s a little trickier but still doable.
Throw them on a couch or chair and feel festive for the holidays!

And enjoy these DIY Christmas throw pillows!
You Might Also Like:
How to Make a Christmas Wreath:


Tammie says
I know it was posted in 2014 but is there a way to access the fall pillow in cricut now?
Amber says
Shoot! I guess the link is broken and I don’t know how to recover that project. 🙁
Jess Hepple says
I have converted the Christmas panel into a machine embroidery. I’m going to do the stitching in red and white on a green fabric background. Thanks
Amber says
Oh my word! What an amazing idea. Love it!
Samantha says
Oh Amber, I know this post is a few years old, but I just found it and I ADORE the way you combine different fonts and different colors to make your pillow so decorative! Total inspiration and I think I should hit the craft room this arvo and have a go at a similar one but with ‘girl’ theme words for my daughter’s room!
Leah Bowens says
Love the Christmas pillow!! Would you be able to share the fonts you used? When I download the template since I don’t have the fonts they show up random.
Thanks so much!!
xo,
Leah
Amber says
Oh shoot! I did this a year ago and can’t access what fonts it was now! So sorry!
Heather says
I love these pillows. Great for the holidays! Also getting the materials to make the Christmas coloring pillow case tomorrow. Kids can’t wait! Thanks again for the great ideas
Diane says
I agree there are times I love the crafts I do. I have only found a couple I wasn’t impressed with.
Diane says
Can you tell me more about the plastic you can iron on. I like doing vinyl and have never seen that plastic item, help please.
Amber says
That’s just how heat transfer vinyl comes
Diane says
Thank you so much. I don’t recall any I purchased off ebay with that. Maybe I need to buy it from where you did. Thanks again.
Amber says
It just helps keep it all together rather than having to place each of the letters yourself.
Diane says
Yes that is why I asked, I will have to get some from the site, I saved it and they have a sale right now, but might just pick some up from Michael’s with a 40% some time in the future it should have it too. Thanks again.
peti says
Do the words stay on or do you have to iron them back on every once in a while? I hope that made sense thank you!!
Amber says
I think they should stay on fine
peti says
Thank you i’m going to do this project!!
Sharon Collins says
I am going to try this on my Expression. I am sure it will cut the iron on vinyl or fabric to iron on.
Abbie says
How well does the iron on stay on? I have used it on clothes for my baby and have difficulties with it peeling off. Is there a trick you know?
Amber says
I have had that problem too. Someone told me to prewash the fabric which I don’t usually do and that would help.
Amber says
Love these! I’ve been thinking about getting a Cricut Explore machine for a while but not sure if to or not as it’s quite expensive…I’ve only got a very little gifts business and blog at the moment but would you say it’s worth the money? When researching it I’ve seen there’s loads you can do with it! Maybe I can get it part funded for Christmas 😉
Amber says
I honestly love love love it! There are SO many possibilities. It took me a while to get the hang of using it but I have used it a lot since then.
Betty Grocki says
I have been really wanting to get into making more customized cheer bows and thought maybe you could help me. I love the pillows and have been thinking about getting a Cricut machine. Are they hard to use and can I cut vinyl and iron on glitter material with them?
Amber says
They are easy to use but take a little learning in the design part. The cutting though is amazing! Definitely cuts vinyl and iron on glitter. I use both of those all the time!
Crystal says
I can’t get over how stunning this picture is! Love both pillows! 🙂
Amber says
Well that means a lot coming from the queen of amazing pics!!!!
Vanessa says
so cute:) !
Moira (UK) says
love the pillows…makes me wish I had a Cricut, but I will just have to admire what others do. xxx
Hailee says
Where do you get the iron on vinyl? I did a project recently with iron on transfer but the clear plastic stuff ironed on the shirt too, so how do you do it without the plastic left on it? Is it the regular vinyl you use on anything else our is it called iron on vinyl? I hope i made sense. I don’t want to mess this pillow up! So neat! Thankyou
Amber says
I just added a link in the post. I have never had a problem like you mentioned and I have done this a lot
Hailee says
Wow thankyou SO much! Those links help a ton to know what to look for, i had used something totally different. I had no idea those products were out there, I am so excited to try them now! Thankyou again and thankyou for all the awesome projects!!
Carol P says
Sorry. That should have been Cricut!
Carol P says
They are beautiful. I wish I had a Crichton and then I could make one too. I may have a go with my manual die cutter. Thank you for sharing so many things with everyone.
Beth says
I love the pillows! So cute and yet so simple. 🙂 Wish I could afford a Cricut!
Diane says
Love the pillowshow you did.