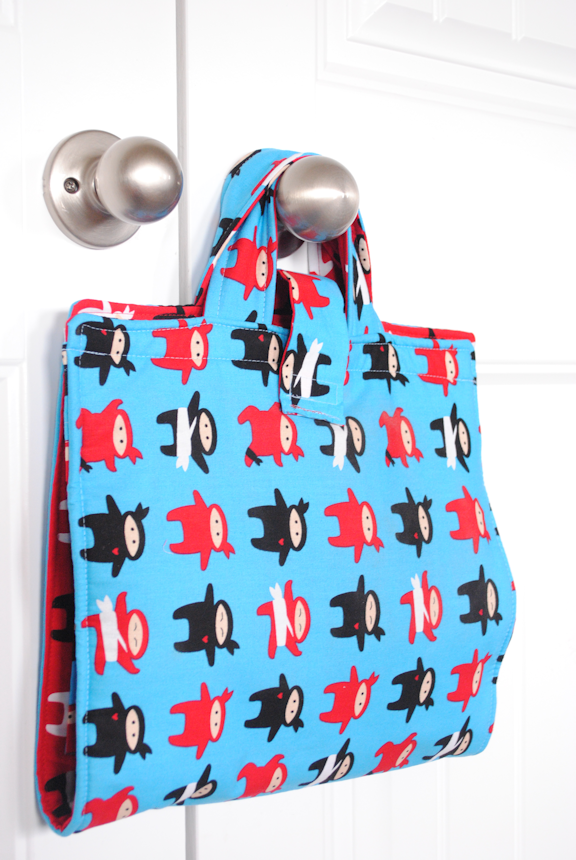
My boys love Legos…all boys love Legos don’t they? And really I kind of love Legos too because they provide hours and hours of entertainment and I am amazed at my boys’ creativity. Such a simple and fun toy. So, when I had a reader request a Lego carrier tutorial I was on board for sure. Here’s my Lego carrying case and pattern:
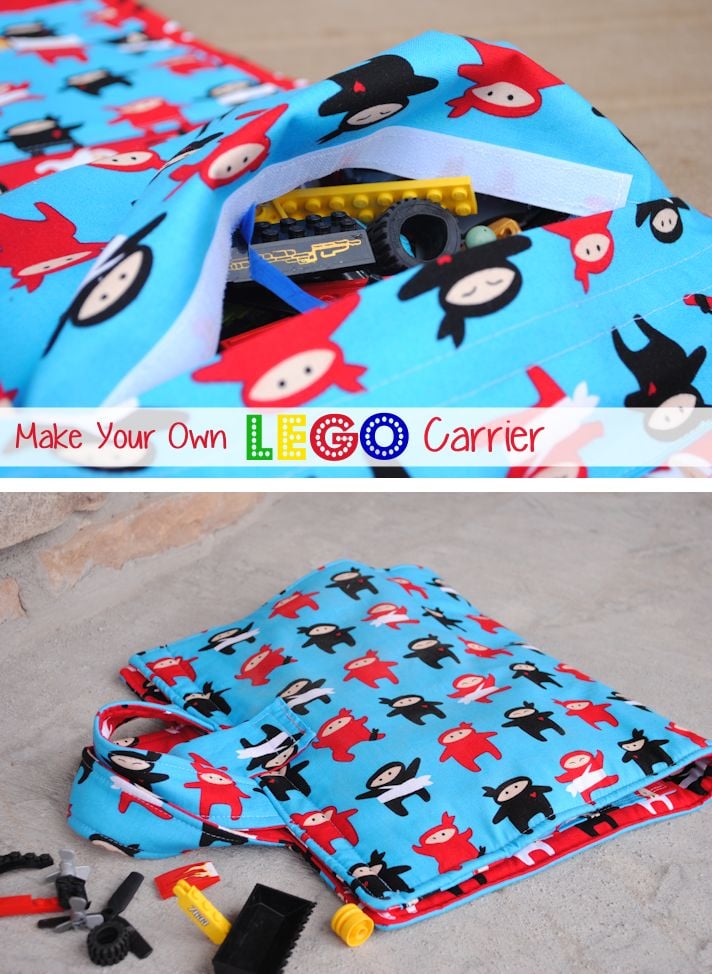
There’s a spot to keep the “guys:”
And a pocket for instructions booklets:
This way your little one can bring Legos wherever you go. Handy right? I based it off of the coloring book carrier and the car carrier.
I also realized that you could make this to carry any sort of toy.
Lego Carrying Case Pattern and Tutorial:
Supplies Needed:
2 coordinating fabrics. I got mine at The Ribbon Retreat. You’ll need close to 1 yard of your main one (blue is my main) and just about 1/2 yard of the secondary
1/2 yard of fusible fleece
Velcro
Instructions:
Begin by cutting out your pieces. You’ll need the following from each fabric:
1 piece for the main body of your carrier that is 25″ x 13.5″
2 pieces for the straps that are 12.5″ x 2.5″
1 piece for the closure flap that is 9.5″ x 3″
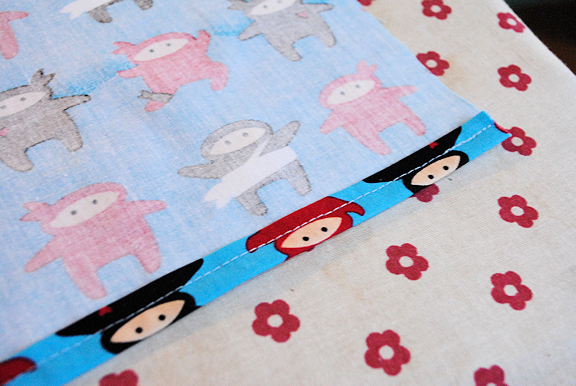
From your main fabric also cut:
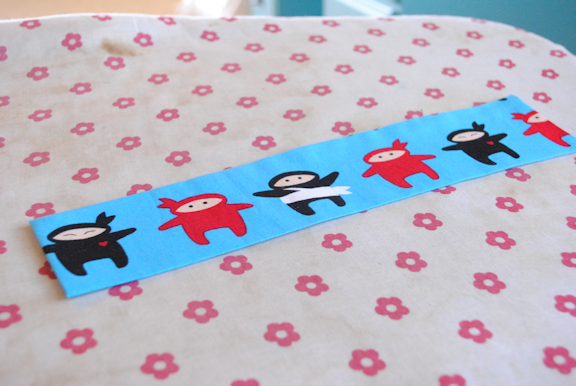
1 piece for the “guys” carrier part that is 12″ x 5.5″
1 piece for the flap that is 6.5″ x 13.5″
1 piece for the instructions pocket that is 12″ x 6″
1 piece for the large pocket that is 18″ x 9″
From your fleece or felt cut:
1 main piece that is 25″ x 13.5″
2 strap pieces that are 12.5″ x 2.5″
Begin sewing:
Hem all 4 sides of your pocket piece. (This picture just shows one side hemmed so far, but do that to all 4 sides.)
Now you are going to create a little pleat by folding the fabric under itself like this: (and pressing)
And then the other way (like an accordion):
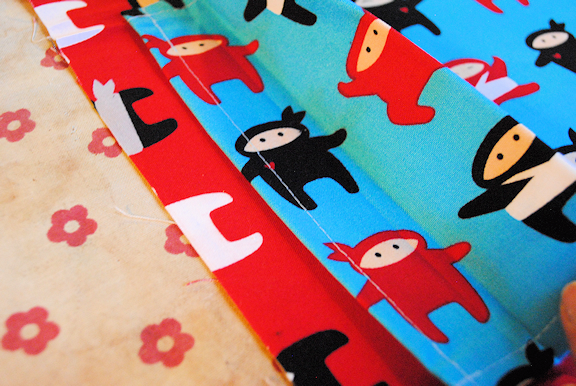
All the way across the top of this piece sew in your velcro:
Position this on one half of your pain piece of coordinating fabric. It should be about 2-3 inches down from the top of the fabric and then centered side to side:
Now you will sew JUST the two outside edges-NOT the pleat-JUST the edges below the pleat:
Once you’ve done that, lay the pleat back how it was and sew clear across the bottom, this time sewing through the pleat. Now you should have a large, gaping pocket.
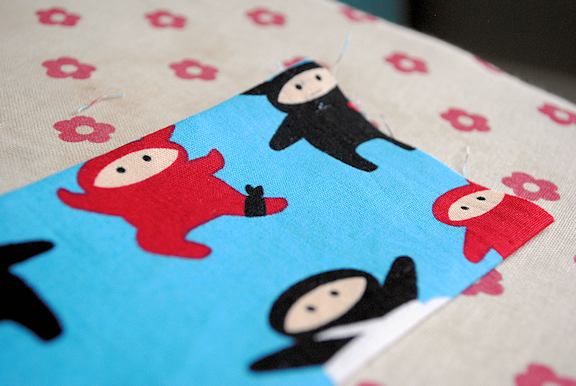
Now we need to create a flap to close that pocket. With your piece that is 6.5″ by 13.5″ fold it so that right sides are together and sew it down the long side. No need to sew the two short edges. It should look like this when you are done:
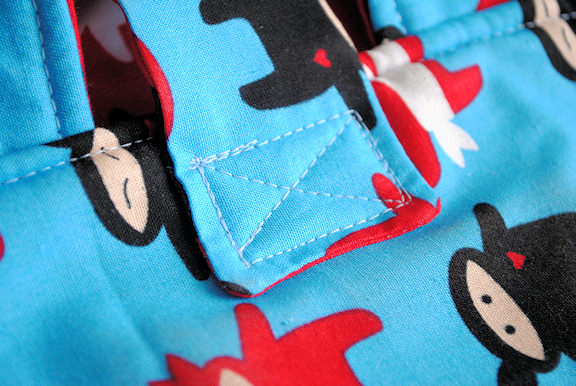
Now flip it to the wrong side and sew the opposite piece of Velcro clear across this:
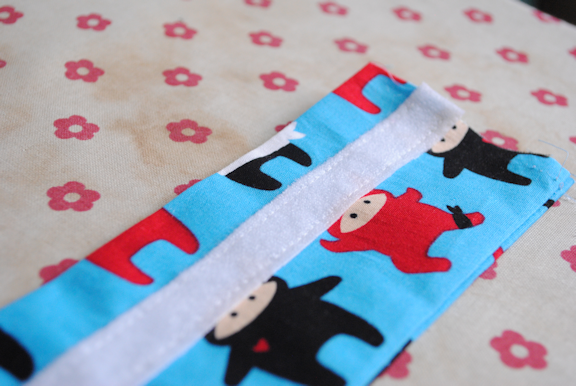
Position it so that the Velcros match up on the pocket and then sew across the top. You will catch the sides of this flap when you sew the whole thing together later.
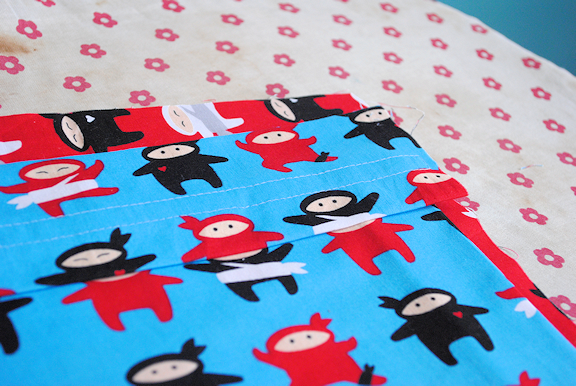
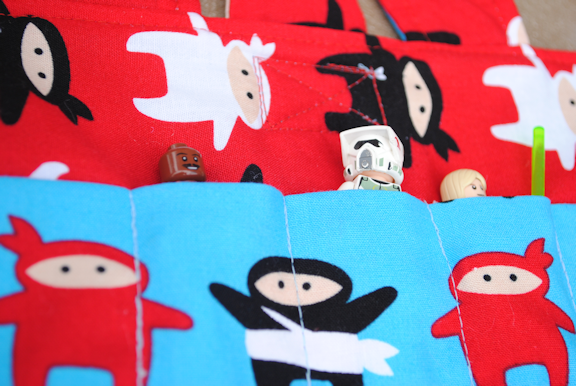
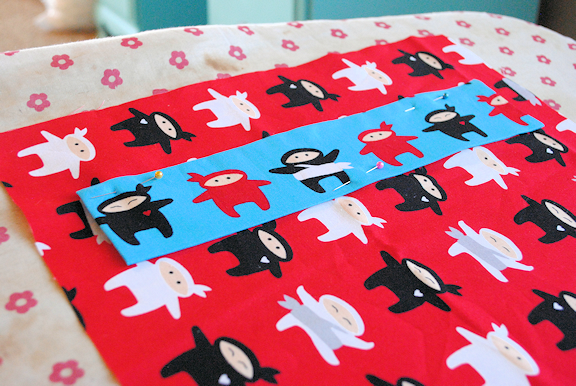
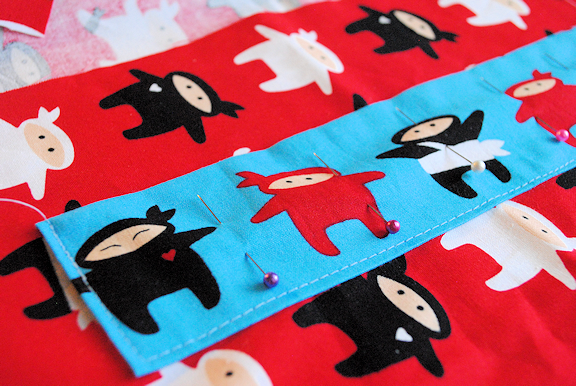
I thought it would be fun to have a little row of pockets for guys. Take your guys piece and fold it in half so that right sides are together. Stitch it all the way around leaving a small opening to turn it.
Turn it right side out and press it nice and flat. Position it where you want it on your carrier (about 3 inches below the top) and pin in place.
Sew along the two sides and the bottom. Then sew straight lines going down about 1.5 inch apart to create pockets for the guys. I used pins to mark where I would be sewing.
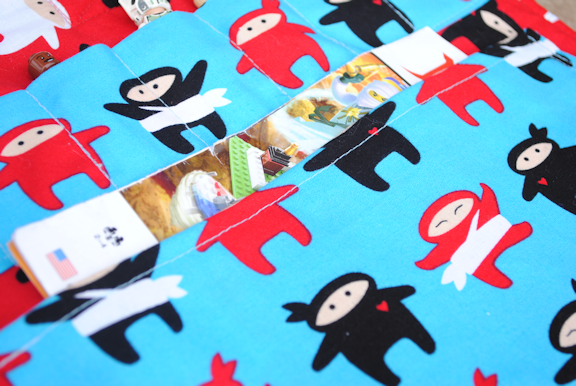
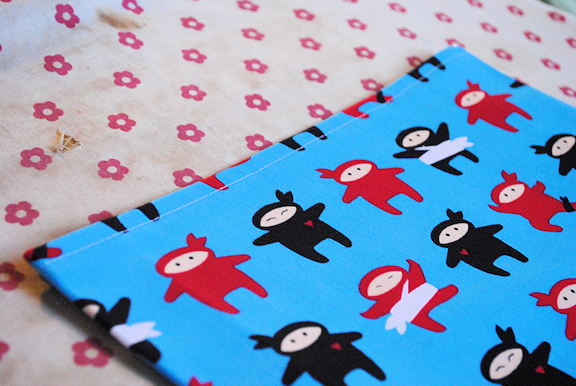
For the instructions book pocket grab your piece, hem all 4 sides and then position it just below the guys piece and sew around 3 edges leaving the top open.
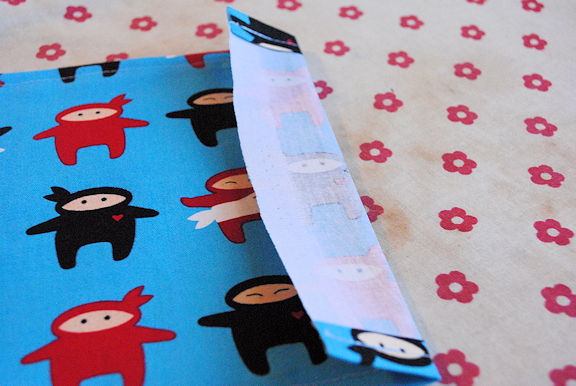
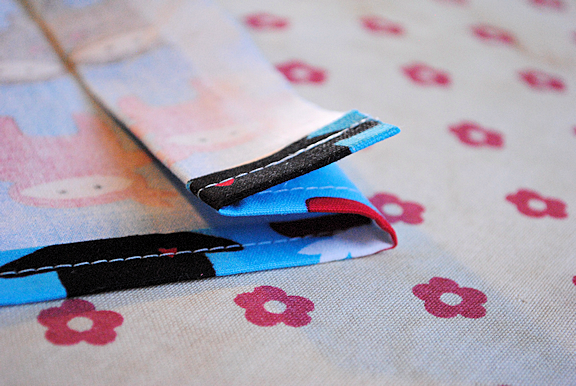
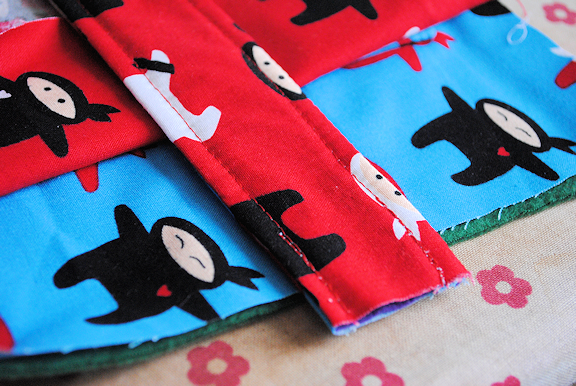
Now let’s make the carrying straps. Get your pieces and place them so that right sides are together and you have your piece of fleece or felt on the outside. Stitch up both of the long sides on each strap:
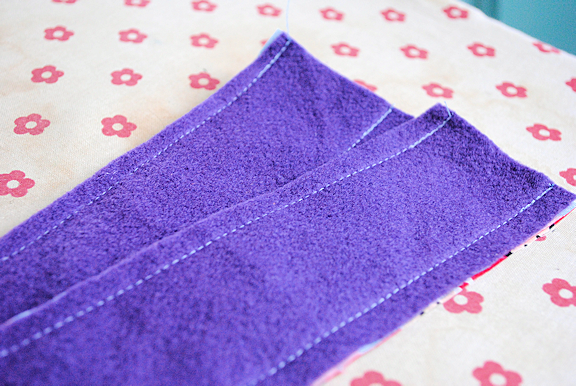
Turn right side out and press. Then top stitch on each of the long sides:
Next let’s create what will be your closure flap. Take your pieces of fabric and place right sides together again. Sew around three sides leaving one short side open. Turn right side out and press flat. Turn down the opening and sew it closed. Sew a piece of Velcro onto the end of it.
Now sew the other end (the non-velcro end) to your main piece (the big piece) so that it is about 3-4 inches from the top and is centered between where you will put the handles. Sew it in place well:
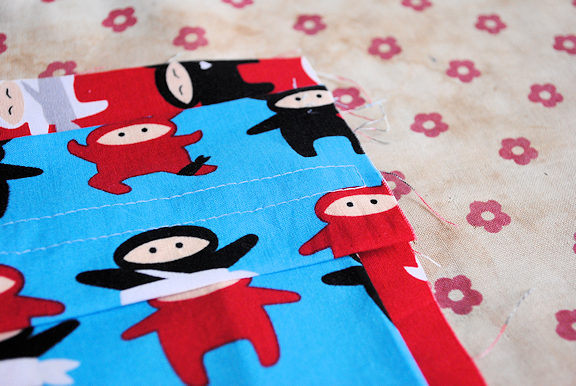
This is how it will look when the whole case is done: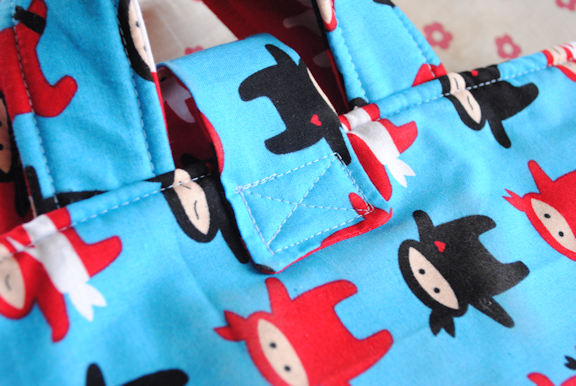
Sew your velcro to the other side of your main piece so that it can eventually be closed with the flap (about 3 inches from the top and centered between where your straps will go):

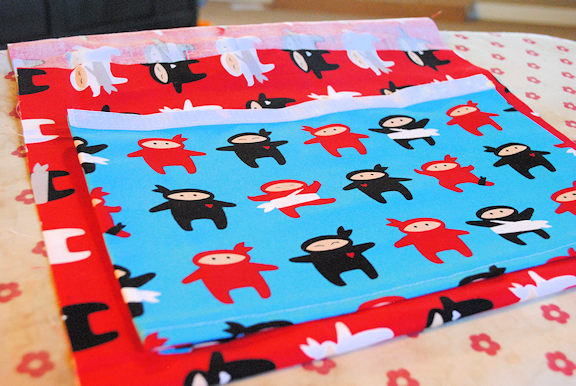
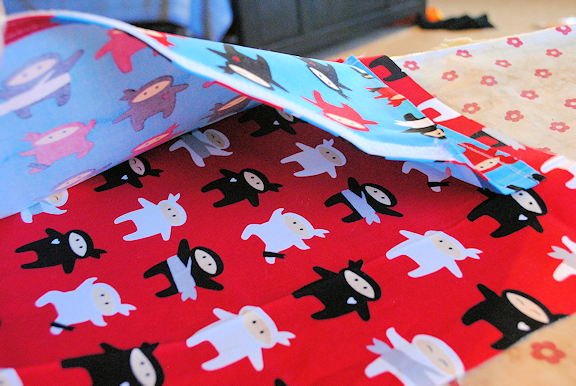
Now let’s assemble the whole thing. Take your pain pieces and place them so that right sides are together. Put your fleece or felt on the outside.
Insert your straps between your 2 fabrics in an arch so that the ends are sticking out (and make sure they are not twisted inside):
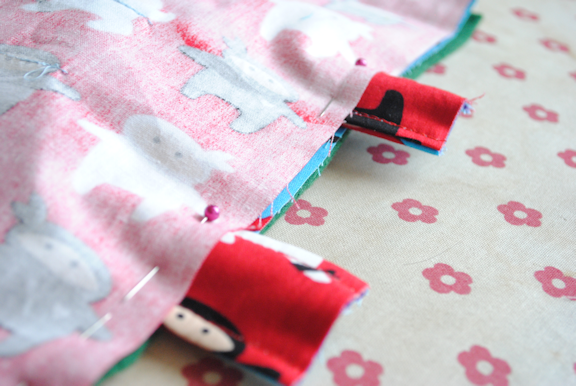
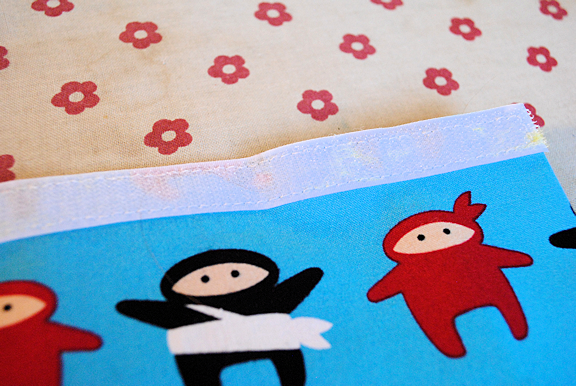
Beginning on one of the long sides, sew around the whole carrier leaving at least 4 inches open to turn it.
Turn it right side out. Press it nice and flat and turn in the opening, then top stitch all the way around closing your opening as you do so.
And that’s it! You’re done and your kiddo can have a blast carrying his Legos anywhere he wants to go!
See also 25 Things to Sew for Boys.


Tae says
Legos are great…until they can be found in every single corner of the house and they feel like invaders
Amber says
Agreed!
Pamela Hess says
Just starting to make this for my grandson. About how wide a strip of velcro?
Kate says
Hi Amber! Thank you so much for sharing this pattern and tutorial. I just made it for my 9-year-old nephew who is a LEGO fanatic. Your instructions were clear and easy to follow. I think it’s very kind of you to offer such a great pattern for free. THANK YOU!!!
Amber says
Love to hear that!
Samantha says
Is “pain” piece of fabric supposed to mean the “main” piece of fabric or is it a term I am unfamiliar with? Thanks!
Amber says
Whoops! Yes! 😉
Carla says
Does the accordion pleat go on one side only or both?
Amber says
One side
shantel says
I love this so much! Thanks for making a great tutorial!
I featured on my Sew Boy feature
seemesew.blogspot.com
Mercedes says
Esta bello el resultado. Yo le confeccionaria el bolsillo en tela de malla.
Shanny says
FAB IDEA! My boys LOVE their Legos. We have plastic after plastic boxes (big and small) at home. This would be GREAT for trips. Thanks so much for putting this together. 🙂
rona b. says
this is so cute! 🙂
Leslie says
I would love to see a pic of the whole thing laid out 🙂
Amber says
Oh right! Good idea. I’ll get on that. 🙂