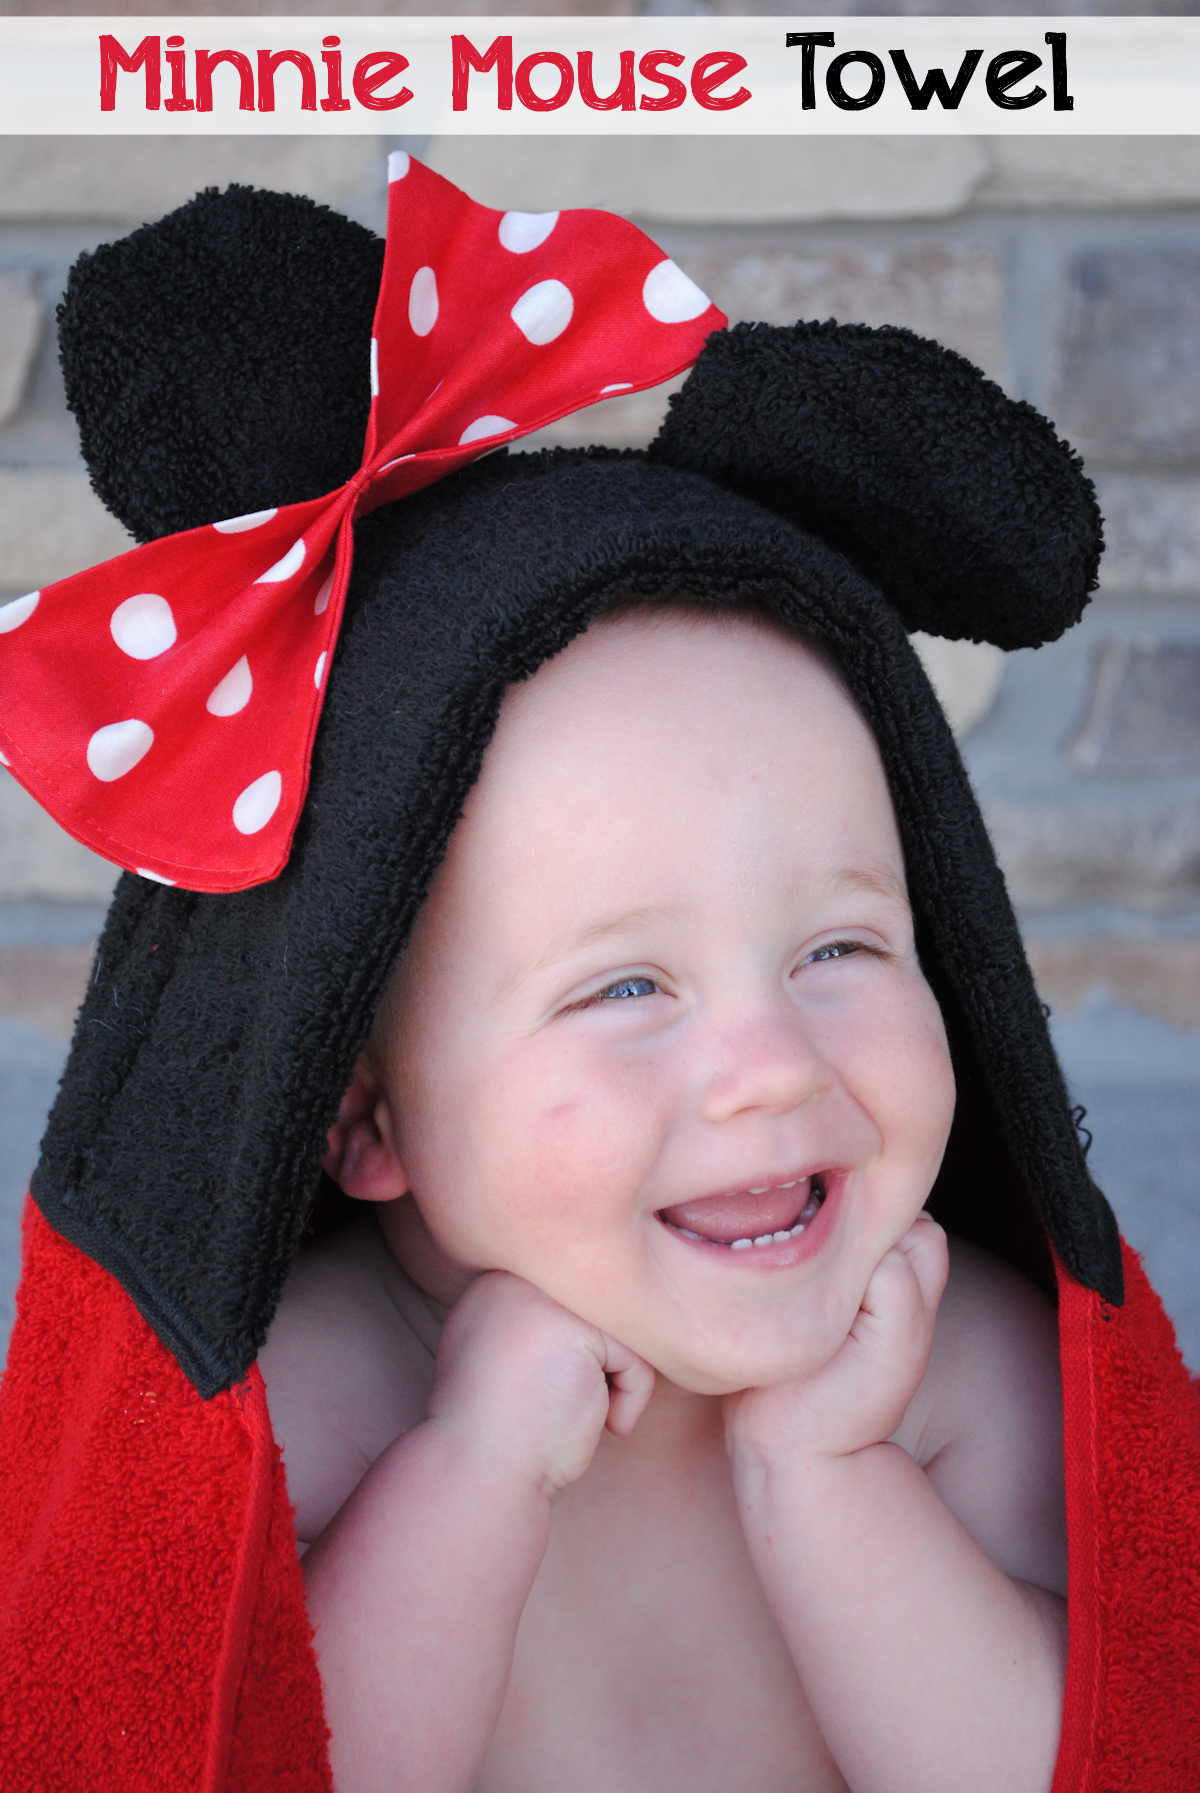
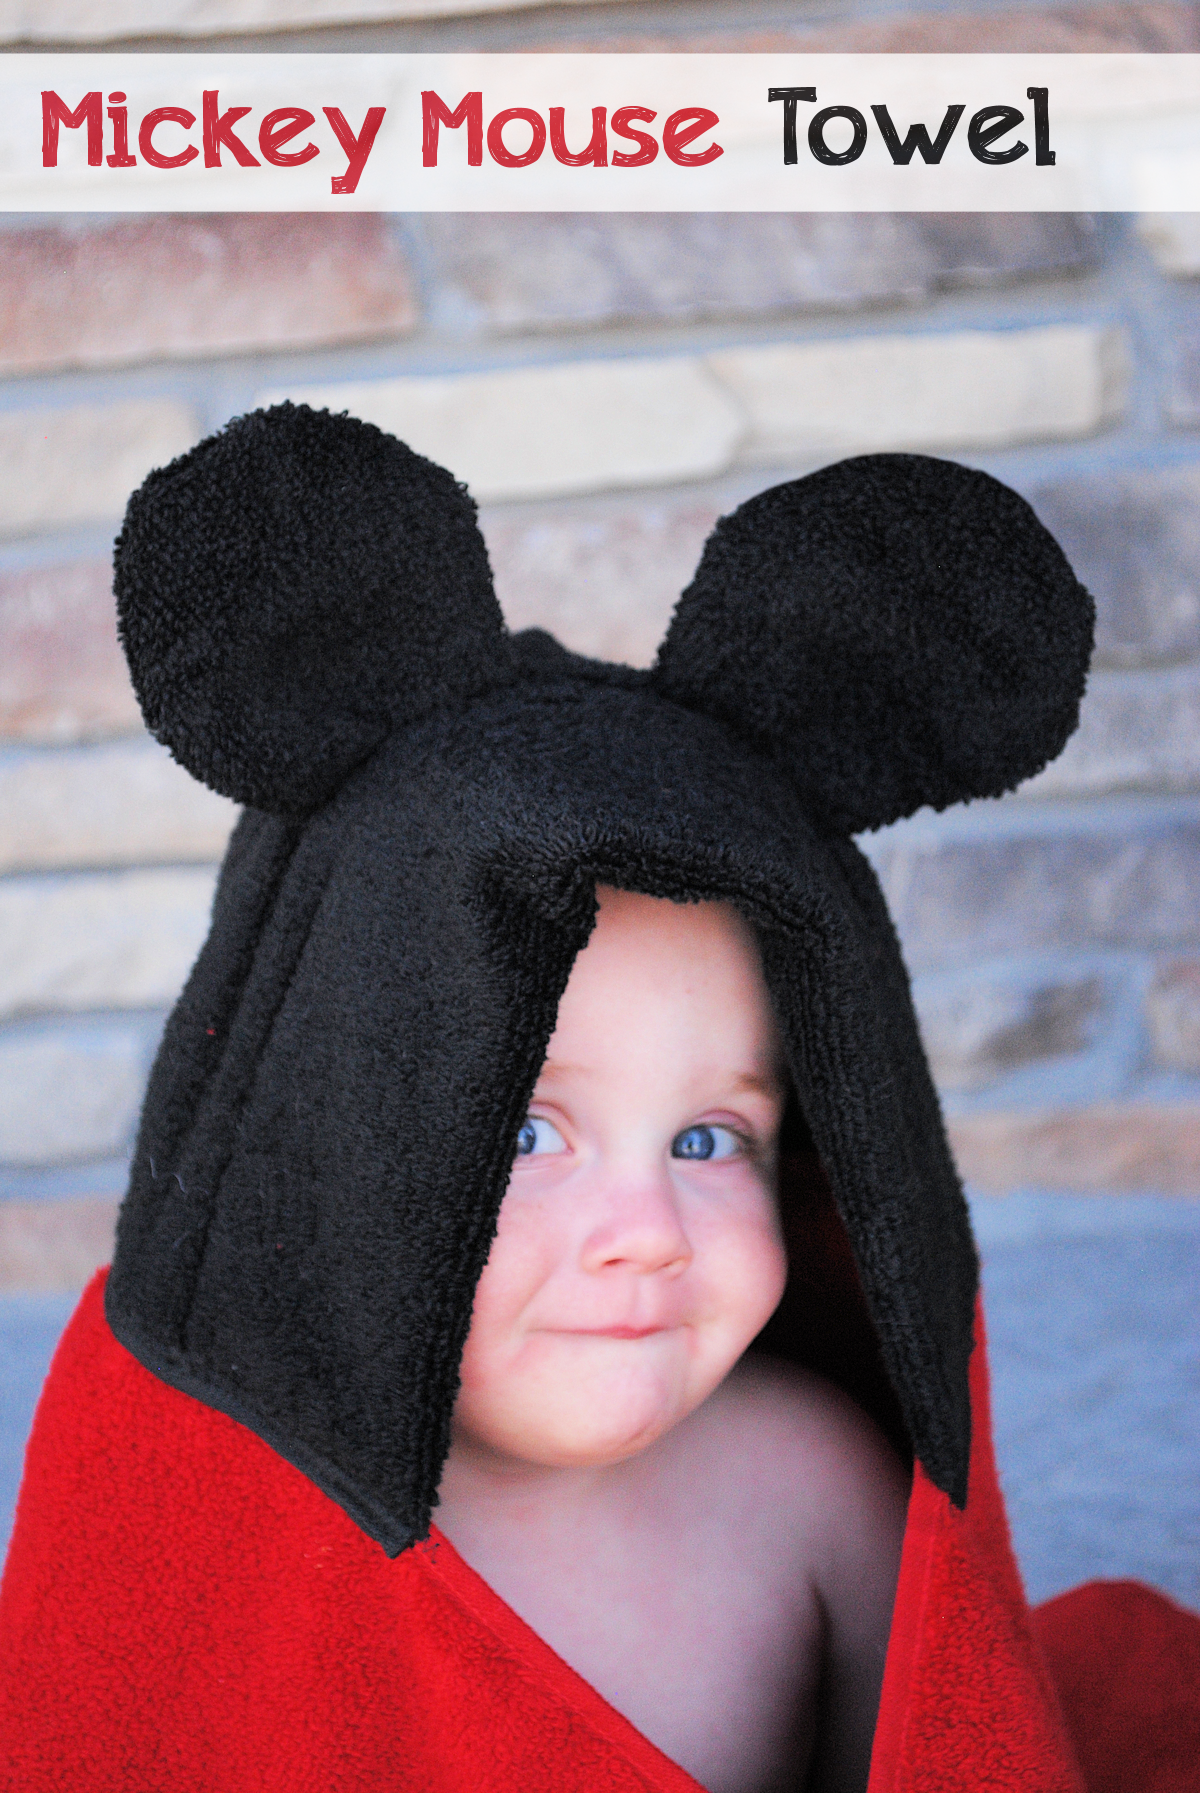
You Disney lovers (you know who you are) are going to LOVE me today. And your little Disney lovers are going to LOVE you when you make them this. I’m thinking this is perfect for your trips to Disney. Take this with you and spot it poolside! It’s a Minnie Mouse (and Mickey Mouse-take your pick) hooded towel.
Mickey and Minnie Hooded Towel Tutorial:
Supplies Needed:
1 Red Towel
1 Black hand towel
Red polkadot fabric or ribbon for Minnie Towel
Instructions:
In this post I am teaching you to make the head part of this towel. If you would like to see how I finish off my hooded towels and attach the hoods, see my basic hooded towel post.
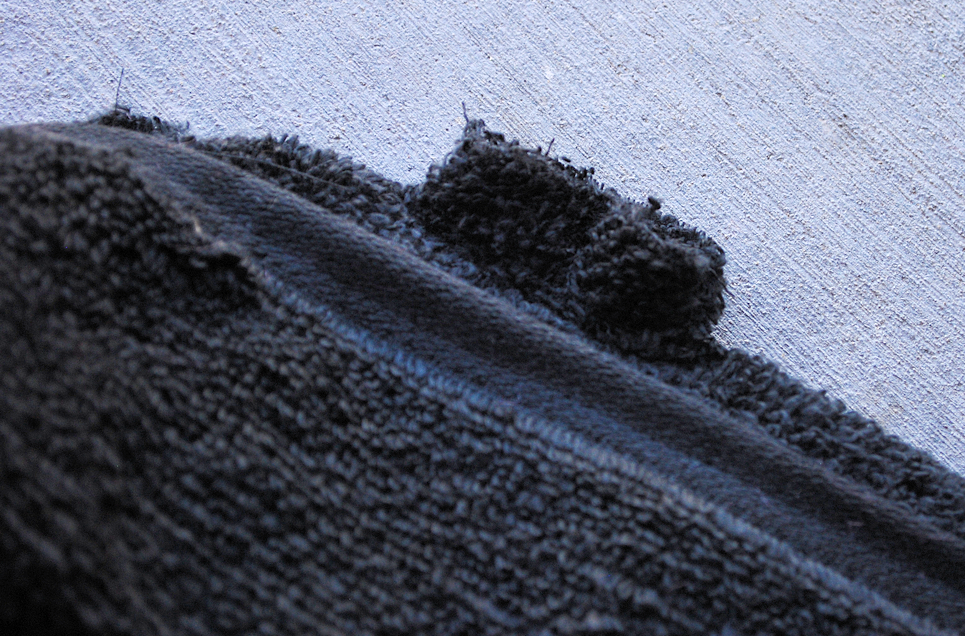
To start off, cut your hand towel in half horizontally. Fold the selvage edge under about 3-4 inches and stitch it in place. (Sorry, forgot to take pictures of this, but here it is on another towel):
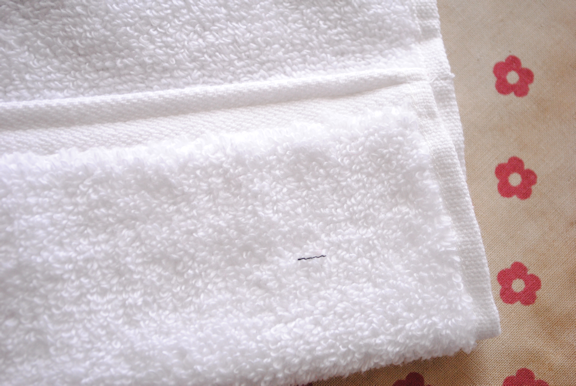
Now, flip that over and you will work on the underside, the side without the seam.
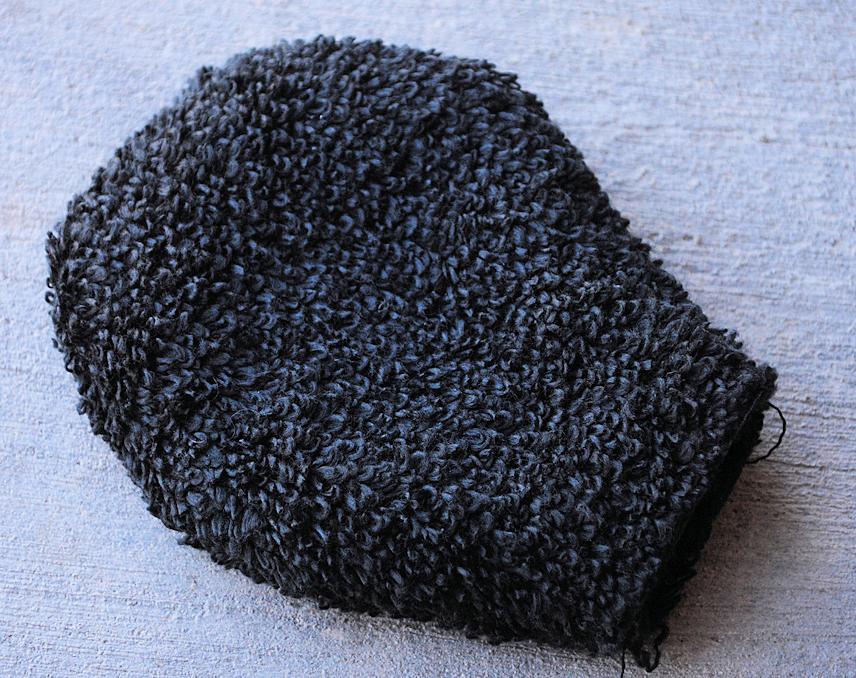
With the extra piece of hand towel cut out your ears. You will need 4 ear pieces. Just cut a large circle but make it slightly oval shaped so that you can sew it in place easier (see image below).
Grab 2 ear pieces and sew them together leaving an opening in the bottom.

Turn them right side out:
On your hand towel decide where you want the ears and cut small slits. Pull the ear through so that it looks like this on the underside:
Do that with both ears and snip off any excess on the bottom.
For Minnie-to make the bow either use red polkadot ribbon and tie it, or, use red polkadot fabric. Cut the fabric to be about 14 inches by 5 inches (it’s up to you how big or small you want the bow). Fold it so that right sides are together and stitch around it leaving a small opening to turn it.
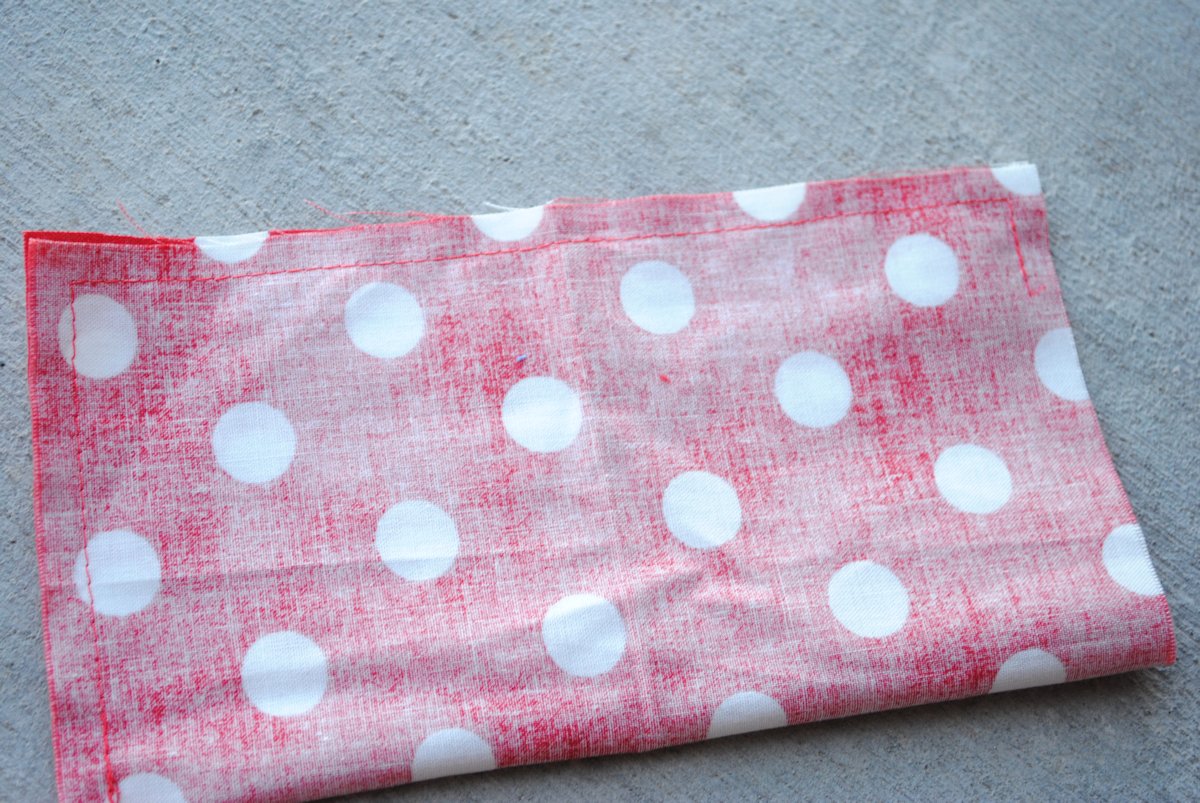
Turn it right side out, press it and then sew the opening closed.
The pinch your bow like this:
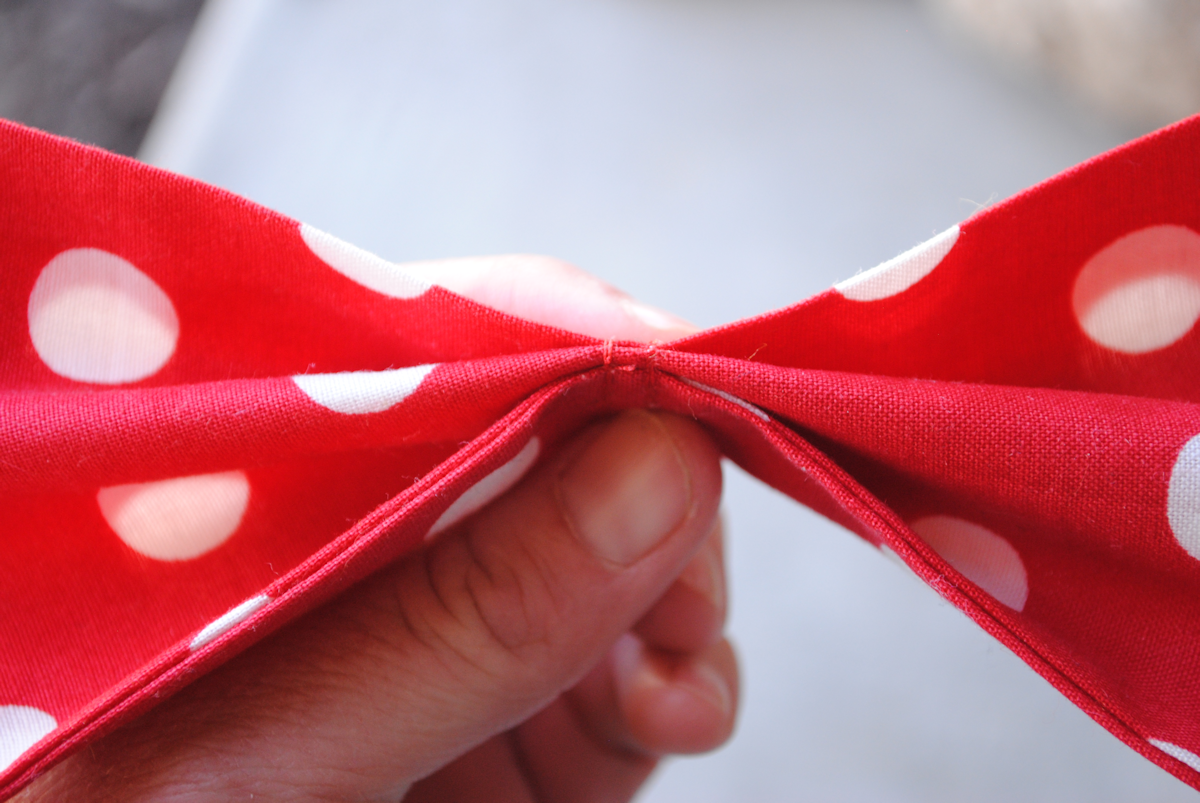
And stitch it in the middle to hold it.
Hand stitch the bow to the towel where you want it.
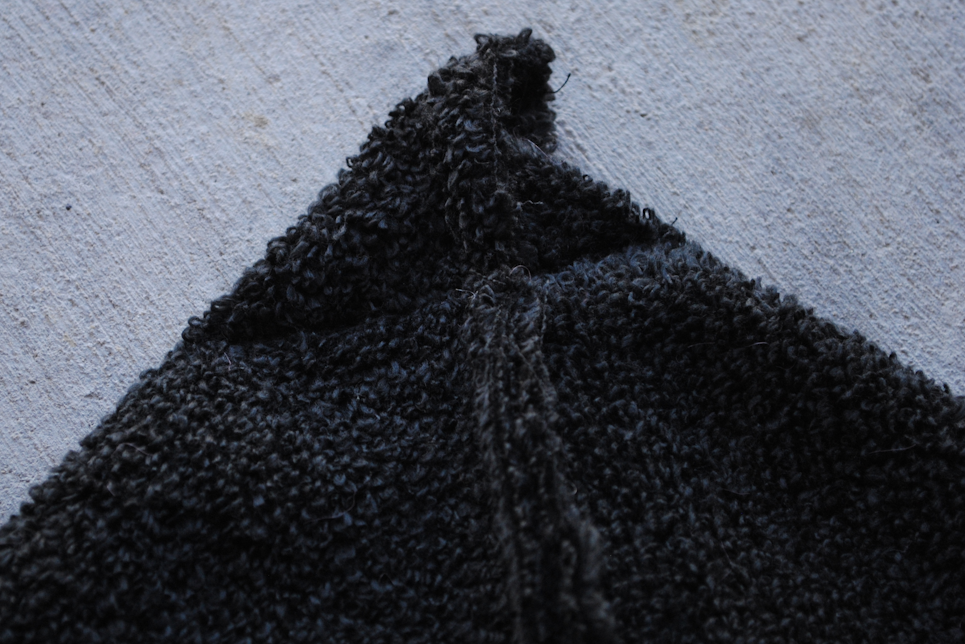
Now, fold your hood part in half so that the ears are on the inside and zig zag up the back along the raw edges.
Then, fold it like this:
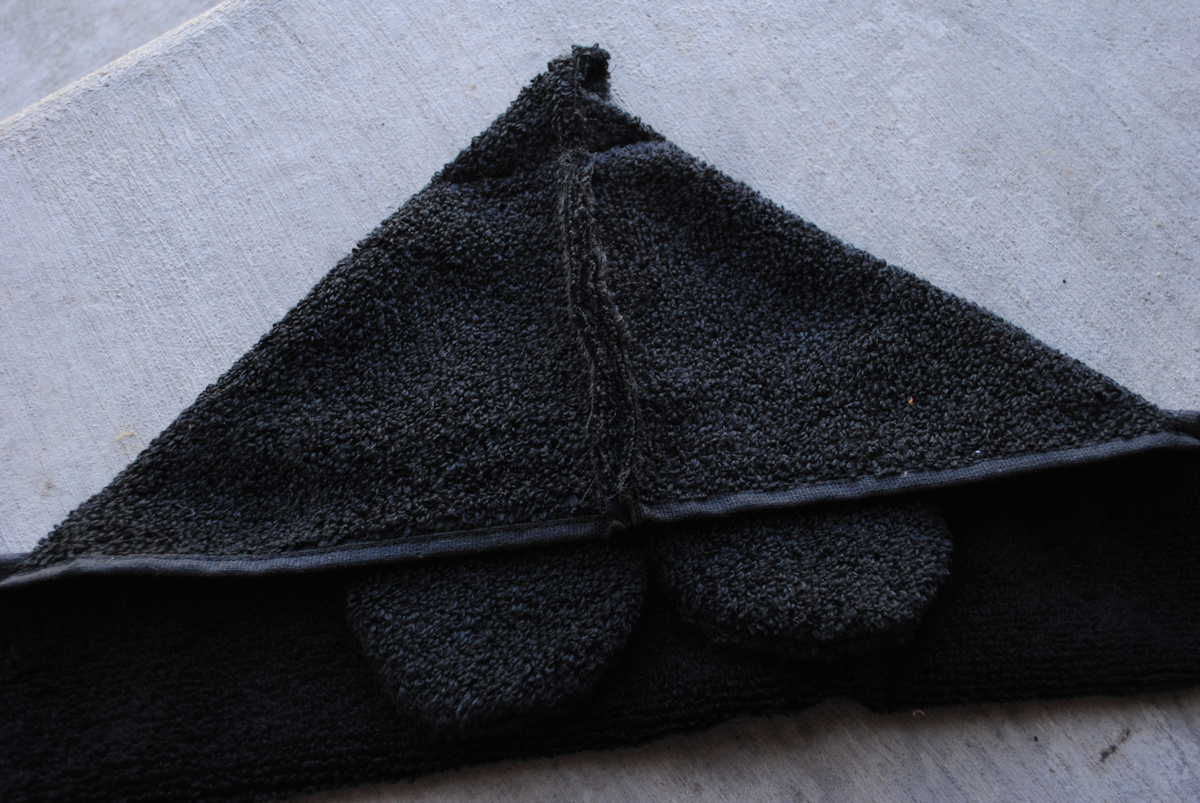
And sew a straight line across the top about 1-2 inches from the top and snip that off. (This rounds out the hood so it’s not so pointy.)
And you’re done! Just sew the hood to your towel and you’ve got yourself a little Mickey or Minnie Hooded Towel!
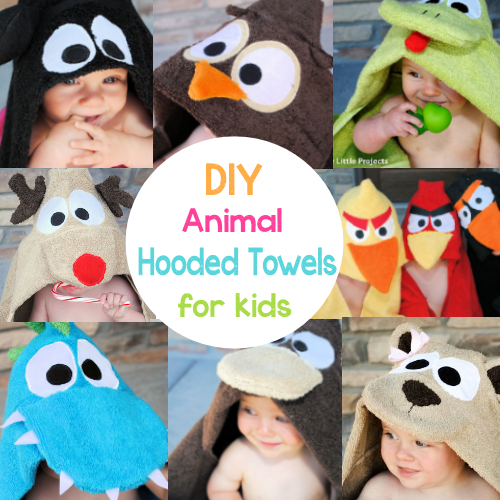
And hey, if you haven’t been around for the others, here’s a few more of my hooded towels. I do a new one each month.


Brenda says
How do you make the ears stand up?
Amber says
Use a stiff fusing if you want them really stand up and put it inside them
Lynette says
My brother’s family just added twin girls to their family. Now they have three girls. Thinking of making 3 coordinating Minnie towels, but different colors. I will probably applique the bows to the ears or head depending on what fits for easier washing/wear. So it will be similar to your faces. Their stuff gets washed A LOT, so I think this will work best for them! 🙂
Jodi says
Perfect birthday gift for my Minnie mouse loving grand daughter! Thanks for the easy to follow tutorial. I am sure I will be sewing more very soon. 😉
Sheri says
Hi. Love your towels! I’m just curious on how the shape of the bow holds when it gets washed? Any ideas?
Amber says
Not sure on that one. I gave that towel away. Anyone know?
starlyn mcpherson says
Hi
It look very easy but I am wondering where the seam go if it on the back and the hem to the front.{4″]
Please explain.
starlyn
Amber says
Sorry-can’t understand what you are asking? Can you clarify?
Dawn says
This is so cute and super easy to make.
I made it tonight in about 30-45 minutes.
Savanna miller says
This may be a very dumb question, but what is the purpose of the first step? Am I missing something or would you not cut your hand towel long ways so as to have a pre finished “professional” front edge to the hood and use the finished ends for attaching the hood to the towel body, and sew the unfinished edge up along the back and cut the tip at the end? I guess what I’m asking is, the very first 3/4″ hem you refer to, what is it suppose to be for?
Amber says
You can do it long ways but it will be a very large hood. This makes is a much smaller, baby/toddler/preschooler size hood.
Marilyn Morey says
wish I had pattern for Hello kitty and Lego
Michelle says
Love this! Bought my towels today to make this for my 2 yr old. It will be going to Disney World with us really soon. Can’t wait to have it finished.
Marily Morey says
Ever think of making a lego type hooded towel?
Amber says
That would be really cool…. I’ll keep it in mind
Lauren says
Hi Amber,
Thanks for this post! My daughter adores Minnie Mouse and this made the perfect birthday gift. She’s now asking for another towel for pool time. Looking forward to making more of your hooded towels.
Jean says
Hi Amber – Absolutely LOVE your blog and all of your creativity!!! You are so very talented! I’m a bit envious! LOL! I just have to get in there and get my hands dirty, I guess. I’m so afraid of failure and making a mess of things . . .
I was wondering if you have an Etsy shop or anything? My point is I was wondering if you sell these towels? My granddaughter would LOVE it but there is no way I could make it. I don’t even own a sewing machine. But I LOVE it! She is SO into Minnie Mouse and she has everything, but of course this is so unique! Just thought I take a chance . . . never hurts to ask. Have a nice Sunday evening! And, again, thanks for all of the terrific insentives on here! You are a true motivator! Hugs ~ jean
Amber says
I don’t! Sorry! I used to do something like that and got so burned out that I had to quit and now I just blog.
Susan says
How do you attach the ears? I understand cutting the slit and pulling them through, but won’t they just pull or fall out?
Amber says
You sew them in place. 🙂
Susan says
That’s what I thought ( and did), but I must have missed the step that said to do that. I just flattened everything and zig- zagged — hope it holds!
Katy says
How do the ears stay up? Do you not add any interfacing?
Amber says
They’re a little floppy. You could put something in them to make them more sturdy if you want.
Kaylynn Young says
STOP IT! This is ADORABLE ! My little one will literally freak when she sees this. LOVE IT!
It was so nice to meet you at SNAP! I’m totally stalking you in every way possible (apparently I was missing a few of your social media options!)! Can’t wait to get to know you better!
Kaylynn
AmongTheYoung.com
Amber says
Ha ha! I had fun with this one! Nice to meet you too. 🙂 SNAP was crazy but fun huh?
Angela says
I don’t understand when you say to cut the hand towel “horizontally”, is that the “short” or “long” way? Thanks
Amber says
That would mean cutting it so that it is a short and fat rectangle rather than long and skinny.
Rebecca G says
Need to make these ASAP my kids love Mickey and Minnie!!
SK says
This is such an adorable project! I pinned it to my Minnie & Mickey board, so I can remember to make it next time I need a birthday present for a little one 🙂
Eva Scott says
My little girl would FLIP! Seems easy enough? I’m a novice to moderate sewer but this looks doable. Thanks for the great tutorial!