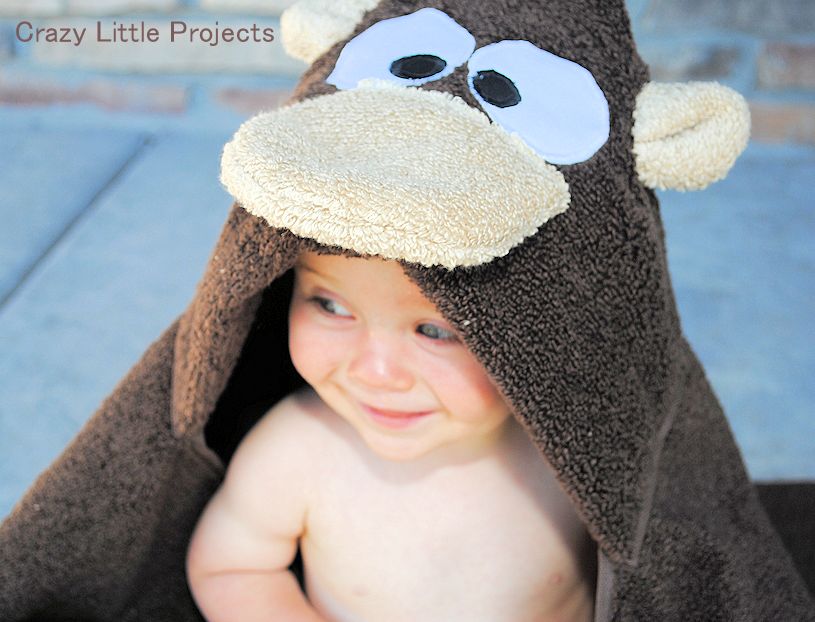
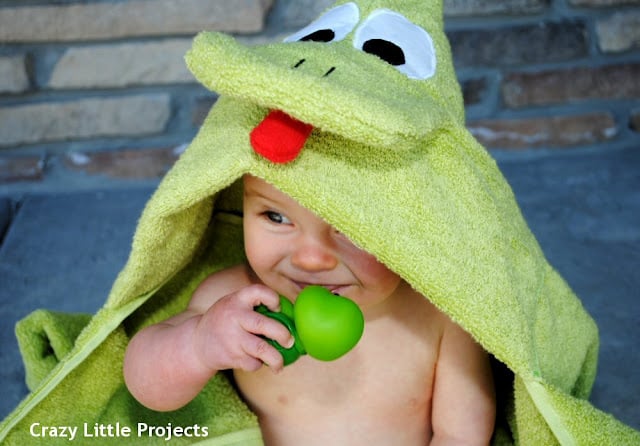
It’s time for another adorable hooded baby towel tutorial! Each month I make, and teach you to make, a hooded towel. Last month was a Ladybug and before that it was a Frog. This month? A monkey! (See all hooded towels here.)
This is the first time I have done a monkey towel and I have to say, I LOVE how it turned out. At first I was worried that it might end up looking like a bear, but all the little kids at my house while I was making it could tell what it was. So I’m calling that a success!
These towels are not hard to make. They cost around $10, maybe a little less, and take under an hour. Well under an hour is you are experienced at sewing.
Monkey Hooded Towel Tutorial:
Supplies Needed:
1 brown bath towel
1 brown hand towel (you’ll only use half)
1 light brown hand towel (you’ll only use half)
Small amounts of white and black fabric
Optional: iron on transfer for the eyes
Instructions:
To start out, cut your brown hand towel in half hamburger way. Then fold it in about 4 inches and pin it like this:
Stitch a straight line across it on the edge of the towel where you pinned it (where my yellow pin is above, but go all the way across the towel.)
Now, flip it over and work on the back of your half hand towel.
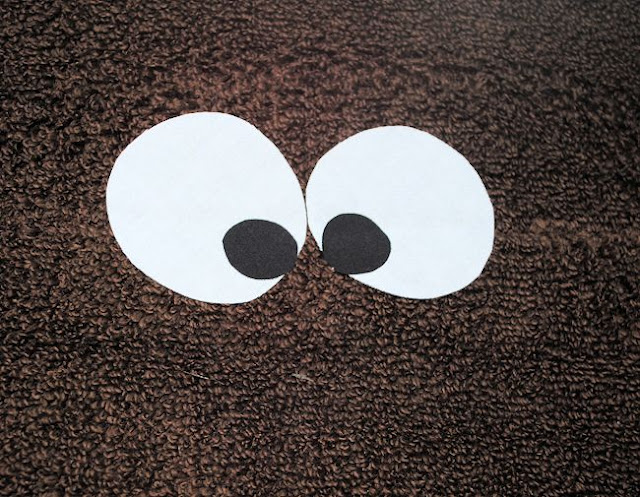
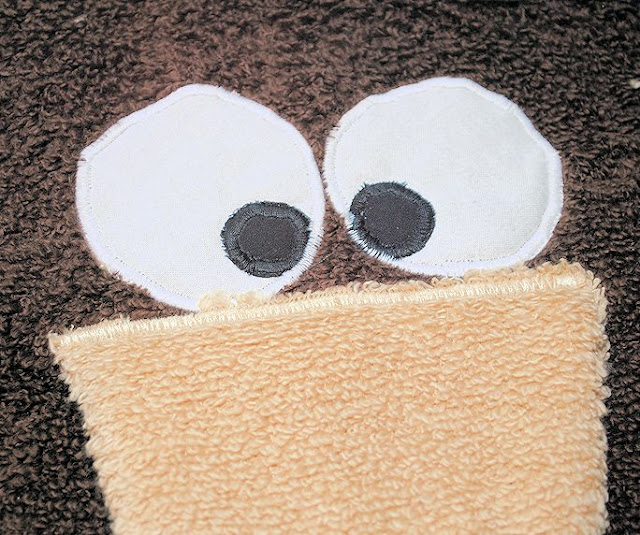
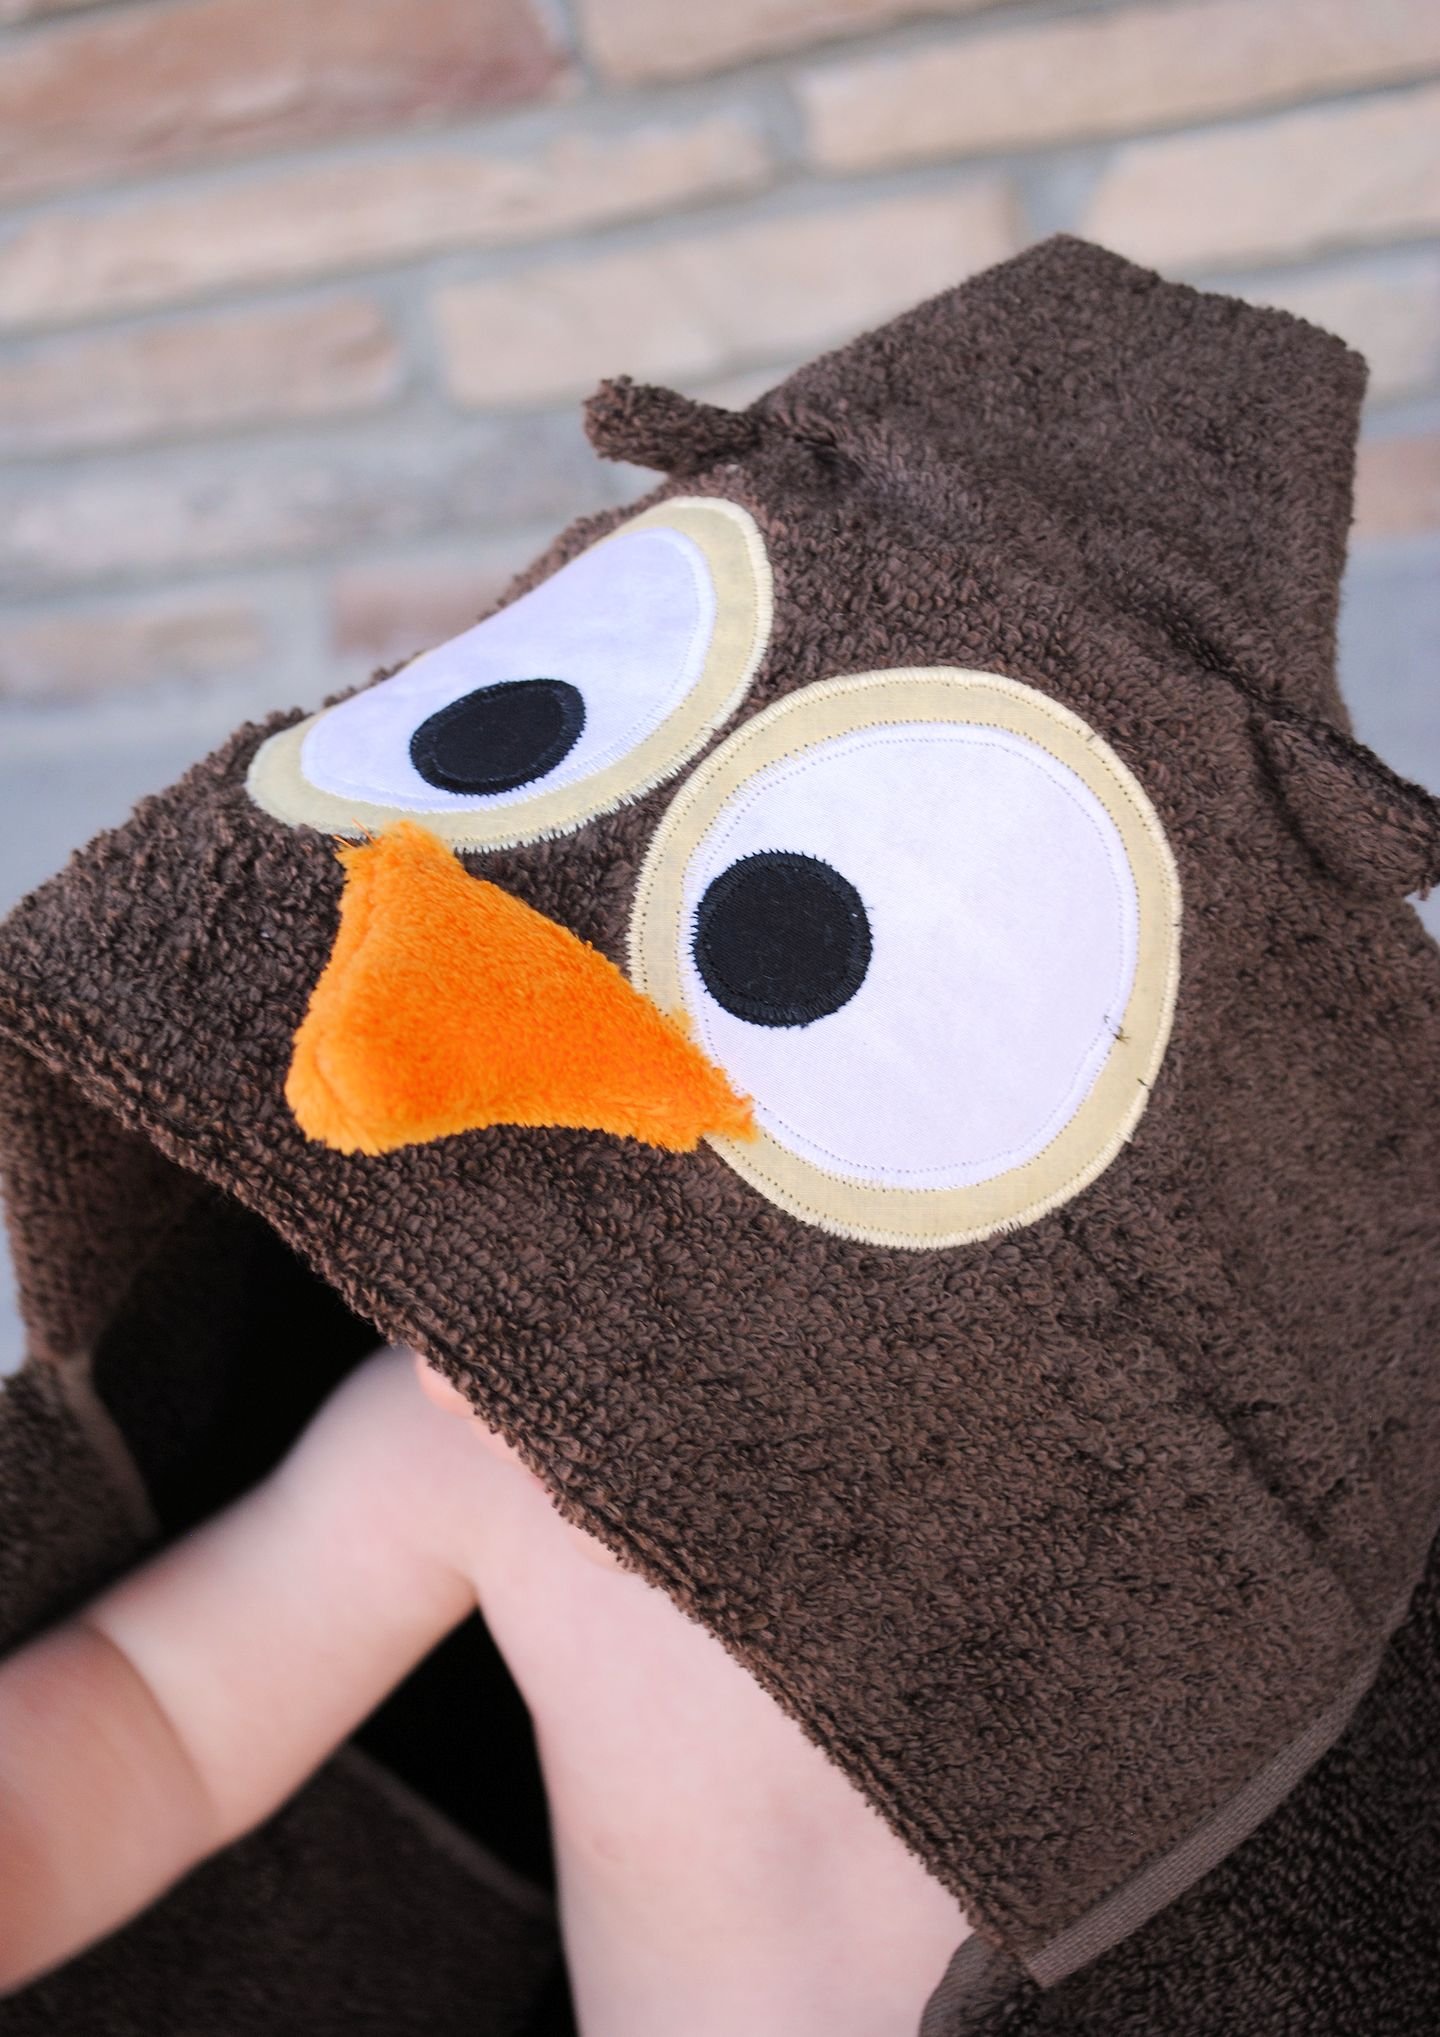
Cut out eyes. I like to use fabric that has already been attached to iron on transfer.
You need 2 white pieces and 2 black pieces. My black ones are about the size of nickels. Really you can just eyeball this. Make them as big or small as you want them.
Iron your eyes in place (or you can skip this step and just sew them in place).
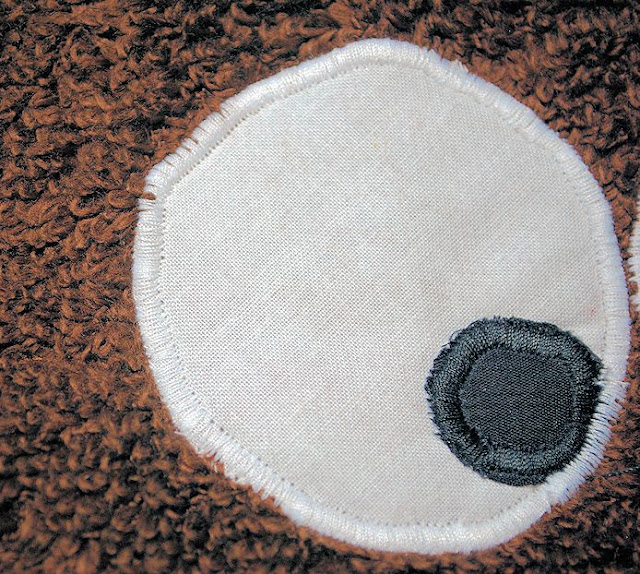
Using a tight zig zag (applique) stitch, sew around your eyes and eyeballs:
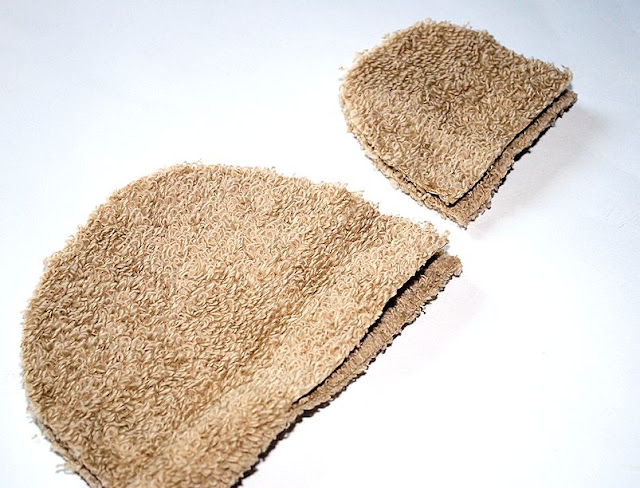
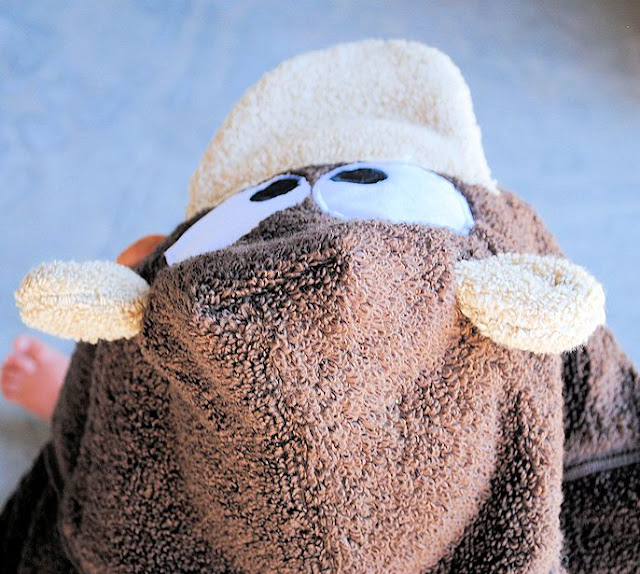
Now, with your light brown towel you need to cut out the nose and the ears. You need 2 nose pieces and 4 ear pieces. Make them basically half circles but with a little extra length on them:
Sew around them leaving the straight edge open to turn them. Turn them right side out.
Sew your nose in place with another tight zig zag stitch:
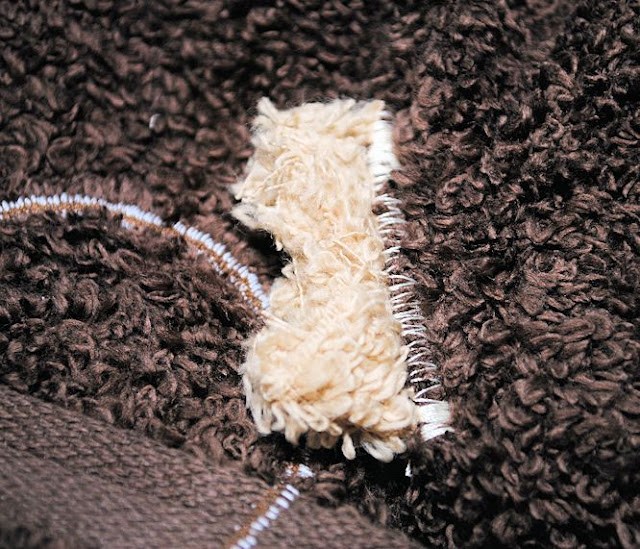
Now, for the ears, figure out where you want them and then cut a small slit through the towel. Make it smaller than the width of the ears. Slide the ears down into place. Because the slit is smaller than them they will scrunch up a little. This is good.
On the underside of the towel, zig zag your ears in place:
Guess what? Your face is done!
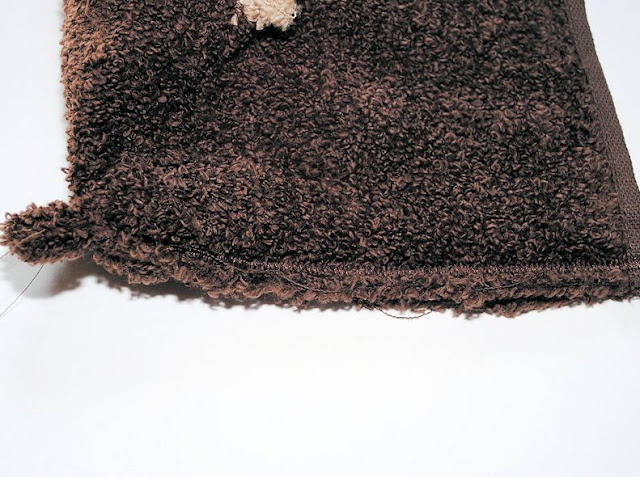
Now, fold the hooded towel in half with the face on the inside. Zig zag up the raw edge of the towel to form your hood:
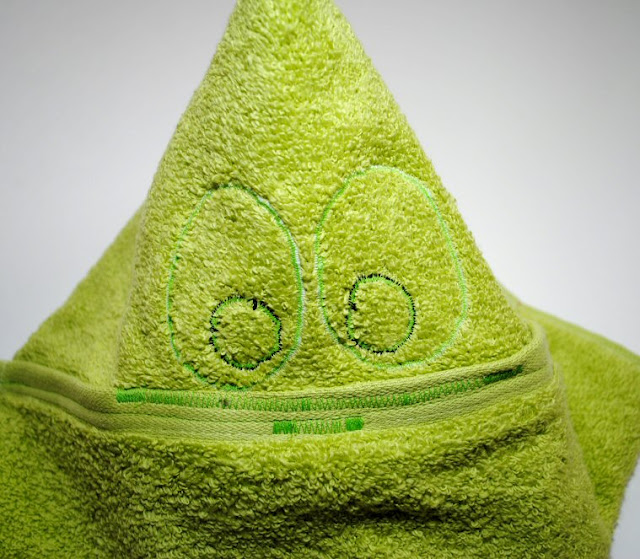
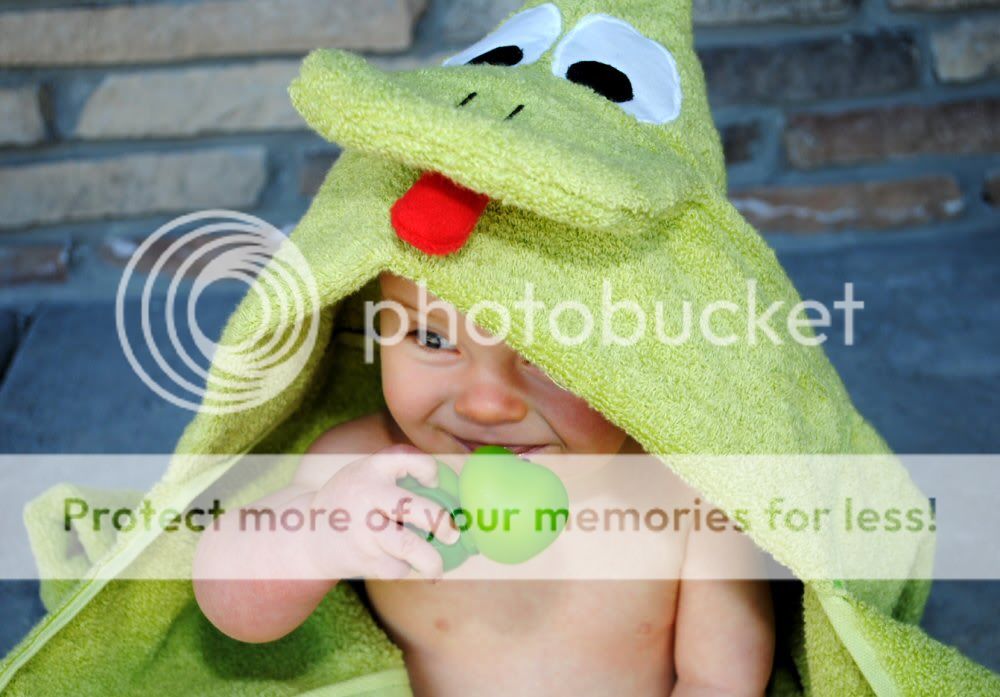
I’m going to show you this next part with my frog towel just because the pictures explain it well. Do this with your monkey. Turn it so that it looks like this:
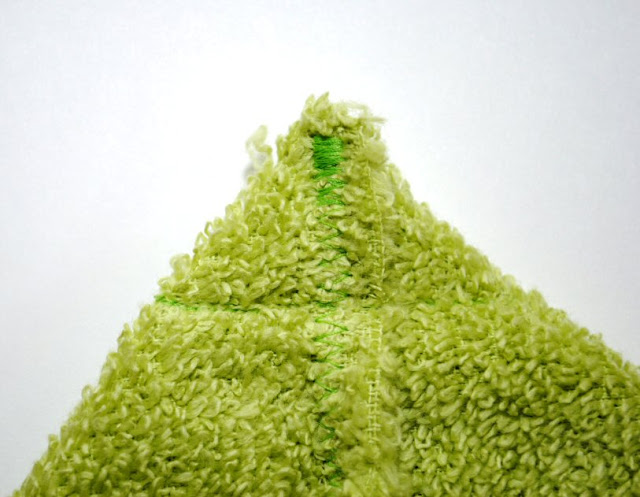
Then sew a straight line to form a triangle at the tip. Then snip off the very tip of the towel. This just gives your monkey less of a pointy head.
Now just attach your head to your towel. I like to make a nice little pleat in my towel:
Sew that pleat in place and then zig zag your head onto your towel like this:
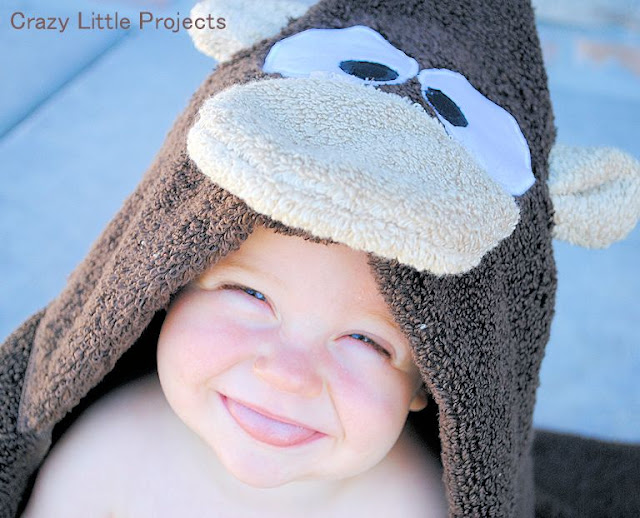
As for my model, I think he likes it!
Is it just me or is he adorable?








Gail says
Love the hooded towels, have made the ladybug and the lamb. Wondering if there is some trick in putting the multi-layers of towel through your sewing machine? My machine absolutely refused to take the 6+ layers of towel when sewing in the ears of the lamb. Ended up taking it to a quilting store that sold heavy duty sewing machines and even then, it struggled? Thank you.
Amber says
I have a pretty heavy duty machine. The only tip I have is to use the heavy duty needles.
Jane says
Very cute towels, but I notice that some of them you don’t share the pattern pieces. Where can I find the pattern pieces?
dean says
Love your hooded towels, but would be nice if you had a template for the eyes, mouth area and ears
Brenda Carpenter says
Love, love, LOVE these towels. My daughter just asked me to make some for her two year old. My sweet granddaughter loves owls, monkeys, and ligons (her word for lions). Guess I will be sewing up a zoo!
Amber says
That will be cute!
Karen says
Hi Amber,
These are the cutest towel patterns. I think your instructions are clear, but I was wondering if you could add some rough measurements to your instructions. I’m making the monkey towel and realized I didn’t know how big (without trial and error) to make the eyes, mouth and ears. I’m not looking for a pattern to cut out, but a rough idea of how big you made the items in the picture would be helpful. (ie the eyes I used were 2 in circles, the mouth was 4inx6in, the ears were 3inx4in) Also placement of pieces would be great. I didn’t know if the mouth on the monkey sticks out over the brown towel or if it is even with it. I could see from the picture the eyes are placed about centered on the fold line.
I think this little extra information would be helpful on all your patterns for those of us that are not great at “free-styling” stuff. Thanks so much.
Amber says
I usually give actual patterns, not sure why I don’t have one on the monkey? Here’s the teddy bear one that would be similar though, so that might help: http://crazylittleprojects.com/2012/11/teddy-bear-hooded-towel.html
Trish Butler says
I have 11 great grand babies already and these towels are just great for them. Thank you for your time and talent. Trish Butler
Shelley Condon says
Hi amber
As always fantastic and clear instructions. I’ve made frog and dragon a few times for gifts ( always get much excitement from the recipient) and made the monkey last night. He is gorgeous!! Thank u so much you are so talented. I love seeing your new creations all the time.
Amanda in Canada says
these are great. Do you think you could come up with a way to do one that has a large tiara on the front instead of a face? i have a niece who would looooove that. I’m just not sure of the best way to go about creating that. Cheers.
Amber says
I’ve had that idea in my brain but haven’t been sure how to do it yet either. I’ll think about it!
Eda says
Heyy there!
I’ve been following your website for a while now, this is the first time I tried stg. Just want to shout out a big “Thank you!” for this tutorial. Very clear, structured and understandable, even for a beginner like myself. (this was my 5th sewing project, the first two being a tablecloth & curtains =P) I just made a ‘duck’ out of this for a 2-year-old’s b-day. He’ll be thrilled! Thanks again =) I’ll be coming back for more 😉
ps. As a beginner, this took me abt 3 hrs from planning to cutting & sewing till the end result.
Katie says
Do you have an easy way to print these? Thanks!
Amber says
Hmmm, I guess I didn’t do pattern pieces on this one. (I do them on some.) You really just need 2 big white eyes, 2 black eyeballs, a snout and 2 ears.
Sarah says
What is “hamburger way”
Amber says
What>?!!? You didn’t learn hamburger way and hotdog way in Kindergarten? Ha ha! 🙂 Hamburger way is the fat way so that when you cut it it is a nice fat piece of fabric. Hotdog would be the vertical way and you would end up with long and skinny. Does that make any sense?
Karen says
Hi, love the hooded towels. tried making the monkey towel. had trouble with the cut ends of the towel raveling. did you have this problem and if so how did you remedy it.
Thanks, Karen
Amber says
On what part? If you just mean like the inner seam of the hood I don’t worry about it. As long as you stitched it nice and tight it should hold just fine. If not, just resew over it. You could zig zag those edges if it is bothering you.
Hannah says
LOVE this! Wonderful Tutorial! Such a cute little monkey you have there! I love it!
I linked to it on my blog post on the best baby tutorials, here:
http://welivedhappilyeverafter.blogspot.com/2012/11/35-baby-sewing-tutorials-ideas-found.html
<3 Hannah
Amber says
Hey thanks so much!
Angela V says
My 2yr old took one look and said ‘monkey on baby’ … These are all so cute. I have two boys now and a little one due soon, I am looking forward to the duck tutorial so I can make three different towels before Christmas.
Violets Silver Lining says
Oh my goodness! This is so utterly adorable! Thank you! 🙂
Katie says
o-m-g this is so cute! i love this towel! I can’t wait to make one!
Sarah Larsen says
I am a fan of the frog! CUTE!
Make sure you stop by and share this at my Flaunt It Friday link party.
Can’t wait to see more posts.
http://www.blissfulbucketlist.com/2012/07/flaunt-it-friday-4_12.html
Sarah@
http://www.blissfulbucketlist.com
Shannah @ Just Us Four says
So cute! Of course, putting in on an adorable little boy didn’t hurt either 🙂
Maria Kitching says
OMG this is so cute. Seen you on lil luna
Maria Crafty Chic
Hubba says
So darn cute! http://www.iheartpears.blogspot.com
Tamika Rybinski says
This is adorable. Perfect for swimming weather. I should make them for my Littles!
Tamika @ http://www.notimefortea.com
Hanni says
So adorable! The frog one was also a cute one!
Jen @ Yummy-Healthy-Easy says
Cutest little monkey in that towel! 😉 Thanks for sharing this awesome idea!!
~Jen
Aunt B says
Very cute! This would make a perfect baby gift. Thanks for sharing it.
Christine says
LOVE the monkey!!! I always adore your hooded towels! You’re really talented!
Thank you so very much for sharing this at The DIY Dreamer.. From Dream To Reality!
Precious Sister says
I so adore this. Thanks for sharing.
Pinning this for sure:)
Annika
precioussister.com
Jenn says
Oh my gosh! You are so talented.
Michelle@ Learning to Be a Mom says
Holy cow, so cute! Thanks for the tutorial.
Jill says
I just love these towels! They are so stinkin’ cute! Great job! Thanks for sharing at the Pomp Party! Pinning to our Pomp Party board!
Jill @ Create.Craft.Love.
Kim @ seven thirty three says
Love, love, love! Thanks for the great tutorial and for linking with What are little boys made of. I featured you today. 🙂
tibby says
He definetly is SIPER CUTE
Jenilyn says
This is just precious! I would love for you to link those up to {I Made This} at Grits & Giggles! http://www.gritsandgiggles.blogspot.com/2012/06/i-made-this-11.html
Our Delightful Home says
This is too cute! I would love for you to link up to my linky party via: http://ourdelightfulhome.blogspot.com/2012/06/live-show-me-what-you-got-tuesdays.html
Mrs. Delightful
http://www.ourdelightfulhome.blogspot.com