OK people you know the saying. March comes in like a…Lion Hooded Towel! Roar! Can you guess what it will go out like? (And plan on 2 more bonus towels during the month too.)
I’m kind of loving how this lion turned out:
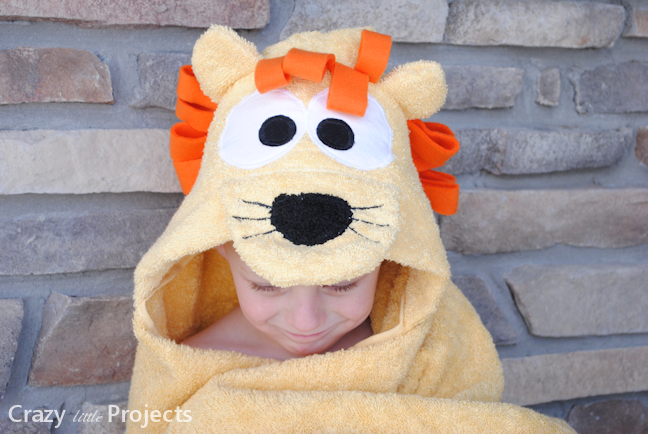
Oh that’s pretty fun huh? Oh please please please let the weather turn lamb like soon. I am sooooo ready for spring! But in the meantime, let’s make a towel!
Lion Hooded Towel Tutorial:
Supplies Needed:
Hand Towel
Bath Towel (same color as hand towel)
Small amount of orange fabric that won’t fray (I recommend fleece)
Small amounts of white and black fabric
Heat ‘n’ Bond
Instructions:
As always (well, starting last month anyway), I will just be showing you how to make the head of this towel in this post. If you need to know how to sew the rest of the towel and attach it, go to my hooded towel tutorial.
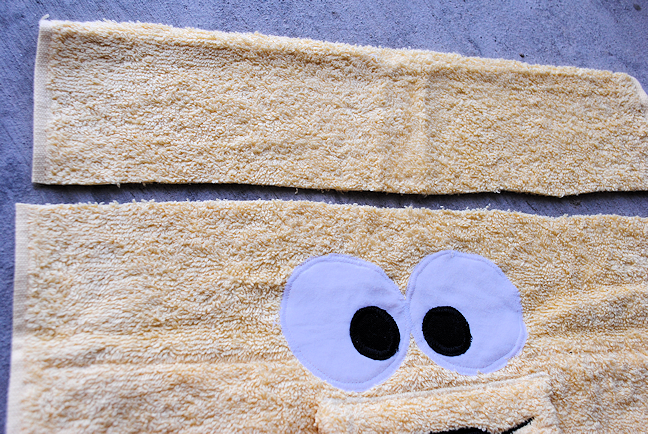
To make our lion hooded towel, first, cut your hand towel in half (horizontally). Then fold the finished edge under about 3 inches and sew in place. (Oops-forgot to take a picture of that this time, so check the hooded towel tutorial for that. Sorry!)
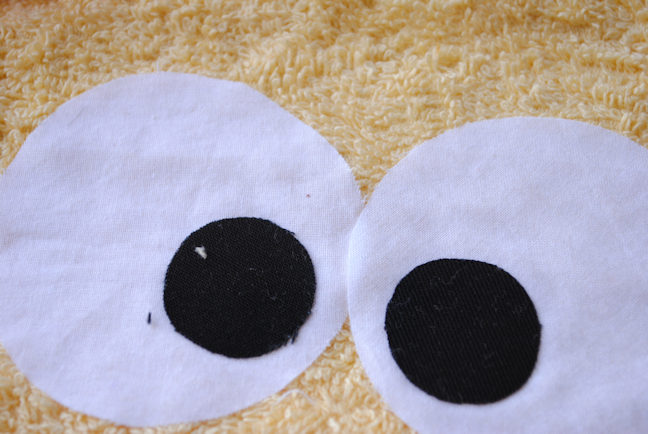
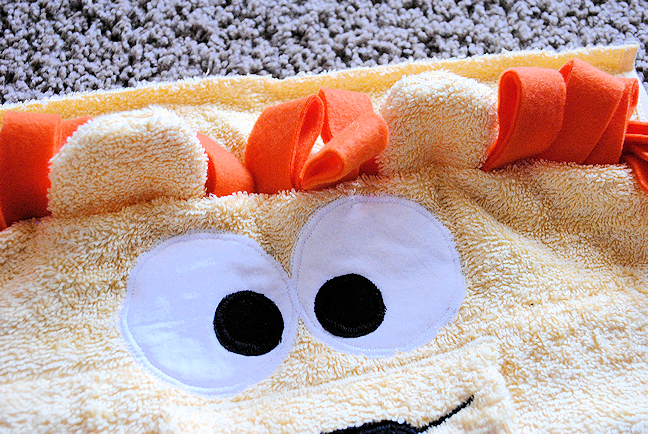
Now, flip that hand towel over so you are working on the side that does NOT have the piece folded under that you just sewed. Cut out your eyes in white and black and then again in the heat ‘n’ bond. Iron the heat ‘n’ bond to one side of the eyes, then place your eyes where you want them on the towel and iron them in place. You’ll want to leave room in front of them for the snout.
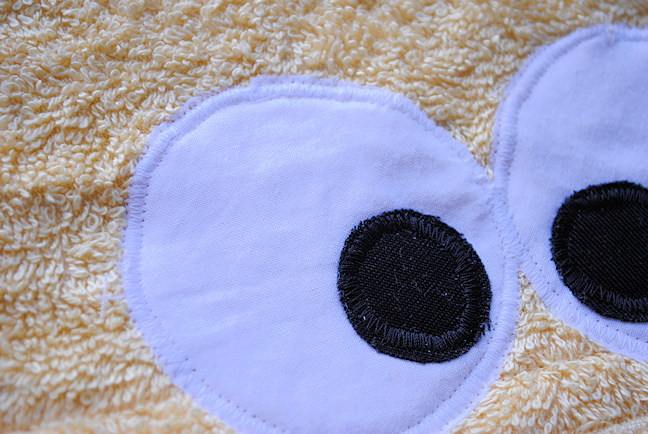
Then applique them in place with a tight zigzag stitch:
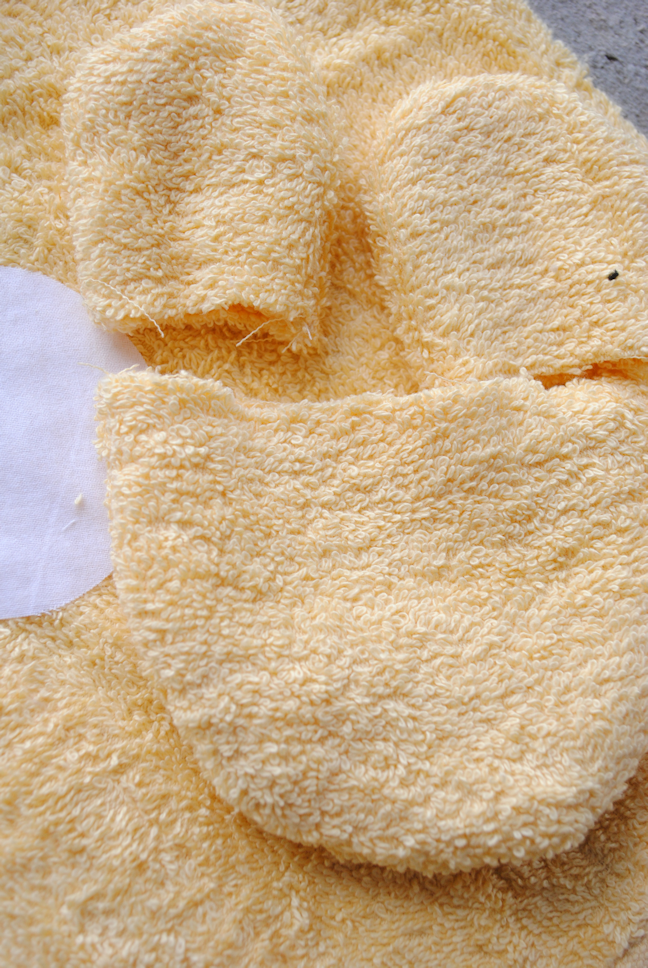
Now, using the other half of your hand towel cut out 2 pieces of snout and 4 ears. Put the 2 snout pieces together and sew around the whole thing leaving the top, flat part open. Do the same with the ears:

Now turn them all right side out:
Grab your snout and cut out a little black nose from black fabric. Place it where you want it and applique around it. Then use the same stitch to create whiskers. You’ll probably need to go over your whiskers several times:
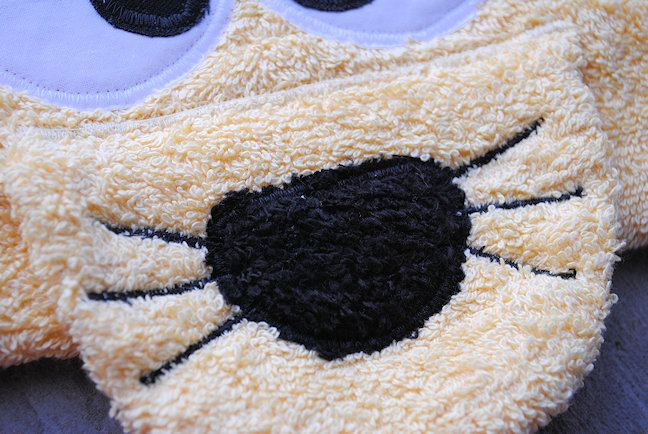
Attach your snout to the face with a zigzag stitch (a pretty tight one) all across the top of the snout. This will also close the opening that the snout has.
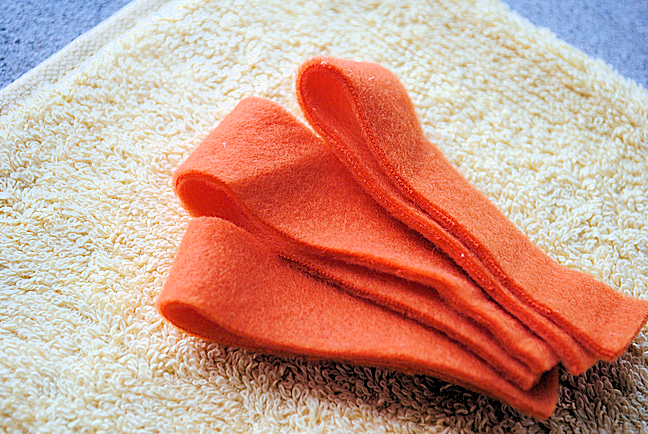
Now cut out a bunch of the mane pieces from your orange fleece. I used about 15 or 16 pieces. You can make it fuller if you want.
Cut your towel in the spot where you want your mane and ears to go:
With your face piece begin to lay the mane pieces and ears how you want them.

Then lay the other part of the head on top of that, pin everything really well so it doesn’t shift around, and stitch it all together:
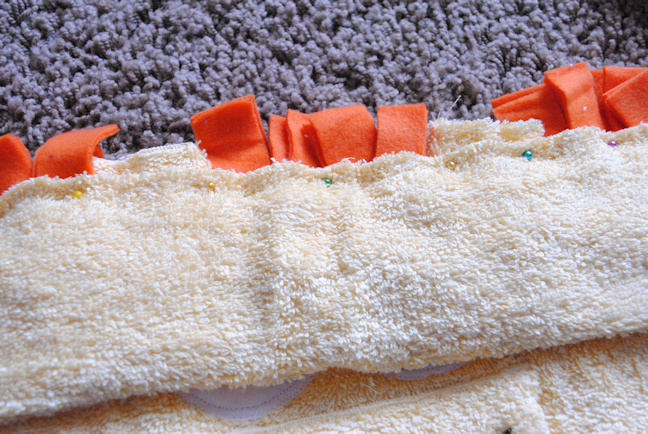
Should look like this:
Now fold your face in half so that the right sides are together and stitch up the back to create the hood. (Pictures of that in the hooded towel post.)
Once your hood is formed but before you attach it I recommend doing this. Lay your hood out like this:

And sew across the top like this:
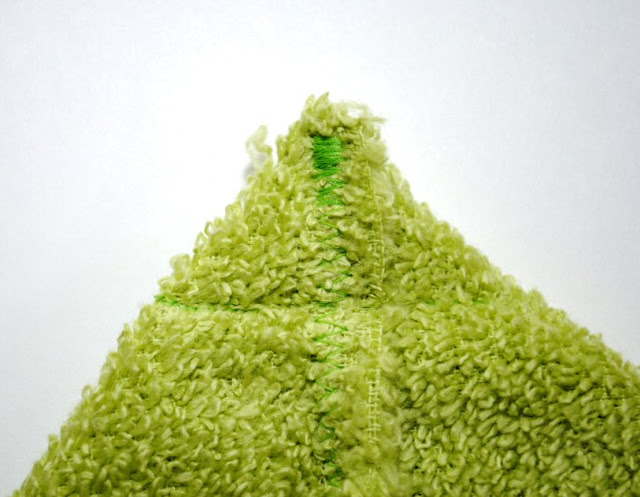
Then snip that off. That will round out the top of the hood a little. (And those pictures are green because that’s from the frog towel post.)
Now attach your hood and you are done!


Rachel Bittman says
This came out adorable! It’ll be a great present for my niece. I do wish there had been a good wide picture of the first step (cutting the hand towel in half). I couldn’t clearly see which way to cut from the image on the main tutorial page, but in my mind, cutting horizontally means lengthwise, leaving it much longer than it is wide, and I was a little confused by the directions. It’s a good thing the hand towel was a 2 pack! But I figured it out eventually. One other issue I noted was that when I cut out the snout it was too small – there was just enough room for the nose, but no room to add whiskers. I had to cut out a larger piece than the pattern. But I figured it all out, and I’m so excited to give this to my new niece! You know, once she’s born (4 weeks to go!) 🙂
Anjana says
Hi Amber, I love these Hooded towels and already have made 4 (Lion, Kitty Cat, Angry Bird and Minion).
Thanks so much.
Cyndi says
Thanks for these great ideas. I made the lion for my grandson, Leo. He loves it. My daughter-in-law requested it be made like a poncho so it goes over his head instead of having the opening in the front. Turned out great. Next I’m making the teddy into a Panda and trying out the tiger.
Amber says
Oh fun idea to do a Panda!
nellana cook says
I am trying to make the lion towel. I printed the pattern pieces but my snout is only 3.5 inches wide, yours looks a lot bigger than that …what was the width of it…I am thinking it might have scaled it when I printed….
Amber says
Yes, be sure you print to 100% or just eyeball how big you think you want it. I would say mine was probably about 6 inches across at the top? Hard to know for sure because I don’t still have that towel.
Debbie says
I am making the lion towel for my grandson’s second birthday. So far so good. I will let you know how it turns out.
Anjana says
Hi Amber, Love your hooded towels and want to make Lion one desperately for my 1.5 year old whom I call “My Little Lion” 🙂 . But I’m stucked at first step itself. Actually I’m confused with the towel dimensions, as the hand towel which I’m getting are quite small as compared to what it seems in pics. Can you please provide me dimensions for both Hand towel and bath towel.
Amber says
Make sure it is a hand towel, not a wash cloth. Mine are about 15 or 16 inches wide and about 13 inches long when cut in half.
Angie says
I love your tutorials!! I have made several of the ones you have on here (frog, monster, dragon, bunny, and angry birds). I’ve even ventured out on my own based off your template and made a hippo and a snake one. Getting ready to attempt a cat. My son and all my nieces and nephews are very appreciative and love them soooo much!! I am forever grateful for your wonderful tutoria!!
Amber says
Ohhhh fun! I Love to hear that!
Julia @ FaveCrafts says
Hi Amber,
What a cute project! I love it so much that I decided to feature it in our roundup of lion crafts! Check it out here: http://www.favecraftsblog.com/lion-crafts/
Have a great day!
Amber says
Thank you thank you!!!
Emma says
I did this for a 3 years old birthday! 🙂 Thanks for the tute. Simple and easy to understand.
One thing I did different was instead of cutting up a bunch of mane pieces (picture 6), I used a long piece of rectangle shape orange fleece and sew that on first. Then cut it up evenly once its all stitched up nicely. This helped with sewing everything on and I didn’t have to worry whether would I have enough manes although you won’t get the overlapping mane effect. And because I thought it needed reinforcement, I sew another line and the mane flops over nicely cause I couldn’t cut it all the way to the yellow towel part (if you get what I mean). Thought it might help people who are having trouble with the thickness of the towels 🙂
Amber says
Oooh very smart! You’d think I would have that of that!
Melissa says
I’m looking forward to making this for my nephew. I was just wondering…for those having trouble with the thickness, would a walking foot help??
Amber says
I’m not sure? One thing I do is lift up my presser foot a little as needed and adjust things before continuing on. I have a beast of a machine though so that helps too.
Rika says
LOVE IT …. LOVE IT!!! Thank you!
Stephanie Z says
Wonderful! Came here today to pick a hooded towel to make for a pinterest date I have tomorrow! My one year old son is going to look ADORABLE in this lion!
Amber says
I love the lion one. Hope it went well!
Miranda @ Someday Crafts says
Your towels are darling! What little kid wouldn’t love to have one of these!? We’ll be featuring your idea over at Someday Crafts tomorrow, so come by and take a look!
Amber says
Awesome! Let me know when it is up!!
Heleen says
Thank you so much for yet another lovely towel idea. I have made two already, and my kids just LOVE them (as do I). Will try this one for sure as well. I’m in awe of your creativity and just wanted to thank you for sharing!!
Chelsea says
These are awesome! I’d love for you to check out our first ever Pattern Party. Those with free patterns or templates are invited to link up! Hope to see you there! http://getyourcraptogether.blogspot.com/search/label/Pattern%20Party
Janet says
Love it!!!
Cristina says
So very adorable!!
Kay says
I LOVE the hooded towels but my sewing machine has serious issues with the thickness? Am I doing something wrong?
Amber says
No, that’s normal probably. I have a very heavy duty machine that handles them well. I recommend getting a heavy duty needle and then be ready to put some muscle into it. You’ll have to pull the fabric to guide it more than normal.
Heidi @ Bits of Sunshine says
This is SO cute! I don’t have kiddies of my own, but my nieces and nephews would go nuts for these! Monsters and Lions!