What’s the Project? Need to learn how to sew a buttonhole for something you are sewing? It’s not hard and this tutorial will walk you through it.
This is it-it’s the last week of the Learn to Sew series. We’ve got to talk about what you want to see next, where you want to go from here. But first, I need to teach you how to sew a buttonhole and how to sew an applique stitch.
Now, on to this week’s Learn to Sew Lesson.
How to Sew a Buttonhole:
First off a confession. I broke out the manual today so that I could learn to correctly sew a buttonhole. I have NEVER done it the proper way before. Turns out it is very easy. Who knew?
I believe many (most?) machines will do a lot of the work for you. I am going to show you 2 ways that my machine does it. I am not certain that your machine does it the same way exactly, but this will hopefully get you started.
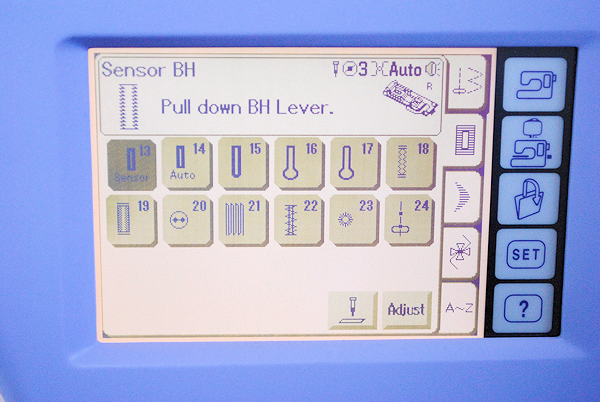
Do you see that top line of options on my machine? Those are all buttonholes.
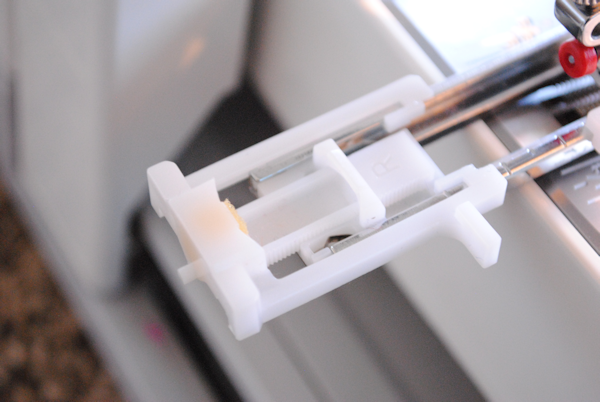
This is my buttonhole foot. Yours probably looks something like this.
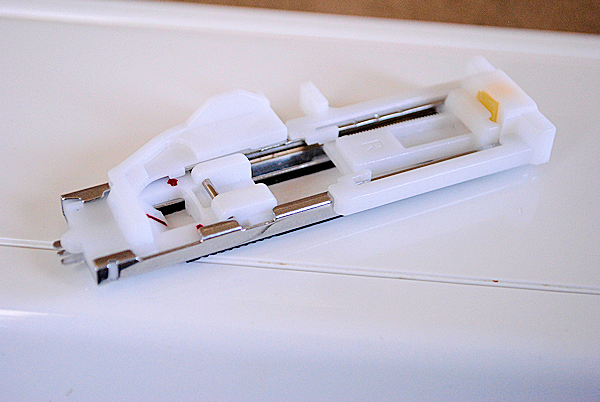
Kind of a crazy contraption and frankly, it has intimidated me in the past. Don’t let it intimidate you.
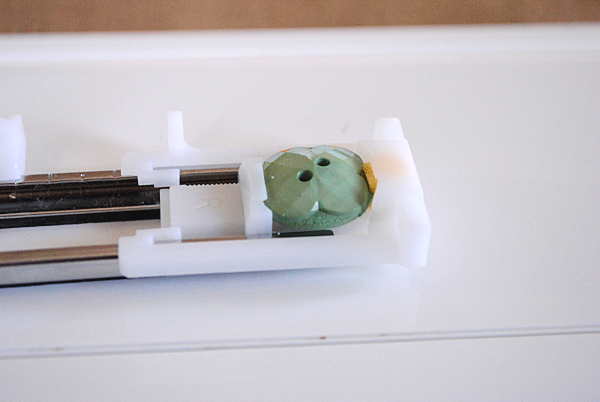
First off I am going to show you the Sensor option. This is amazing and if you machine does it, definitely use this option! Basically it means that you hand your machine the button you are using and it sews a button hole to just the right size for you.
To do it, I put the button I am going to be using into the back of my buttonhole foot:
I attached my foot to my machine. Then pulled down the buttonhole lever:

And then I pushed Start on my machine and watched it make a buttonhole of the exactly the right size. Magic.
Now, if you don’t have a machine that will do that, the next option is still good. This is the Auto setting. For this one I pull the back of my buttonhole foot all the way out:
I don’t pull down the buttonhole lever this time.
Before you start this you are going to want to measure your button to see how big it is. You will want to sew your buttonhole to exactly that size. You can mark it with pins or with chalk if needed.
You can also adjust the width of the buttonhole and the tightness of the stitches if needed.
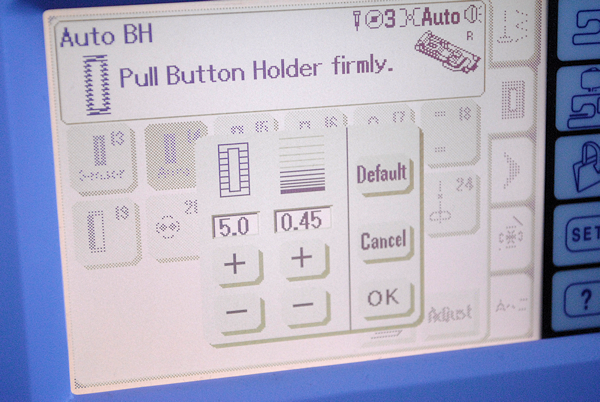
I put my buttonhole foot on the machine and lower it onto my fabric. Then I start sewing like normal and sew the length of how long I want my buttonhole, then press reverse and the stitching automatically turns and comes back to finish off the buttonhole to just the right length. It even finishes it off for me.
Now, why did I have to get out my manual to learn all of this? Because I used to sew buttonholes the dumb way. I just used an applique stitch (which I will show you next) to create the buttonhole shape.
Does that work? Yes. Is it as pretty and nice? No. But you can do it that way.
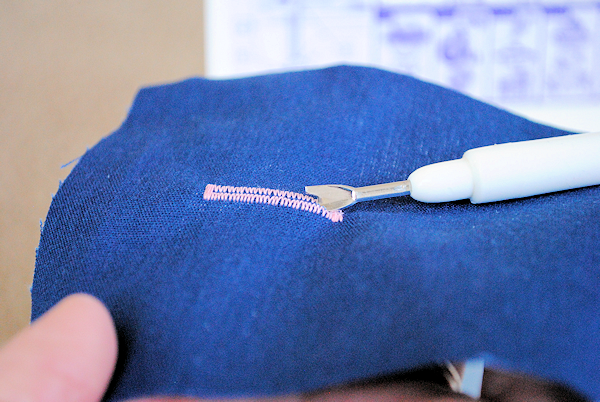
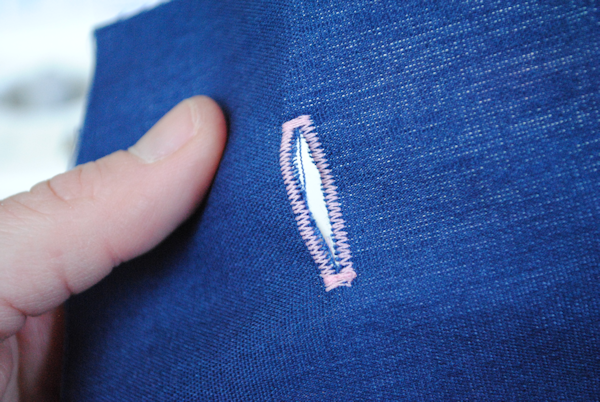
However, you do it (and check the manual for your machine to find out what options you have), once you have your buttonhole you need to cut it open. (Hence the name hole.)
To do this use your seam ripper and slide it down the middle of the fabric being careful not to cut the stitching at the top and at the bottom:
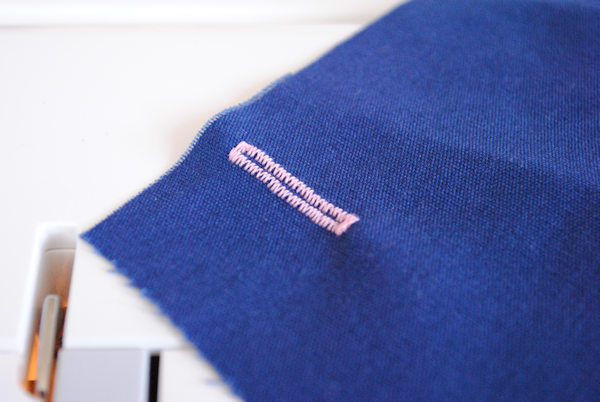
And you’ve got a nice buttonhole:
One thing to mention. My mom says that buttonholes are not beginning sewing. Just a word of advice. I am not telling you that you can’t do it. You can. But just know that these are going to be a little trickier.
How to Applique:
You may wonder why I chose to teach applique and buttonholes in the same lesson. I probably should have separated them out, but since they use the same stitch, I put them together. A buttonhole is sewn with an applique stitch-or satin stitch. It’s simply a zigzag stitch that is very close together. (See lesson 2 for more on zigzags.)
My mom also says that applique isn’t for beginners. So be patient with yourself on this one.
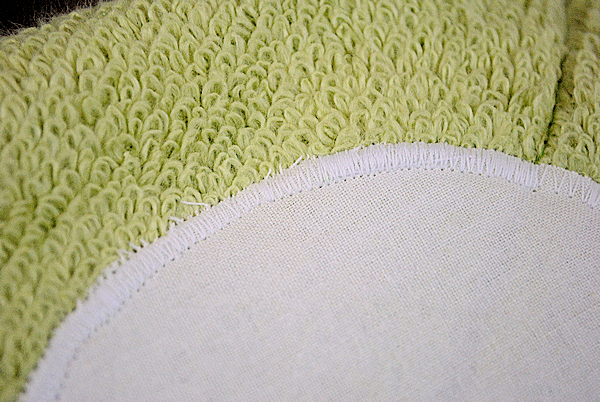
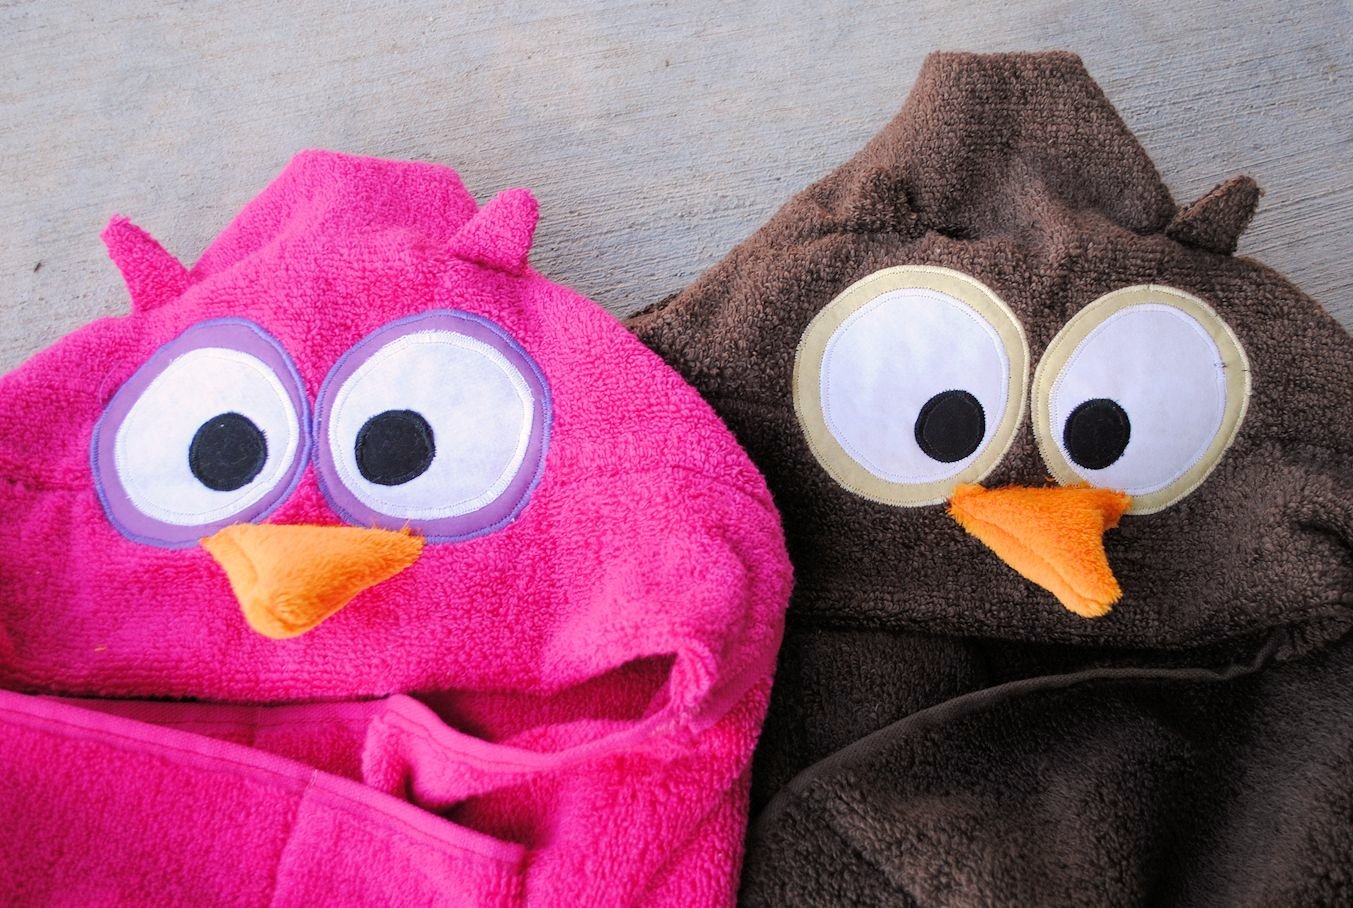
For an example of appliqueing, see the eyes on any of my hooded towels. Those are appliqued on. That means that one piece of fabric is placed on top of another and stitched on-in this case with a tight zigzag.
To do this, I advise using some sort of fusing like Heat ‘n’ Bond to stick your pieces in place first. This will make it much easier to get a nice and smooth applique and is what I always do.
Once your pieces are fused in place, set your machine to a very tight zigzag and line your presser foot up almost at the edge of the piece you are going to applique:
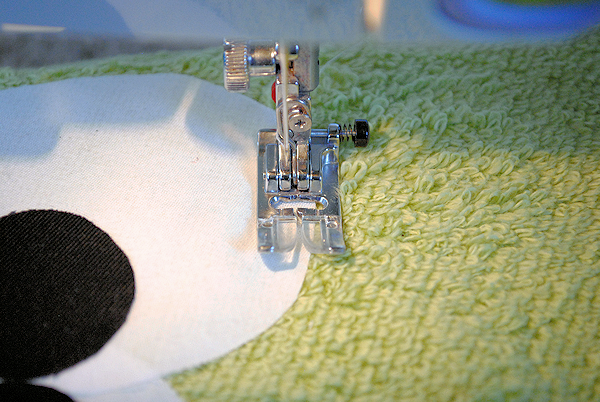
Then stitch all the way around it right at the edge:
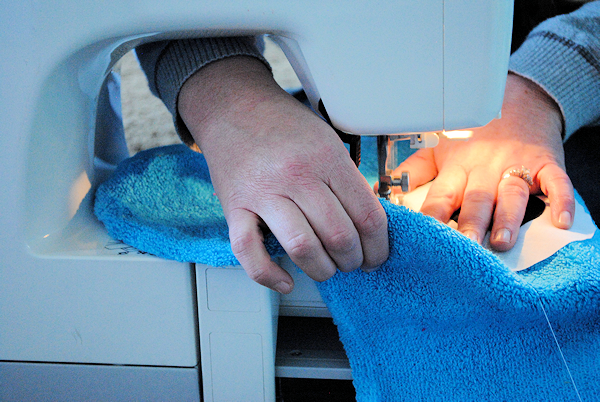
Often, especially if you are working with thick fabric like I do on my towels, you are going to need to do a little guiding and pulling of the fabric when appliqueing. I guide the fabric with my left hand (for example directing it in a circle for an eye) and pull to move it through the machine with my right hand.
And really, that’s all there is to appliqueing. Don’t worry if it doesn’t look perfect.
Now that you know how to sew a buttonhole, sew something with buttons!
You can also try one of my fun hooded towels to try your hand at applique.


Megan C. says
These are by far the best and most informative lessons ive come across. I have learned more from you in the past 15 minutes than I have since my grandmother alive. She was a pro and even ones not privy to the sewing world have most certainly heard of her. I thank you for your time and effort. Take care.
Amber says
Oh thank you so much!
Jackiy gee says
Thank u this really helps as no one will help me because I’m a kid
Kristin says
Thanks for the classes and tutorials. I love your website and appreciate the many ways you make my life easier and more rewarding! Thank you!
I am unable to find the link to the projects that go with this lesson. Probably I am overlooking them, but could you please point me in the right direction.
Thanks again for everything!
Amber says
Try any of the hooded towels to go along with that one.
Betty Prazzo says
just found you. Looking forward to following you. I am 79 yrs so like to keep it simple.
I would like to sew an infinity scarf for college bound granddaughter. Do you have the technique?
Amber says
I have a link to a really easy one here: http://crazylittleprojects.com/2014/08/quickandeasysewingprojects.html
Heather says
Thank you so much for your great tutorials!! Sewing is something I have always wanted to do but never had the nerve to try. After my father passed, I inherited his mother’s sewing machine which still works. It doesn’t have all the fancy gadgets of the newer ones but it is great to learn on and makes me feel connected to my past. I feel like I can really conquer sewing now because these lessons have built up my confidence!! Now to try applique…..Wish there were more tutorials!!
Wade says
Thanks, Amber!!! I was afraid that I might never learn how to non-digitally machine-appliqué, because my hands are not steady enough. I could find no books or on-line tutorials on the subject; it was either digital machine appliqué or appliqué by hand.
michelle mills says
Thanks for this, awesome series. I am a beginner and this is just what i need to give me the confidence to try afew new projects! First up #4 which i will be showcasing on my blog http://www.chell82xx.blogspot.co.uk and will of course link back to this awesome series!
Amber says
Sounds GREAT! 🙂
Diane Collins says
This was a really good series. Enjoyed it and have referred it to some friends who want to learn to sew. Great directions and illustrations.
Jaan L of Tx says
You do have a fancy machine, my beloved Singer had a button hole foot and I loved it. Sadly, I had to leave it behind, but my hubby bought me a new machine, Pfaff. Its a basic machine, no button hole foot. Due to this I don’t want to mess with button holes. But, now I guess I really just need to practice.
Julie says
another awesome tutorial! I have a button hole tip- if you put a straight pin across the end of your button hole, you won’t accidently rip through the stitched end when you are making it a hole. Thanks for the applique tips- I am attempting some this week. What type of heat and bond do you use?? Thanks!!
joni says
Thank you SO MUCH for this class! 🙂 Your relaxed style is just what I needed to help me calmly conquer the intimidating sewing maching that I got for Christmas! Also, thanks for link to the quilting tutorial,,, I really wanted to learn how to make quilts properly, You ROCK! <3
Sarah McKenna says
Your mom is right. Not beginner skills! I’ve never done a buttonhole. Time to go bust out my manual. 🙂 congrats on a great series!
Jess says
Thanks for the tip!! Pinning for later reference! 🙂
Rebeca says
Thanks for this!! You have a super fancy machine!!!