What’s the Project? Need to know how to sew a zipper? (You can admit if you’re scared-they can be tricky!) They don’t have to be hard. This tutorial will walk you through all the basics of adding in a zipper when sewing.
It’s another week of the Learn to Sew series! Now we’ve reached the lesson where my mom might start to cringe. I’m going to teach you how to sew a zipper in. People seem to get really scared of zippers and I don’t feel like they are worth the fear. But, I am also not sure that I do it by the book (the reason for my mom’s cringing). But guess what? The way I do them works and takes only a few minutes and is not too hard.
Learn to Sew: How to Sew a Zipper
You don’t have to be intimiated by how to sew a zipper! It’s not as hard as you think.
First of all, you need to buy a zipper. That’s pretty easy. There are different types. The kind I usually use is the Polyester but there are also metal and things. You are going to find them in the notions section of your store and they are going to be organized by color and length, so be sure to pay attention to what length of zipper you need. And generally, unless otherwise noted, get the polyester kind.
So, once you have your zipper, open it up. Now, on the inside, you are actually going to find instructions on how to insert a zipper. You will find 2 different ways. Centered or lapped application. What I am going to teach you today is a centered application. If you ever need to do lapped just remember that the instructions are there.
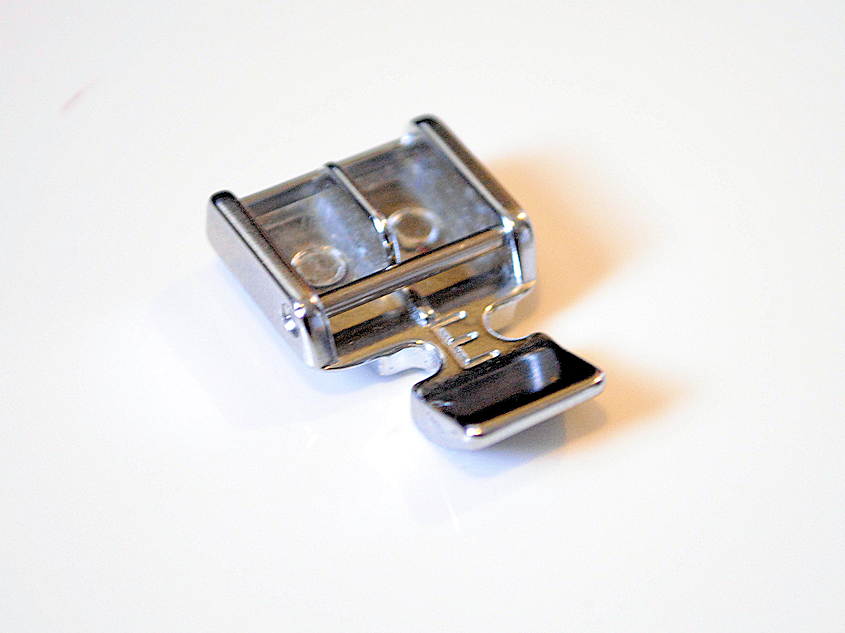
Next, find your zipper foot. It should look something like this:
Attach it to your machine. To do this, you are going to take off your presser foot (check your manual for how to do this on your machine, but it’s likely that there’s a little red button/spring on the back that you push and it pops off. Then you will put the zipper foot under there BUT you will need to either insert it to the left side or the right, NOT centered like a presser foot. See how it is on the right in this picture?
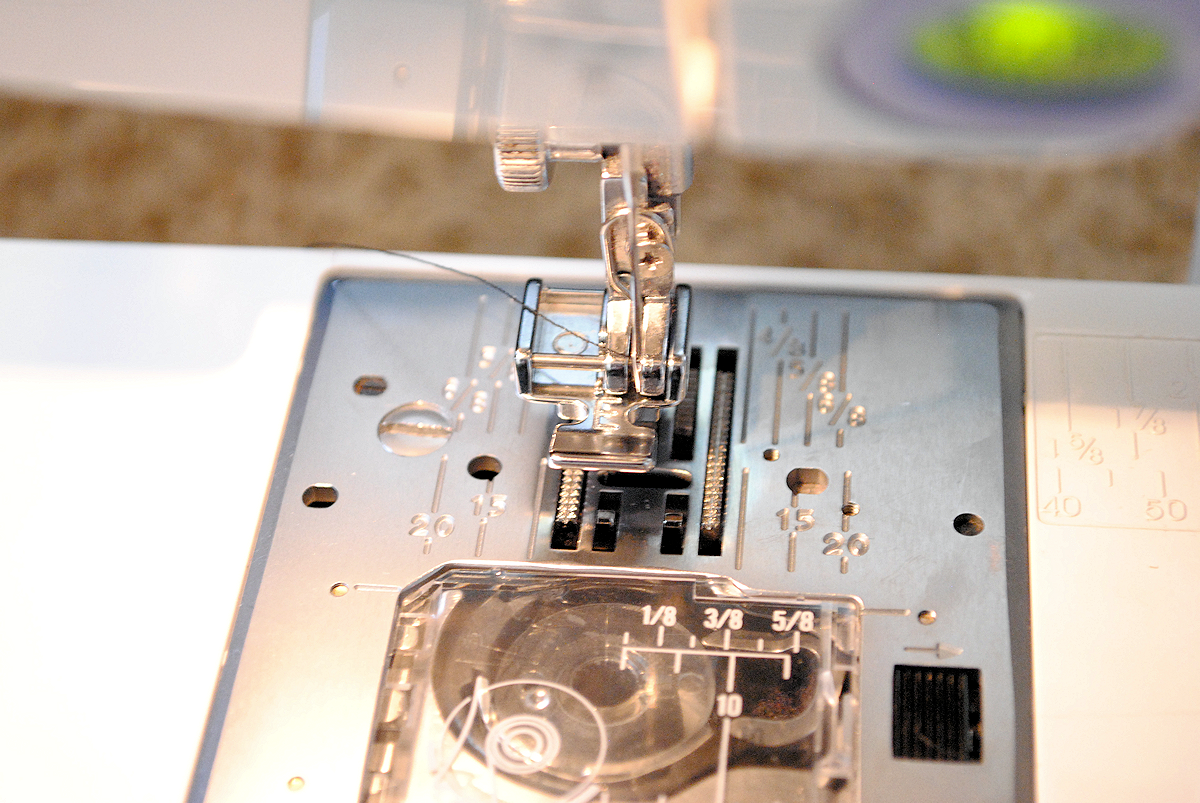
You’re going to want it so that the needle is on whichever side you are sewing on. So if the zipper is to the left of your needle, the zipper foot should be inserted on the left.
To sew in the zipper, the first thing you do is baste shut the area that you are going to be sewing. So, for the skirt that we will be making for this week’s project, you would be basting shut one of the side seams. You’ll want to baste just the part that the zipper will cover and use a regular stitch to sew the rest of the seam. To figure this out, lay your zipper where you need it to be eventually and mark the bottom with a pin:
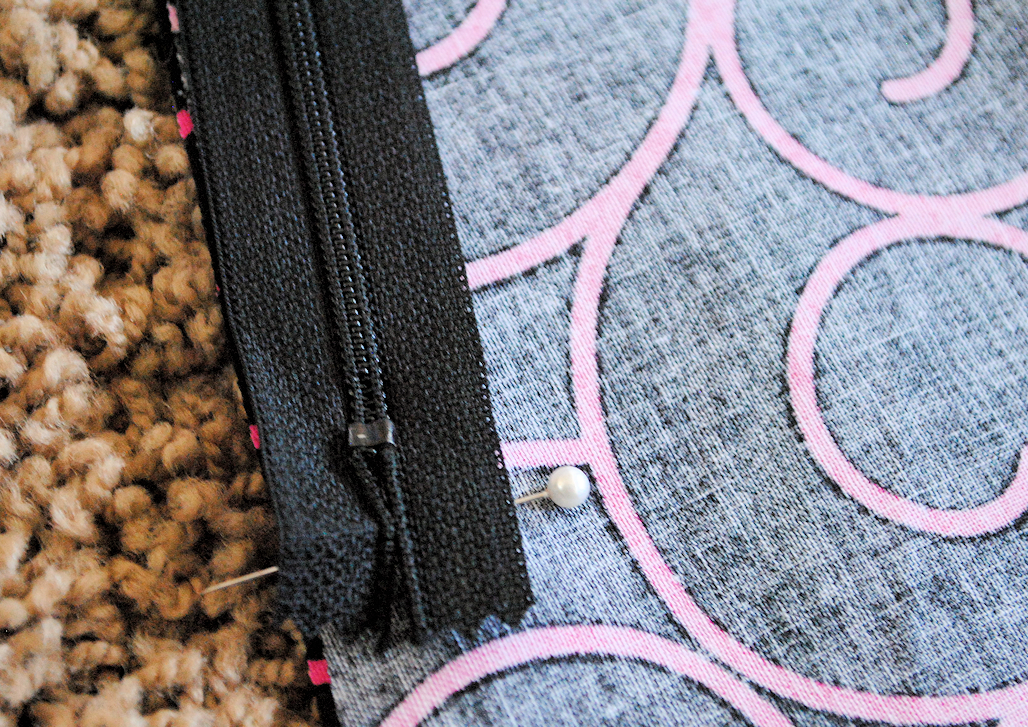
Then move your zipper of the way and do you basting to where the pin is and your regular stitch for the rest.
*Note, it is going to be much easier to sew the zipper in if you use a wide seam allowance for the seam we just talked about. I recommend at least a 1-inch seam while you are learning this skill.
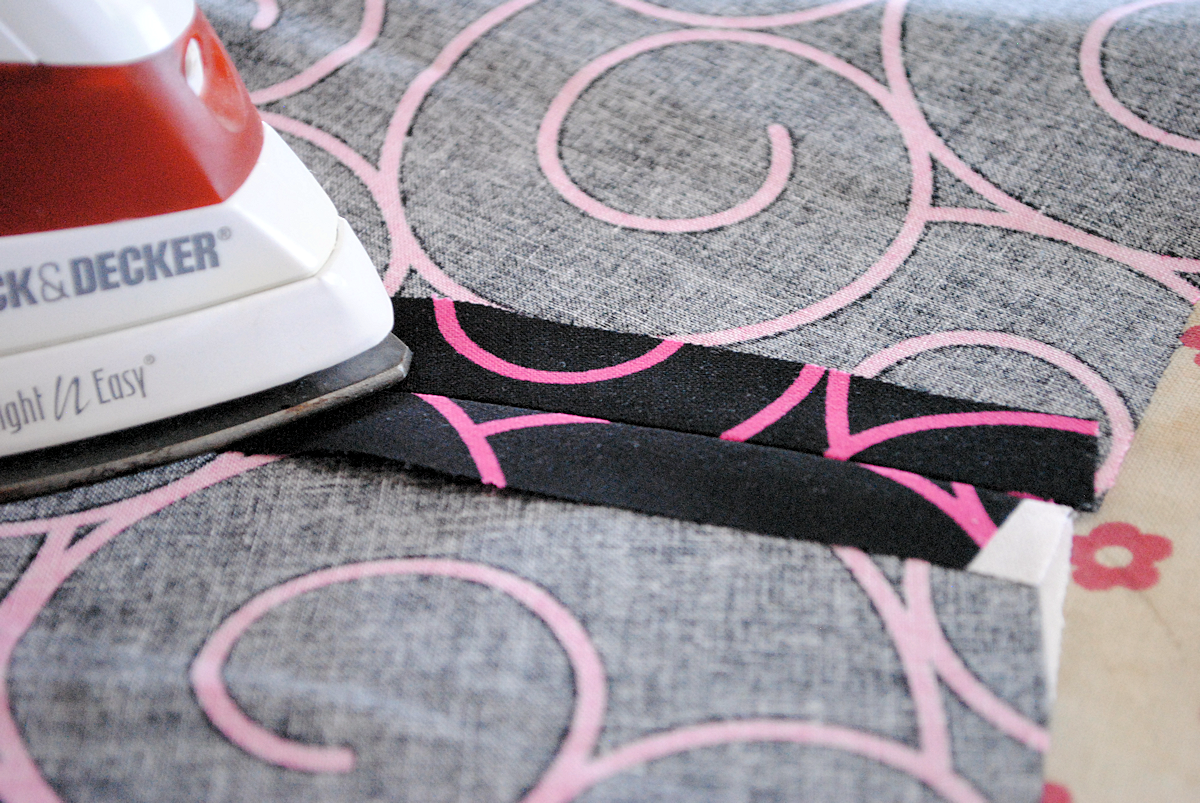
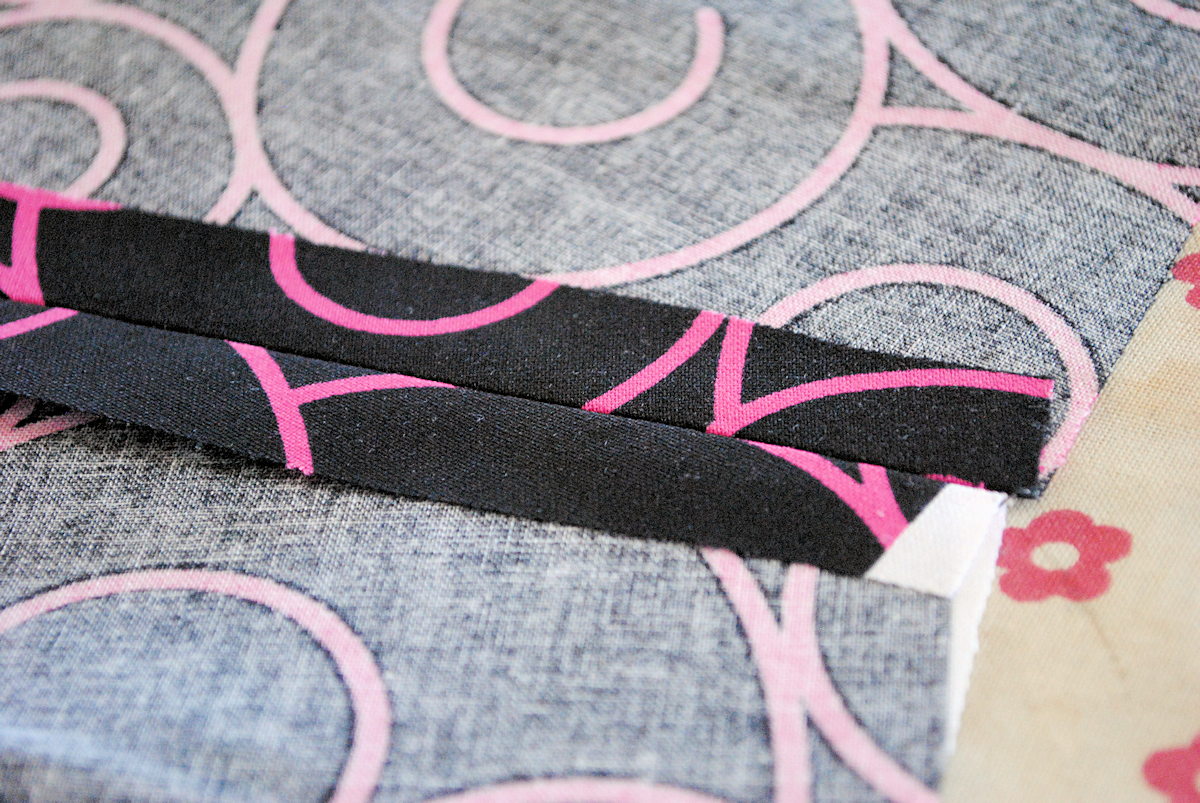
Now, press your seam open in the part that the zipper will be going:
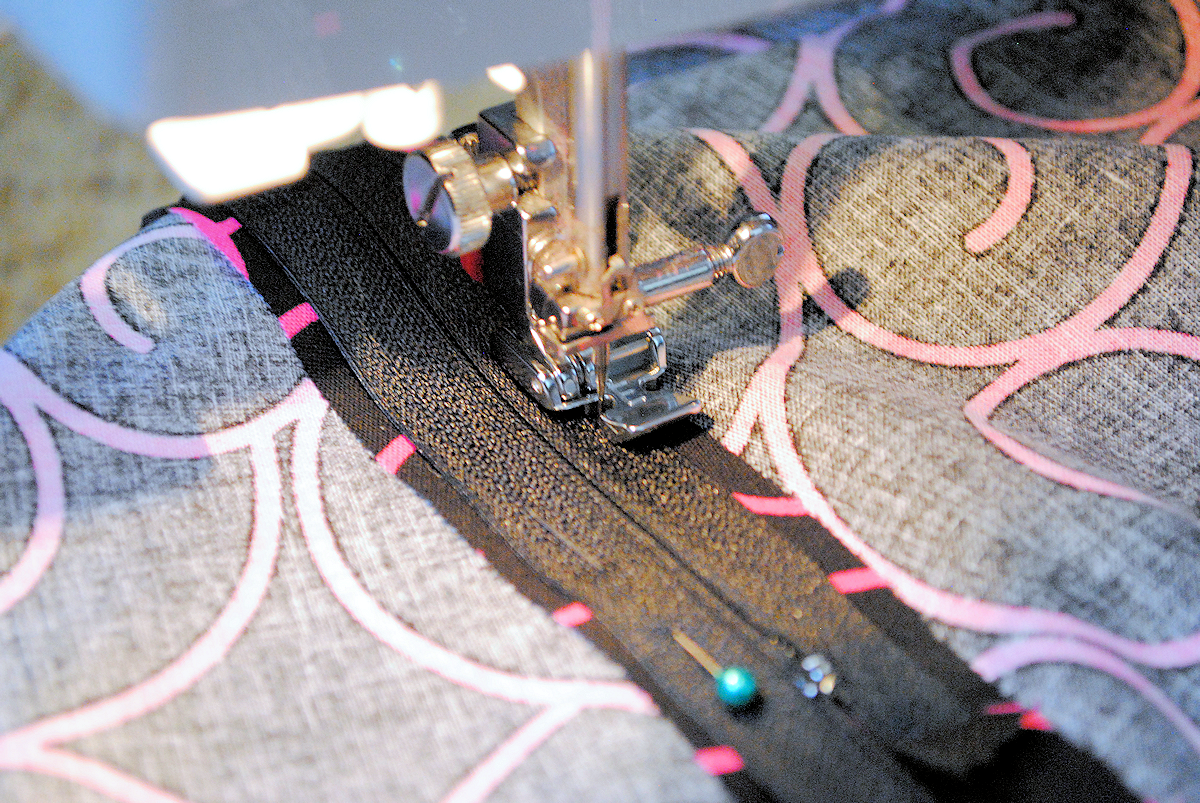
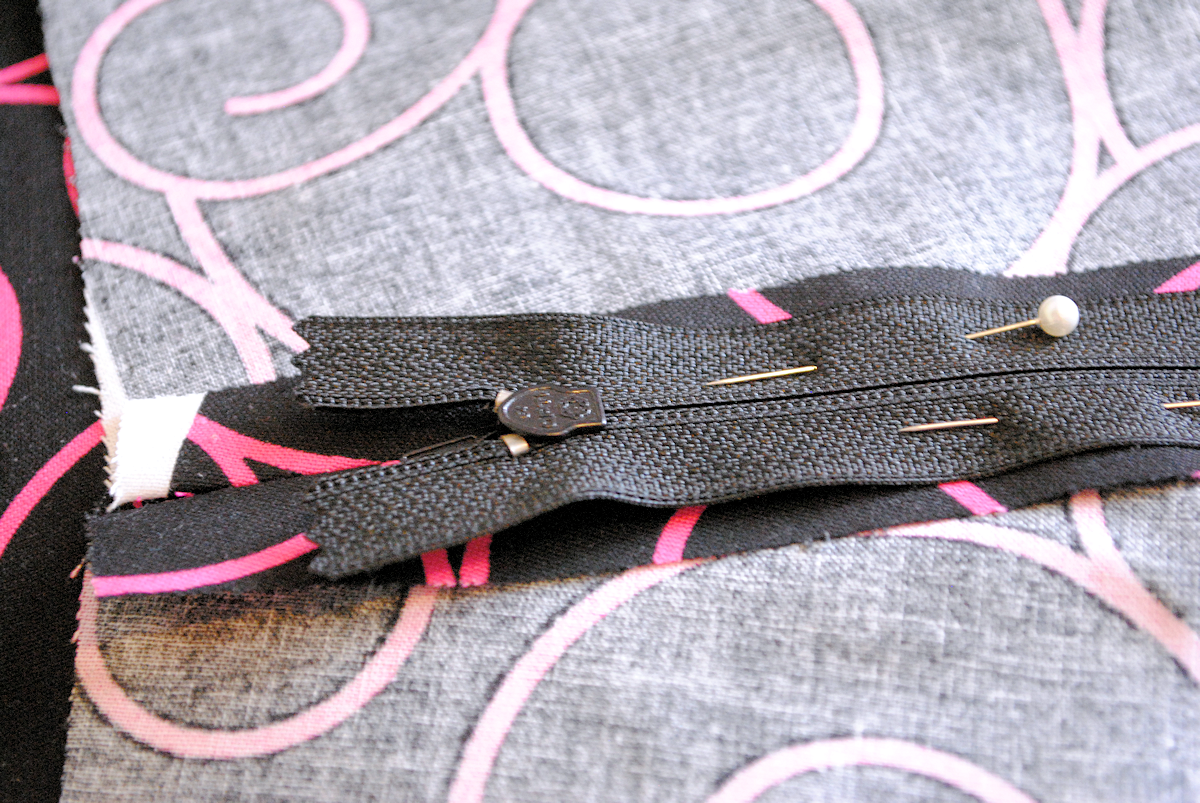
Place your zipper so that the center of the zipper lines up with your seam and pin it in place:
Now you will sew down one side of the zipper, across the bottom and up the other side, all the way to the top. Move your zipper foot to whatever side you need it on so that the needle is close to the zipper as you sew.
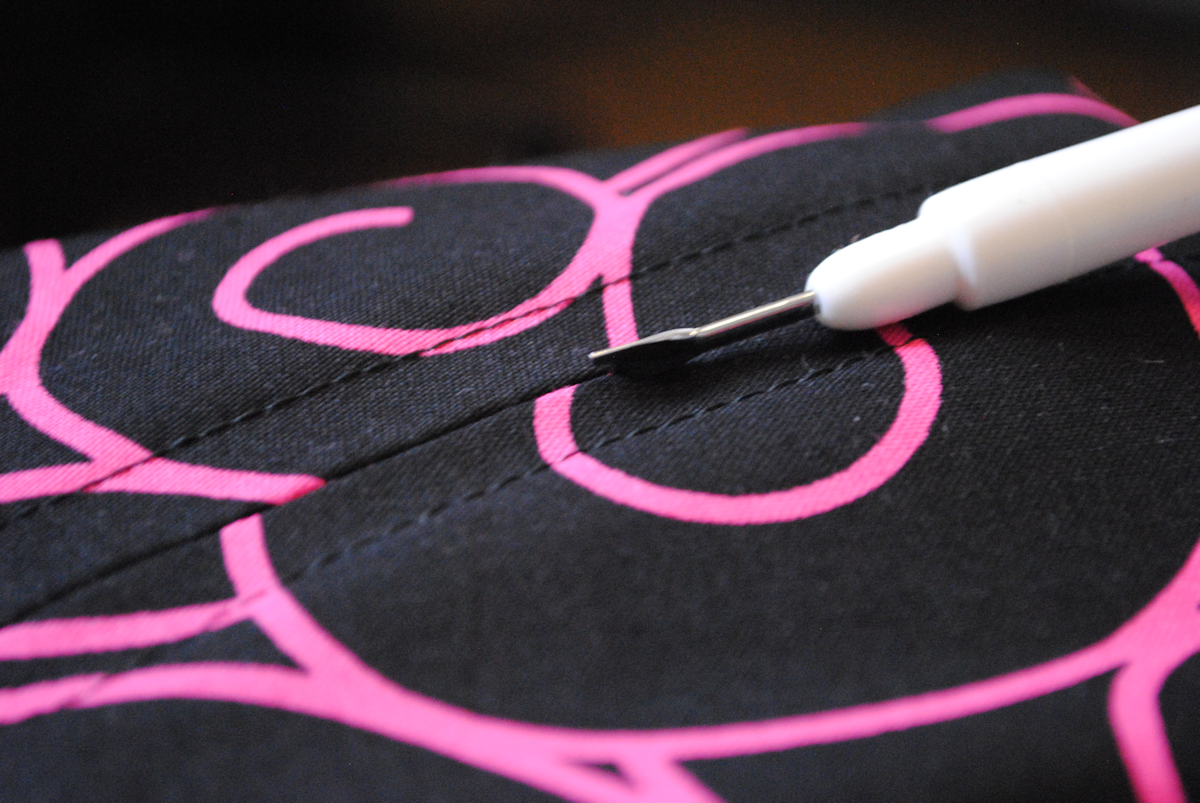
Now turn it over and use your seam ripper to remove your basting stitches:
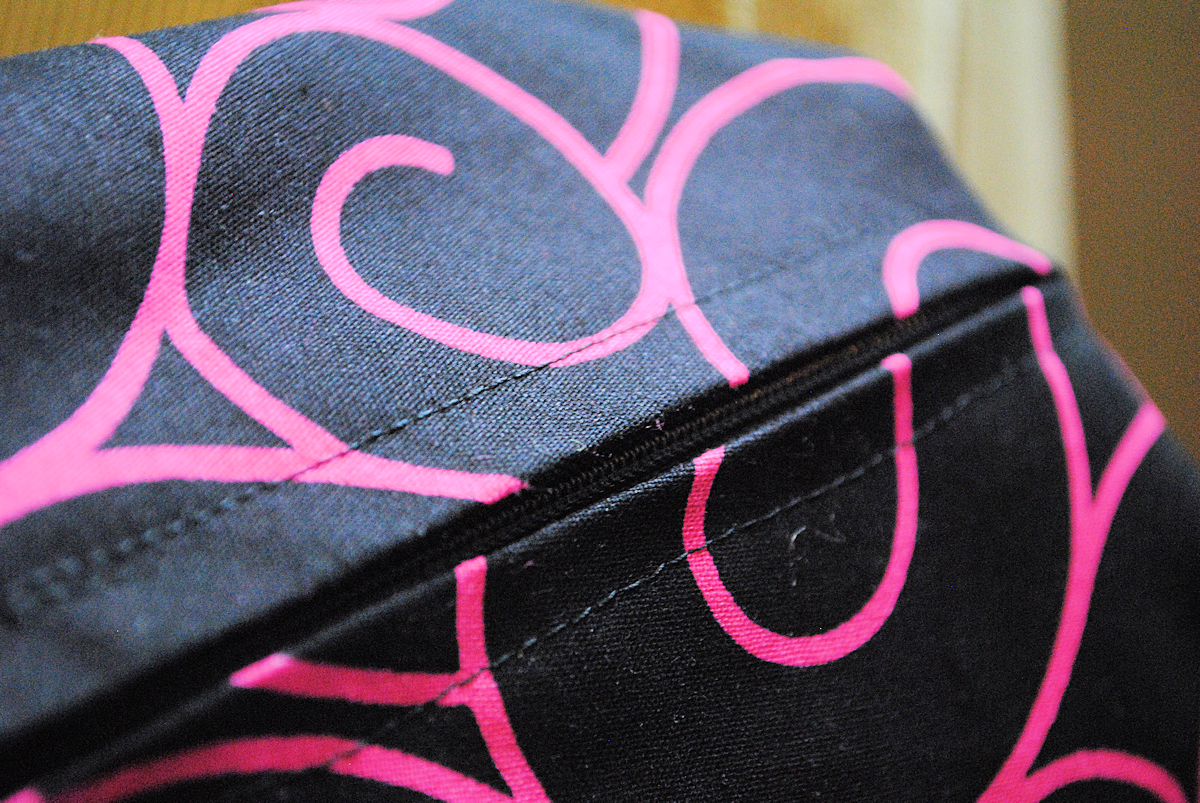
If you have done it correctly it should look like this:
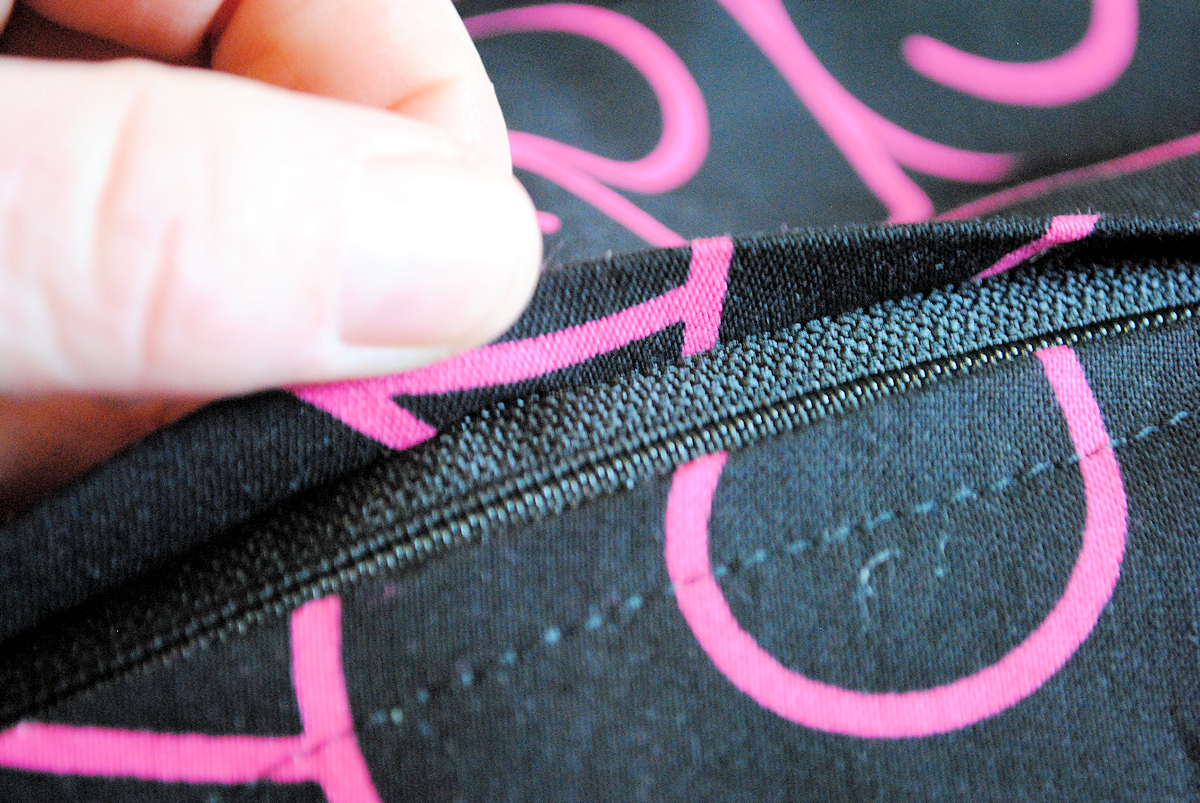
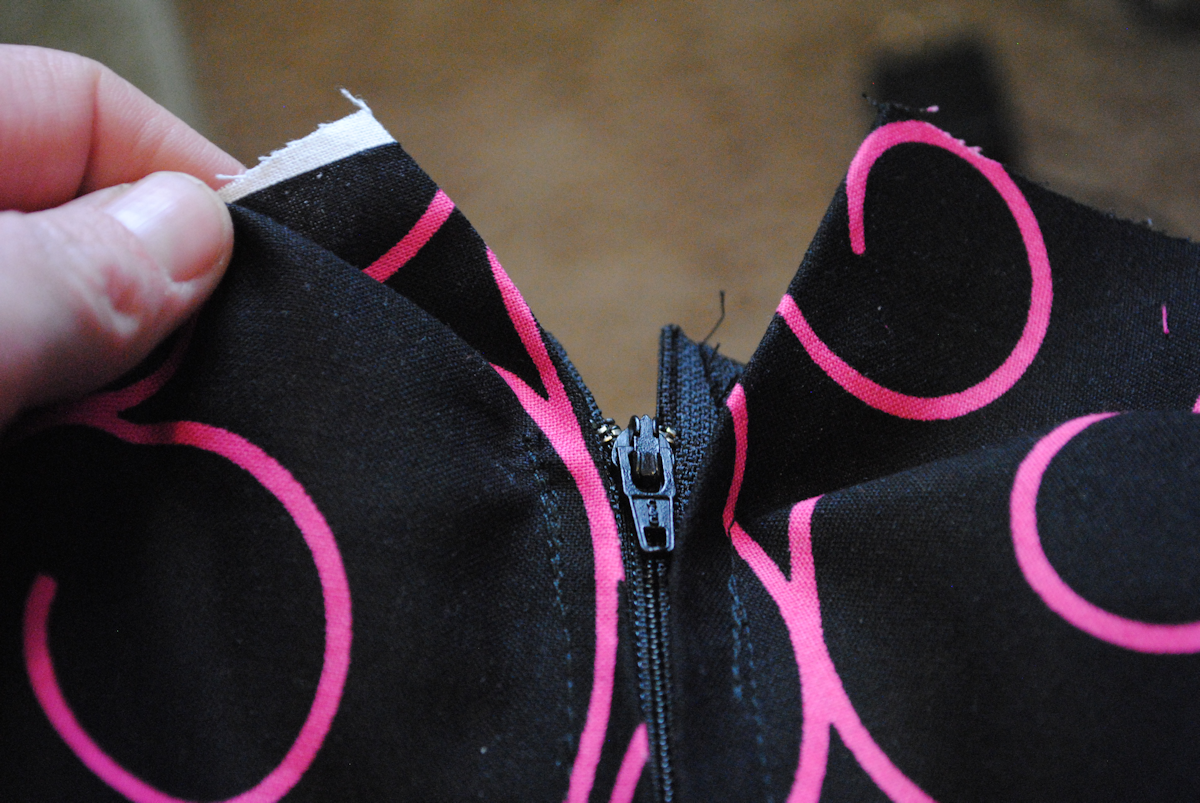
And when you pull it open like this you should see no raw edges showing:
In this case you can see that I left some space at the top to hem the fabric down to make the waistband for a skirt I was sewing.
And that’s it. That’s how to sew a zipper. Now, be patient with yourself. Zippers are a more advanced skill than anything I have taught you before. If you have to rip the zipper our and try again a few times…that’s normal. Just keep practicing but don’t be intimidated and don’t give up!
Your Assignment:
- Sew something with a zipper! Note that some of the projects I am showing you below will use different techniques to sew zippers. Some are easier than others. But just sew something with a zipper this week!
Then head to the final lesson, Lesson #7: How to Sew a Buttonhole
Beginner:
Moderate:

Advanced:


Linda says
I put my zipper in place using wash away two sided tape!
It holds the zipper securely in place and as you test your zipper placement, if it not quite in right, you just lift the zipper off the tape and reposition until you get it right!
Once you are satisfied with zipper placement, you can sew it into place!
No more ripping out your zipper after its sewn in place!
Amber says
Smart!
Marisnna says
I have a passion for band bags but i strugle to insert a zip everytime i try i cannot get it right please help.
Cynthia says
Great tutorial, thanks..!! Very helpful..
Diane says
Great tutorial!! Was just wondering how to judge how far down from the top the zipper should begin. I was thinking about 3/4 – 1″; does that sound reasonable?
Amber says
Depends on what you are sewing, but if you are hemming the top then yes, that’s about the right amount.
Melissa S says
A few decades ago I used scotch tape to hold the zipper in place instead of pins. I had trouble keeping the zipper staight by using pins. Carefully pull the tape off as soon as you’re done stitching.
Jehi says
Thanks!!! Very helpful!!! 😀
Krystal Phillips says
Really makes it seem less intimidating. Not sure I am quite up to speed with this yet, but I will sure keep working towards it!
Samantha Long says
I have not been able to get to it yet but I hope to catch up soon.
Leah says
I’m loving your lessons. I even told a friend of mine who got her first sewing machine about your tutorial and she’s now learning with you too.
savana says
Thanks for the great tutorials! And id love to win some free fabric.
Carissa says
i didn’t do this week’s lesson yet. but it looks super easy. my last attempt at a zipper instalation failed so I will use your method next. 🙂
Allison P says
Zippers seem intimidating, but it wasn’t so bad. 🙂
mang h. says
I had always used the regular foot to sew zippers because I was afraid to change it out and mess with anything on the machine! Then I found out how easy it was to change the foot!
Karis says
Loved the refresher on zippers – it’s been about 18 years since I’ve sewn one, so this was an awesome tutorial and a fun project 🙂
Cathy says
This is how I put zippers in…except I just use my regular foot and I don’t pin it….I just lift it up and make sure I’m centered on the seam…..Mom taught me this when I was 8 years old….
Amber says
Shhh…the truth is that I don’t usually use my zipper foot either. But I thought I better teach it properly.
Kim H says
I was scared to do this project. But I did it (in one night too!) and it turned out great! I had to rip out the zipper 1.5 times, just as you said, but your pep talk and the reassurance that it was normal helped me a lot. Great tutorial!
Amber says
Way to go!!!
Dominique says
Thank you for having zippers in the lessons!! Sewing a zipper was the first thing I sewed and your tutorial is much easier than I made it for myself! And I had no idea how to use the zipper foot! Now I do!! Thank you!!
Amber says
So happy to hear that!
cheryl says
Does this method work when sewing a bodice to a skirt. I am making a dress for my daughter.
Thanks!!
Amber says
Sure, this is always how to sew a zipper in.
Nikki says
Yay. I can finally sew a zipper! Go me. & thank you (:
Nikki says
My sewing machine did not come with a zipper foot. Where would you go to buy one? I would like to get a dipper foot and make a skirt for my daughter.
Nikki says
My sewing machine did not come with a zipper foot. Where would you go to buy one?
Amber says
Probably to any sewing store or dealer.
Kayla Ott says
Great tutorial! Thanks for the giveaway!!
Ashley says
I’ve been so nervous to try and sew a zipper. This just might be the kick in the butt I need 🙂
Aimee C says
Thank you! THis is a great tutorial! I’ve been needing this to replace a zipper on my only black skirt! will do it this week! 🙂
Diane Collins says
This really gives a clear, easy to follow way to put in a zipper. Following forward instructions is confusing for beginners. This is great!
Rose says
Your tutorial is very clear, and easy to understand. I’ve done zippers years ago, but did a little refresher, and will bookmark this for my daughter, who is learning to sew.
Thanks!
Jess says
Well this seems easy enough…LOL I pinned it for later! 🙂
Kristina Calkins says
I love your simple tutorials and projects. I look forward to making a skirt for me and my girls.
I really needed the zipper tutorial. Thanks!
Jacque says
I’ve ALWAYS had problems with putting in zipper. Thanks for the great tutorial / lesson!
Chelsey says
and oooooohhh noooo! I wish I had known about the fabric blowout coming up next week online! I have been to the fabric store 3 times in the past week stocking up on beautiful things, lol.
Amber says
What fabric blowout?
Chelsey says
On the Fat Quarter Shop’s page there is a banner for a Fabric Blowout sale starting on the 18th (if I remember right)!
Amber says
Oh cool!
Chelsey says
It looks so easy when you do it! I’m sure it will take me quite a bit of concentration, but I will surely need to know how to add a zipper at some point in my life, so learn I must!
montse says
I’ve been looking forward for this lesson. I’m one of the people that fears how to do this. I know I will need some practice but like every week, you make it look so easy! Thanks again!
Jana says
I’m a little behind, but I finally finished my handbag!
It isn’t quite perfect, there’s some puckering and wrinkling, but I love it anyway. It’s mine and I designed and made it all by myself!