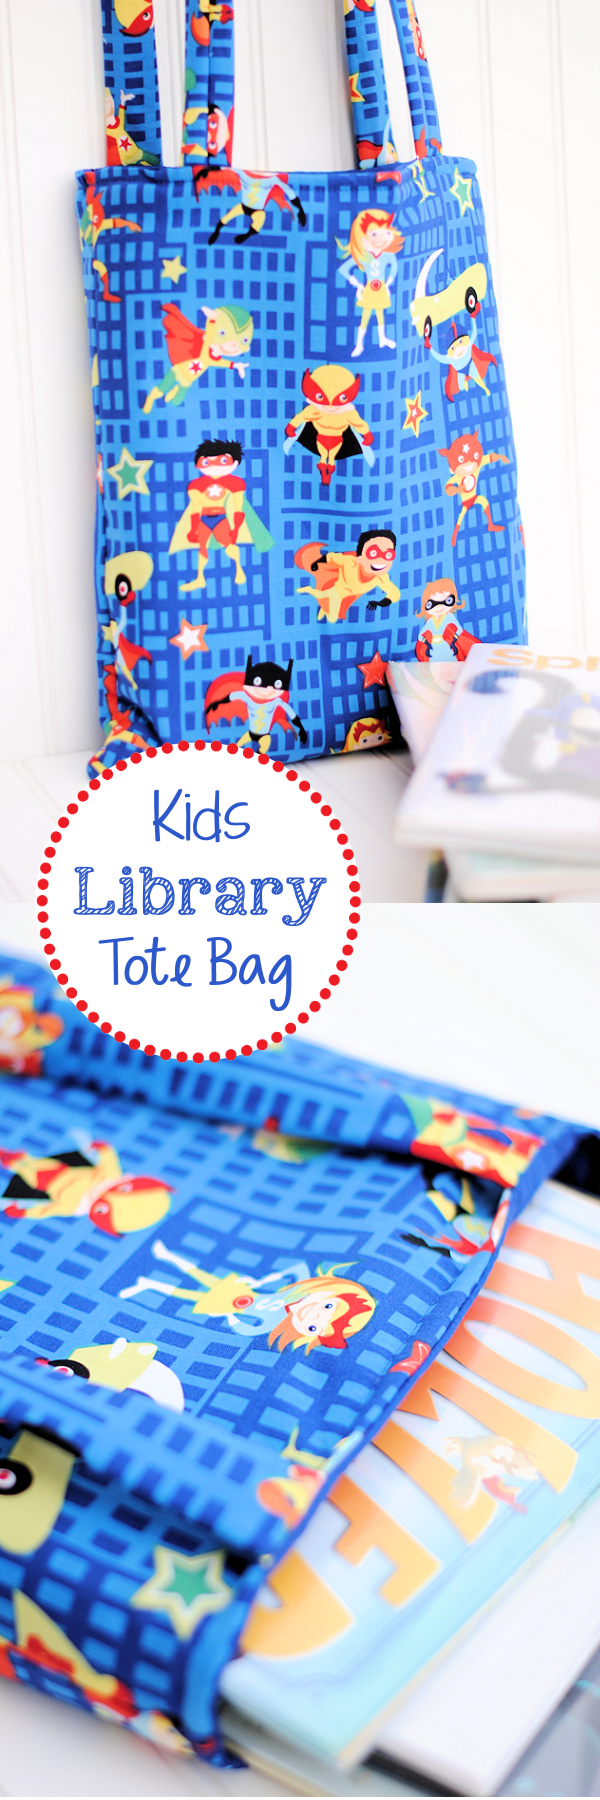
What’s the Project? Make this easy kid’s tote bag pattern so that you’ve got a great bag for trips to the library or wherever you are going with your little ones! Easy to sew and something your kids will love carrying!
A while back on my Facebook page I asked readers for ideas of new sewing tutorials they would like to see on the blog. I am so glad I did because you all had some great ideas! (I am always open to project ideas-I’ll just keep a running list of possibilities.)
Several readers requested a library book bag for their kids to tote books to and from the library. This seemed like a perfect project for this time of year because me and my boys are always going to the library during the summer!
So, here’s a very easy to sew kids library bag tutorial for you! Or you can use this easy kid’s tote bag pattern for wherever you are going!
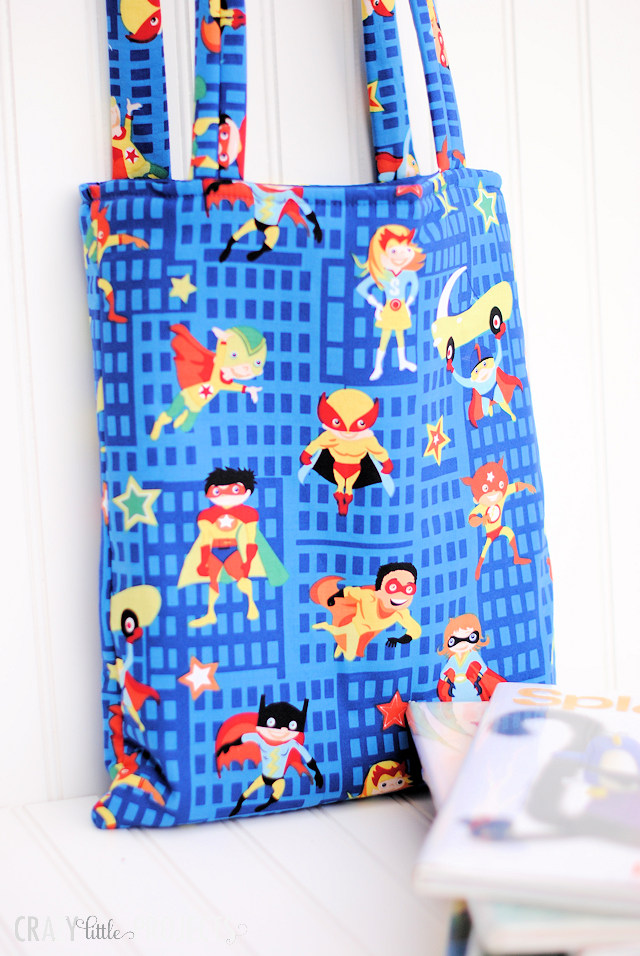
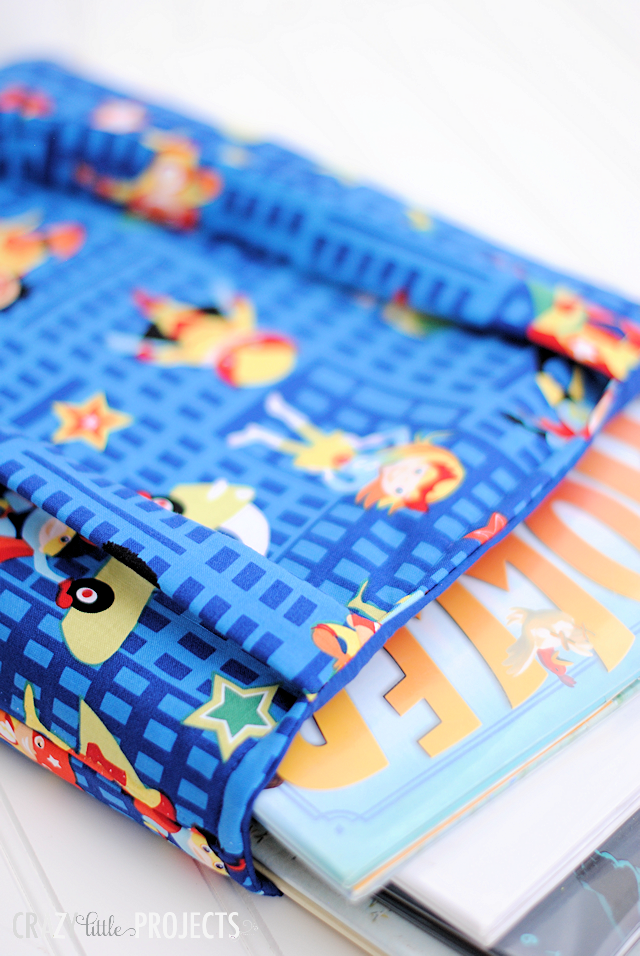
It should fit a nice pile of books and still be pretty easy for the kiddos to carry:
And I promise you, this is a pretty easy project to make. This project is definitely something a beginner could tackle!
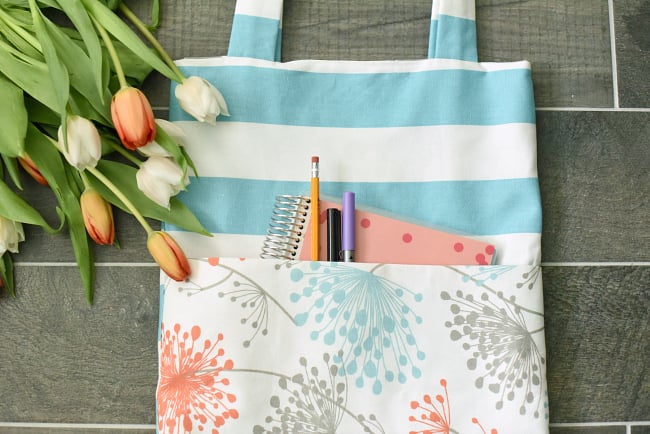
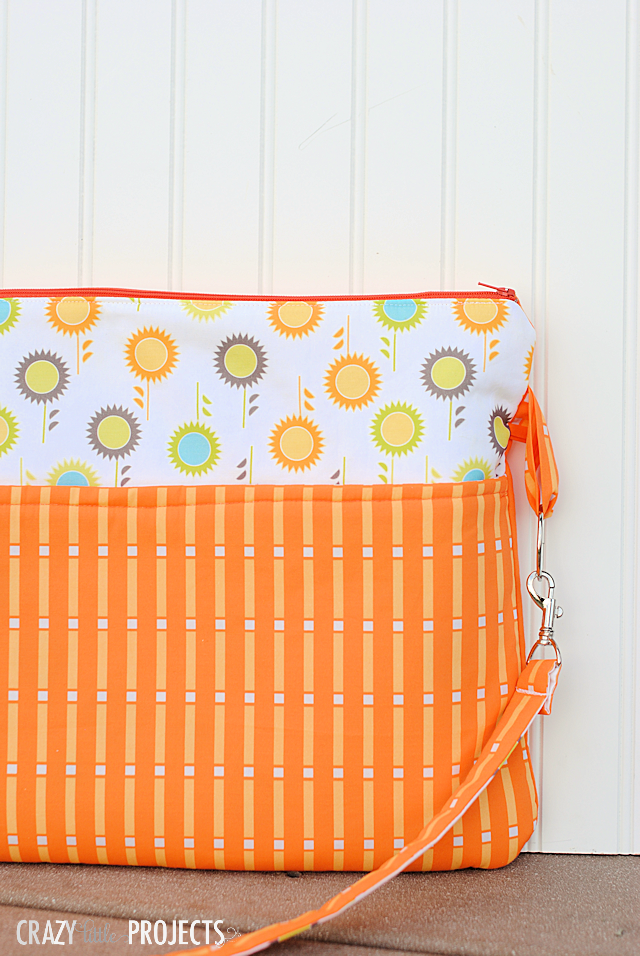
If you want one for yourself, this bag is a favorite as well:

Bags are some of my favorites to sew!
Kid's Library Tote Bag Pattern
Supplies
- 2/3 yard fabric #1
- 2/3 yard fabric #2 that coordinates with fabric #1
- 2/3 yard fusible fleece interfacing optional but makes the bag much sturdier
Instructions
- From your first fabric cut 2 pieces that are about 13 inches across by 15 inches long. This will be the outside of the bag.
- Cut the same from your second fabric. This will be the inner fabric.
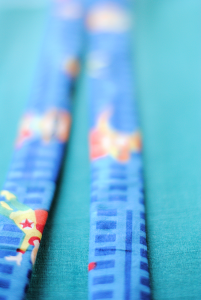
- Cut straps that are about 4 inches across by 27 inches long from either fabric.
- From your fusible fleece, cut 2 pieces that match the size of the straps you already cut. Also cut 2 rectangles that are 13 by 15 inches long.
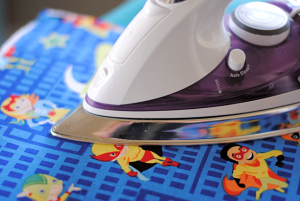
- Fuse the interfacing to the back of your main fabric by ironing it.

- Put right sides of the two large pieces of main fabric together and sew around the sides and bottoms. Do the same with your inner fabric.
- Now let’s make the straps. Fuse the interfacing to the underside. Fold the straps in half lengthwise so that right sides are touching and sew up the long side.Turn right side out and press so that the seam is in the center of the back

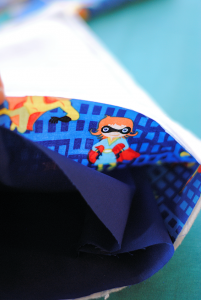
- Turn the inner part of your bag right side out. The outer part should still be inside out.
- Slide the inner party down into the outer part: (right sides are together inside).
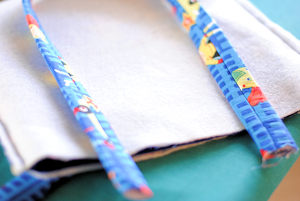
- Slide your straps down between the two layers on each side. Here they are laying on top of the bag, how I want them. Then I just need to slide them in.
- Put them in place inside and pin them.
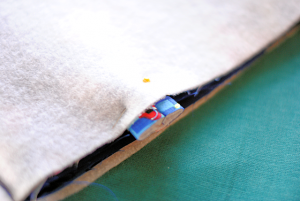
- Sew all the way around the top leaving a small 3 or 4 inch opening on the side to turn it.
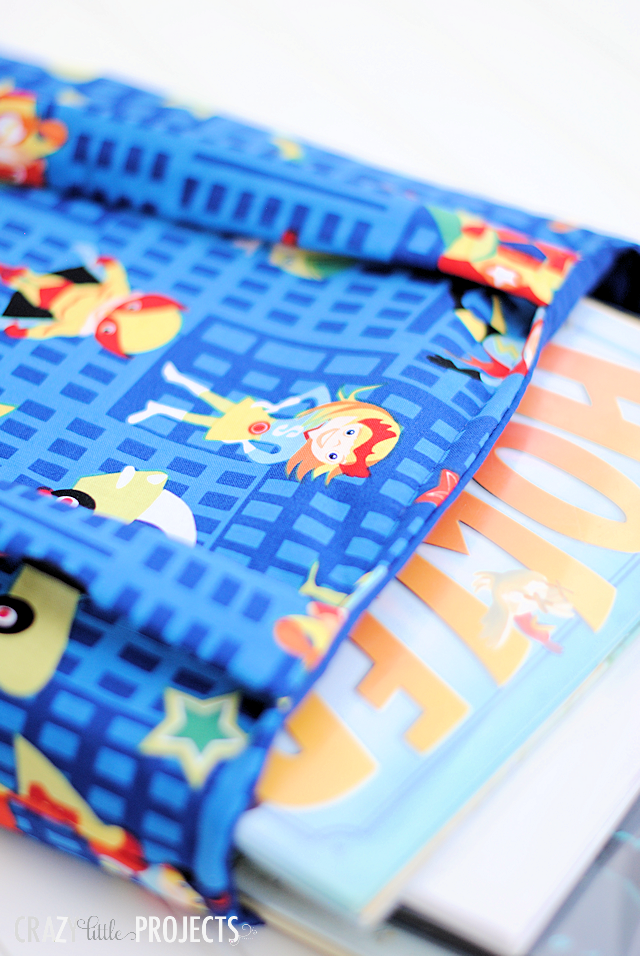
- Turn right side out. Press the top edge and press closed the opening, then top stitch all the way around the top to close the opening and make it look nice. And you are done!
Take this baby to the library and check out some books!
I hope you’ve loved making this fun kid’s tote bag pattern!
When my kids were little we read books so much! Picture books when they were really little and then chapter books with me reading a few chapters to them each night and I absolutely loved it. We’ve got a lot of memories around that. We made MANY trips to this library and I’ll tell you, this bag would have been handy.
Need some book recommendations?
Or here’s a fun list to try:
50 Books All Kids Should Read Before They’re 12
Happy sewing and happy reading!! Hope this is a fun project for you.
You Might Also Like:
Pin It:


Lindsay says
Thanks for this simple and clear tutorial. I’m a beginner and this did not take long at all and came out looking great. I thought it worth pointing out, however, that if you lay the straps out as pictured (with the seam up) then when you sew everything together and turn the bag right side out the straps will be on the wrong way round with the seams facing out. Just thought others might want to know to lay the straps face up, seam down before sewing them into the bag. I hope that makes sense. I had to redo mine because I simply followed the pictures and couldn’t work out in my mind what would happen once everything was turned out.
Joan Gray says
What was the seam allowance you used, was it 1/2″. This is such a cute tote library bag. I am making one for my Grandson for his 3rd birthday and making an applique for the front of Mickey mouse on the bag!
Jana says
So I bought a 1/2 yard of main fabric and 1/2 yard of inside fabric. If I cut my 13 x 15 piece from an 18″ piece, it doesn’t leave me 4″ + 4″ for the straps. Did you take 1 of the strap pieces from the 15″ piece?
Amber says
Eek! I don’t remember for sure but maybe I better up how much fabric I tell people to get?
Bethany says
Thank you so much! I pinned so many patterns and tutorials for an easy tote bag, but this one made the most sense to me. I used it to make a trick or treat bag. I was previously intimidated by fusible interfacing, but it was way easier than I thought. I ran out of fabric and used webbing for the handles. Thanks again!!!
Amber says
Oh how cute!!!
Brandy says
I was wondering if this would be a decent size for a coloring book? I have already made some crayon rolls for all the kids in the family, and thought a tote with a coloring book would be a great addition, thanks!
Amber says
Yes it would be just right for coloring books!
Jennifer says
I want to make a tote like this, only much smaller, for a toddler to carry around like a pretend purse. Do you have any recommendations for how to size this pattern down? (I’m a novice so I’m not sure if it will work to simply cut the measurements in half the way I would for cooking.) Or perhaps you could suggest another, very simple pattern?
Thank you!
Amber says
Yes, just size them down proportionally depending on how much smaller you want to go.
Jocelynn says
I was wondering if you have any tips on how to turn the straps right side out. I love the pattern, I am just having issues with the straps. I used a lightweight fusible fleece. Thanks!
Amber says
Use a chopstick or other long object to help push it through.
Patt says
My hands are horrible with arthritis — so I don’t do any turning if I don’t need to. Just Pres the two long sides meeting in the middle then fold that in half and top stitch both edges and you have a neat firm 1″ strap which is about the same if you buy strapping material. I also turn my bags by leaving one of the lining side seams open about 3-4″ then I just match the sea edges and sew very close to the edge. It’s on the inside and works just fine with out a lot of stress on hands!
Sarah says
Sew a thin piece of ribbon that is about 5″ longer than the strap to the right side at one of the ends of the strap, then sew as normal, making sure the ribbon doesn’t get caught in the seam. Once you have sewn the whole length, ypu can simply pull the ribbon through the tunnel, and it’s right side out.
Julie Lansing says
In regards to the fusible fleece, what weight are you recommending, light, medium, or heaving? I’m a beginner and this will be the first time using fusible fleece.
Amber says
Oh-the stuff I buy doesn’t have a weight so I am not sure. Probably medium?
Sarah says
I just wanted to say how much I love your website, I’ve had a sewing machine sitting around unused, but now I have just finished the library bags and a messenger bag, thank you!! Your instructions and photos are a life saver and I can’t wait to pick something else to make 🙂
Tania says
Thanks for the tutorial amber:) the bag came up really well. Just wanted to make a comment about interfacing which might be very obvious to some but I only realised as I made it – if you choose a strong polyester interfacing instead of a) what is recommended or b) something light/thin or reasonably flexible it is hard to turn the handles the right way out due to extra bulk. i couldnt turn mine out at all so I needed to sew them a completely different way.
susan mcconnachie says
Thanks for your easy to understand tutorial. I used it in my Beginner kids Class, I left out the interfacing though. they even made a couple for Christmas Presents. Thanks
Jodie says
What seam allowances are you using? 1/2” or more? Thank you.
Lisa H says
Hello Amber! I’m making the bag now. Quick question, where it says “Now, turn the inner part of your back right side out. The outer part should still be inside out.”…should the word “back” be “bag”? Thanks!
Margaret says
I don’t have kids or a need for a library bag but I do have a need for a cross-stitch bag. This is the perfect size for a hoop and supplies for whichever project I’m working on. Just what I have been looking for. Thanks so much for posting.
Erin says
Great material 🙂 where did you get it?
Amber says
I think I got this from http://www.stitchstashdiva maybe?
Tara says
Super cute! I NEED to know what this fabric is and where you got it, I love it!
Amber says
I got it from either http://www.stitchstashdiva.com or http://www.hypernoodlefabric.com I can’t remember! But it was at least a year ago.
onel says
Thank you! I love the fabric too! Great tutorial 🙂
Marianne L says
Looks like a cute and easy project, Amber, but 13 by ??? I guess it could be whatever size I want, but then I’d have to think!
Amber says
I shoot! I forgot to add that in! I will do that now! 🙂
Rebecca says
Love it!! I will be making at least 3 of these and maybe one for me. :-). In the instructions it says main body 13″ across but there is no other measerement. How long did you cut your fabric?
Amber says
Fixed it. It should have said 15″
Angie says
Just wanted to let you know that the measurements for the main fabric is missing one part. It has the 13″, but doesn’t have the other dimension.
Amber says
Sorry about that! It’s 15″
Cherry Parker says
Love the bag! Can you tell me what material you used?
Amber says
I got it a while ago!! Check http://www.stitchstashdiva.com though. She has something similar right now
Eleanor says
What is name of the superhero fabric?
Amber says
I don’t know because I made this a while ago. Sorry!