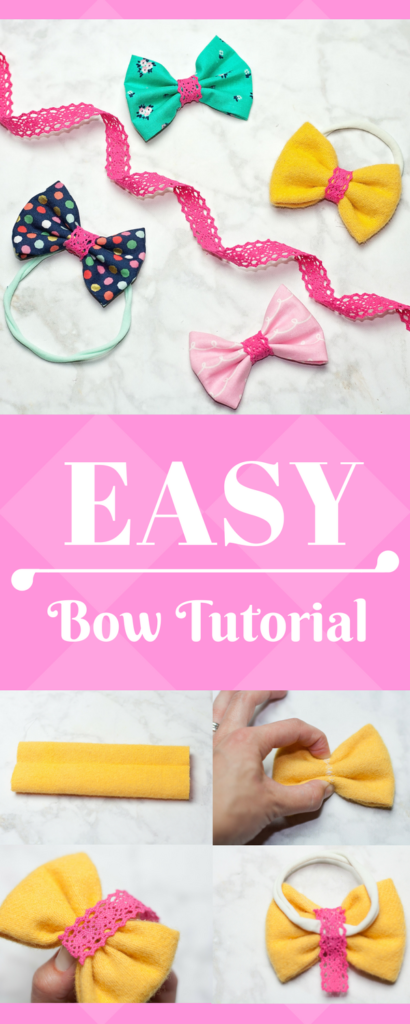
What’s the Project? Want to make some cute bows for the little girls in your life? Follow this easy hair bow tutorial for simple, cute DIY hair bows for girls of all ages. So easy and so cute! You’ll want to make a million.
In the last 38 years, two girls have been born into my family.
I was the first and then there wasn’t another until my niece was born almost 4 years ago. Last week we found out that my sister in law is pregnant with a girl!
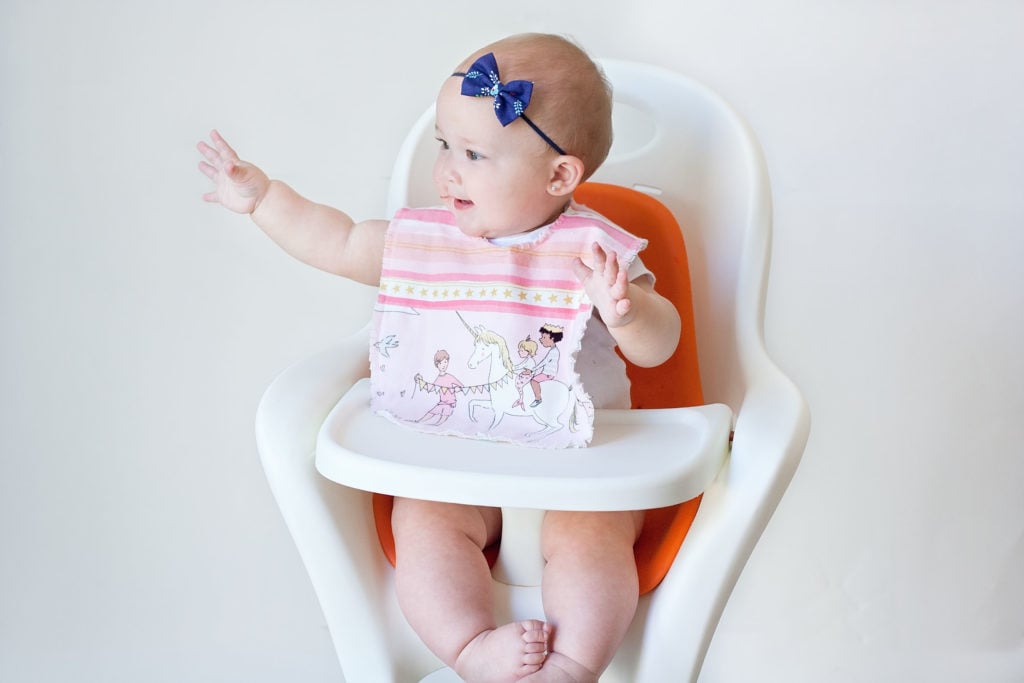
Which will dramatically up the ratio of girls in my family. It’s time to make some girly things and this easy hair bow tutorial from Kimberly at Sweet Red Poppy might be a great place to start! 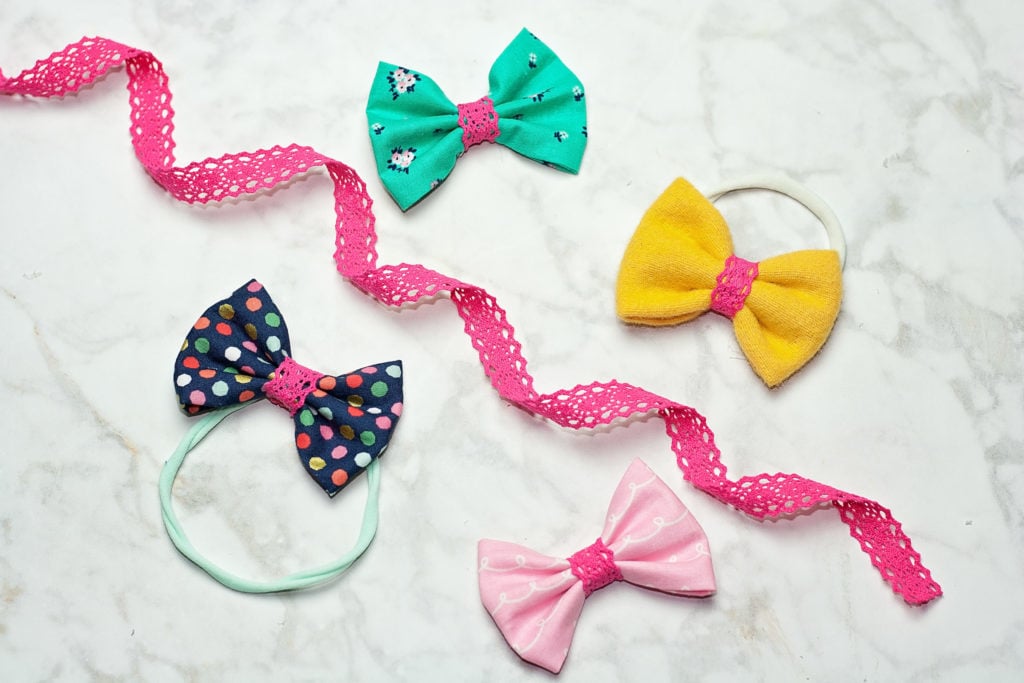
Here’s Kimberly with this tutorial for DIY hair bows.
DIY Hair Bows:
Hi, it’s Kimberly from Sweet Red Poppy and I’m here to share a quick and easy hair bow tutorial with you today!
I’m a huge fabric scrap hoarder, so I’m always looking for easy ways to use up my overflowing bin of scraps. This hair bow tutorial is the perfect solution and my girls love having a variety of momma-made bows! They also double as the perfect baby shower or birthday gift! Once you get started, you won’t want to stop!
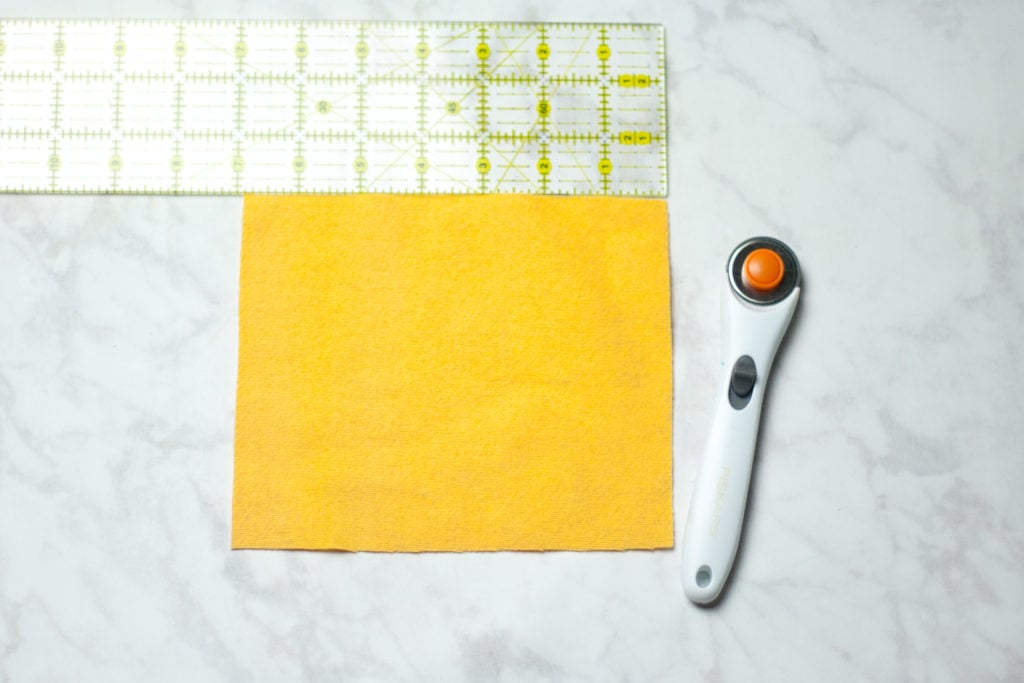
- 1/4 Yard of Fabric
- 1 yard of Crochet Trim
- Elastic
- Hair Clip
- Thread
- Glue Gun
- Hot Glue Sticks


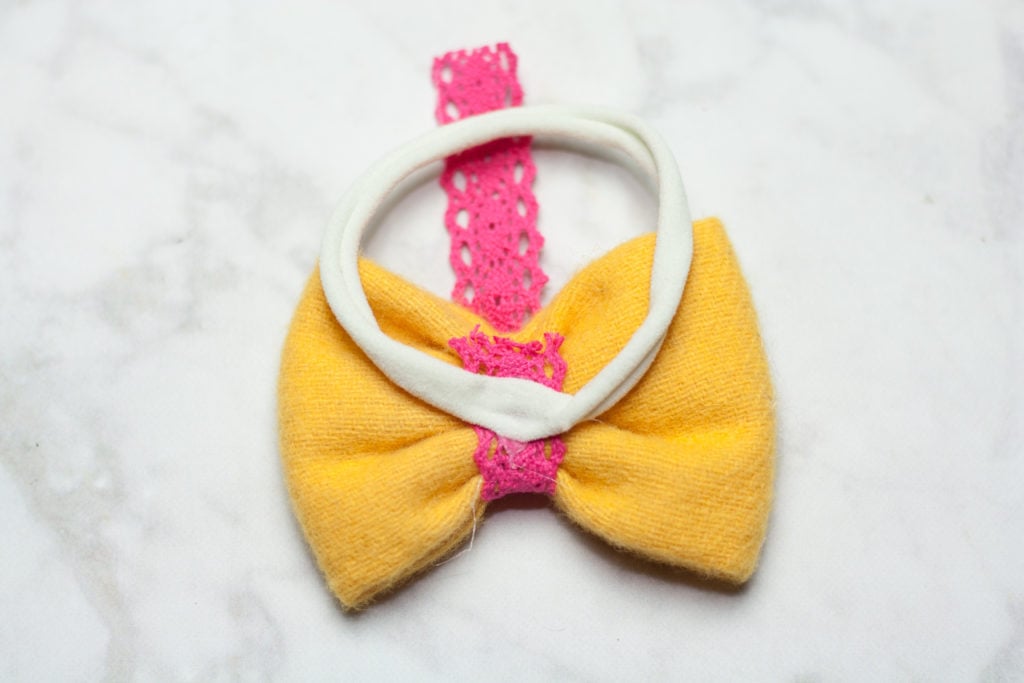
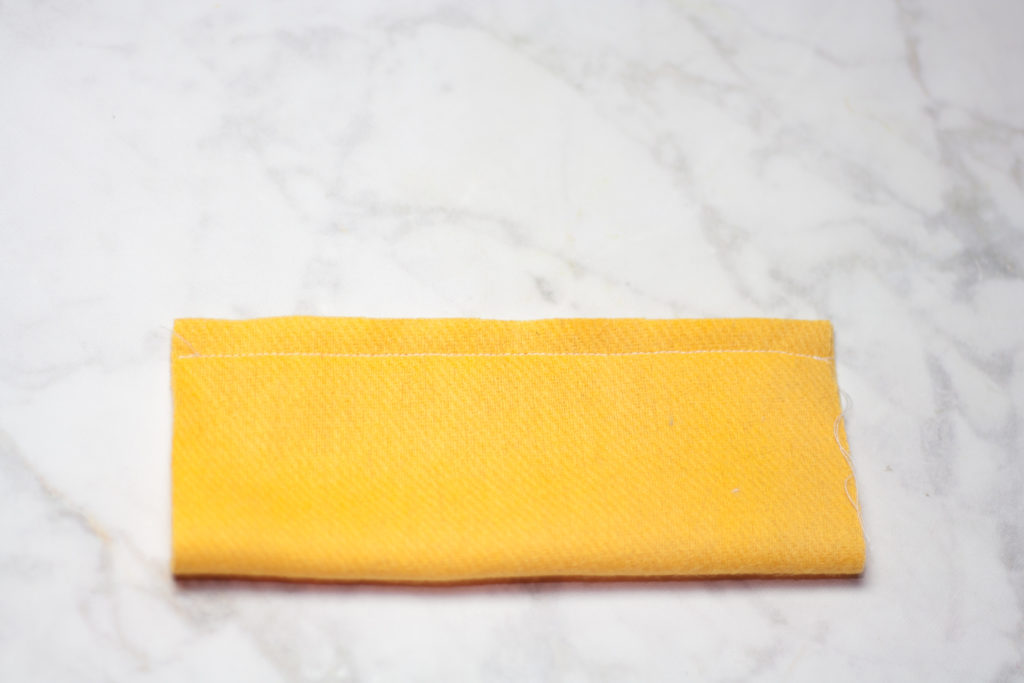 Turn the bow right side out and center the seam allowance.
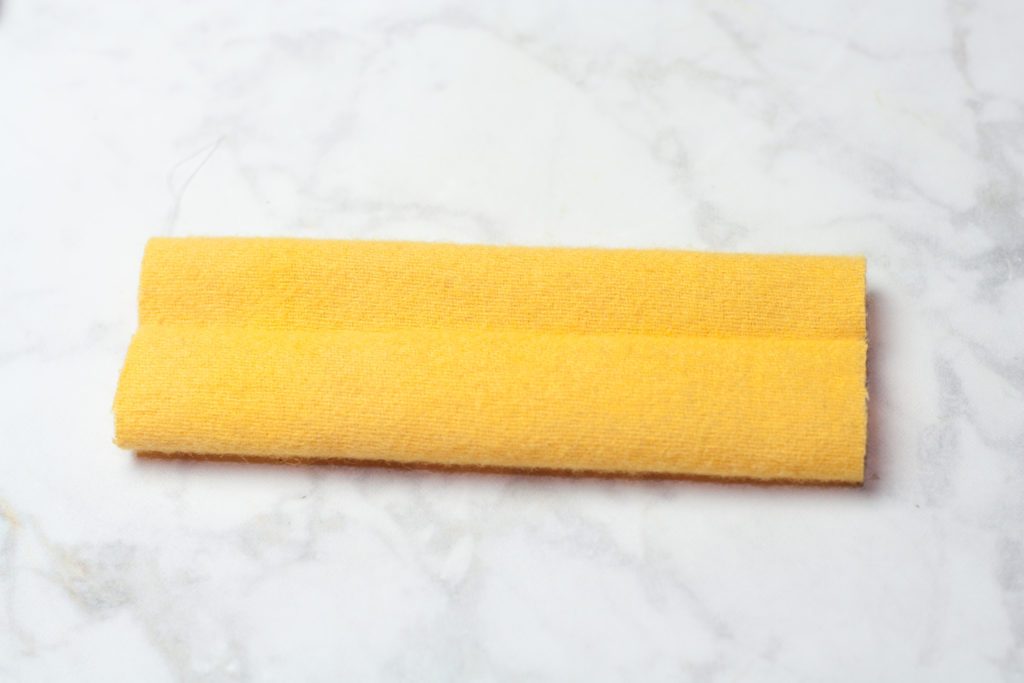


Hair Bow Modifications
- Try taking an inch off of either side of the bow measurement to create a second layer to make a stacked bow.
- Decrease the size of the bow by half to make pigtail bows.
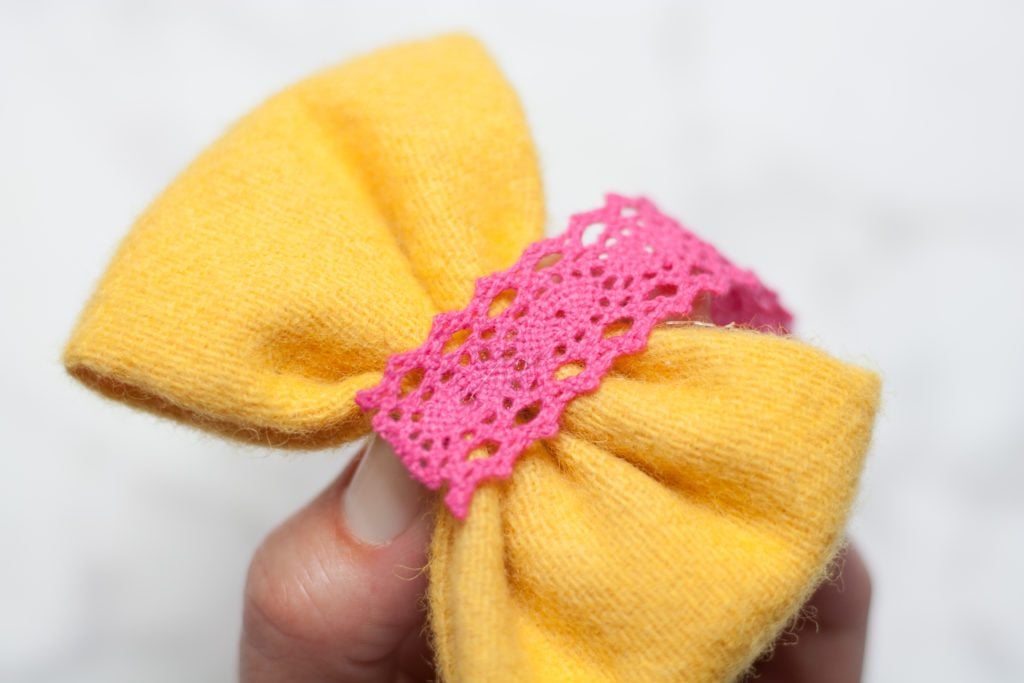
- Swap out the crochet trim with fabric.


Wendy says
Hi Kimberly, where can I get or buy the Riley blake fabrics?
Abbie says
These are so cute! I can’t wait to start using my scraps to make some!