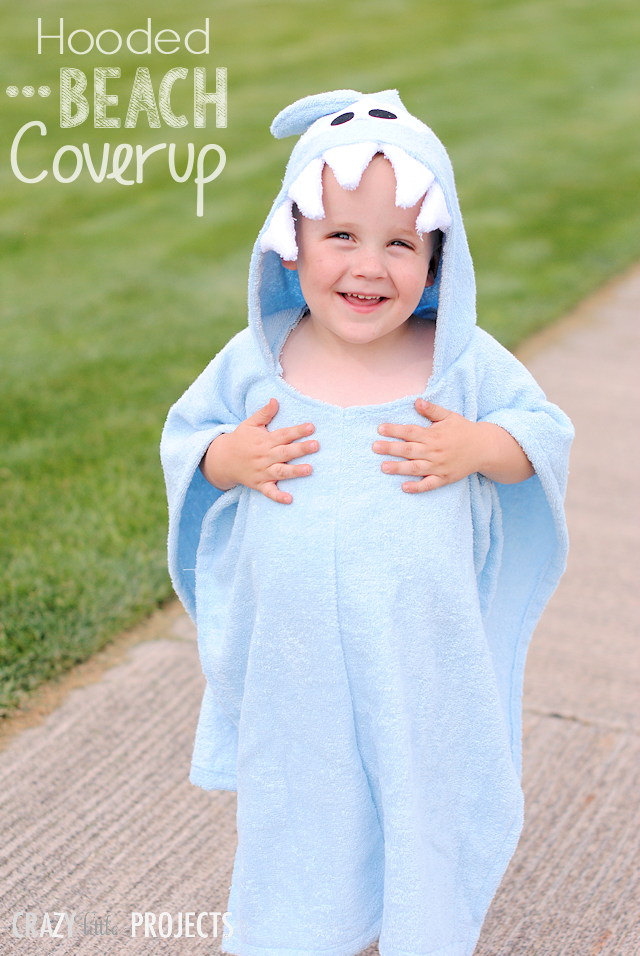
Today is the day!!! My kids get out of school today (and early too so I have time to party with them)! I am so excited. We’ll spend lots of time at the pool this summer and it can be tricky getting in and out of the pool area with 4 little kids and all of our gear. One of the trickiest things is getting my toddler to follow me happily because he’s usually throwing a fit because his towel won’t stay around him. Today I’ve got that problem solved. This year he’ll be rocking this hooded beach cover up:


You can make it with the face or without-whichever you prefer. AND you can make it with any face you want. I just chose to do a shark, but all of my hooded towel options will also work here.

Hooded Beach Towel Cover Up Tutorial:
Supplies Needed:
- 1 yard terry cloth (this is for a toddler size-if you want to size it up get a little more)
- Small amounts of white fabric and black fabric
- Small amount of paper backed fusible adhesive like Heat n Bond
- For the shark-small amount of white terry (hand towel will work)
**You can make this swim cover up with anything on the hood (or nothing). Any of the hooded towel patterns will work for this, so take your pick!
Instructions:
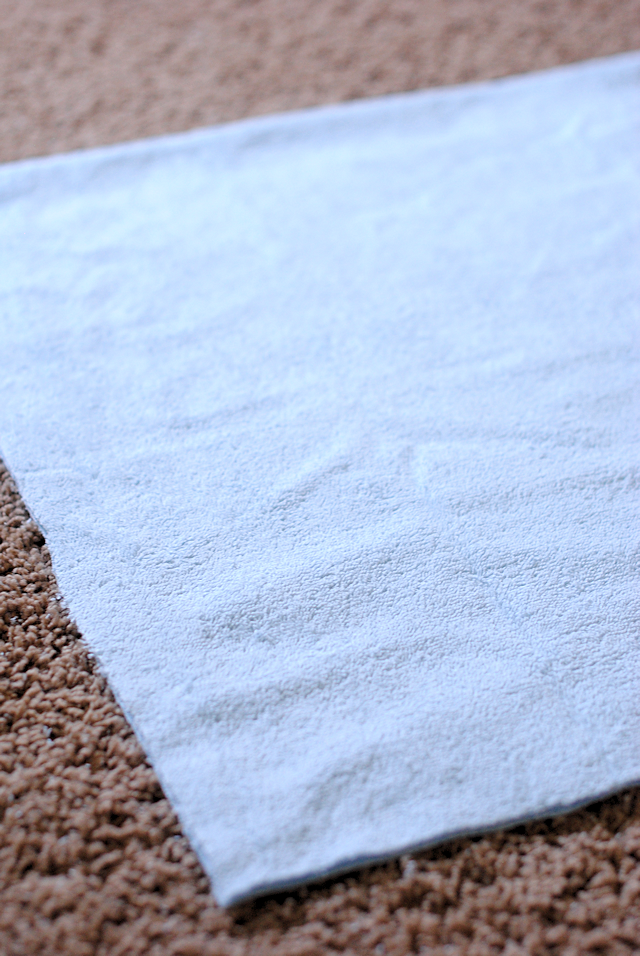
Cut your terry cloth about 24 inches wide by 46 inches long. (Mine is folded in this image):
Fold under each edge all the way around about 1 inch and hem it):
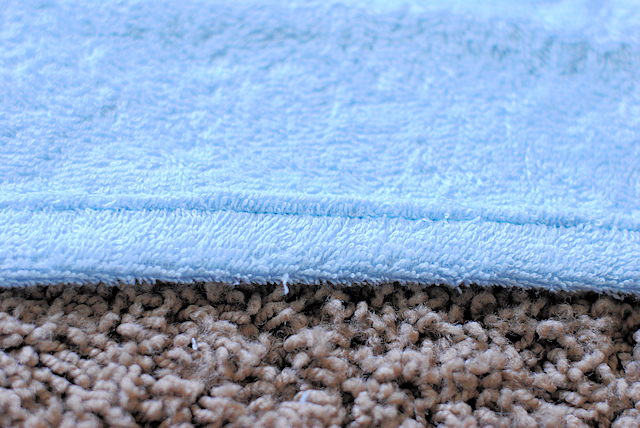
Trim off any excess fabric on your seam.
Now, fold your piece in half first horizontally, so the two short sides meet, then vertically, so it is in fourths. Cut a neck hole from the center fold out so that the edge of the neck hole is about 3.5-4 inches from the center fold. 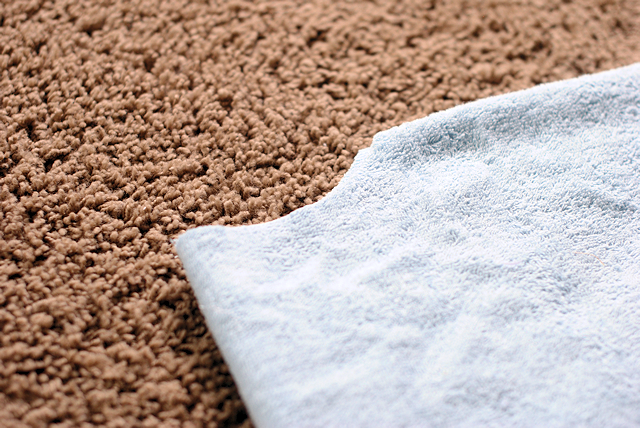
Now you need to make your head. To do this, cut a piece of your leftover terry that is 9 inches wide by about 20 inches long. Hem one of the long sides under about 1 inch.
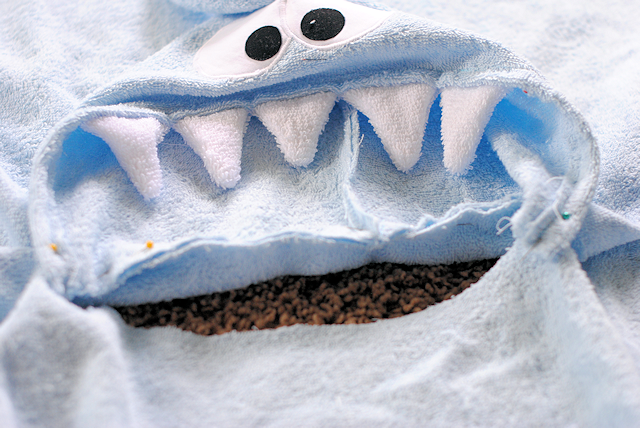
Now, follow the instructions from the hooded towel post to make the face. Here is the shark one.
Follow the full instructions for the hood part of the towel.
Then, once it is ready, attach it to your cover up piece by pinning it to the hole you cut, starting at the back center and working your way out on either side:
Stitch it in place.
Then fold under the front part of the hole that didn’t get the hood attached to it. Fold it under about 1 inch and sew it.
And you’re done! Have fun at the beach!

You Might Also Like:


Joyce says
Kid’s hooded beach cover
I didn’t see measurements for the opening for the head. Sorry if I missed that.
Liz says
My toddler often goes home from the pool in nothing but a diaper, so I stitched up the sides leaving an arm hole space at the top for more coverage. Just as cute and less chance of him flashing everyone all the way up the street to the car.
Morgan says
I bought fabric, washed and dried it and made two of these today. What a satisfying project! I now have visions of magical, smooth exits from the pool/beach with three happy children and no changing out of wet suits while shivering. I guess we’ll find out tomorrow. 🙂
Morgan says
Update: Kids loved them, and even wore them to keep warm in the evenings while we were camping. Thank you for this tutorial!
Amber says
Oh yay!!!
Jennifer Coupal says
I’m going to try to make a variation of this without the hood for my 11 year-old son. He too complains about his towel falling off while walking to the car. The 6 year-old will still appreciate the hood.
Anne says
Cute!!! I’ve posted a link to your tutorial on Craft Gossip:
http://sewing.craftgossip.com/tutorial-kids-hooded-towel-cover-up/2014/06/02/
–Anne
Amber says
Thank you thank you!!!
Leah says
I’m so excited for this tutorial! I love your hoods but have been searching for a way to attach them to a poncho style like this. Thank you! I know what I’ll be making this weekend 🙂