Don’t get scared by the Z word. I know from my first Learn to Sew series that a lot of my readers never did the last lesson because they were too intimidated by zippers. But I am here to tell you that YOU CAN DO IT. They are not as hard as you think. And with practice they won’t be hard at all. So let’s teach these kids to sew in zippers!

Our sponsor this week is one of my favorite online fabric stores! The Ribbon Retreat. Have you shopped online there? I love their selection of fabric and love love love getting fabric in the mail from them. And guess what? The winner of this one is getting $100 to spend there! Ya! Enter at the bottom of this post.

Learn to Sew: Zippers
Just a note-this lesson is going to teach the standard way to do zippers. The project this week will be a slightly different and easier way to do zippers, but this knowledge in this post is worthwhile.
First of all, you need to buy a zipper. That’s pretty easy. There are different types. The kind I usually use is the Polyester but there are also metal and things. You are going to find them in the notions section of your store and they are going to be organized by color and length, so be sure to pay attention to what length of zipper you need. And generally, unless otherwise noted, get the polyester kind.
So, once you have your zipper, open it up the packaging. Now, on the inside you are actually going to find instructions on how to insert a zipper. You will find 2 different ways. Centered or lapped application. What I am going to teach you today is centered application. If you ever need to do lapped just remember that the instructions are there.
Next, find your zipper foot. It should look something like this:
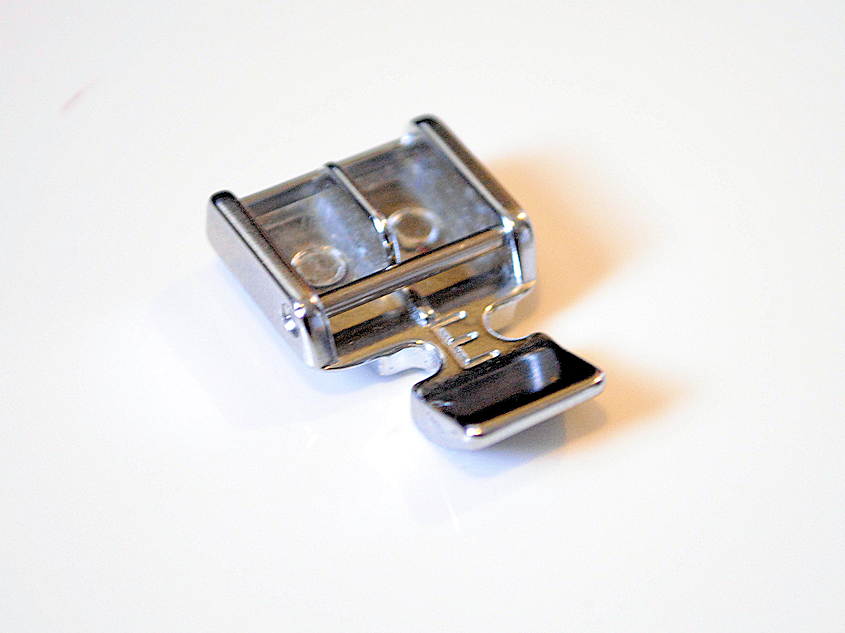
Attach it to your machine. To do this, you are going to take off your presser foot (check your manual for how to do this on your machine, but it’s likely that there’s a little red button/spring on the back that you push and it pops off. Then you will put the zipper foot under there BUT you will need to either insert it to the left side or the right, NOT centered like a presser foot. See how it is on the right in this picture?
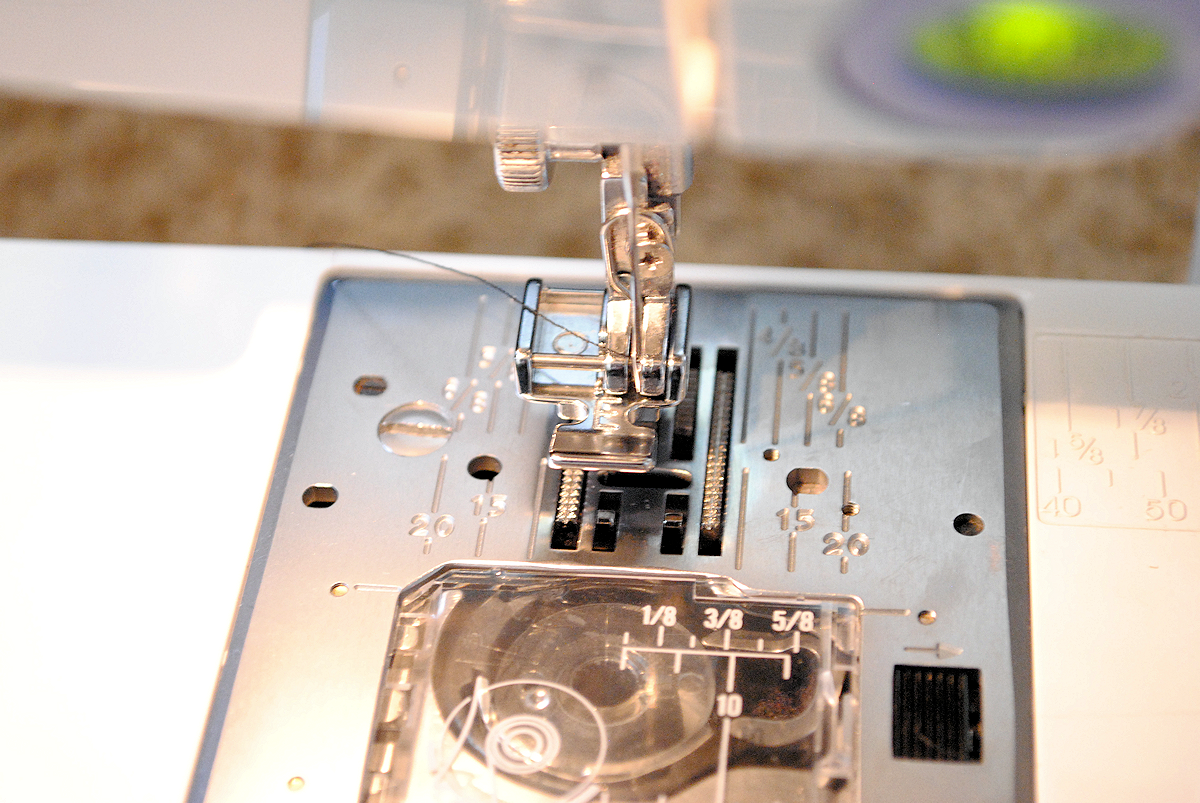
You’re going to want it so that the needle is on whichever side you are sewing on. So if the zipper is to the left of your needle, the zipper foot should be inserted on the left.
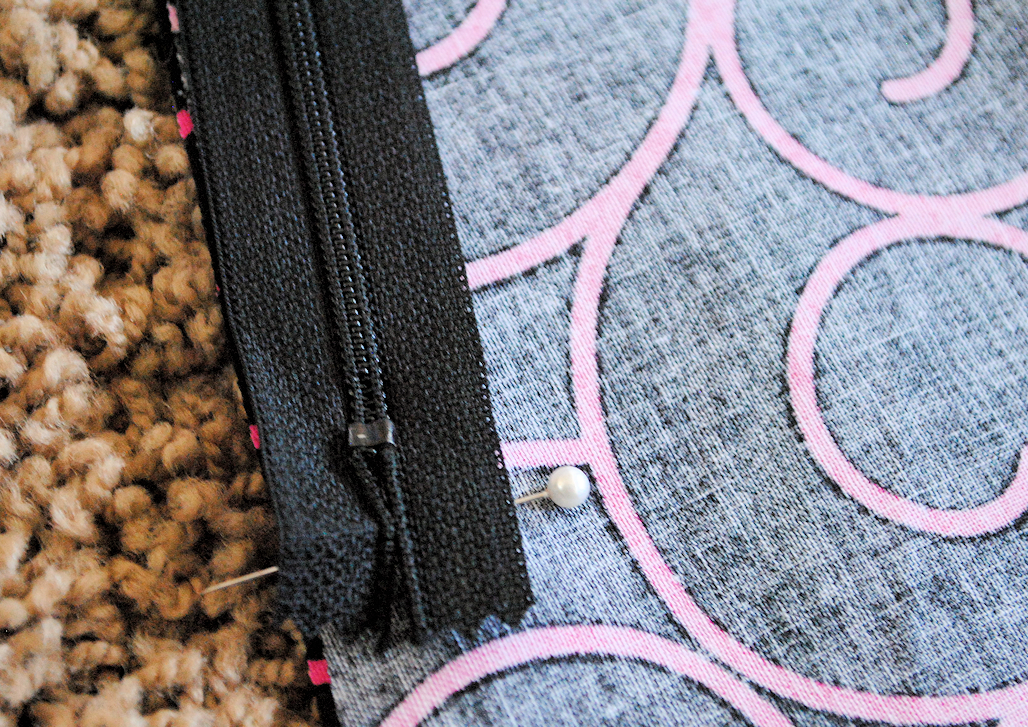
To sew in the zipper, the first thing you do is baste shut the area that you are going to be sewing. You’ll want to baste just the part that the zipper will cover and use a regular stitch to sew the rest of the seam. To figure this out, lay your zipper where you need it to be eventually and mark the bottom with a pin:
Then move your zipper out of the way and do you basting to where the pin is and your regular stitch for the rest.
*Note, it is going to be much easier to sew the zipper in if you use a wide seam allowance for the seam we just talked about. I recommend at least a 1 inch seam while you are learning this skill.
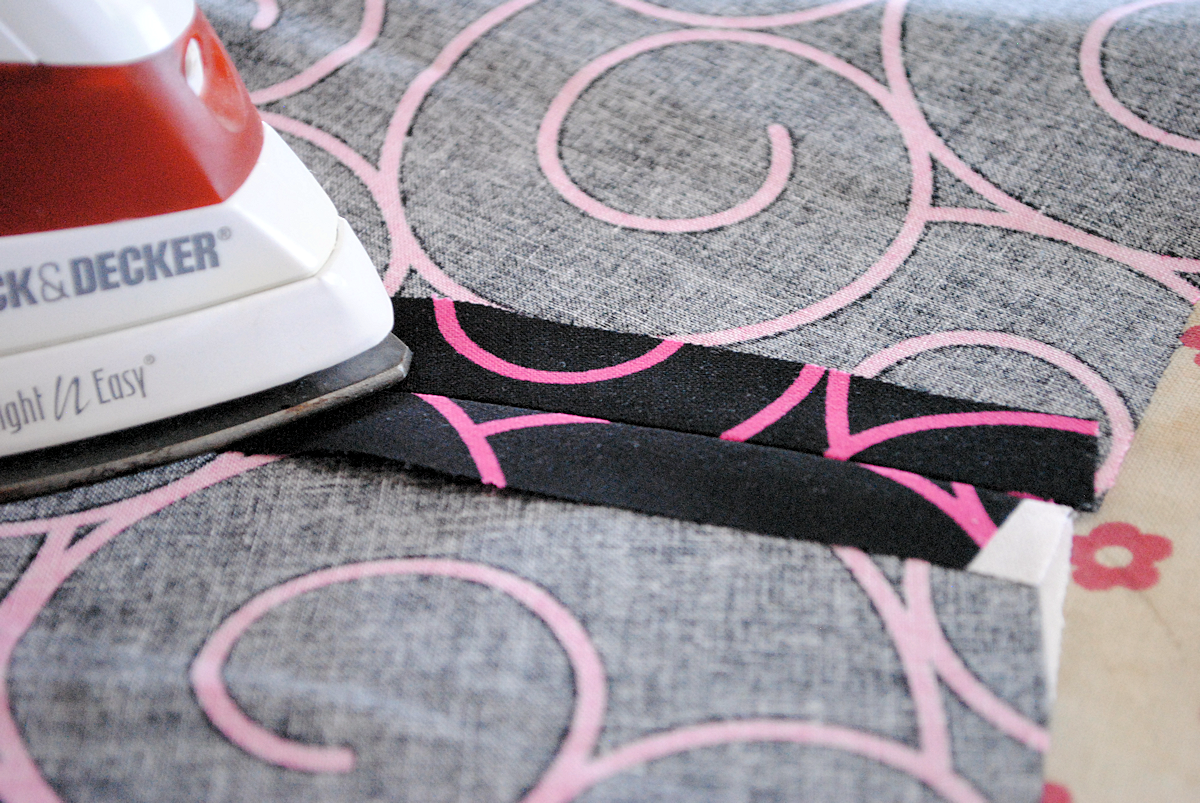
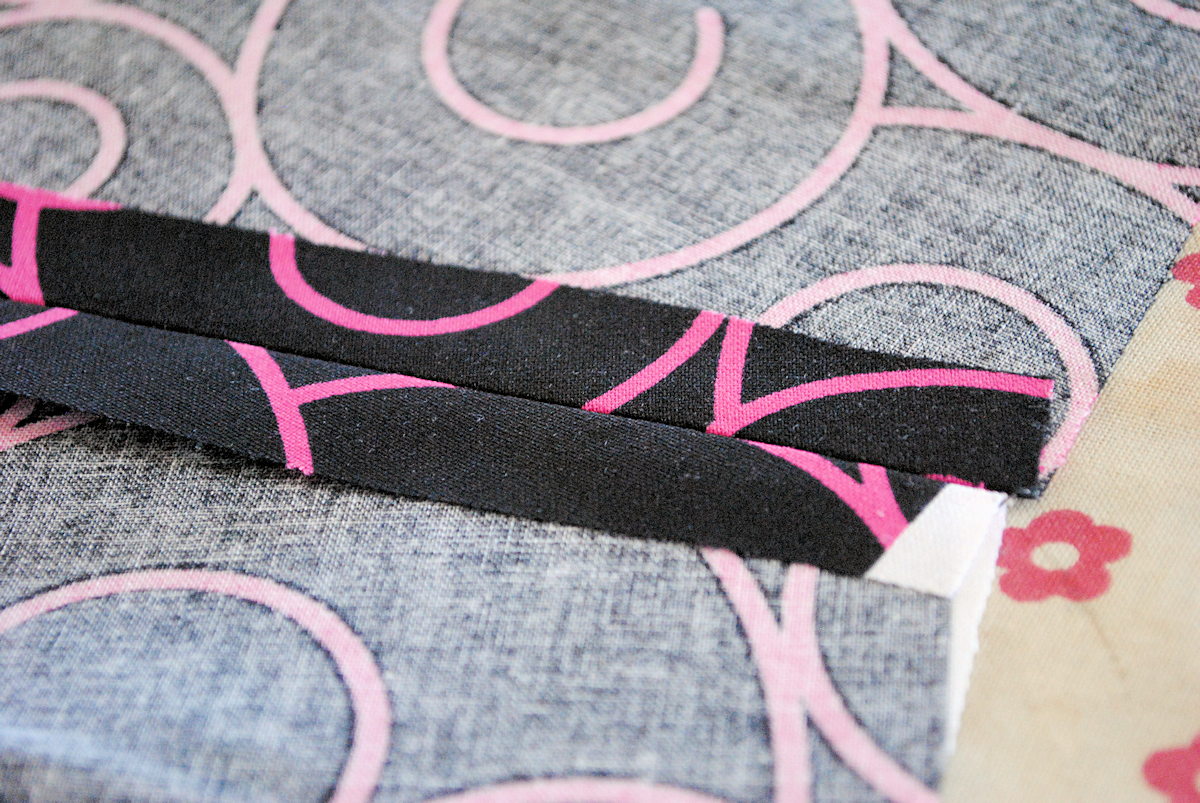
Now, press your seam open in the part that the zipper will be going:
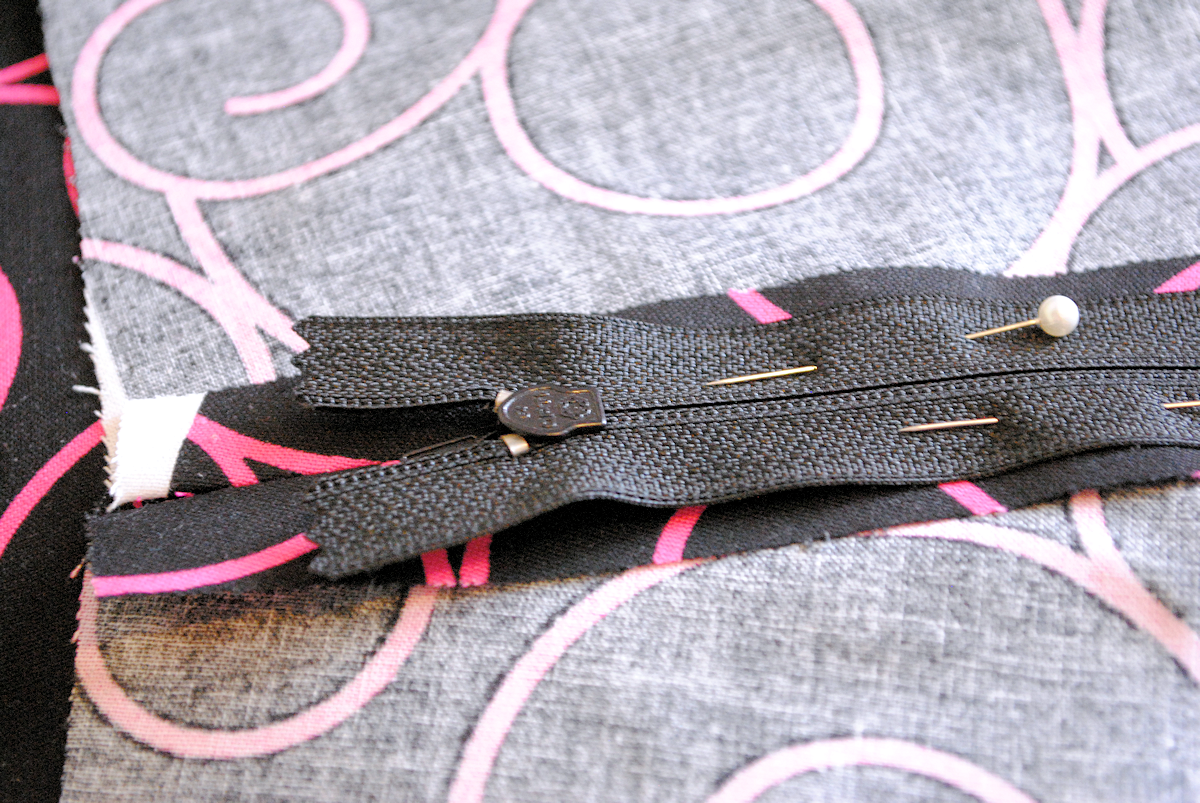
Place your zipper so that the center of the zipper lines up with your seam and pin it in place:
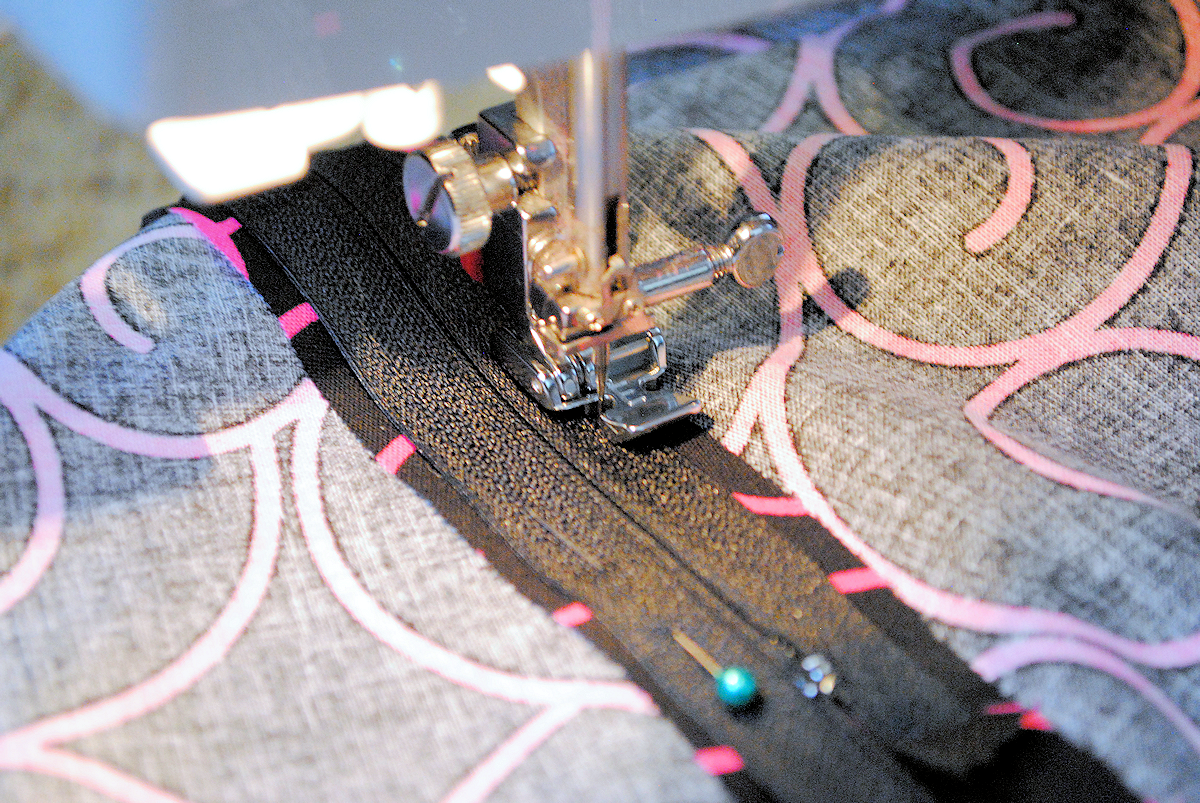
Now you will sew down one side of the zipper, across the bottom and up the other side, all the way to the top. Move your zipper foot to whatever side you need it on so that the needle is close to the zipper as you sew.
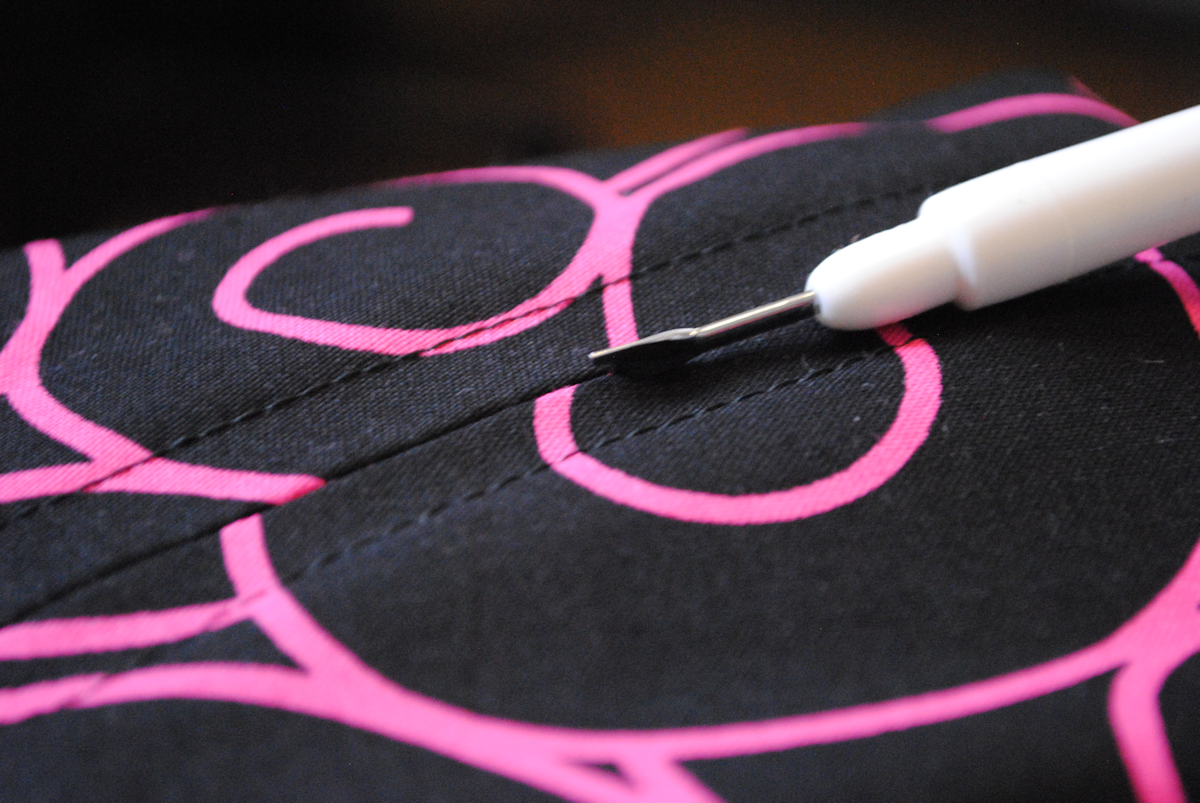
Now turn it over and use your seam ripper to remove your basting stitches:
If you have done it correctly it should look like this:
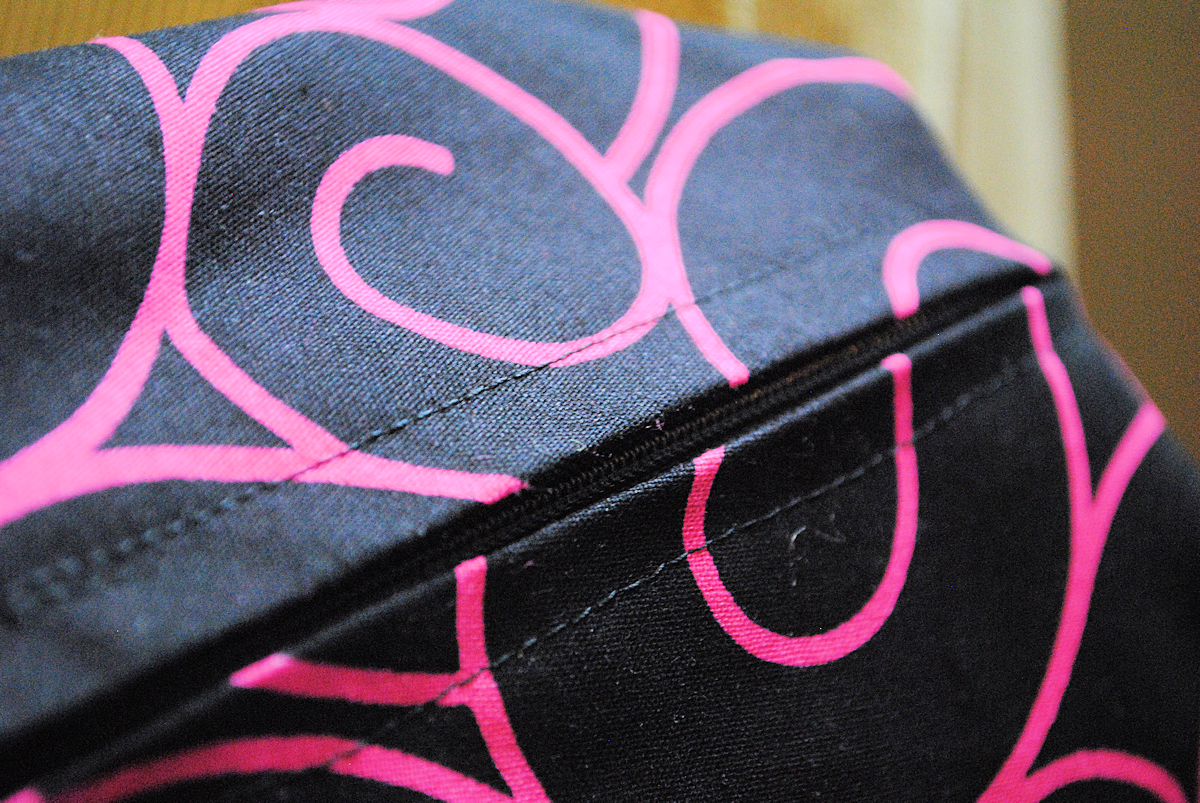
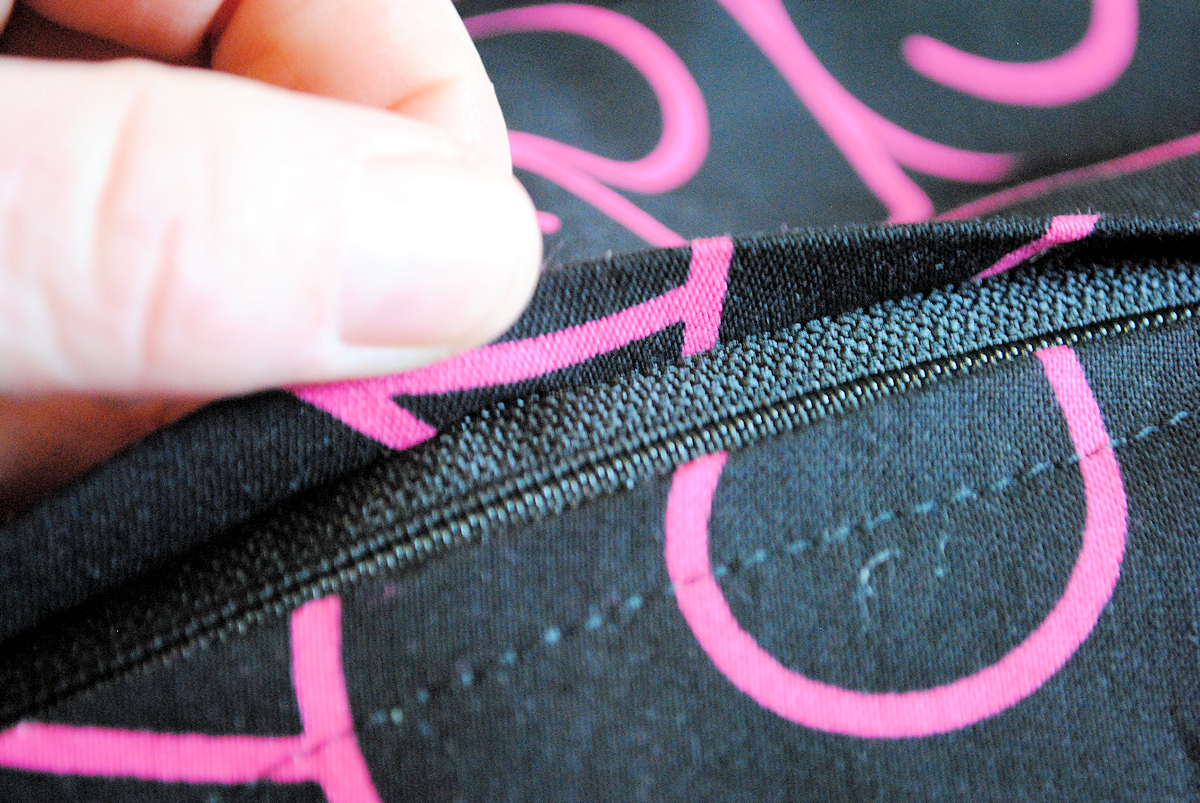
And when you pull it open like this you should see no raw edges showing:
And that’s it. That’s a zipper. Now, be patient with yourself. Zippers are a more advanced skill than anything I have taught you before. If you have to rip the zipper our and try again a few times…that’s normal. Just keep practicing but don’t be intimidated and don’t give up!
But, like I said, this week’s project is going to do a zipper slightly differently and honestly, it’s the easiest way I have ever done a zipper, so try it! It’s a Zippered Pencil Bag:

Now, on to the giveaway! Win $100 to The Ribbon Retreat!


Gwynne says
I’m so glad you posted this-now I feel more confident about the process and practiced it with success
Laurie says
I made my daughter a little dress and did my first zipper. It turned out great…much easier than I thought it was gonna be!
Amber says
Yay! I keep trying to tell everyone that it’s easier than you think.
Catherine says
Success! A little wobbly, but the zipper works:)
bonie says
I made a sample and now on to making them for my grand kids for school
cris says
I’m not scared of zippers anymore! Thank you!
Libby H says
Zipper success! Not as neatly centered as yours, but in! Great tutorial!
Charlene Glover says
This was a fun tutorial, my first time sewing a zipper, thanks for the lesson.
sara says
zippers have always eluded me…this was easy!!
Jennifer says
Love learning all of the new techniques!
Darcy says
I never did the zipper tutorial (like you said earlier!!) on the previous learning to sew series so I tried it this time around — much easier than I thought!!
Amber says
See, I told you!
Colleen Garner says
Thank you for another great tutorial. I now have a cute bag that I carry in my purse to keep my cards and money in. As always, I enjoyed it.
Katy says
Thanks for the giveaway!
Rachael says
I think the hardest part of the zipper was fingering out how to change the presser foot! Now I have a cute wet bag for my sister! I was impressed that your tutorial was a hidden zipper. Most of the others I have seen are just regular