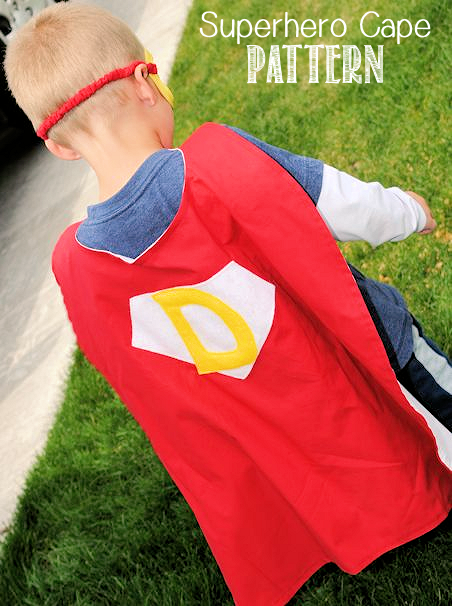
A couple of weeks ago I taught you to make a personalized superhero cape, but what cape is complete with out a coordinating mask? Now you can make the set!
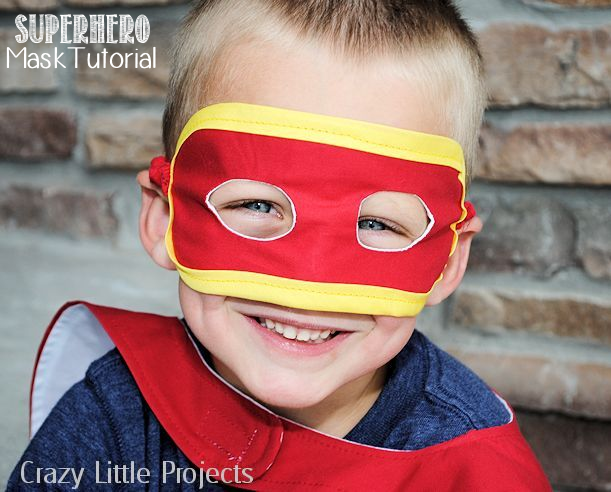
This is a tutorial for those cool masks. Want to create a matching, personalized superhero cape to go with it? The tutorial for that is here.
I let my little 4 year old pick the colors on the one he is modeling…he picked red and white with yellow accents. I was thinking lime green and black or something cool like that, but oh well. Turned out pretty great anyway.
Superhero Mask Template and Tutorial:
Supplies Needed:
A small amount of 2 colors of fabric (or you can use the same color on the front and the back)
1 package double wide folded bias tape in a coordinating color
1 piece of elastic (about 1 foot long)
Superhero Mask Pattern Pieces
Instructions:
This mask is different and more sturdy than most superhero masks you will see because it has a double layer of fabric. It seriously took me some major brain power to figure out how to do this. (Don’t laugh) It won’t seem all that tricky to you now, but it’s quite a feat of engineering! You have to turn it through the eye holes to make it work.
First, print out your pattern pieces. Cut 1 piece of fabric from the large pattern piece and 2 from the smaller one. They can be the same color or different, it’s up to you.
Trace the eye holes on with a washable marker or chalk. Also trace the dotted line on the smaller pieces.
Pin the 2 smaller pieces on the large piece matching up the edges.

Sew around your eye holes about 1/4 inch outside the markings.

Using some nice, sharp scissors, cut out the eye holes using the markings as guides:

Now, pull the small pieces through the eye holes:

And press them smooth: (see, wasn’t that kind of tricky?)

Now here is the really tricky part. I hope this makes sense.
You are going to fold the front side of the mask (the part shown in the image above) in half and pull the two ends of the small pieces from the back around so that you can sew them together on the dotted line you made earlier. Make sure you have right sides together when you do this:

Then turn it so that it is all right side out. It should look like this (on the back) when you are done:

Now press it flat.
Using your bias tape, pin it all the way around the mask and sew it in place: (I start at the edge where the strap is going to be and go around from there.)
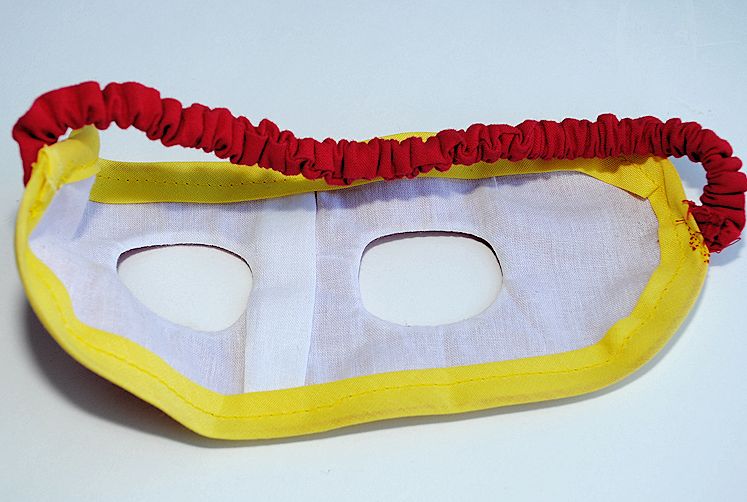
To make the band for around the head, cut a piece of fabric about 22 inches by 2-3 inches and sew it together the long way:

Turn it right side out (use a safety pin pinned to one end, push it through the inside until it comes out the other end, then pull the remaining fabric through). Insert your elastic (about 12 inches) into the casing you just made and pull it through making sure to sew it in place on the starting end and then pulling the fabric down around the elastic and sewing it on the other end. Sew it in place on the mask…and you’re done! (See, I got my lime green and black mask made anyway. My 7 year old liked this one.)

If you like this and want to see more subscribe on on Facebook, Twitter or Google Plus. Or try the RSS Feed.


Anne says
Great tutorial, very easy to follow.
PatvKonze says
Where you say to mark the eyeholes with a washable marker, is this on the right side or wrong side of the fabric? My fabric has a definite right side and wrong side. Thanks.
Amber says
It shouldn’t matter since it’s washable.
Kimber says
okay… I feel like I am a seasoned sewer… this mask has me stumped!! I cannot for the life of me figure out how you “pull the small pieces through the eyeholes”. do you by chance have a video of this project? Thank you…
Amber says
Oh I’m working on adding videos to this site! I will add it to the list!
Debbie says
I have also been up at night trying to figure out how to do the eyeholes….GREAT solution! I am sewing masks for my entire department at work, and this is how I will do it.
Thank you!
Stacey says
I’m confused about the part where you sew the small pieces together after folding the front in half. How do I access it and have right sides together? Thank you in advance!
Amber says
Fold the mask in half and pull that piece out so that you can just sew it and not the rest of the mask.
sue says
I have twin 3 year old grandsons I am going to make these for. Thank you for sharing. Can’t you tell me how wide the 12″ piece of elastic is? It comes in different sizes. Assuming the thinnest but wanted to be sure. Thanks Sue
Amber says
I think mine was probably 1/2″
sue says
Thank you for responding to my question.
Sarah says
Love the cape and mask tutorials! My nephews are going to LOVE these for Christmas. I have a question about the bias tape, though. I’m having a hard time pinning it around the rounded sides of the mask. Is there a trick to this? I’ve never actually used bias tape before, so any tips you can give me would be helpful! Thanks!
Amber says
Just use a lot of pins all the way around to hold it in place really well.
Wanda says
Thank you sooo much! That trick with the eye holes is just awesome. My Grandson will have a quality mask to go with his quality superhero cape.
Joke says
I think I am too dumb to understand. I can’t seem to figure out how and where to pull the fabric through to get the mask reversed and look the way they should look.
Would you be able to give me more instructions on where exactly I have to pull what through? Thanks beforehand!
Amber says
It’s going to go right through the eye holes. Through the center of them. Does that make sense? This seriously took me hours to figure out!
Stephanie says
Hiya,
I adore this, it’s so cute! I would love to try and make a mask and cape each for a close friends two girls, when I click to get the pattern though, it just takes me to a website and I can see no patter for the mask. Where am I going wrong?
Thank you,
Steph
Amber says
Got that fixed. Thanks for the heads up that it wasn’t working!
Susan says
I made this for my grandson’s birthday. The cape was a breeze and was done in 2 hours. The mask on the other hand….let’s just say that the 4th attempt was successful! Your instructions were right on, it was more me. Those darn eye holes gave me fits. Love your site and I truly enjoy my emails from you. I will let you know what he thinks after his party.
Amber says
I hope he loves it.
Irene says
How adorable <3
cheapcraftymama says
Aw, too cute! I bet he loves it! I would love for you to share this (and any other creations) at Pin It and Win It Wednesday @ http://www.cheapcraftymama.com!
pinkoddy says
I think this would make a great fathers day present too 🙂
Vanessa Barker says
Amber, this is so cute! My son would love it.
kaitlyn says
Oh my goodness! My nephews would love me for this!! Thanks for the great tutorial 🙂
Ellen says
What fun! Pinning this until I have grandkids to make this for~TFS
Michelle@ Learning to Be a Mom says
So cute. These will be so fun in the dress up box.
tgoswife says
Too cute!! I am going to have to give this a try.