What’s the Project? This cute zipper bag pattern is easy to make and works great for anyone! Use it as a school bag or as a purse or for anywhere you are going. It’s easy to make and with 2 fun fabrics, you can make it look however you want!
Tuesday I gave you a cute duffel bag for your kiddos, today I am giving you a fun zipper bag pattern that is great for you!
Or your kids too.
It’s small enough to be handy to carry around by big enough to fit just what you need. And it’s quite easy to make! Plus, how cute is it?! I love how this cute tote bag turned out!

Simple and fun! It’s actually basically the same design as my laptop bag, I just sized it down so that it could be used for other things (since I don’t actually have a laptop).
Zipper Bag Pattern:
Supplies Needed:
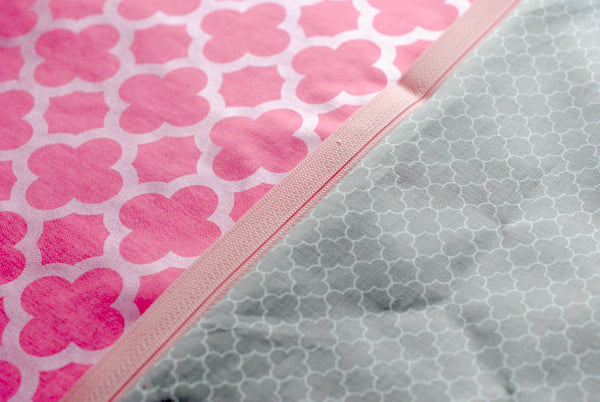
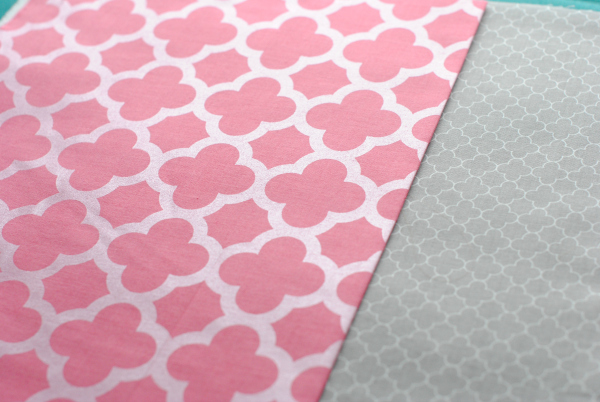
- 2/3 yard each of 2 coordinating fabrics (I got mine at Stitch Stash Diva)
- 12-inch zipper
- 2 small D rings and 2 clasps (see images)
- 1/2 yard fusible fleece interfacing
Cutting Guide:
- Cut 3 pieces of your accent fabric that are 14 inches long by 12 inches wide
- Cut 1 piece of your main fabric that is 14 inches long by 12 inches wide
- Cut 1 piece of your main fabric that is 17 inches long by 12 inches wide
- Cut one piece of your main fabric that is 34 inches long by 4 inches wide
- Cut 2 pieces from your main fabric that are 2.5 inches long by 2 inches wide
- Cut 2 pieces of fusible fleece that are 14 inches long by 12 inches wide
- Cut 1 piece of fusible fleece that is 34 inches long by 4 inches wide
Instructions:
(Please note that this tutorial is very similar to the laptop bag, so if you need more pictures, you can also refer to that post.)
Iron your fusible fleece interfacing to the back of your accent fabric pieces-two of them-and your strap.
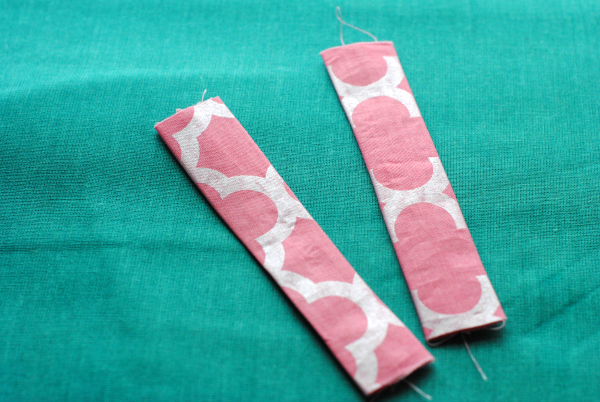
Fold strap in half the long way with right sides facing and sew up the long side. Turn it right side out. Loop each end around the ring on your claps and sew it in place on either end, hemming under the edges.
Grab your two small pieces (2 by 2.5), fold them in half long ways with right sides together, turn right side out, and press.
Now, take 1 of your 14 by 12″ accent pieces, your 12 by 14″ main piece, and your zipper. Sandwich your zipper between the two pieces with the zipper facing down on your main piece, right sides of the fabrics together and sew up the edge. You will need to move the zipper pull out of your way as you sew at one point. Just stop (knot the thread), move the zipper pull out of your way and start again where you left off.

If you have done this correctly it should look like this after you sew. See how the zipper is facing down on the main fabric:
Press the fabric around the zipper flat.
Do the same thing on the other side of your fabric with your other two 12 by 14-inch pieces. They should both be accent pieces.
Now take your piece that is 17 by 12″ and fold it in half with right sides OUT and press the fold. This will be your outer pocket. Lay this piece on top of your outer accent piece. This should be the piece that the zipper was laying face down on when you sewed both accent pieces to the zipper in the previous step.
Place your little tiny strap pieces on the bag with the D ring looped through them near the top of the bag like this:

Make sure your zipper is halfway open.
Now fold the fabric over so that the two main pieces (so the one with the pocket and the one that is your main fabric-in my case the pink) are on top of each other with right sides facing and those little straps and D rings on the inside. Pin everything in place.
Do the same with your inner fabrics-right sides together.
Now you will sew all the way around the bag but leave a small opening at the bottom of the inner fabrics to turn it all. Be careful when you go over the zipper part that you don’t hit the actual zipper with your needle.
Turn everything right side out and stuff the inner down into the outer part.
Presse everything flat and add the strap to the D rings.
And you’re done! Hope you love this cute zipper bag pattern as much as I do!
You Might Also Like:
Free Dress Patterns for Girls:


Sue Teix says
Thank you for this tutorial. I sewed a bag for my daughter. I made it smaller and added a pocket on the inside. She is very happy.
Amber says
Wonderful!
Pam C. says
Amber, Cannot wait to try this bag. But before I start it, could you please give me the dimensions of the final result? I am trying to figure out if it will big enough to hold file folders. Have a friend who wants me to make one for her and that was her only requirement! Thanks!
Natasha says
Thank you for the help!
Nat says
I’m a bit confused about the two pieces we need to add the fusible fleece to. Where do they go? are they the inside lining?
Thank you for the amazing pattern
Amber says
Iron them on the underside of your fabric.
Natasha says
It’s what we use the two accent pieces for after they have the fleece attached that I don’t understand. I find that in. The pattern it isn’t stated. It only states “take one of your accent pieces”. The fleece is never mentioned again after attaching it.
I used my two pieces for the inside of the bag, and find my lining bulky (could be my fusible fleece was too thick), I just wanted to make sure that’s how they were supposed to be used before I make one for someone else.
Thank you for explaining something that should probably make sense to a clueless newbie 🙂
Amber says
That’s because once the fleece is attached (ironed on) it’s just part of your fabric basically so you don’t need to think about it anymore. If it feels too bulky you can remove the fleece totally!
Betty Brown says
Love your bags Amber!!
Amber says
Thanks! 🙂
JANET C CAMPBELL says
THANK YOU SO MUCH for all your cute patterns and tutorials. I had five boys and sewed like crazy when they were younger. Now, I get to make more cute stuff as I am have 9 granddaughters and only 3 grandsons. So much more to make and sew than thirty years ago. Thank you.
Amber says
Oh my word-I hope I end up with granddaughters like that too! So fun!
EmilyHayes says
Cute!!!!!!!! Oh, and those fabrics….I love the Native Band Apricot….. I might just have to get it! XD
Kavitha says
Hi, Amber,
Messenger bag looks so cute. Thanks for the tutorial. Can you please tell me where do you buy these fabrics from? I am from India. All the international websites have a big shipping charge which is not affordable for me. I just wanted to know if you know of any website where there are no shipping charges?
Like your patterns very much. Your choice of fabric is great. They are all pretty. 🙂
Keep up the good work. Please give us more tutorials like these 🙂
thanks,
Kavitha
Amber says
This fabric is from Stitch Stash Diva online. Not sure about international shipping. Sorry!
Tabitha Loving says
Hey Amber, how will we know who won the gift card?
Thanks for your time!! [:
Amber says
I will be picking those winners and emailing them directly this week.
John says
My wife does do any crafts or sewing. She leaves that up to me. So I am going to surprise her with this bag. Thank you for sharing.
Rosalie says
I would like to have this pattern, but unable to print. Is there something different I need to do to get
pattern? Thank you
Amber says
There is nothing printable-just the measurements for cutting and then the directions.
Cheri says
Love this pattern! Thank you so much!
Joanne says
Thanks for the tutorial ! It’s useful !
lynn zukowski says
made your fast and easy glasses case- you were right – so fast, so easy. added a machine embroidered name on the side- perfect little gift. thank you.
Diana G. says
Love the bag, the colors, thanks for the tutorial . Thanks for the chance to win as well…
Mz Cosby says
This is really cute!!! I can’t wait to try it!
Ashley W. says
Love the bag and your choice of fabrics!
Chris Blaylock says
Prim doll 🙂
fara says
hello amber thank you for your messenger bag pattern,
i finally made 2 for my grandson and his brother.
i really like your website and the instructions on your project
are so easy to understand.
Michele says
Nice!