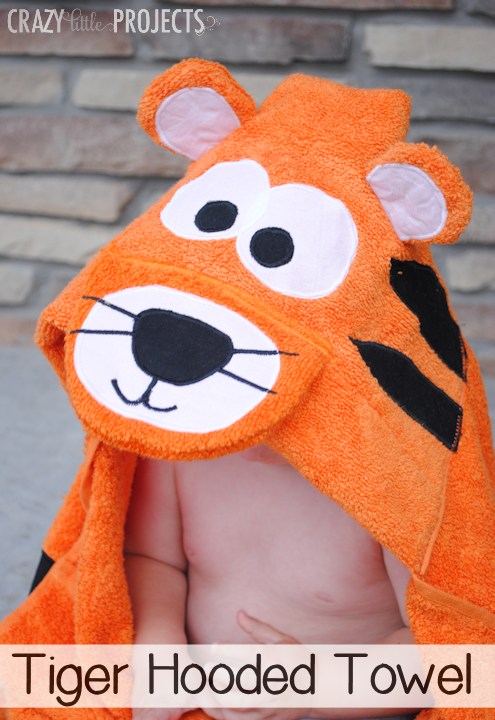
What’s the Project? This cute tiger hooded towel pattern is the cutest baby gift ever! Great for newborns up to elementary school kids, little one is going to love this warm, thick, cute towel.
Time for another hooded towel!! I’ll admit that the tiger hooded towel has been on my to do list for a long time but I haven’t done him yet because the stripes seemed so daunting.
And truthfully, this hooded towel is more work than most, but the end result is pretty fantastic. I just love how cute this one is!
Now looking at this guy I also realized that he’s awfully similar to the teddy bear, he’s just got tiger stripes.
This seriously makes the best baby gift or even a gift for an older kid. These towels last for years because they are so big and warm.
Tiger Hooded Towel Pattern:
Supplies Needed:
- Orange hooded towel
- Orange hand towel
- Small amounts of white and black fabric
- Small amount of paper backed adhesive such as Heat n Bond
- Print these Pattern Pieces (These are actually for the Teddy Bear but you need the same pieces. You also need to cut 4 long triangle pieces to create the stripes on the face.)
Instructions:
Like always, I will share with you how to create the face for this tiger in this picture and the have you refer to my basic hooded towel post for how to construct the hooded towel itself.
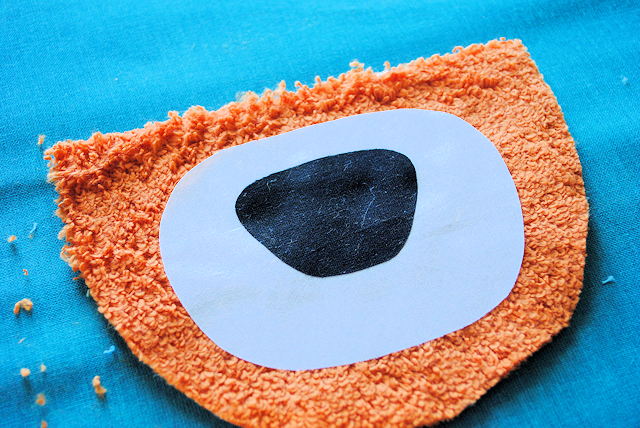
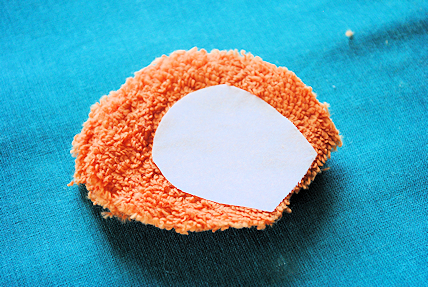
Cut out your pattern pieces. Cut the large eye out of white, the eyeball from black. The snout and ears you will cut from extra hand towel. The nose in black, the inner ear in white and then also cut an oval in white that will fit inside the snout to be part of the face and 4 long triangles to be stripes on the face. (Take a look at the pictures to see how to do this.) Cut everything out of your paper backed fusible adhesive as well. Adhere everything to the paper backed adhesive.
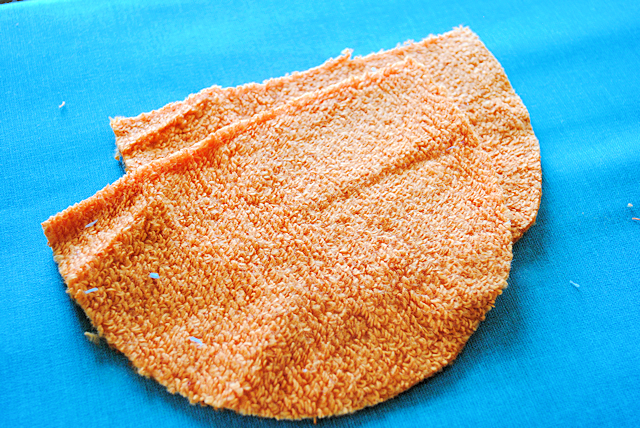
Start by cutting your hooded towel in half horizontally. Just a note-some of my readers prefer to use the whole hand towel to make it bigger. If you prefer that, don’t cut the hand towel, just use it horizontally. (If you need images of this go here.)
Fold the selvage edge of the towel under about 3-4 inches and sew it in place.
Grab your orange snout pieces.
Place your nose pieces on one of them and iron them in place:
Sew a satin stitch around each piece. Now you are going to want to use a satin stitch to sew the little mouth thing and whiskers as well. I just free handed this with my machine but you can draw it on first if you want. Just do a nice tight zig zag. I went over each of mine twice. (See this up close in the top picture on this page.)
Put right sides together and sew around them leaving the straight edge open. Turn right side out.
Now, place your face pieces on the towel where you want them. Iron them in place. (This picture doesn’t show the snout finished like you just did. It should-I just took the pictures out of order.)
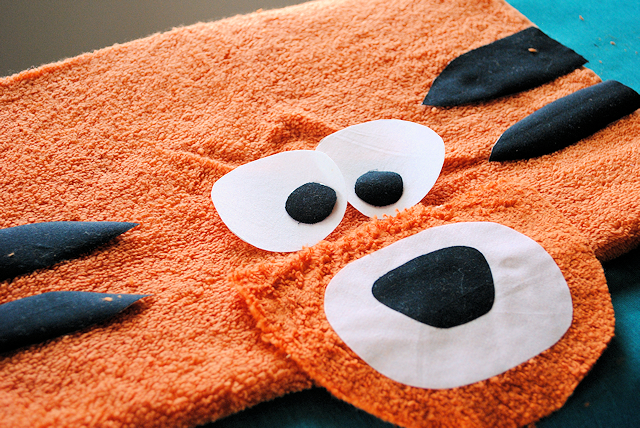
Then sew a satin stitch around the edge of each piece to hold them in place.
Now grab your ears orange ear pieces. Iron the inner ear to them and satin stitch around it. Right sides together, sew around the ears leaving the bottom open and turn them right side out.
Snip a small opening in the face of your towel to slide the ears through. Sew it closed from the underside. (Full pictures of this on the teddy bear post.)
Use a tight zigzag stitch again to sew your snout in place. This part can be tricky because you are sewing through a LOT of towel. Be careful. And use a heavy duty needle if needed.
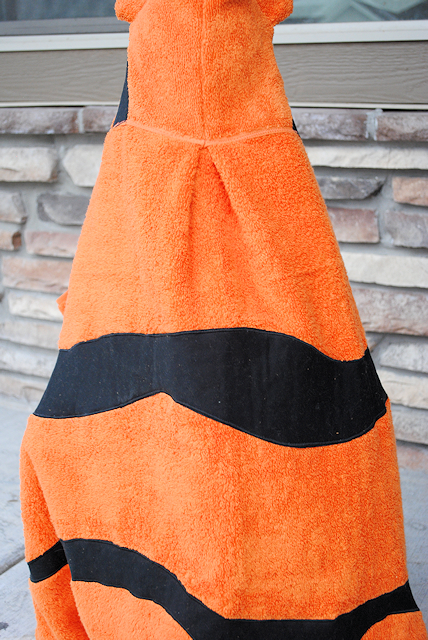
Now cut out a few long stripes and sew them across the back using an appliqué (satin stitch) around the edges. Do as many stripes as you would like. I only did two because I was lazy. Three probably would have been better.
Finish your hood off based on these instructions.
Happy towel making! And be sure to check out all of the hooded towels!

You Might Also Like:


Gay Clark says
I was wondering how you finished off the large stripes in the front? Did you put them on before you turned under the 4” or after? Also, what is the reason for turning those sides under? Could you just leave those alone and have a bigger finished towel? Thanks These towels are very cute! Your tutorials are great!
Amber says
Yes you totally can leave off the folding under if you prefer. I just do it to size it down a tiny bit since it is huge on a newborn.
chris says
great
Heidi says
LOVE this! My kiddos definitely need several of these. Have you thought of making a minion towel? My son would be over the moon excited with one 🙂
Amber says
That was September’s hooded towel. 🙂 http://crazylittleprojects.com/2013/09/minion-hooded-towel.html
Stacia says
How adorable! Definitely a fun project. Would be a great gift at baby showers, too.
Stacey says
Another fantastic hooded towel! You have such great designs and they all look so great!
I left you a question about the diaper wipes case. Could you take a look and respond on that post? Thanks!
Debbie Ann says
I love it, and can’t wait to try it… Now I just need to get to the store to pick up more towels! So far, I have made about 15 hooded towels using your method and your designs. I also came up with a few ideas of my own, and they turned out pretty cute too! Thank you for the great tutorials and the great designs.