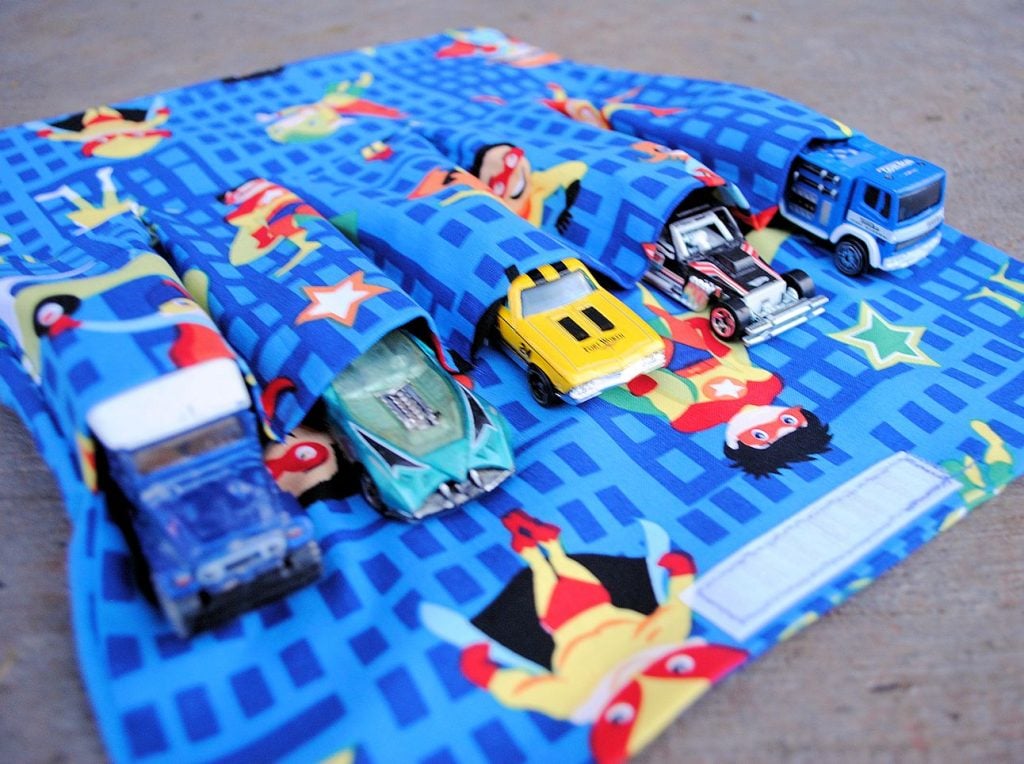
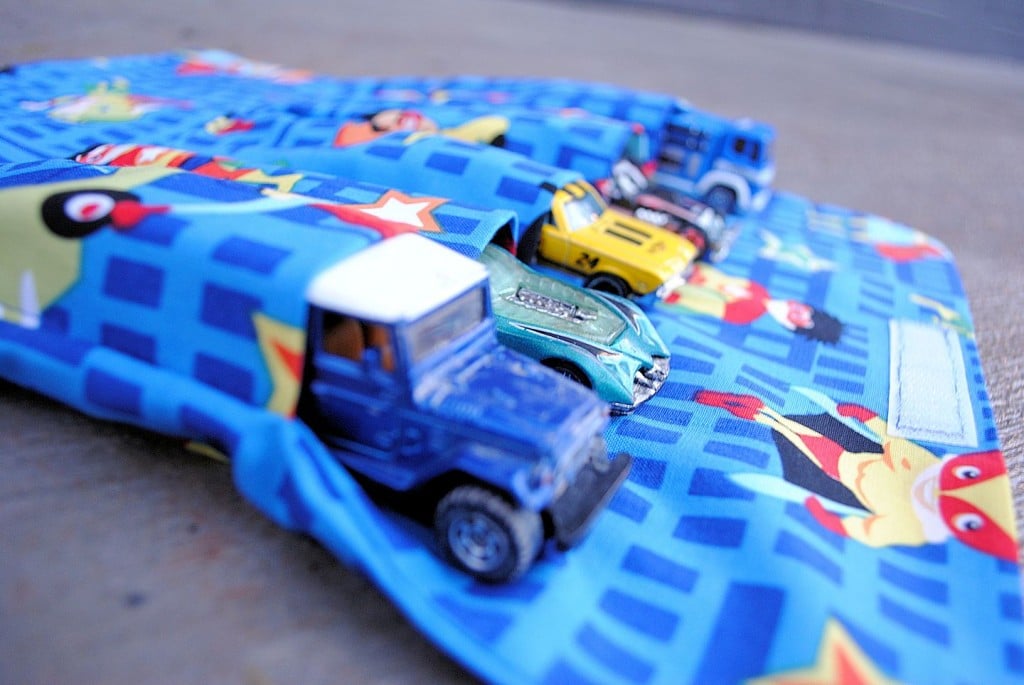
Have you finished your holiday shopping? Did you make any gifts this year? This is a cute and simple gift idea for the holidays. And it’s easy, so it’s not too late to make it! It’s a kid’s car carrier. It holds 5 Hot Wheels or Matchbox cars and folds up easy so that it can be brought along when out and about.
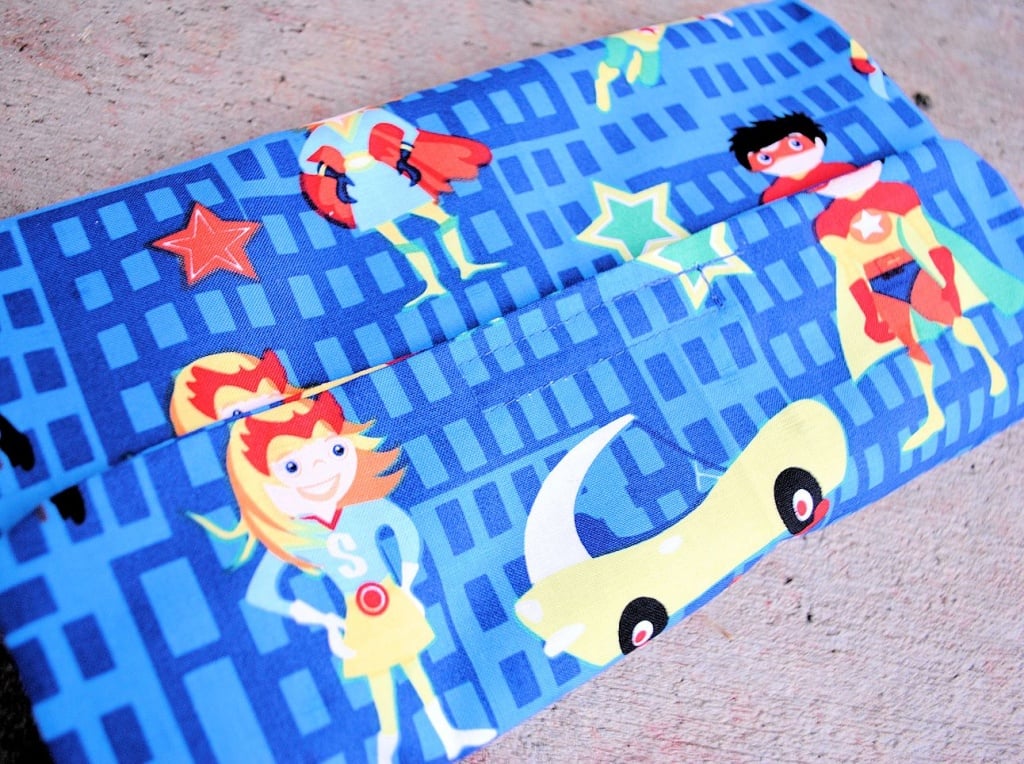
Here it is folded up and ready to carry:
Here’s how to make it for your little car carrying kiddos.
Kids Car Carrier Tutorial:
Supplies:
About 1/2 yard of kid friendly fabric
Thread
Cars to go in it
First of all you are going to cut out 2 pieces of fabric that are 11 inches across and 14 inches long. I round out the corners a little.
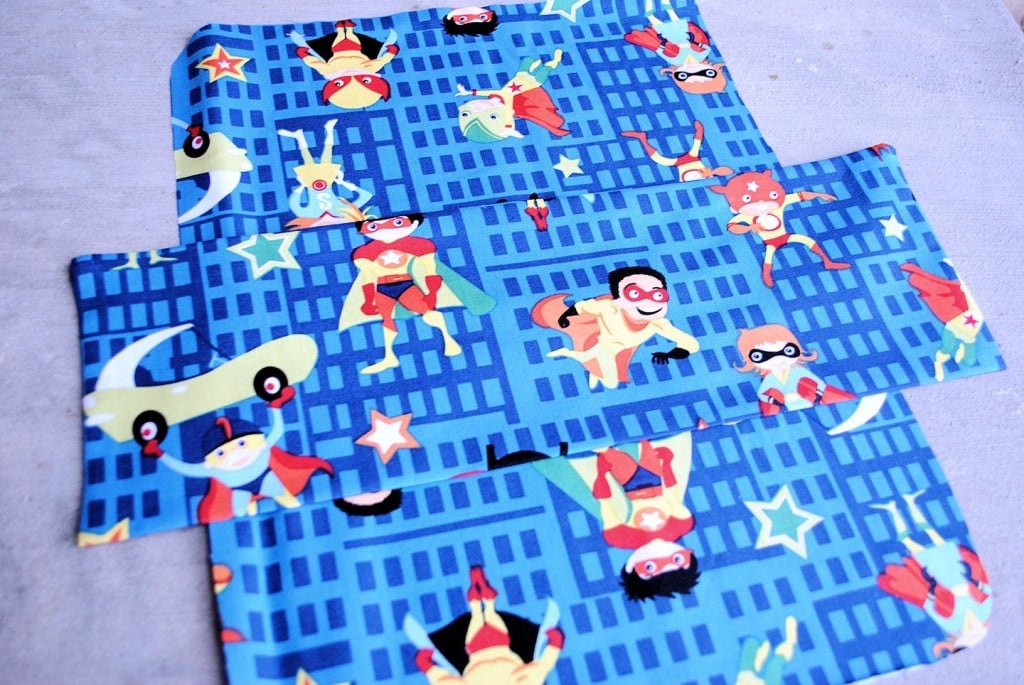
You’ll also need to cut one piece that is about 8 inches by 20 inches. Fold the top of this last piece down to meet the bottom with right sides together and sew around it leaving a small opening to turn it right side out. Turn it right side out, press it flat and sew your opening closed. It should look like this now when you lay it on top of your 11 x 14 inch piece:
Grab 1 of your 11 x 14 inch pieces and lay your rectangular piece in the center of it (like shown above).
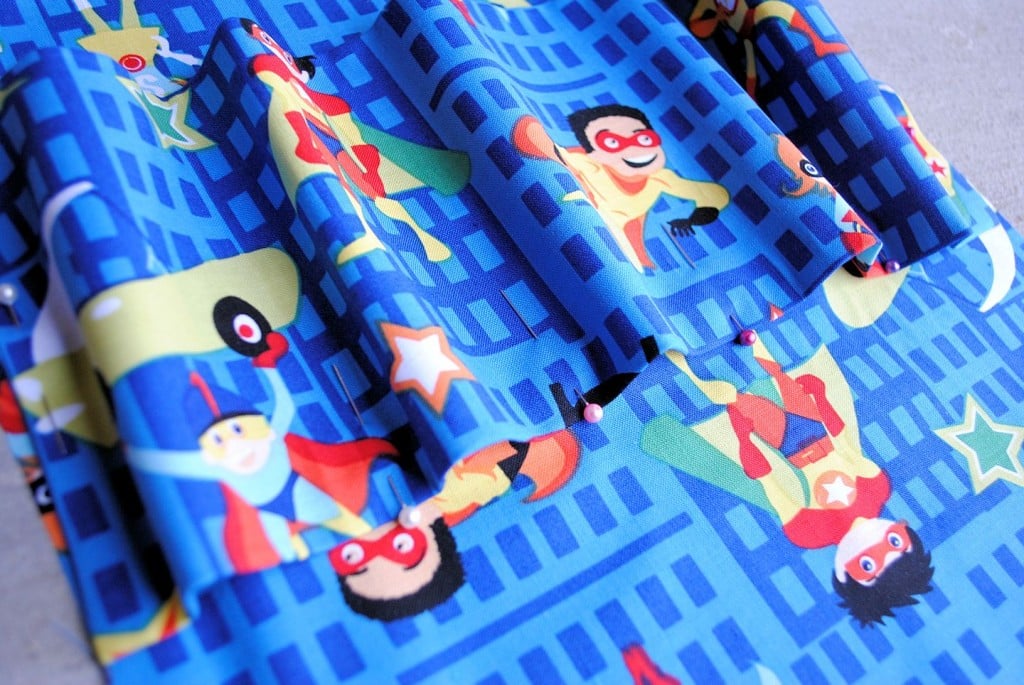
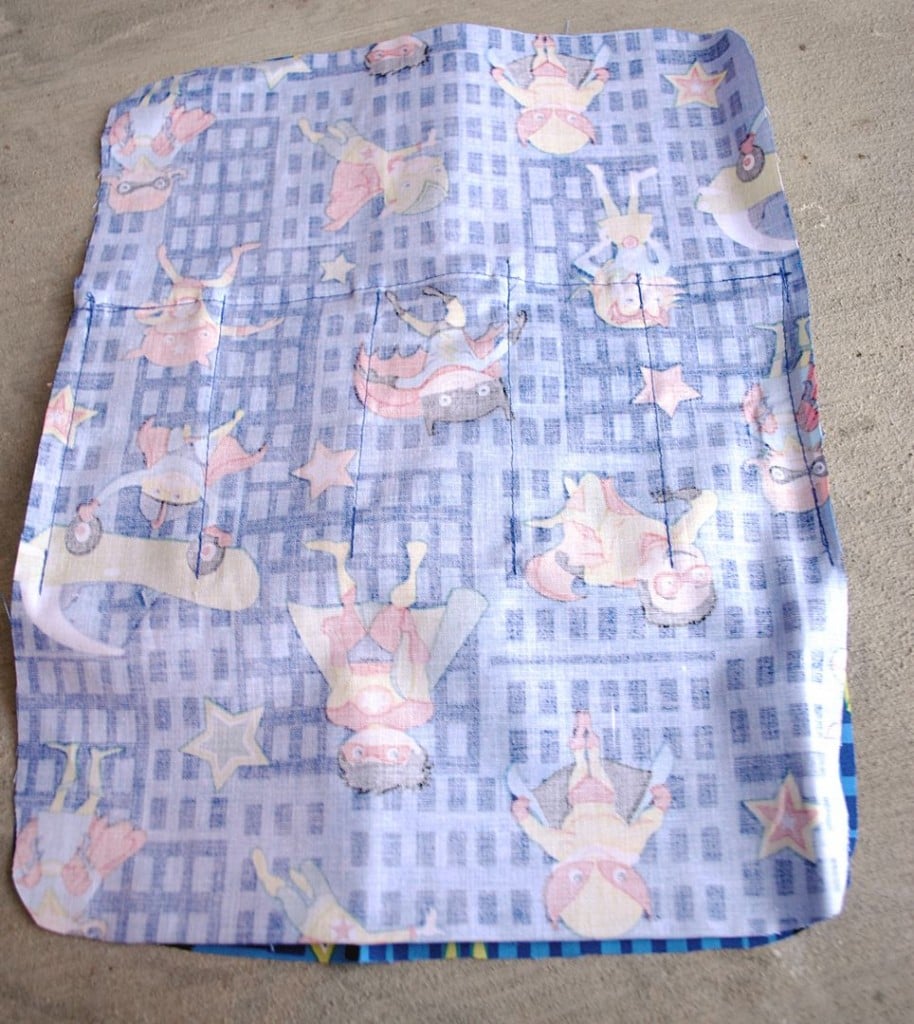
Pull the edge of your rectangular piece in and pin it along the edge of the 11 x 14 inch piece. Do this to the other side as well. Then pin the piece in across it evenly in 4 spots to form little pockets like this:
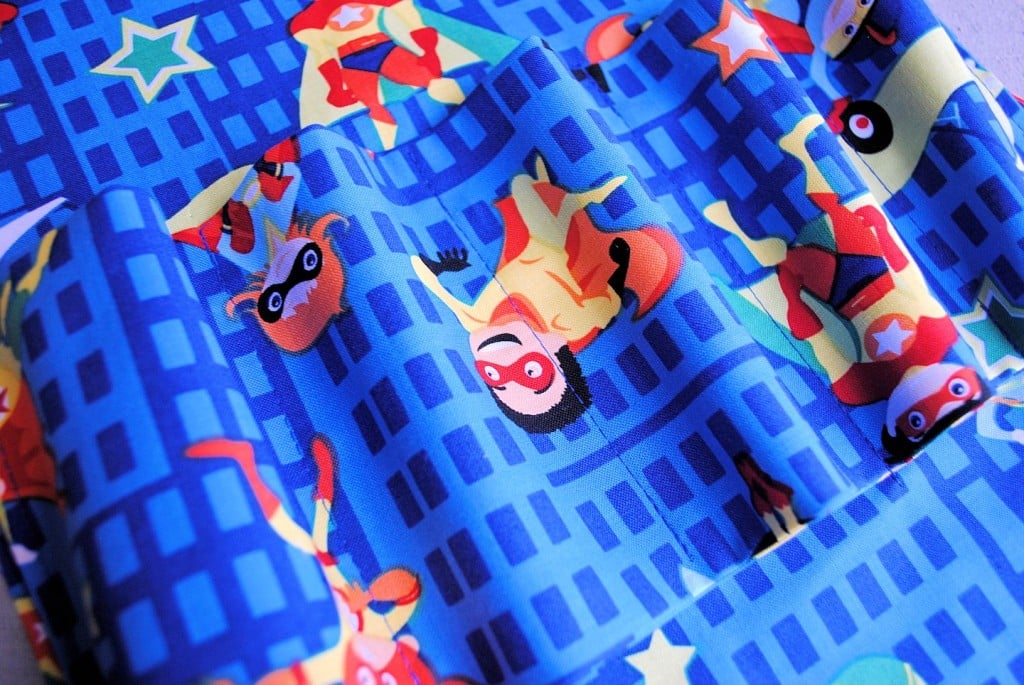
Sew a straight line in each of the spots where you just put a pin:
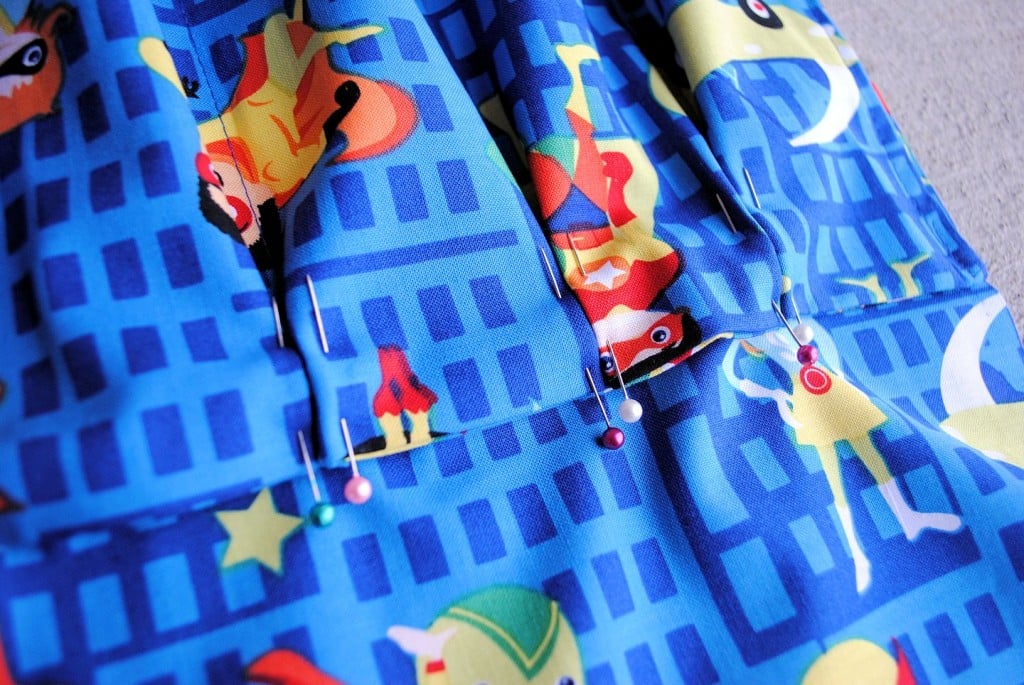
Next, you need to form little pleats at the bottom of these little pockets you just made. You are going to fold the bottom edges out so that they meet the next pocket over and lay smoothly along the bottom.
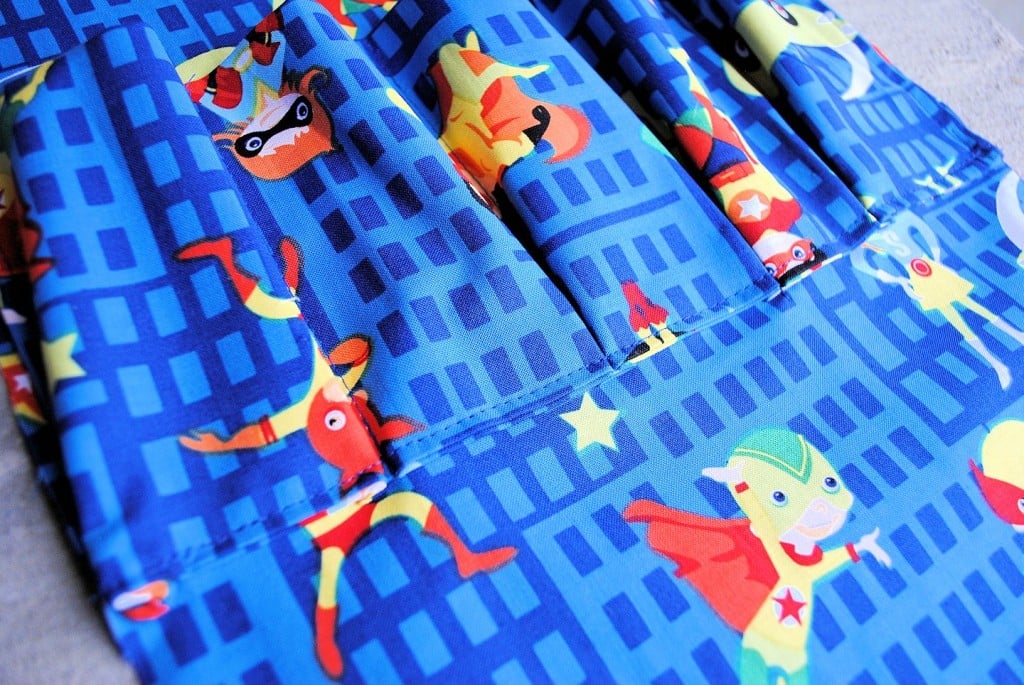
Then stitch a straight line across the bottom so that it looks like this when you are done:
Now, grab your other piece of 11 x 14 fabric and put right sides together and stitch all the way around leaving just a small opening (about 2-3 inches) at the top to turn it right side out.
Turn it right side out, press it nice and flat and then add a piece of velcro to the top on the inside of the carrier (the part that has the car pockets) and on the bottom on the backside (the side that does not have the pockets) so that they meet up like this:
What are YOU making this year?


Belinda says
Great! This is EXACTLY what I need – thanks for such easy to follow instructions!!
Amber says
O good! Happy to help!
Laurie says
Thanks so much for this pattern, Amber! I made two toy car totes – one for my grandson and one for his friend. Both of them turned 3 recently, and it seems like a perfect toy for them! I will post a photo on Instagram as soon as I buy the hot wheels cars to put in them. I’ll tag you in my photo. Cheers!
Amber says
Wonderful!
Kelly Kate says
I really like reading your article and wish you the best for more amazing work. Thanks for sharing.
Amber says
Thank you!
Norma hernandez says
Thank you Amber very much, I have embroidered a race track and my grandsons name on his mat. I needed the pockets to hold the cars. Your tutorial was perfect. Details will be posted in a few days once I give it to him at link https://m.facebook.com/my.joyouZCreationZ/
Beatrice says
Hi, Amber – just wanted to say thank you for the great tutorial. I’m making a traveling car mat for our young grandson, and this made the perfect “garage” to go with it. I added fusible fleece to the wrong side of the outside fabric of the car carrier and to the strip that holds the cars to give it a little more stability for a young child to handle. That worked well.
Thanks again for your tutorial. It was so much fun to make, and is a quick finish.
Amber says
Oh fun!!!
Tania Stays Positive says
Amber, allow me to say that this is really a great tutorial! In my environment everybody seems to have little boys, so this already has been a great gift for many times.
Amber says
Thanks!
Rachel says
Thank you for this tutorial, I loved making this up. I made a few additions too, you can see my version here https://merrilysews.wordpress.com
Jocelyn says
Thank you, Amber, I recently completed my car carrier. It came out so cute! I did struggle a little with the pleated pockets, but it turned out okay. I am very pleased with the end results:
Here’s the link to see my creation:
http://media-cache-ec0.pinimg.com/originals/7b/3b/ae/7b3baeae97f0cbd6af3490770f83560d.jpg
Amber says
Oh you did amazing!!!! I love that!
Jocelyn says
What a fun project! I’ve been wanting a sewing pattern to make for the little cars. Since I already have all the materials, just finding the time is always a challenge. These make great gifts for the little boys who can learn organization at an early age. Well, at least we could try. Lol! Thanks for sharing.
Toby Tipton says
My house cleaner and wanted to make one of these for her son, so when she told me I said I would like to make one for each of my Great-Grandson’s. I sew quite a bit and she doesn’t so much anymore so I told her I would get a pattern and we could make it together. Can’t wait to start.
Stacy says
I have a question about the right and left side pleats.
I figured out how to make the pleats but I realized that when I sew the top and bottom pieces together the right and left sides of the piece that holds the cars would have the pleats disappear when I sew a 1/4″ seam allowance. When I turn it right side out, those pleats on each side are then gone. What have I done wrong or how should I have done it?
Thanks,
Stacy
Amber says
It’s been a while since I made this but I think you should be able to sort of tuck the pleats in a little bit so they don’t get caught.
kara says
I have closely followed these directions, but making the pocket pleats isn’t working. The corners of my pockets don’t simply meet, they overlap. There is no way that much material is going through my machine. What gives?
Amber says
I’m not exactly sure what you mean. Do you mean at the top or the bottom of the pleats?
Elaine Stull says
Thank you for the great idea and instructions! I just made a carrier for my grandson and one for my granddaughter. I used the fusible fleece interfacing and it worked very well. I know they will be used and loved.
Amber says
Oh good! I hope they love them!
Leah says
This was an excellent tutorial! Even easier to follow than I expected as a beginner sewer. I added a long piece of black felt to the lower flap to make a fold-out road. It was a huge hit, and now I’m making four more for gifts.
Marilyn says
I have made two of these but modified them to four pockets instead of the five.
My two year old grandson is a huge fan of Thomas the Train, and he loads this carrier up and takes it everywhere he goes.
Great for taking to restaurants. Keeps him busy and no issues carrying loose trains.
Katie says
Thank you, thank you, thank you for this amazing tutorial. I loved sewing it up, if you get a chance you can see it here: http://am-i-a-dreamer.blogspot.nl/2013/11/kids-car-carrier.html .
Thanks again,
Katie B x
Amber says
Ohhhh nice job and nice pics!!!!
ride on car says
IT IS REALLY GOOD.
Marilyn Hargreaves says
I have just cut the pieces out to make this car carrier.
Nat, where did you put the poly fill? In the outside part?
I was thinking of using a little piece of cotton quilt batting.
Thanks.
Amber says
I would recommend fusible fleece interfacing.
Nat says
I put a little bit of poly fill in it to make it not so flat! works great! Thank you
Marilyn Hargreaves says
Nat did you put the poly fill in the outside part? Love that idea.
Kathy Kabelis says
Hi. First I want to say that I LOVE this site! You have so many cool projects here! I really like this car carrier and I think I’m going to make one for my son, he’s 3. But i had an idea that I wanted to share. When I make his I’m going to cut strips of black felt and sew them near the edges all the way around, so he can have a track too 🙂 Thank you for this tutorial!
Amber says
Fun idea! Have you tried it?
Claudia says
Aaah! You don’t know it – but this is exactly what I am looking for! I need some kind of carrier for my grandson for all his cars and I was trying to find a solution. Now you have given me one. Thanks so much for sharing! Greetings from Germany
Amber says
Happy to hear it! 🙂
Lindsey says
It’s so funny that you just posted this, I had been looking for a tutorial on this exact gift a few weeks ago. I went ahead and ordered one due to lack of time, but now I have this for next time! THANK you SO much!!
Amber says
Oh bummer that you couldn’t have gotten this sooner. Sorry!
Deb says
Hi there, I’m not good at sewing. Can you buy this anywhere?
Amber says
I don’t sell them sorry!