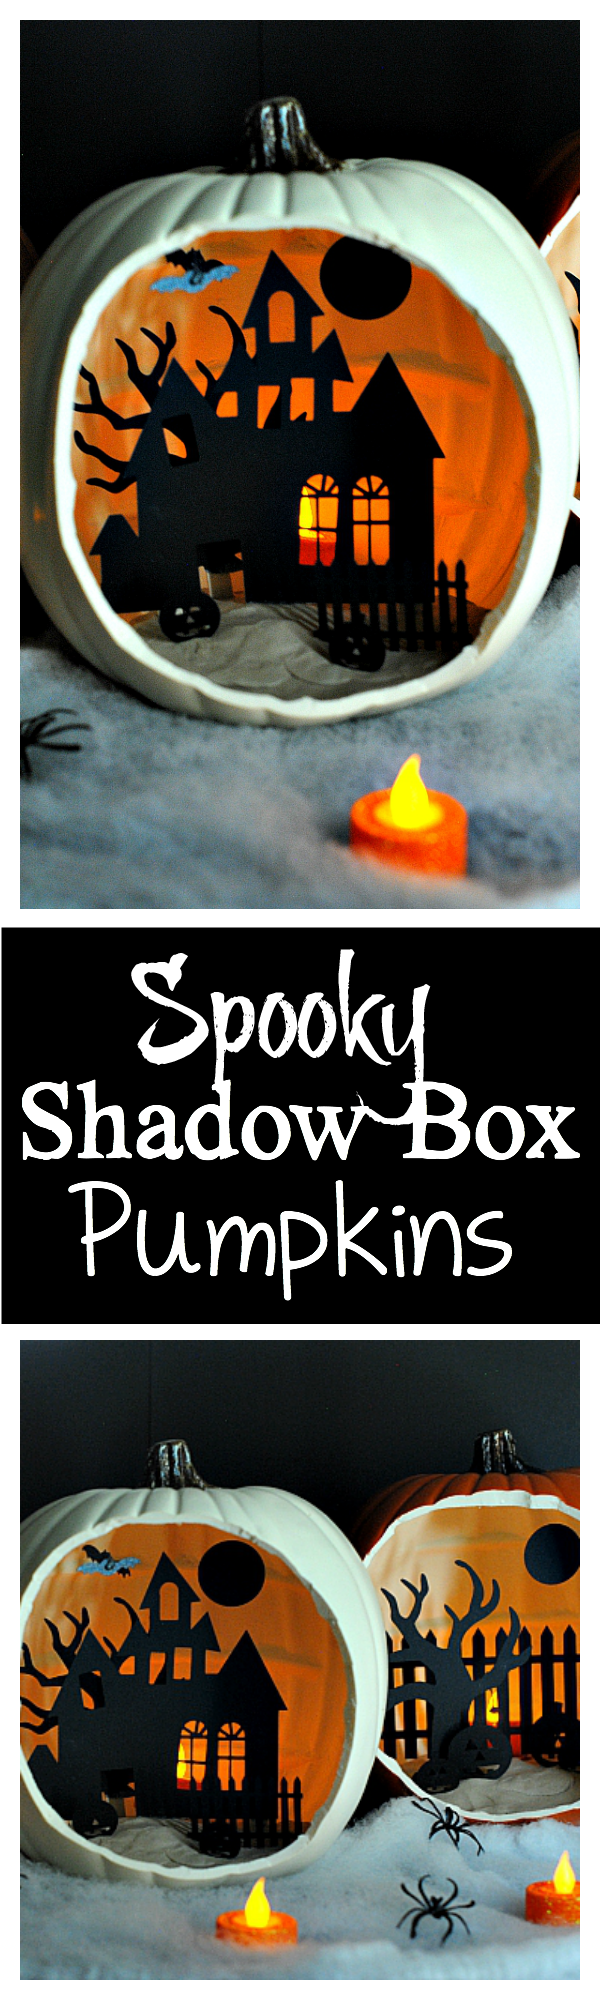
What’s the Project? Looking for easy DIY Halloween decorations that you can use in your home this Halloween? These shadow box pumpkins are perfect to put anywhere in your home and look so festive, unique and creative. You’re going to love making them!
Once in a while, I create a project that has me giddy with excitement when it’s done. That moment when I have what I *think* is a good idea and then it turns out better than I EVER expected.
And this one of those projects.
I just absolutely love how it turned out! I wanted to add some cute DIY Halloween decorations to my house and had the idea to try creating sort of a shadow box out of pumpkins. It worked like a charm and I love how these look in my house!
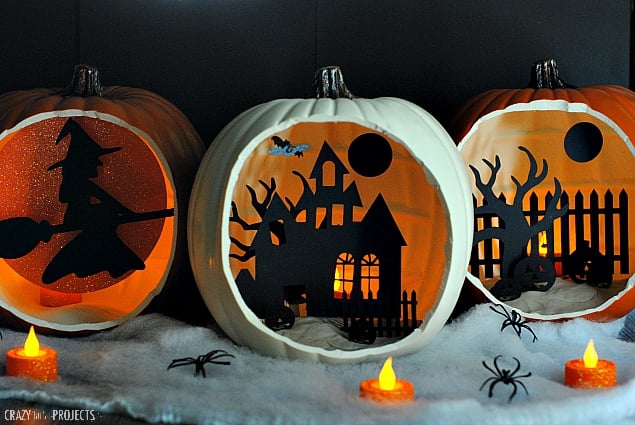
These cute DIY Halloween decorations are pretty easy to make and so much fun. They look great in the day and then even better at night when you turn on the lights inside them.
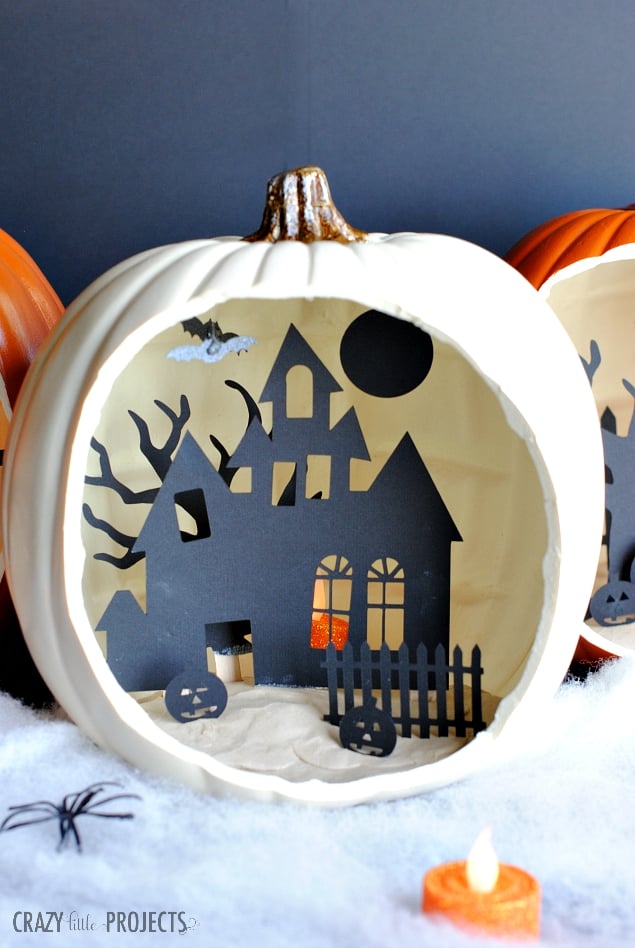
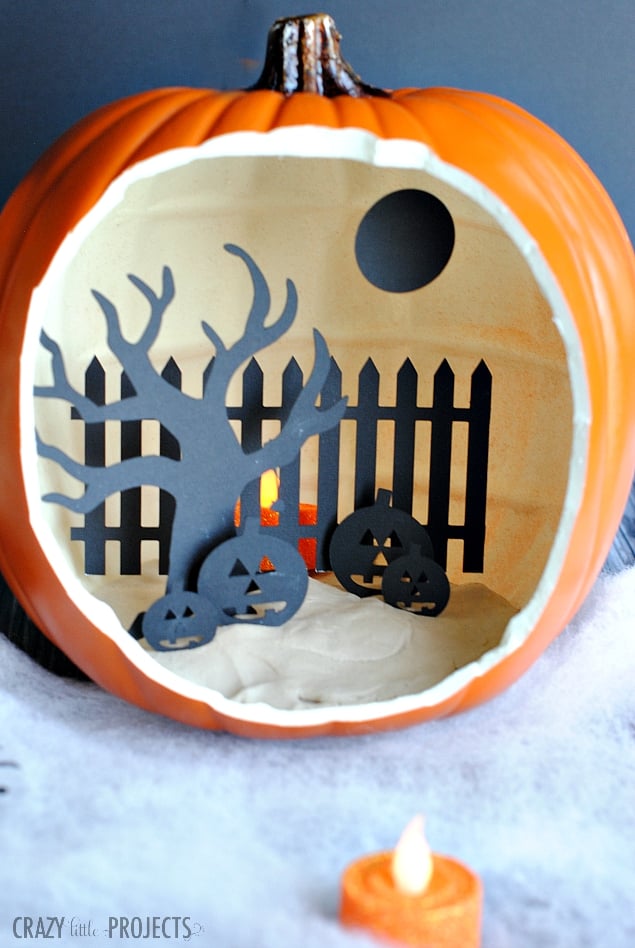
Here’s a peek at what they look like in the day:
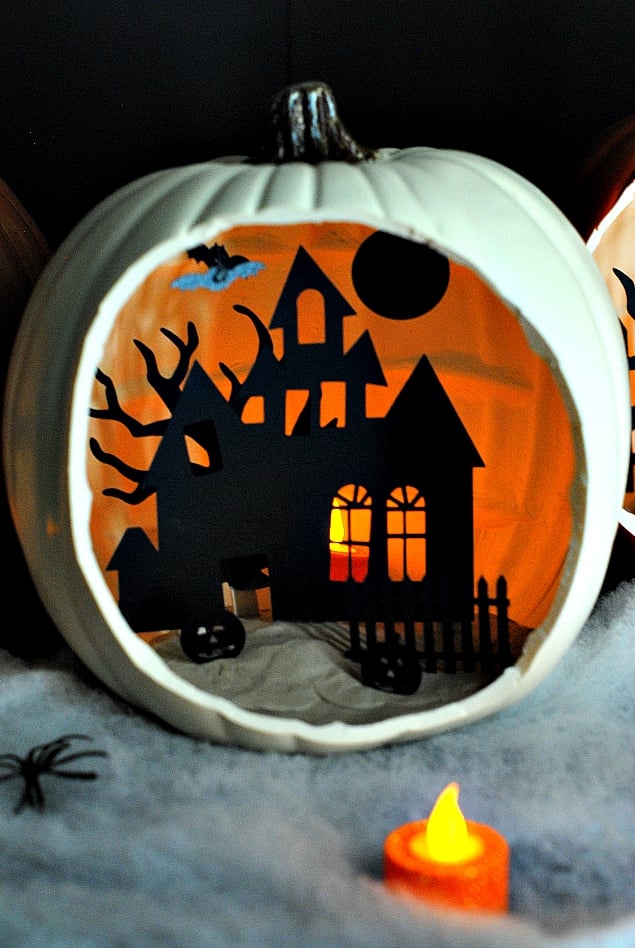
Then you pop a tea light in the back and turn it on at night and it makes a flickery, spooky, fun display:
Do you love these DIY Halloween decorations as much as I do? If you want to make some, here’s how!
DIY Halloween Decorations-Shadow Box Pumpkins
Supplies Needed: (some affiliate links)
- Carve-able craft pumpkins (these came from Michael’s)
- Black cardstock (orange or yellow as well if you want to make the witch in front of the moon)
- Tea Lights (if you get the Halloween kind they will even flicker)
- Clay
- Popsicle sticks
- Transparent thread
- Hot Glue
- Cutting Machine like a Cricut or Silhouette or scissors/exact knife
Instructions:
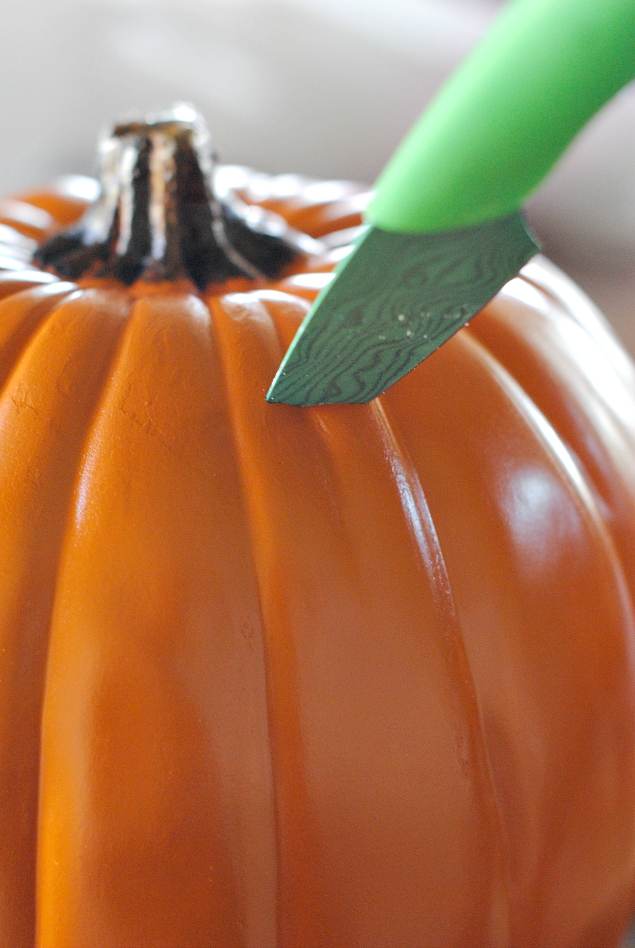
Carve out a large circle from your carve-able pumpkin. This is surprisingly easy. I just used a small kitchen knife and it took all of 30 seconds to do this:
Then you need to cut out whatever shapes you want to use inside for your scene. I have some prepared that you can use. If you have a cutting machine like a Cricut or Silhouette you can cut them with that, otherwise, just cut them by hand with either scissors or Exacto knife.
Here are some shapes to use. Right-click and save and then you can size them and print them however you want.
Halloween Pumpkin Templates:
Here are some shapes to use. Right-click and save and then you can size them and print them however you want.
Haunted House: (note-I sized this to about 4 and a half or 5 inches tall and then I sized everything else that I used in my scene in proportion to this)

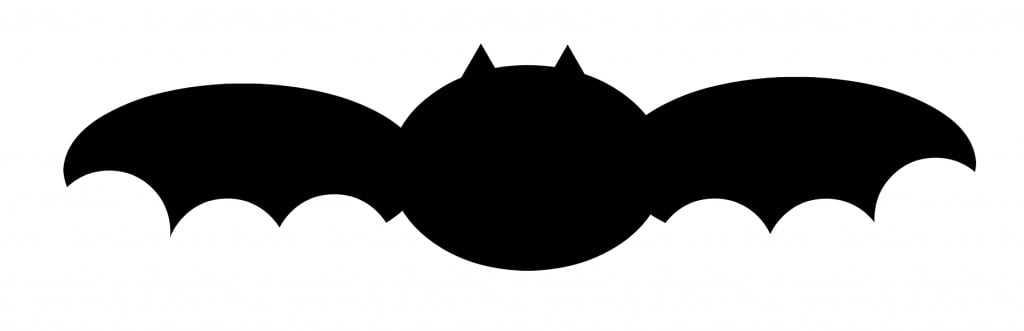
Bats: (I did a variety of sizes on this one)
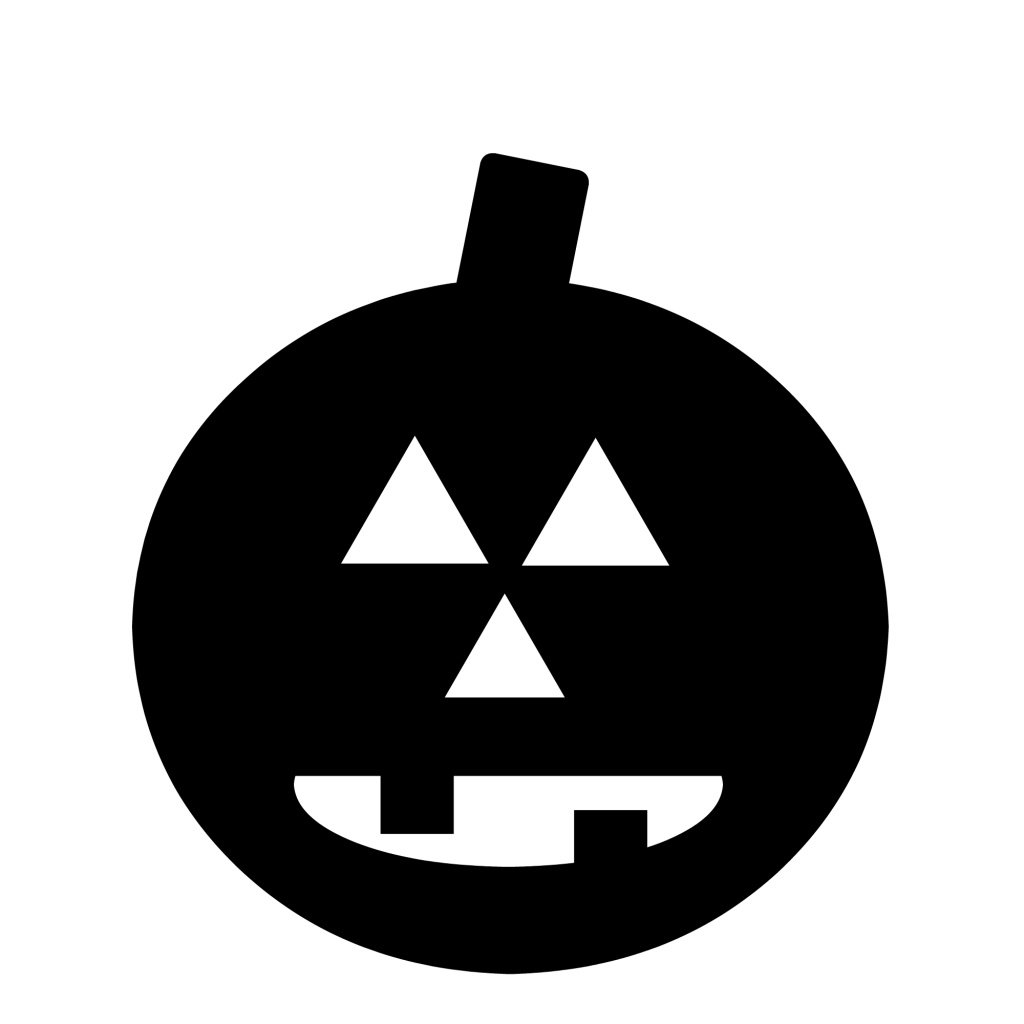
Jack-o-lantern:
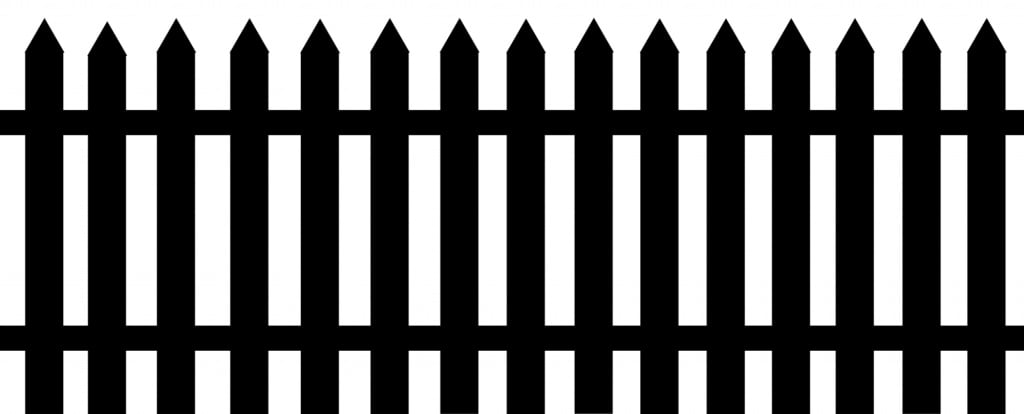
Picket Fence:
For any other props that you want just find an image by searching the internet and use it as a template. I used a spooky tree, a witch silhouette and then just cut out a circle to be a moon.
With your shapes cut out, place a layer of clay on the bottom of your pumpkin. For the larger items, use popsicle sticks glued to the back to anchor them:

Stick your larger pieces into the clay where you want them.
Then add smaller items around them. For things like the Jack-o-lanterns, I just stuck them straight into the clay.
For the things you want hanging, hot glue a piece of the transparent thread to the back of the item and then hot glue the thread to the top of the pumpkin. I found this worked best if I waited until the glue was mostly cool and then pressed my finger against it to really get the string to stay in place.

The third pumpkin that I made is slightly different. It’s a moon with a witch silhouette across the front of it.
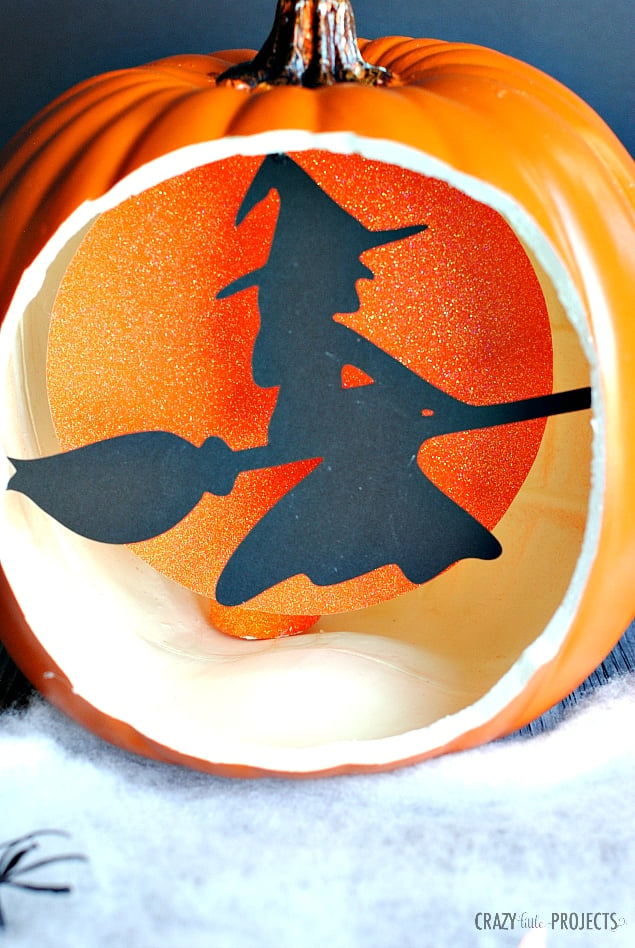
To do this I just cut a round moon shape from orange and then a witch silhouette from black. To attach the moon I had to use a popsicle stick and then dig a little bit of a hole in the top of the inside of the pumpkin, fill that with hot glue and hold the moon with the popsicle stick in there for a while till the hot glue dried. Then I used the transparent thread to hang the witch.
And you’re all done and you’ve made your own cute DIY Halloween decorations! Hope you love them!
You Might Also Like:
Pin It:


Jodie says
Hi Amber. Your shadow box pumpkins are sensational! Thanks so much for sharing your templates and tutorial. Our readers will enjoy it 🙂 I’ve included your post in our latest Top 10 in Craft roundup. https://craftylikegranny.com/pumpkin-crafts/ Cheers Jodie 🙂
Tina says
Thank you
Danielle Moskowitz says
I just love this tutorial and would love to use a photo of the pumpkin diorama for my article that I’m writing for TODAY.com. Please let me know if I have your permission to feature it!
Amber says
Yes, sorry, just saw this. Not sure if I am too late.
tatiana says
Those pumpkins are made from ceramic, look inside, you can see the lines, its not her project. Orange Diorama Craft Pumpkin By Ashland®
This is the site:
http://www.michaels.com/seasonal-decor/craft-pumpkins/851417472
Amber says
They’re not ceramic?
Sherri says
Please post a pattern for your spooky tree! What size are the pumpkins?
Amber says
I didn’t create the spooky tree so I can’t post a pattern, but search for spooky tree and you will find good options. The pumpkins are about 1/2 inch to an inch.
Tavette says
This is the best use I’ve seen for the carvable pumpkins. Love the 3D effect and especially how well they show up at night.
Now you’ve got me convinced I need to get a Cricut or Silhouette, but will have to research which does what
Saw the pumpkins yesterday at JoAnns for 50% off. What size did you use for the templates? Where did you find the orange light tea lights? I heard JoAnns had them last year – even ones with black lights, but just white light this year.
Thanks for this most interesting post – can see lots of possibilities.
Tavette – S. Fla.
.
Gwen H. says
What a wonderful project
Jaime says
These are AMAZING!!
Laura says
I love these, they are so clever. Thank you.
Stacey says
You should be giddy! They are SO great!!