Have you ever made a beaded bracelet? They are so much fun to make! I sat down to make a few recently after not making any for a couple of years and realized just how addicted I could get to making these things again. They make a perfect gift and are inexpensive to make once you have the basic tools. So, if you haven’t done it before, let me show you how to make beaded bracelet:
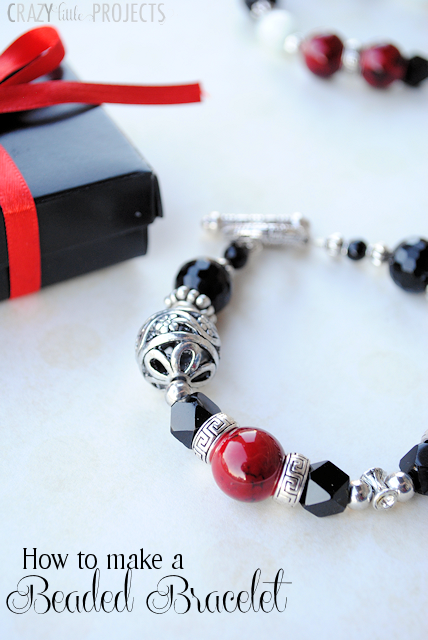
You can make them in any color and any style!
How to Make a Beaded Bracelet:
Supplies Needed:
- Beads-go to the craft store and get beads in a variety of sizes. You will want some small, some larger, different colors and types. Just mix and match.
- Wire: Something like this that says bead stringing wire
- Crimp Beads and Crimp Covers
- Toggle or Clasp
- Tools: Crimper and Wire Cutters
You should be able to get all of those supplies at your local craft store in the jewelry section, or you can order online.
Instructions:
Cut a piece of your jewelry wire several inches longer than you will need the bracelet to be. (So about 9 or 10 inches long.)
Slide a crimp bead onto one end of the wire:
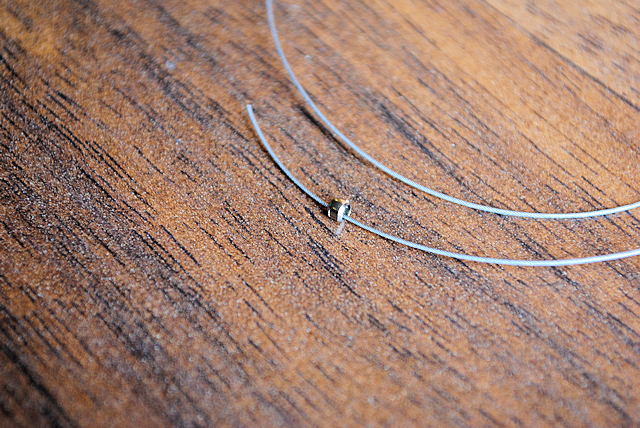
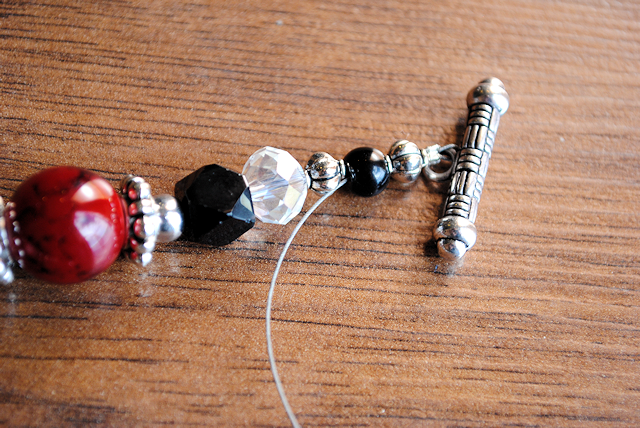
Then slide one piece of your toggle on. Then take your wire back through your crimp bead: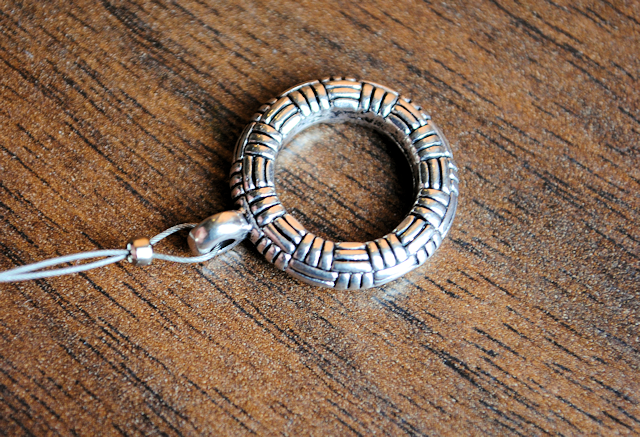
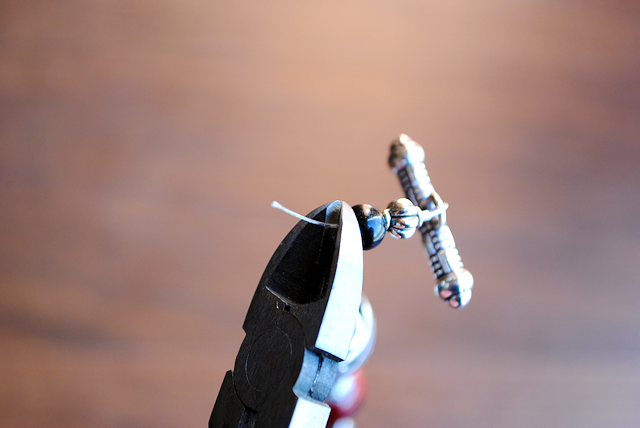
Now, to crimp the bead, grab your crimper. You will see that it has two parts. One part of it , the lower part, will look like a C shape, the upper one more like an O. First, hold it over your crimp bead, right where you want it (see image above for help with placement), and crimp it into a C shape. Then use the O shape part to round it out into a nice circle. In the image below I am showing you step 2-crimping it the second time, to make it an O shape:
Your crimp bead should be nice and snug now. Get one of your crimp covers, place it over your crimp bead and squeeze the O shape part of the crimper on it to squeeze it shut over the crimp bead.
Now, start stringing your beads. Have fun with this and get creative. Anything goes. You can create a pattern or go random, whatever you want.
A couple of tips
- Start with a couple of small beads if you are using a toggle closure so that they can slide through it a little.
- For sizing, generally you will measure the wrist and go up about 1/2 inch if you are using all small beads, about 1 inch if you are using large beads.
- Typical women’s sizes are around a 7 inch bracelet give or take.
- The wire will stretch a little overtime so err on the side of smaller rather than larger.
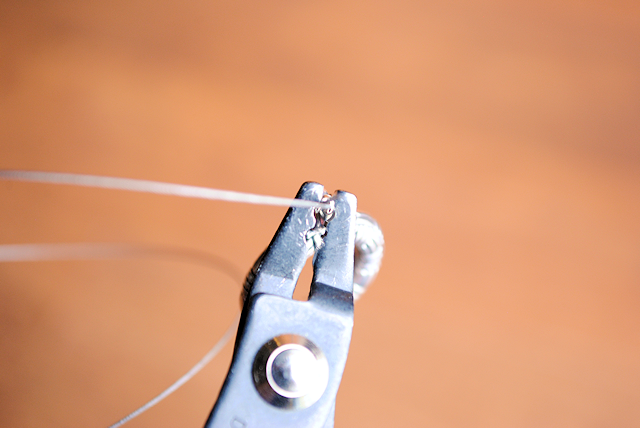
- String the first few beads through the small strand of wire you have left hanging from your crimp bead and then snip it off:
String until you have the bracelet the length you want it and then do the exact same thing to this end that you did at the beginning with the crimp bead and toggle. It takes a little practice to get the hang of crimping and things, but once you get going you are going to want to make bracelets for everyone you know!
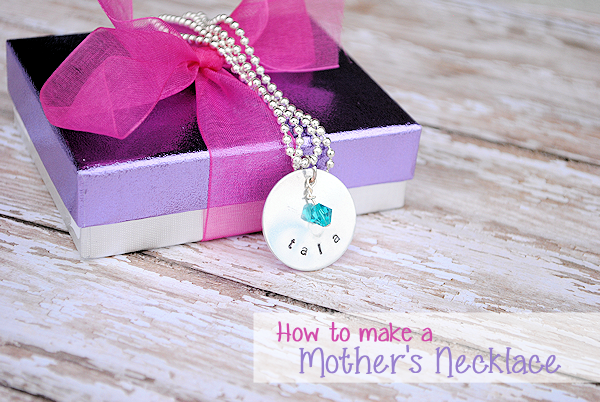
See also, How to Make a Hand Stamped Mother’s Necklace:


thejewelcreation says
Very pretty – I love the colors!
Thanks for sharing!
sylvia says
Thank you for your tutorial….it was very helpful…
Susana says
Very beautifull. It will give a nice gift for someone special! 🙂
Collette says
Nice…..You did a great job with the lil tutorial for all…good job….I love the lil bracelet
Beverly {Flamingo Toes} says
This is so cute Amber! I love the beads you used – they are so sweet. It would make a great gift!!
Adriana A. says
Omg thanks so much for this tutorial, I can’t wait to start making bracelets!! I never knew it was so easy!
Jen @ Eat. Sleep. MAKE. says
I love the pop of red in your bracelet. So festive!