As I sit here writing this post I’ve got a laptop next to me so that I can watch my favorite show on it while I type my post on my desktop and my husband can borrow my iPad, but someone might text me on my cell phone. You get what I am saying. Life’s full of gadgets these days!
So, in honor of National Sewing Month I thought it would be fun to pull together a post with 25 Things to Sew for Your Gadgets. But first I am going to show you an iPad Sleeve Case tutorial.
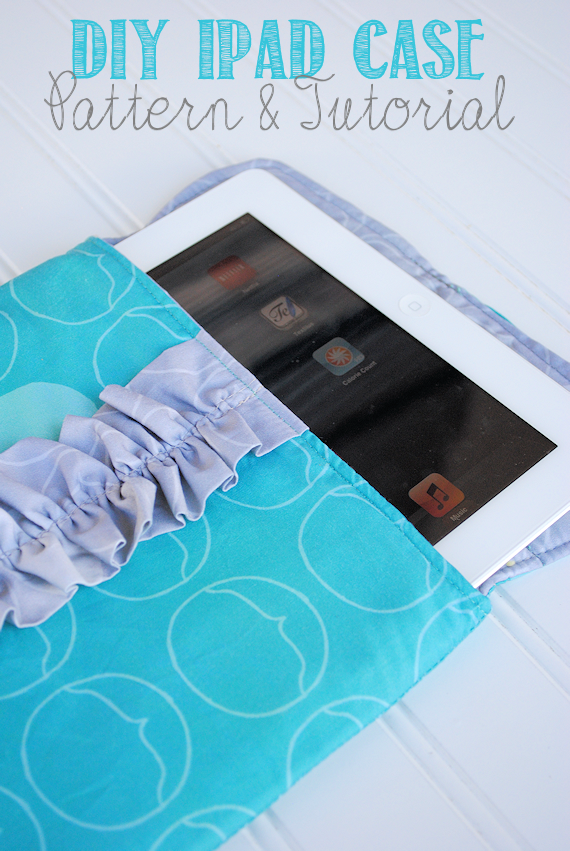
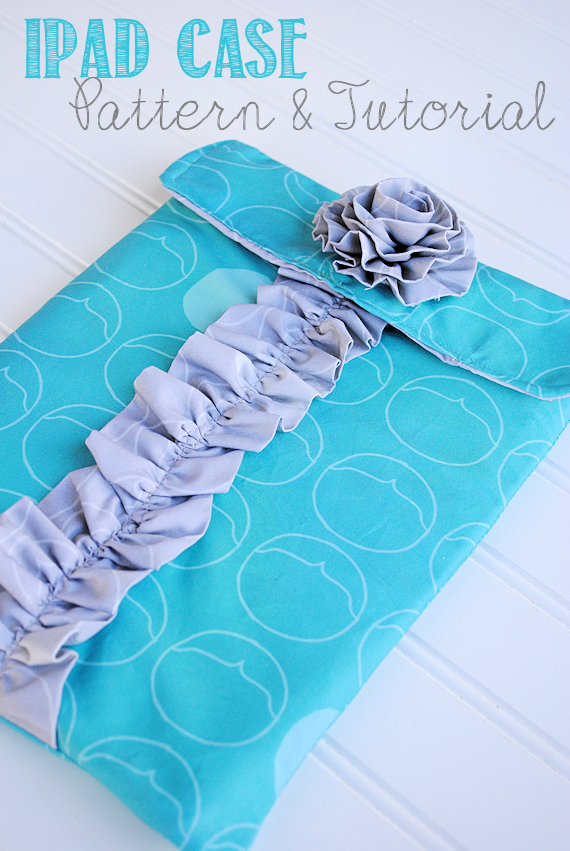
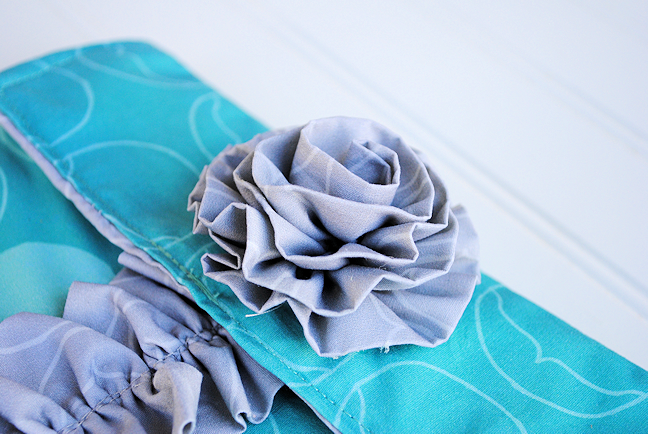
And guess what? It’s got a cute little fabric flower on it!
This is pretty easy to make and would make a really great gift!
iPad Sleeve Case Tutorial:
Supplies Needed:
- 1/2 yard each of 2 coordinating fabrics
- 1/2 yard of fusible fleece
- Small piece of velcro
Instructions:
Cutting guide: Cut 1 of each of the following pieces from each fabric and fusible fleece. (So 3 pieces total of each.)
- One piece that is 9 inches by 11 inches
- One piece that is 9 inches by 15 inches
If you would like to add the ruffle and the flower, cut the following pieces:
- One 45 inch long piece that is about 2 inches wide
- One piece that is 18 inches long by 5 inches wide
Let’s start with the ruffle. With right sides together, sew along the long side: 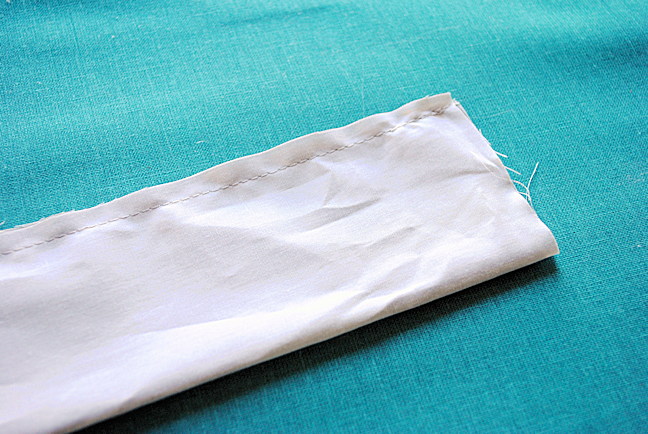
Then turn right side out and press so that the seam is in the center of the back: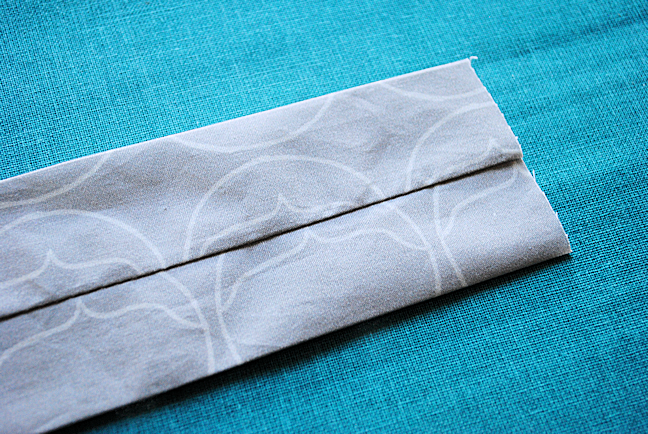
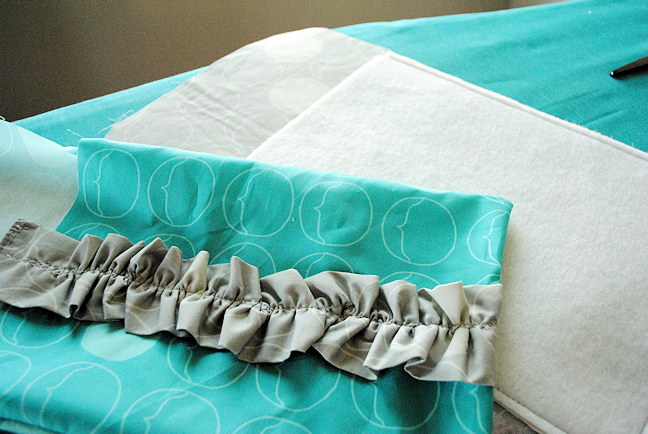
Next, run a baste stitch right down the center: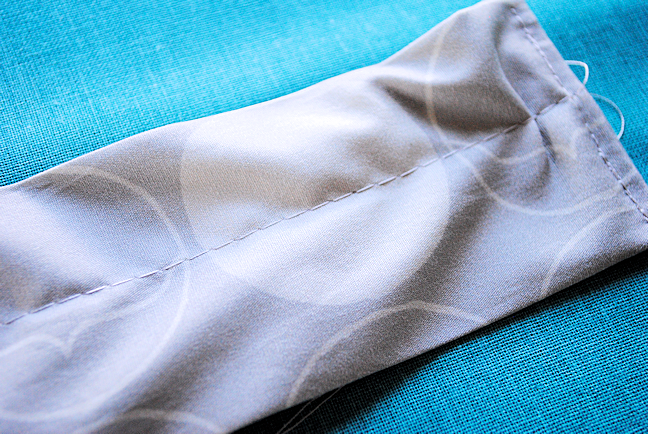
And pull gently on the bobbin thread to gather the fabric into a ruffle. Once you have it the length you need it, pin it in place and sew it down the center of your 9 by 11 inch piece of front fabric.  There are tons of fabric flower tutorials out there, so you can choose one, but this is the one I used, but I did it the reverse way that she describes so that it is not frayed on the edges.
Now, before we do anything else, let’s add the Velcro. Let me tell you that I discovered as I was making mine that I had no Velcro in the house. So I don’t have pictures of where to place this. BUT, you need to place it on the 9 by 11 inch OUTER piece (the one that you just sewed in the center OR you can do two-one near each edge-and then match it up with the INNER piece that is 9 inches by 13 inches. You are sewing both of these on the right side of the fabric and need to do sew them so that they will match up when the flap is folded down. Sorry for the lack of pictures!
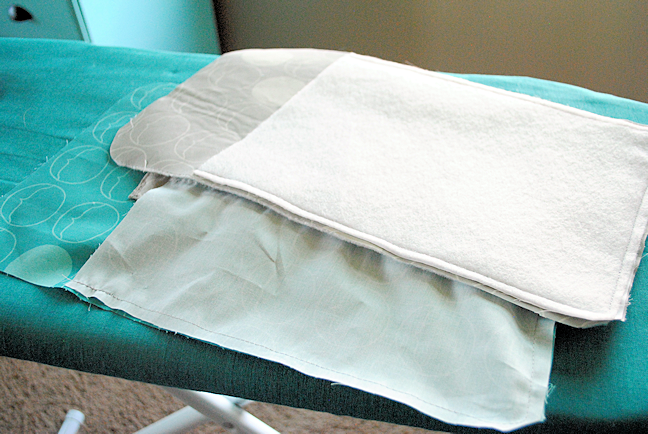
With your Velcro in place, iron your fusible fleece to your inner pieces. Iron it so that it is on the back side of the fabric.
Now, with right sides together sew the 2 outer pieces together and the 2 inner pieces together:
Now, turn the outer one right side out:
And slide it down into the inner piece: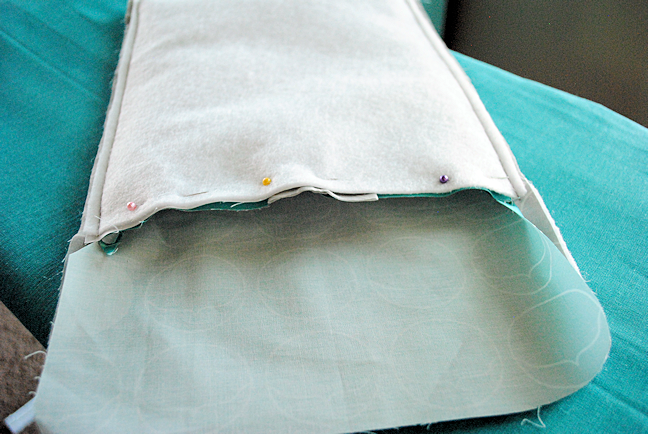
Now, this is the part that always confuses people. We are going to sew from the top flap, around the side, across the middle (but only catching the 9 by 11 inch pieces) and up the other side, leaving several inches to turn it right side out: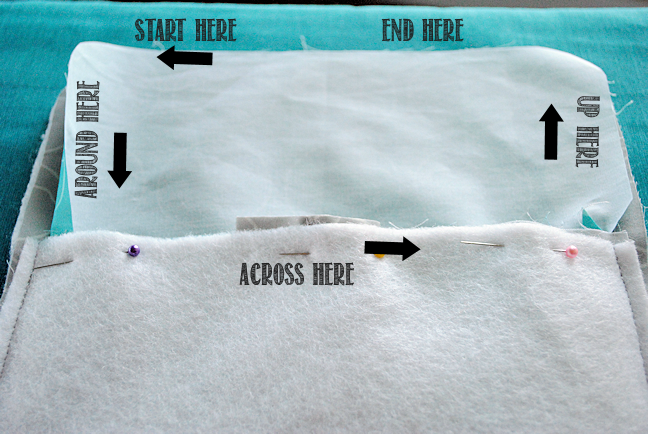
Here it is done: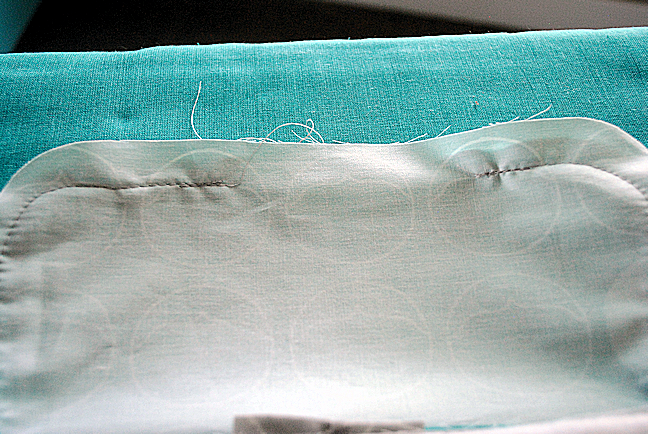
Then, reach inside and pull out the inner fabric: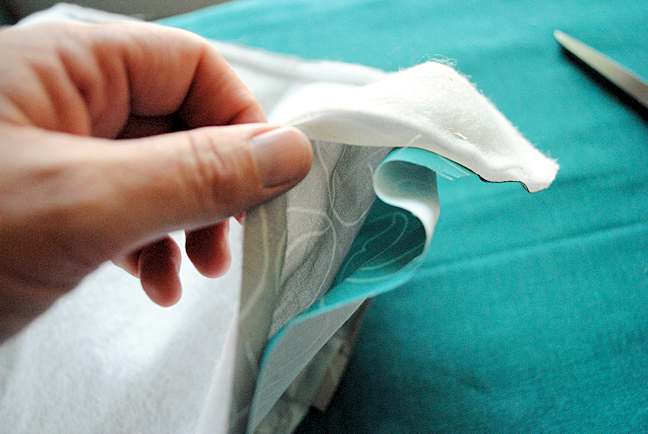
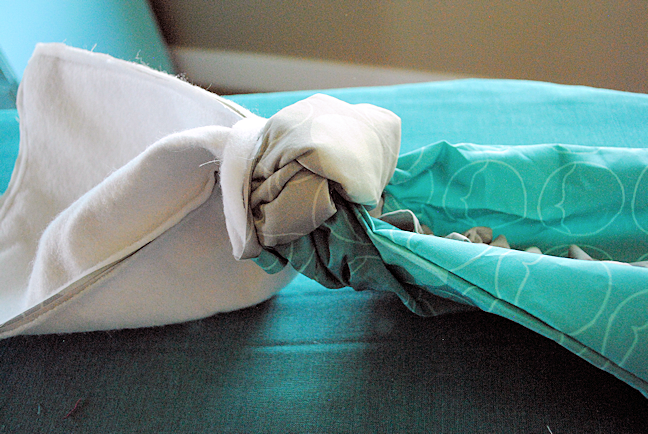
and tuck the inner fabric down in. Then press it all flat and top stitch the same spot that you just sewed-around the flap and across the center-this will close the opening.
Then, hand stitch your flower in place and you’re done!
Now, let’s talk about other things you can sew for your gadgets shall we?


Leave a Reply