How are the Learn to Sew Lessons coming? Are the kids and teens enjoying them? Did you get the project done for last week and…are you ready for this week?!?
Let’s add elastic!

But first, let’s talk about this week’s sponsor.
I’m pretty excited about this sponsor because I think this is one that your kids will love! This week Patchwork Posse is giving away a $50 credit to the store. Why do I think you are going to love this? There’s great stuff for kids to sew in there! Here’s a sampling:
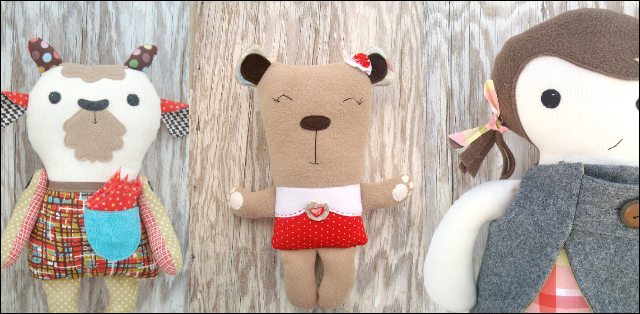
Or you can sew them for your kids. Cute stuff though right? Enter to win at the bottom of this post!
Learn to Sew Kids: Adding Elastic:
This week we are going to learn to add an elastic casing and insert the elastic into it. Again a reminder to work at your child’s pace. If something becomes too hard you don’t have to do it. We have all different ages participating on this.
What we are learning today will help you so that you can sew things like pajama pants or little skirts or anything that you want to add elastic to. It’s a very easy way to add elastic and really only involves a hem and a straight stitch. Ready for that?
To create what we call a casing for your elastic, you will start out by folding down your fabric almost as if you were going to hem it. So, you’ll fold the fabric so that wrong sides are together. Fold it down about an inch or so:
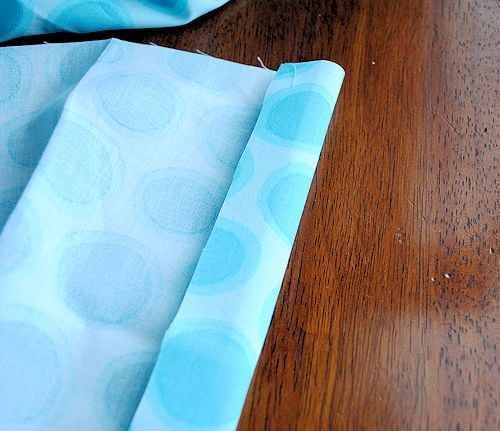
And then again one more time:
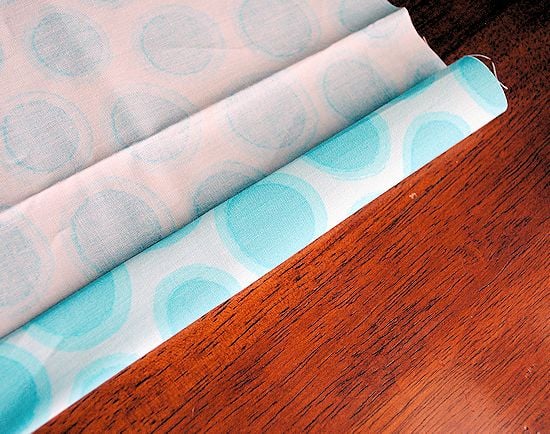
Press that seam or pin it in place (or both):
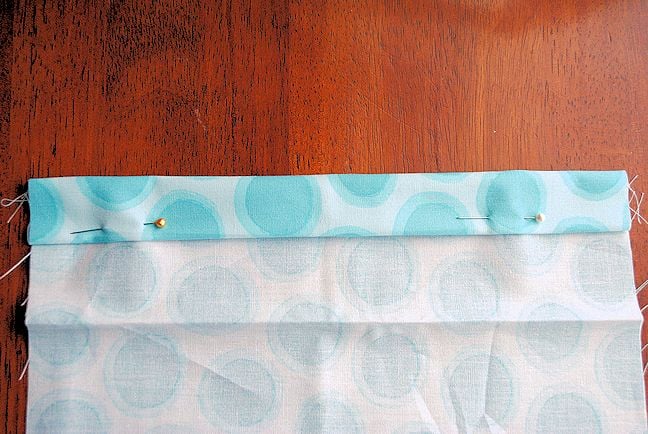
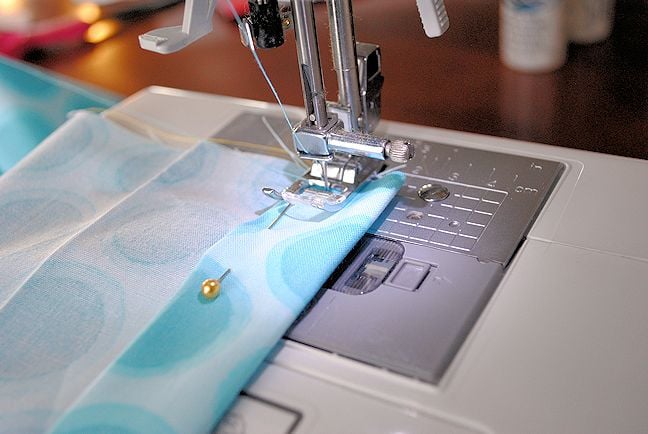
Now you will sew a straight line along the bottom of that fold. See how my presser foot is lined up to the bottom edge of the fold? Then sew straight along there:
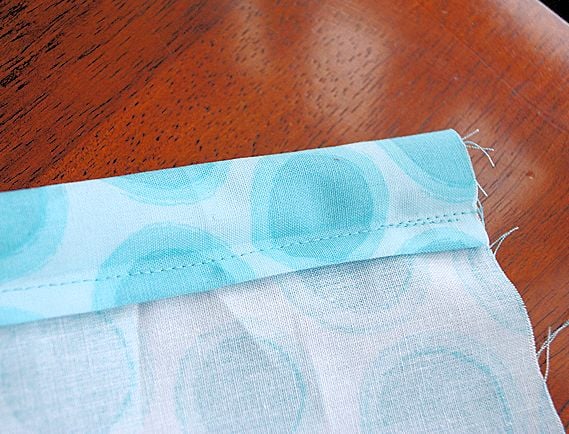
It will look like this when you are done:
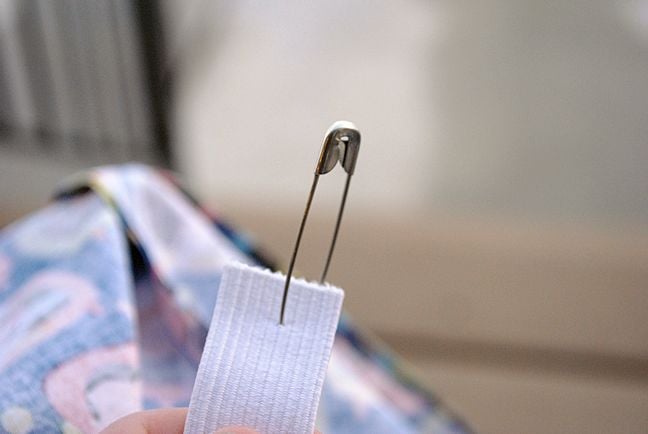
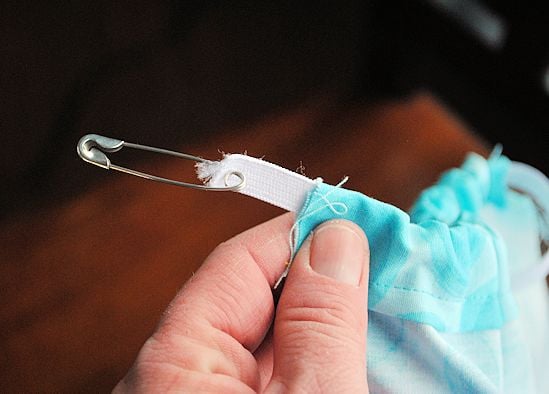
Now, grab your elastic (you can get any size as long as it is smaller in width than you casing. I typically use about 1/2 inch width on kids clothes) and your large safety pin and attach the safety pin to one end of your elastic:
Now slide the head of your safety pin into the opening at the end of your casing you just made:
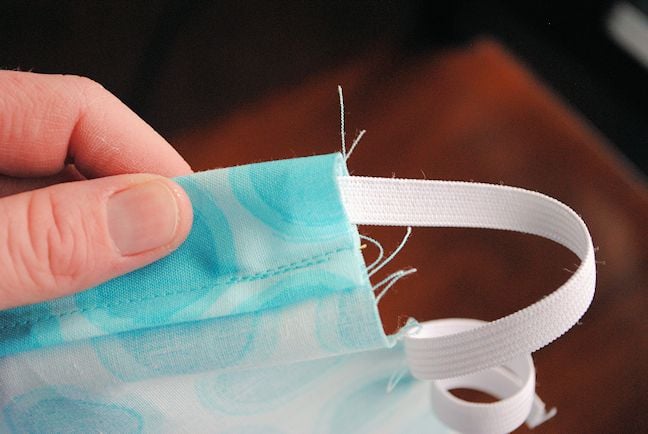
And pull it through using the safety pin to pull on and guide the elastic. BUT, make sure you don’t let the other end of the elastic pull through the end you started on. You can pin it in place or just hold onto it, just don’t let it follow through the hole.
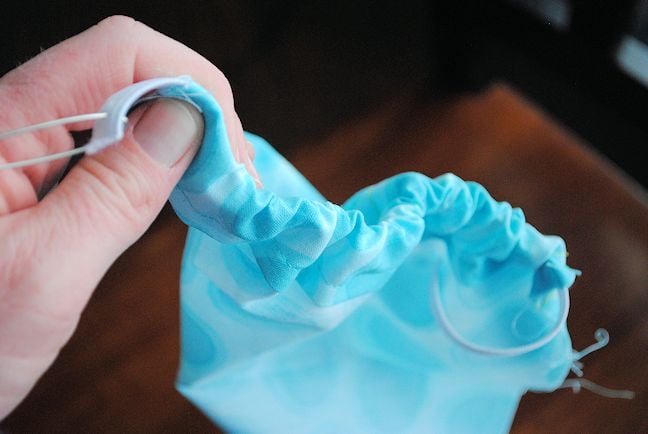
Pull till your safety pin comes out the other side:
And your fabric will now be gathered:
OK, so those are the basics of how to do it. But, generally you aren’t going to be doing it on a flat piece of fabric like that. Usually you are going to be inserting it into a waist band, so your fabric is already going to be in a loop.
Let’s imagine you are doing pajamas (one of the project options for this week). You’ve already sew the pajamas together, now you just need to create the elastic waistband.
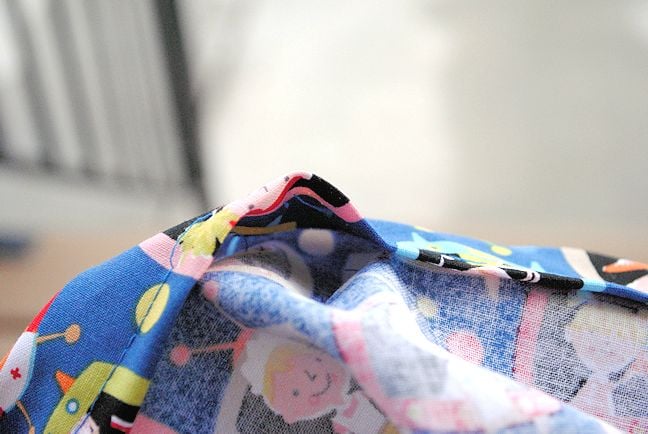
You will follow the same steps, just at the top of the pajamas. So, fold your fabric over once about an inch so that wrong sides are together and then again about an inch. Pin it and/or press it to hold it in place. Then sew all the way around BUT-this is important-leave a couple inches of opening:
That’s where you are going to insert your elastic. So, do that. First, measure how much elastic you need for this project (depends on your instructions or he size of the waist you are making it for). Then, grab your elastic and your safety pin and insert it in there:
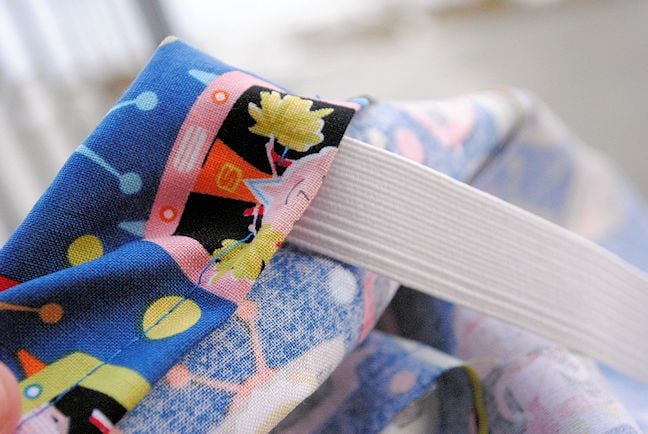
Pull it all the way around the waist:

And out the hole again making sure that your other end is still outside the hole too (pin it in place if you need to):

Make sure that you elastic did not get twisted up inside. Then sew those two ends of the elastic together. Either use a zigzag stitch to do it or just go over and over and over it about 10 times to make sure it is sewn tight.
Now you just need to close that opening that you had. Stretch out the elastic and sew it shut (making sure not to sew on the elastic, just on the fabric):
And you’ve got elastic!

I was excited for this week’s project when I was planning these lessons because it seems like making pajamas is one of the all time classic first sewing projects. Did you do it when you were in home ec? One word of caution on these. MAKE THEM BIGGER THAN YOU THINK. You can always size down as needed but you can’t easily size them up.

OK, ready for a giveaway then?


Carolyn says
Thanks for the giveaway! My kids love me making them softies and costumes for dress ups. I’m hoping to make some fabric bunting for my little girls room next!
Katy says
A little girl’s apron!
J. Burks says
These instructions are well-written and the photos make it easy for me to use to help my kids understand what comes next. Thank you!
J. Burks says
Oh, and what they want to make varies from a skirt to an armadillo toy.
Amber says
Love it!
Kim H says
My kids are a little too young to want to sew anything (3 & 5), but they always want me to sew more character hooded towels that I learned from you!
Michelle elizondo says
My lil girl wants to learn how to sew a dress for her barbie!
Kristina Calkins says
Thanks for all the fun ideas!
Kristina Smith says
My daughter say she wants to learn to sew matching purses for her cousin and herself.
Kristina Smith says
Love your tutorials. My daughter is super excited about getting some new pajama bottoms!!
Rachael says
a superhero outfit
Lisa K says
My niece would like to sew other items for her doll (PJs with pants was one request). Due to her age(6), projects need to be fairly easy and quick. I would like to have her try sewing either a simple tote bag or skirt once she gets more practice on the machine.
Lisa K says
I helped my 6-year-old niece (and her mom) learn to sew a few weeks ago while on a family vacation. We live in different states, so I’ve done some troubleshooting and project sharing over the phone or by email. I shared your learn-to-sew series with them. Great tutorials and instruction so far!
I helped her make a casing and thread ribbon for a pillowcase dress for her 18″ doll, using the same techniques shown in this project.
Amber says
Way to go. So cool!
Nikolette B says
My 6 year old son is not quite onto this project yet. We are currently making the messenger bag for my 4 year old daughter’s birthday next month. He is so excited to be making her a present and I cannot thank you enough for giving me the knowledge to be able to share this with him. (I am a VERY novice sew-er myself).
Amber says
I love hearing that! 🙂 Keep it up!
T Bosch says
Stuffed animals
Diane Kayess says
I am a Joey Scout Leader and I want my Joeys (aged 6 & 7) to learn to sew on their badges because their mothers don’t know how.
Alisha says
She wants to make some pjs
Laurie P. says
I want to make a cow and kitty for a friends twin Todd.era.
Ariel says
This tutorial will come in handy. Thanks!
Nancy Miller says
very nice tutorial! Thanks! Went well
Kelly Hochstetler says
My daughter wants to sew a body length pillow (cat themed).
Kelly Hochstetler says
Awesome blog! Can’t wait to show my daughter this – she is just starting to get interested in sewing! Thank you!
Kate T. S. says
My son & I have just started your series. Yesterday afternoon we made the notebook cover & he was THRILLED. At this point, he wants to learn to sew anything. He’s going to love making his own pajama pants!
Amber says
Love it!
lisa mata says
now i can customize my little man’s pj pants 🙂
Kristy says
my oldest is ready to make a skirt
Catherine says
A little trouble getting the elastic through, I need to get better at keeping the fold even.
Teresa says
My daughter would like to learn how to sew a skirt and she is six. 🙂
Alishia says
We have been talking about making her pillows and curtains for her room for awhile…
Joanna Robertson says
Easier than I first thought. Great directions!
Kathy E. says
She wants to learn to sew a binding on potholders.
kimberlee says
My daughter says she wants to learn to sew a stuffed kitty.
Taylor Wilson says
Love your tutorials
Reg says
I would love to make an elastic waist skirt for my granddaughter.