I love creating fun invitations for you to use for all your parties! And it’s so simple to make something that you can save to your computer and personalize to work for you. Today I want to show you have to quick and easily go from an invitation that looks like this:
![]()
And add your own text so that it looks like this:

HOW TO USE PICMONKEY TO PERSONALIZE INVITATIONS:
If you haven’t used PicMonkey yet, this is going to rock your world! It is SUCH a handy online tool. I use it all the time to design things online, edit pictures, and resize images.
Go to PicMonkey.com. They have a free version or you can upgrade to the fancy version for just $5 a month. I use the upgrade version because it allows me to have more font options and design options and it’s totally worth the $5 to me!
When you get to PicMonkey here is what you will see:
To personalize one of these cards you need to select Edit from the menu at the top of the screen. Then navigate to your card that you saved to your computer and open it.
Now you need to personalize it with your own information.
You will need to add text. To do this select the T on the left sidebar menu and then click Add Text at the top left:
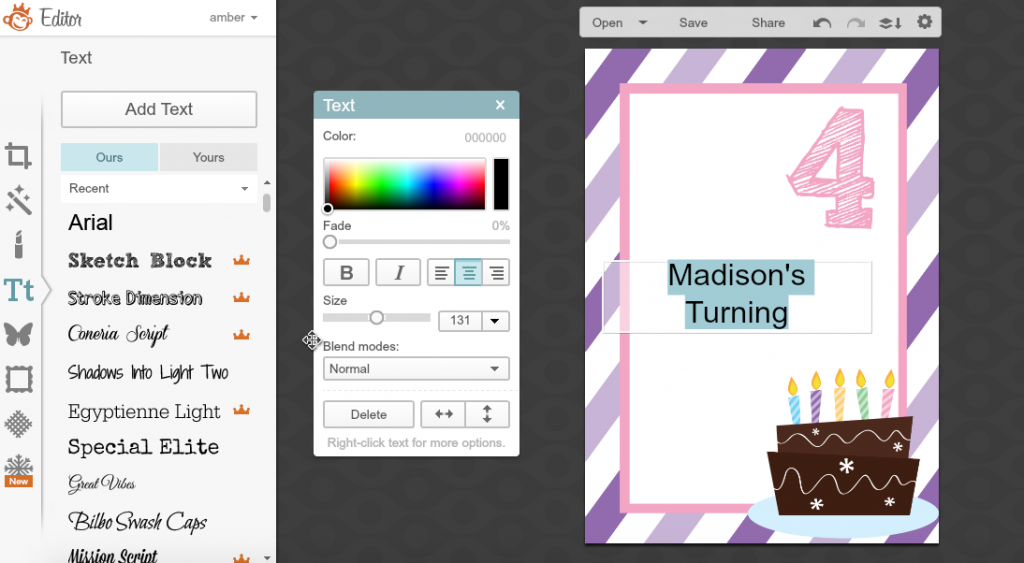
You can see in the image above that I have a text box on my invitation and I have written Madison’s Turning on it. You can also see a box that lets me edit that text. I can do a number of things. I can change the size by sliding the slider bar left (for smaller) or right (for larger). I can also choose to bold it, italicize, change the alignment and change the color. In the menu on the left I can select a font. The fonts with the crown next to them are only available if you use the paid version.
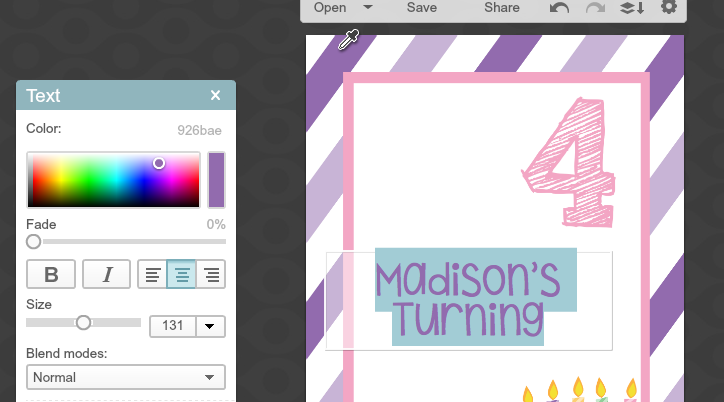
Now if I want to change the font color and make it match what is already there in the template (like the pink or the purple), all I need to do is highlight my text, then click on the color bar on the left of that Text Editing Box. (The box that is purple in this image below.) This will give me a little dropper to work with. Hover that dropper over the color you want and click and it will pick that color up and now you can write with it:
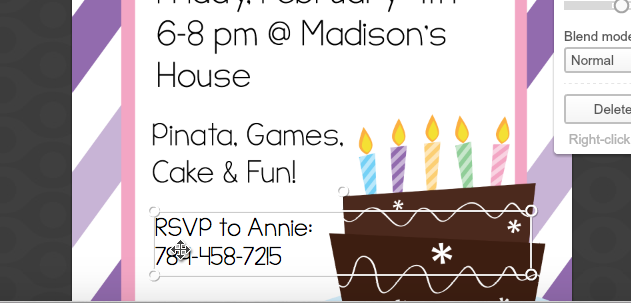
To move text around you will need to have it not highlighted but click on one of the letters. This will bring up a box around it and the little compass arrow thing to drag with. Simply drag it to where you want it and drop it.
Get all your text in there then click Save at the top menu bar. This will open a new window where you can save it to your computer! So easy right?!
I then just put them in something like a word document and print them on card stock or you can send them to a printing place to have them printed. They are sized to 5 x 7 inches.


Diane says
Some time this year I tried Monkeypic and it wouldn’t open and was slower than slow. Must have been at the time. Have never gone back to it.