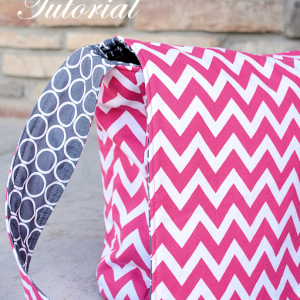
Messenger Bag Sewing Pattern
This messenger bag pattern is a great bag for on the go. And it's easy enough to make that beginners can sew it.
Supplies
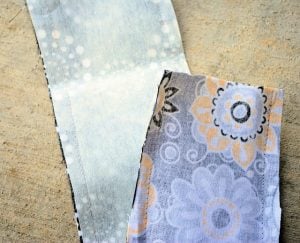
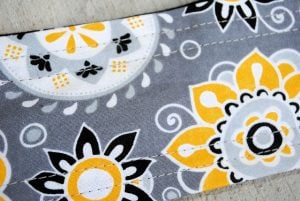
- 1 yard main fabric (cotton recommended)
- 1 yard inner/accent fabric (also good to use cotton)
- 1 yard fusible fleece interfacing
Instructions
- Final dimensions on this messenger bag will be about 16 inches wide by 14 inches high. You can easily adjust it to be other sizes if needed though.
- CUTTING GUIDE:Rather than pattern pieces to cut, I've got a cutting guide for you. Grab a ruler or measuring tape. Cut the front piece of the bag 17″ wide by 15″ high with rounded corners on the bottom. Use a rotary cutter or scissors, whichever you prefer. (I recommend ironing before cutting.) Cut 3 pieces of this: one each out of your main fabric, your coordinating fabric, and your lining. (Please note that these images show a lightweight interfacing. I really recommend fusible fleece instead.)

- The back of the bag is the same width (17") but is 26″ tall. Again, cut it out of both fabrics and your interfacing.
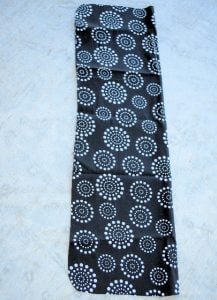
- Cut 2 pieces that are 4 inches by 45 inches as well out of all of your fabrics. One of these pieces will be your bag strap and one will be the sides of the bag.
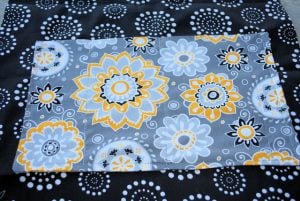
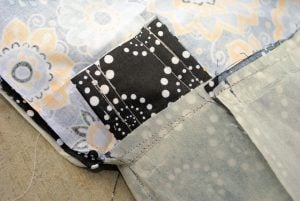
- SEWING INSTRUCTIONS:*Note that there is a video below this section that will likely be useful to you in sewing this bag as well. If you want any inner pockets now is a good time to do that. I did a large pocket on the back inner part of my bag. You’ll want to cut out fabric about 24 inches wide by 8 inches tall. Then fold it in half with right sides together and sew all the way around it, leaving a small opening to turn it.Turn it right side out, push out corners, press flat, and sew the opening shut.Then sew it onto the back inner part of your bag around the sides and bottom leaving the top edge open.
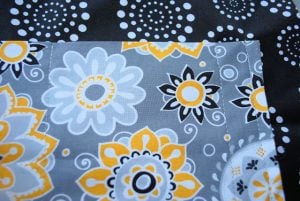
- I made some compartments in my slip pocket for things like my cell phone and a pen simply by sewing straight lines down the pocket to divide it up.
- OK, next let’s do the wide strap for the bag. Grab 3 of your long pieces, the 45-inch strips. One of the main fabric, one of the inner, and one of the interefacing. Place right sides together for your main and accent fabrics and then the interfacing on the outside of one of those. Sew down each of the long edges. Do not sew the short ends of the strap.
- Turn the strip right side out by pulling thorugh a short end, press it, and then top stitch it along each of the long sides using a 3/8 inch seam allowance.
- Now let’s put the bag together. First, the inside of the bag:Starting with your inner fabric and your interfacing, put the other 45-inch strip along the edges of your front piece with the interfacing on the outside. Pin the raw edges in place all the way around the bag trimming any excess length off as needed.
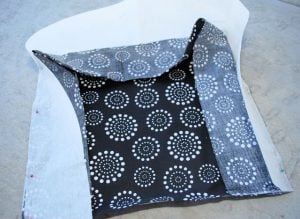
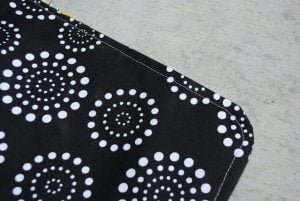
- Sew around the part you just pinned going down the side seam, across the bottom seam, and up the other side seam.Do the same thing with the back piece, matching it to the remaining side of your long 45-inch strip.It should look like this when you are done:
- Here’s a close-up of the corners:

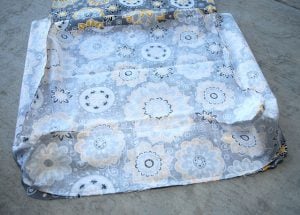
- Now do the same thing with your outer fabric to form the outside of the bag. Now let’s put it all together. Turn the OUTER fabric right side out:

- and the INNER fabric inside out.Slide the OUTER fabric down inside the inner fabric matching up all the seams from the two pieces. So you’ve got the two pieces of the bag with one inside the other and right sides are together.Tuck your straps down inside the bag on the side panels so that the end part of the strap sticks out like this on each side. The straps should be between the 2 layers of the bag:
- Starting at the top center of the flap and working from the back of the bag, sew around the bag-down the flap, across the middle, back up the other side of the top. Leave several inches open at the top of the flap. (See the video below this instruction card to have more help on this process.) I go over the strap part several times to make sure they are very secure. You could also use a zigzag stitch here to add stability. Leave a small opening at the top of the bag to turn everything right side out.
- Now, using that opening on the top of the bag, turn everything right side out and push the inner part down inside the outer part.Press it nice and flat and smooth. (That’s always my favorite part because it starts to really look like a bag.)Top stitch all the way around the flap. This will close your opening automatically as you do this and keep your flap laying nice and smooth:
- And you're all set! The bag is done.