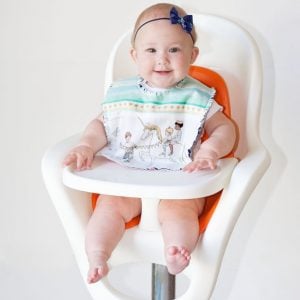
Simple Baby Bib Sewing Pattern
Supplies
- 2.5 yard cuts of flannel fabric yields 2 bibs
- matching thread
- snaps or Velcro
- Baby Bib Pattern
Instructions
- Begin by printing the PDF and taping together your baby bib template. Cut out each baby bib pattern piece and align the two small triangles together.
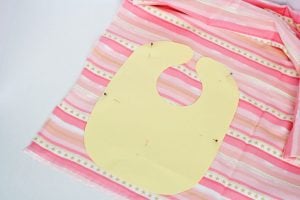
- Pin your pattern to your fabric and then cut around the pattern. Each bib requires two pieces of fabric so keep that in mind if you plan on making multiple sets. You may want to consider using two coordinating fabrics because the bib is reversible.
- Lay your bib pieces wrong sides together and pin. If sewing around rounded edges leaves you feeling a bit nervous, draw a line around your bib 1/2 from the edge to use as a guide while you’re sewing. Make sure to use a washable marking pen.
- Now you're going to top stitch. Start at the bottom and sew up and around the neck and end where you began. Don’t forget to backstitch!
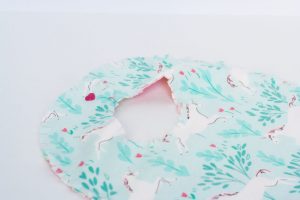
- Now it’s time for the fringe around the edge of the bib! Cut close to, but not through the stitching every 1/4 inch all the way around the bib with sharp scissors.
- Apply a snap 1/2 inch from your stitching line on either side of the bib. I used Kam snaps for my bib because they hold up really well. You could easily apply a 1-inch piece of Velcro if you don’t want to use snaps.
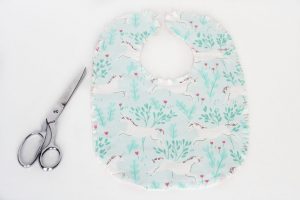
- Now throw your bibs in the dryer to fluff up your fringe and you are finished!