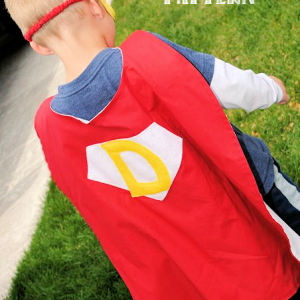
Superhero Cape Pattern for Kids
Supplies
- 1/2 to 1 yard each of 2 different colors of fabric (depends on how big the cape you are making is)
- Felt in desired colors
- 1-inch piece of Velcro
Instructions
- To start out, measure the child you are making the cape for from the back of the neck to wherever you want the cape to hang to. To give you an idea, this cape for my four year old measures 20″ from the base of the neck to the bottom of the cape (with an additional 5″ or so for the neck part).
- Lay your fabric out (or wherever you cut) with it folded and ready for you to cut. You are going to be eyeballing this, but you want your cape to look something like this (see picture). Mine is 20″ from the base of the neck to the bottom of the cape and is 24″ wide across the bottom and 20″ wide across the top with those neck pieces extending about 6″ above the case of the neck part. Make it look something like this. Trust me, your kiddo doesn’t really care how perfect the shape is, so just do what you think looks good.
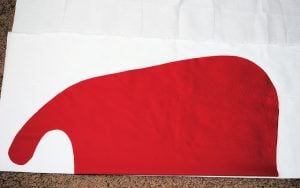
- Cut 2 pieces in this shape - one in each color of fabric.
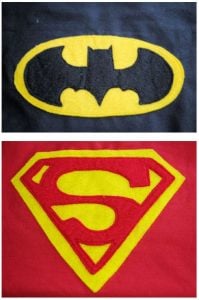
- Now, cut your superhero logo out of felt. I just cut that traditional diamond-like shape and put the child’s initial on top of it. I am not artistic, so to help myself I print a letter out from the computer and trace around it. You can also print logos of other favorite superheroes and use those like this.
- Pin the logo in place where you want it on the cape, a few inches down from the base of the neck on your main color fabric. Using coordinating thread, sew around all of the edges of the logo very close to the edges but without going off.
- Now, with right sides of the cape together, sew around the whole thing, leaving an opening to turn it at the base of the neck.
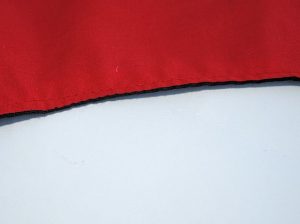
- Turn it, push out all the edges and then press it flat. Top stitch around the whole thing making sure to sew that opening in the neck closed.
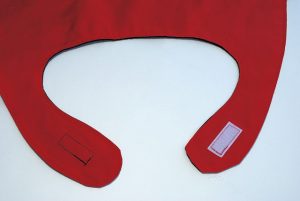
- Now, add a piece of Velcro to each of the neck pieces. One on the top color, the other on the bottom. And that's it! Your cape is finished!