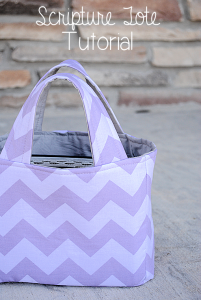
Scripture Case or Mini Tote Pattern
Supplies
- 2 Fat quarters 1 for the outside, 1 for the inside (If you pick a directional fabric though, you are going to need one more fat quarter in that fabric)
- Fusible fleece interfacing
Instructions
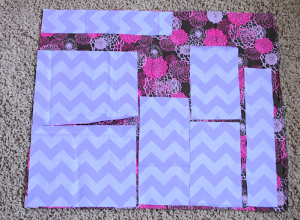
- Cut out your pieces. You need to cut these pieces out of the main fabric, the coordinating fabric and the fusible fleece interfacing.Here are the measurements I used: 2 pieces that are 7″ x 9″, 2 pieces that are 4 1/4″ x 7 1/2″, 1 piece that is 4 1/4″ x 9 1/2″, 2 pieces that are 2 1/2″ x 11″
- If you want to adjust this bag to fit a different size book simply measure the book and change the measurements from there. My book measurement was about 6″ x 8″ and was 4″ deep, so I used 7″ x 9″ with 4 1/4″ as my cutting guide. So adjust yours depending on your sizing.
- Here’s a layout that will allow you to cut all the pieces from a fat quarter. You can see that this isn’t going to work with directional fabric-that one strap piece up at the top is going the wrong way. So, if you have directional fabric you’ll need one more fat quarter.
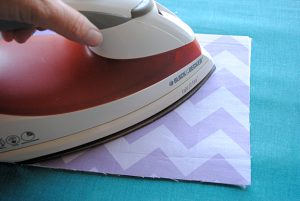
- One you have all of your pieces cut, iron the fusible fleece interfacing to the backs of your main pieces
- Now, beginning with your main pieces let’s assemble the bag. First, attach the two 4 1/4″ x 7 1/2″ pieces to the 7 inch sides of your main piece with right sides together. Then get your 4 1/4″ x 9 1/2″ piece and attach it to the bottom of your main piece, again with right sides together.
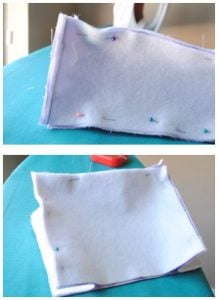
- Do this with both of your main pieces so that you form a little box.
- Now sew the side and bottom pieces together at the corners. See in the photo that I have sewed the pieces together and the bottom left corner of the photo.
- Sew a straight seam in 6 places-one down each of the short sides and one across each of the bottom sides.
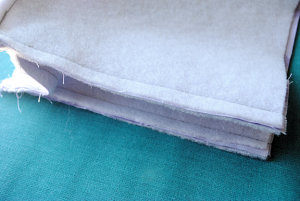
- This will assemble the rest of your bag. The trickiest place will be at the corners. Make sure you are sewing just through the 2 layers of fabric that you want to and then catch the corner in it at the end of the seam. Your corners should look like this when you are done.

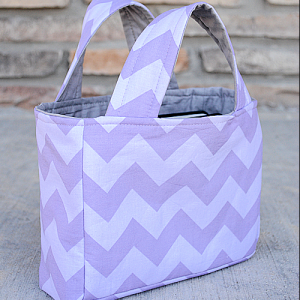
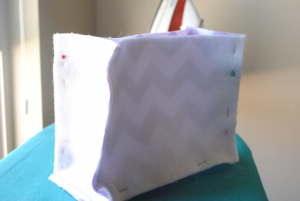
- Turn it all right side out and you should have a nice bag formed. Check to make sure there are no holes or anything.
- Then do the exact same thing with your inner pieces.
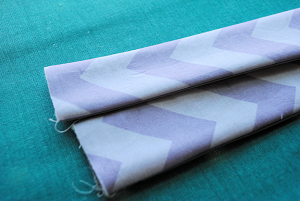
- Now you need to make some straps. Take your long 11″ pieces and place them with right sides together and sew up to the long sides leaving either end open.
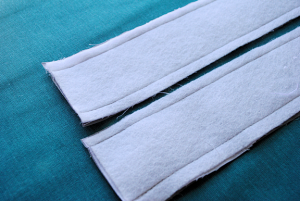
- Turn them right side out and press them flat. Then top stitch them on each of the long sides. (The top stitching isn’t shown in this picture.)
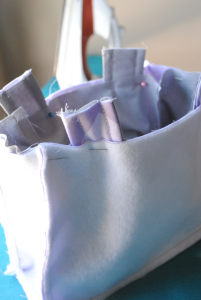
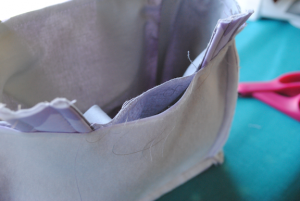
- Time to put it all together. With your outside piece INSIDE OUT and your inner piece RIGHT SIDE OUT, put the inner piece down into the outside piece. Match up all the corners and everything and pin them all in place. Stick your straps down inside the bag with the ends sticking out (double check to make sure you don’t get them twisted up and that you have them facing the way you want them to).
- sew all the way around the top leaving an opening between 1 of the handles.
- Snip off the extra ends from the straps.
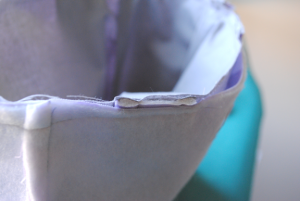
- Turn everything right side out and push the inside down into the outside and press it all in place. Then top stitch around the top-closing the opening and making it look all pretty. And you are done, my friends!