
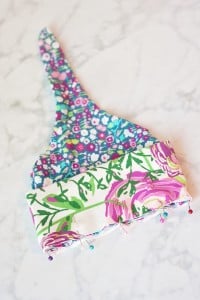
DIY Baby Hat Pattern
Supplies
- 1/4 yard each of two coordinating knit fabrics Fabric must have at least 25% stretch, I used Art Gallery knits because they contain Lycra and they have great recovery.
- matching thread
- Top Knot Baby Hat Pattern See link above the instructions.
Instructions
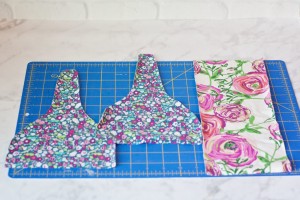
- Cut out hat band 12″ x 5″.
- Cut out pattern pieces with the greatest amount of stretch going horizontally across each piece. You will end up with a total of three pieces.
- Place both hat pieces right sides together. Pin the hat pieces in place along the perimeter so that they don’t shift while you are sewing them together.
- Using a 3/8ths-inch seam allowance, start at the bottom and sew up and around the top knot and down to the other side. You may need to put your needle in the down position and lift your presser foot to rotate the fabric at the top of the point. Make sure to leave the straight bottom unsewn until the following step. Turn hat piece right side out.
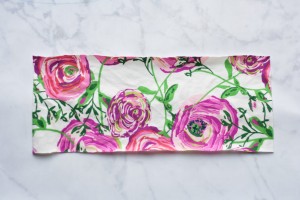
- Fold the contrasting knit band in half with right sides together. Align the two short edges and sew a straight line to close the opening.
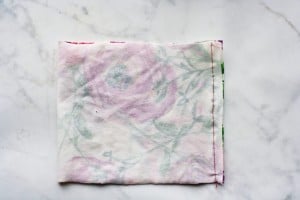
- Fold cuff with wrong sides together aligning the raw edges.
- Align the raw edges of the cuff to the raw edge of the hat with the cuff on the outside of the hat.
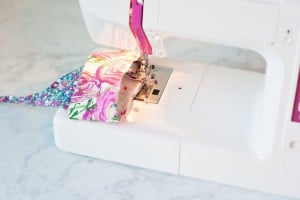
- Use plenty of pins to evenly distribute the cuff around the hat. The cuff should be slightly smaller than the hat and will require you to stretch it ever so gently to fit. Using a stretch stitch or a narrow zig-zag stitch sew around the entire hat.
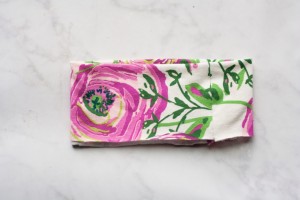
- Using a hot iron, press the seam upwards using plenty of steam. Fold the cuff up 1 1/2 inches and tie a knot at the top of the hat.