Easy Rag Doll Pattern
Supplies
- 1/4 yard "Flesh color" fabric If you are making these dolls to donate, please remember that kids come in all varieties, so let’s vary what flesh colors and hair colors and hair styles we use. Make them all different and unique.
- Small amount of fabric for the dress
- Stuffing to fill the doll
- Yarn (for the hair)
- Fabric paint (for the face and optional shoes)
- Optional ribbon for bows
- Doll Pattern Pieces
Instructions
- Print out the pattern and cut out the pattern pieces.
- With your pattern pieces, cut:-2 head pieces from your flesh fabric-4 arm pieces from your flesh fabric-4 leg pieces from your flesh fabric-4 sleeve pieces from your dress fabric-2 dress pieces from your dress fabric
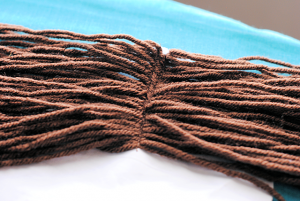
- From your yarn cut a bunch of strands to the length you want them for your doll. Each strand will cover from one end of the hair up to the head and down to the other end of the hair. So make them twice as long as you want the doll’s hair to actually be.
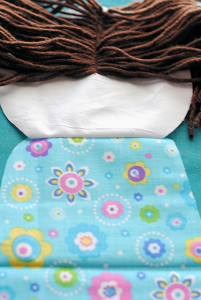
- Place your hair pieces in the center top of one of your head pieces. Sew a straight line right down the middle of the hair from top to bottom. Yes, this will be a little tricky. I go over it twice to hold it in place well.
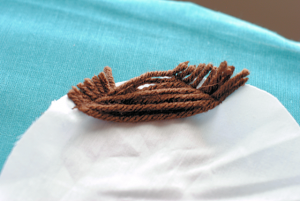
- On the other head piece, create some bangs by sewing some yarn across like this: (My hair pieces were longer when I sewed them and then I just snipped the ends off after.)
- Grab your sleeve pieces and your arm pieces and sew them together.
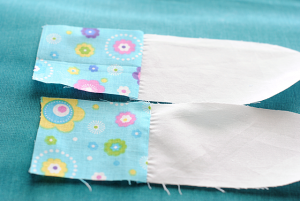
- Then place two of your completed arm pieces together with right sides facing in and sew around them leaving the short bottom side (where the sleeve is) open. Turn them right side out. Press them then stuff them with stuffing. Leave about an inch or so not stuffed at the top so that you can sew them in easily.
- Do the same with the leg pieces. (Be sure to clip the corners on the curve that is the ankles of the legs before turning right side out.)
- Take your head pieces and sew them to the dress pieces across the bottom of the head and top of the dress with right sides together. You can then snip off the excess.
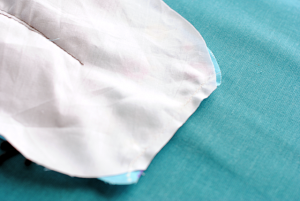
- It should look like this (from the back of the doll) when you are done.
- Sew your arms in place on the doll body. Place them near the top. Pin them in place with them angling downward slightly (or they can stick straight out-either way is fine really) and sew them in place.
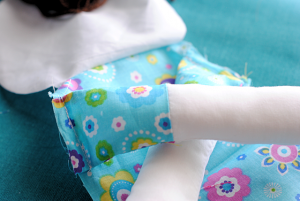
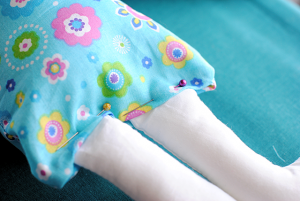
- Now, take your body back piece with the arms attached and your front piece and place them together with right sides facing in. Make sure the hair is out of your way (you can even put it in a pony tail for now if you need to) and that the arms are tucked in, and pin it all the way around.
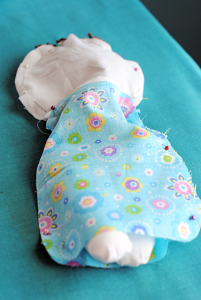
- Leaving an opening at the bottom of the dress as seen in the picture above. Sew all the way around where you pinned. Then turn your doll right side out.
- Now, insert the legs and pin the opening closed on them.
- Stitch that shut. Ideally, you would hand stitch this. I am not patient, so I machine stitch it.
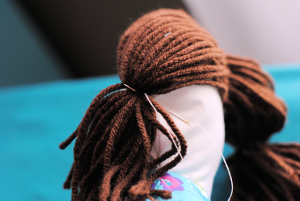
- pull your hair into pig tails and get it just how you want it. (I like to pull it over the face a little.) Tie a piece of yarn in it on each side to create the pig tails. Then, hand stitch it from the back, through a tiny bit of the head and through the yarn you just tied it with. I stitch it about 5 times. This will keep the pig tails in place. Then I like to add bows in her hair.
- Now you just need to paint a face on your little doll. I also painted little Mary Jane shoes on her. I used fabric paint and it worked very well!
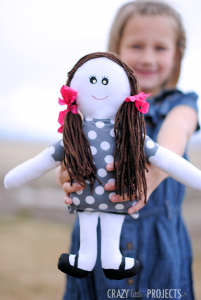
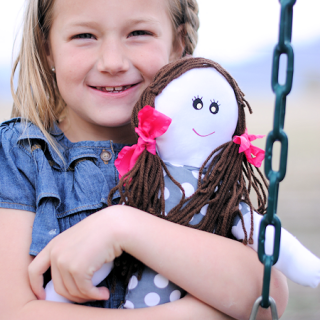
- And she’s done! And someone will love her.