What’s the Project? Need a great bag to carry your computer? This laptop bag pattern is easy to follow and can be customized to fit any size laptop and can be made in any fabric, making it versatile for anyone!
It’s getting to be about back to school time, but back to school doesn’t have to just be for the kiddos right?
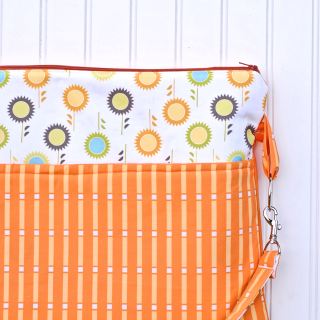
Moms need to have a little fun with this too I think, so today I have a back to school sewing project for you that’s perfect for moms (or dads) and college kids! It’s a Laptop Bag Pattern and Tutorial:
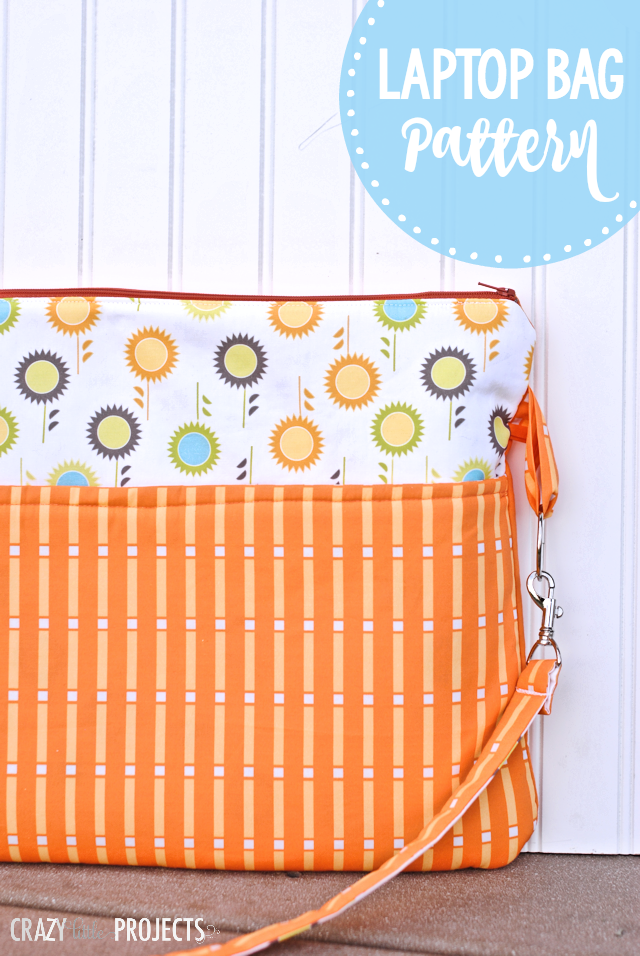
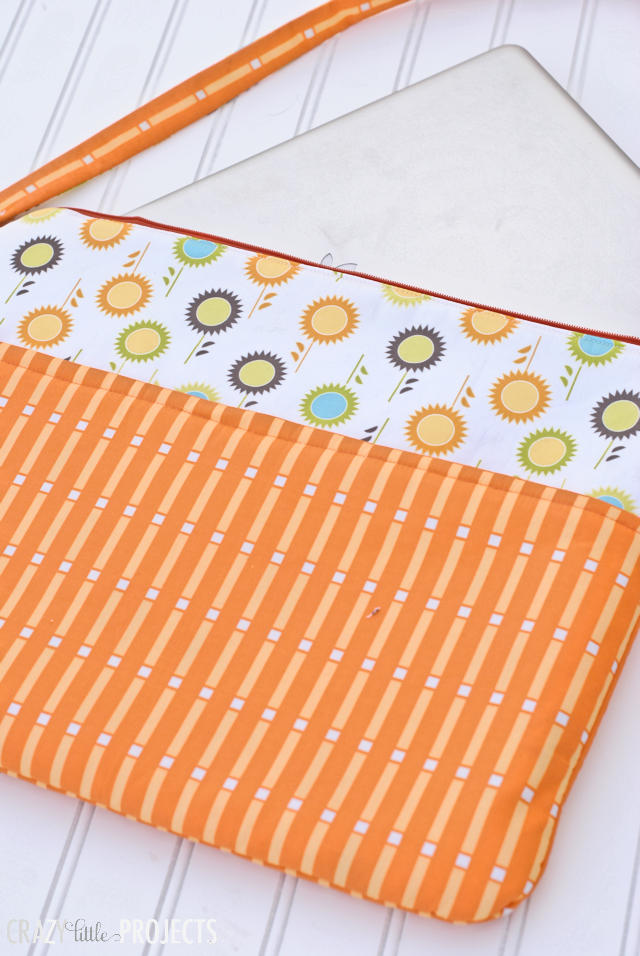
It’s customizable to the size of your laptop (or really whatever you want to put in it.
It’s basically just a very large zipper pouch, with a strap, so it’s not too difficult to make.
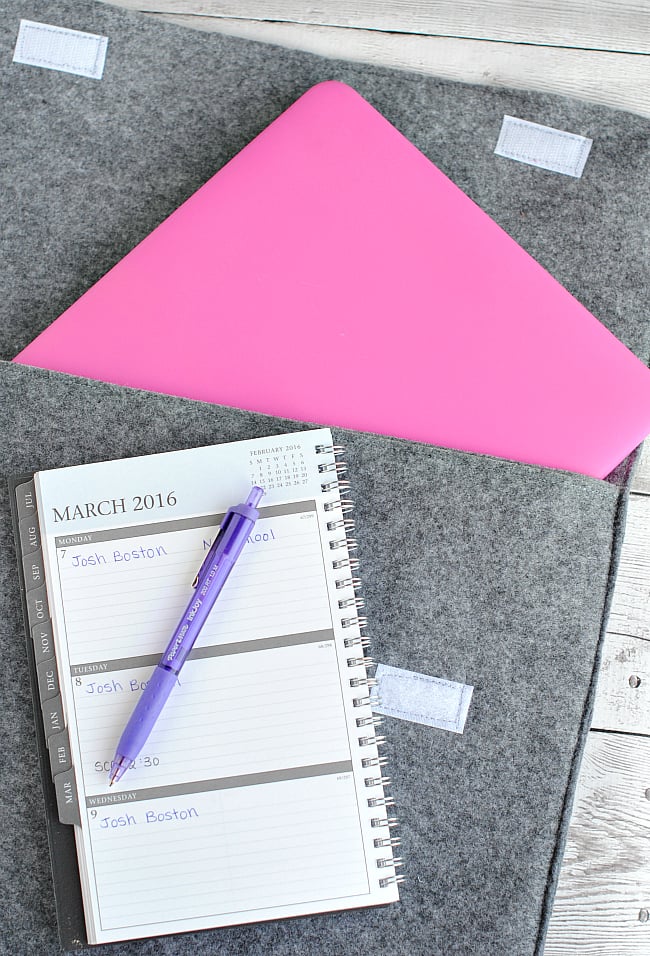
And for those of us who don’t have a laptop? It also works great just as a book bag.
Let’s make it!
Or, if you want a quick and simple version, I have an easy DIY Laptop Sleeve.
Laptop Bag Pattern
Supplies
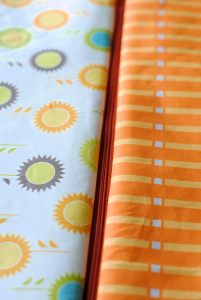
- 1 yard each of 2 coordinating fabrics
- 1 yard fusible fleece interfacing You can get it here or at your fabric store
- 1 zipper As long as your bag measurements (see instructions on measuring below)
Instructions
Cutting Guide
- The first thing you need to do is measure your laptop. I can’t give you exact measurements for this because you are going to size it to your own laptop.
- Measure the length and the width. Then, from your inner fabric cut 3 pieces that are about 3 inches wider and 3 inches longer than your laptop measured.
- From your main, outer fabric, cut one piece that is the same size as your inner fabric you already cut. (So my laptop measured about 15 inches by 12 inches, so I cut my fabric 18 x 15.) Round off the corners of all of these pieces.

- Now cut one piece from your main fabric that is as wide as the other pieces you cut but about 3-4 inches shorter. Round off just the bottom two corners on this piece.
- Cut fusible fleece to match the 5 pieces that you have cut so far.
- Now, to cut out your strap cut a piece from each fabric that is 3 inches wide by 36 inches long. Also, cut one from your fusible fleece. If you want the strap to be really sturdy, the other option is to use webbing.
- Iron the fusible fleece to the wrong side of all of the pieces.
Laptop Bag Sewing Guide
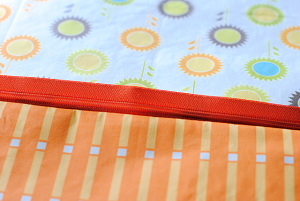
- Start with your smaller piece of the main fabric (the one that is 6 inches shorter than the others.) Hem the top edge (the one that does not have rounded corners). Press that and set it aside for later.
- Now, to assemble the bag we will be making it just like a zipper pouch. If you need more pictures or help, try this tutorial here.
- To start, grab your zipper and one of your inner and your big outer fabric pieces. Lay them on top of each other with right sides facing and your zipper facing down on the main fabric with the zipper laying right along the edge so that the edge of the zipper matches up with the edge of the fabric. Pin this all in place and then sew. This is what it looks like from the right side.

- This is what it looks like from the wrong side.
- Once you are done with that, take your other two pieces of fabric, the two inner fabric ones, and do the same thing on the other side of the zipper.
- When you have sewn that in place and get all the layers laying right it should look like this.
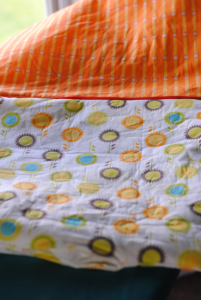
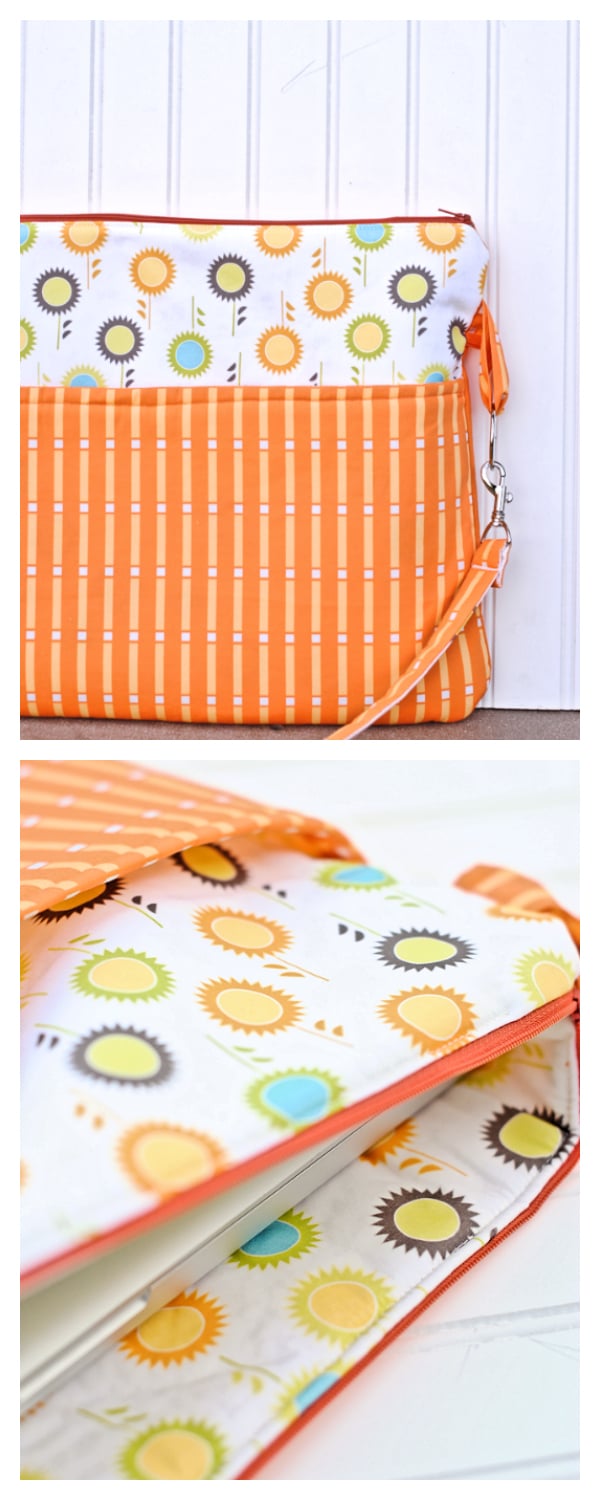
- Now, the smaller piece of fabric that you hemmed earlier and set aside is going to be sewn in place on one of the inner fabric pieces two form a pocket that will go on the outside of the bag.
- So, take that smaller piece of fabric. Lay your bag out so that right sides are together with the two pieces that will form the outside of the bag together and the two pieces that are the inside of the bag are together and the zipper is in the middle.
- In this sandwich you want your smaller piece in place as well so that it is lined up with the bottom edge of the bag and the fabric is touching (with right sides together) the other main fabric piece.
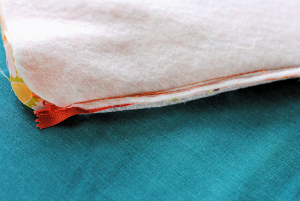
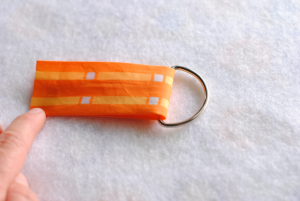
- Now, before you do anything else, we are going to sew some small straps for the side. Cut 2 pieces of your main fabric that are about 3 inches wide by 7 inches long. Fold those pieces in half lengthwise with right sides together and sew up the long side. Turn right side out and press, then slide your D rings through.
- Take both of these pieces and slide them into the sandwich of bag that you have sitting waiting for you. You want them two go between your 2 outer pieces and be about 3 inches down from the top. the raw edge of the straps should match up with the raw edge of the bag with the D rings further inside.
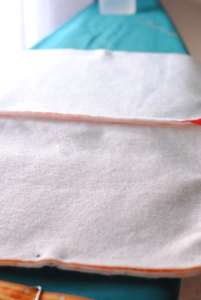
- Now, sew all the way around each of the pieces of the bag, from the zipper around and back to the zipper. On the inner pieces, leave a small opening at the bottom to turn it all right side out.
- Turn right side out by pulling all of the fabric through that hole.
- Press that flat and sew the opening closed then get it all tucked into place nicely.
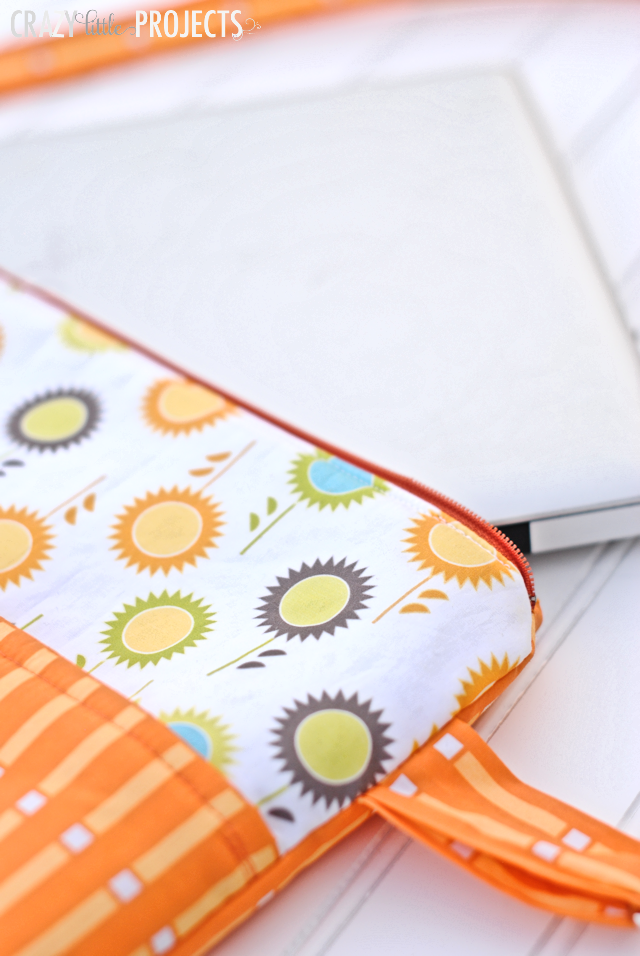
- Top stitch along the edge of the fabric near the zipper.
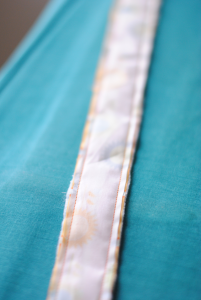
- Now you just need to sew your strap. Take your strap pieces and place them with right sides together (the fusible fleece will be on the outside). Sew up the two long sides, then turn it right side out.
- Press it flat. Grab your two hardware clasps and fold the ends of the straps through them and hem the straps in place on each end. Then clip the strap to the bag.
- And head to class! Or wherever you are going!
I hope you love making and using this laptop bag pattern.
You might also like:


Ann says
Lovely. Bright color. Can you please share a video if you have one. It would be more helpful for beginners like me lol. Thank you once again.
GRACE STEVENS says
A GIANT THANK YOU TO YOU AND ALL THE PEEPS WHO HAVE MADE COMMENTS. I HAVE BEEN PLANNING ON MAKING A NEW LAPTOP BAG FOR SOME TIME, BUT LAST WEEK WHEN I FOUND YOUR PLANS HERE I JUMPED ALL OVER IT. IT TOOK ME A FEW READS TO UNDERSTAND EXACTLY WHAT TO DO, AND THEN I ADDED A FEW MODS.
I DECIDED TO ADD A SECOND POCKET ON THE INSIDE FABRIC, AND AS IT TURNED OUT IT REALLY DOESN’T MATTER WHICH SIDE YOU PUT IT ON AS IT EFFECTIVELY SPLITS THE INSIDE OF THE CASE INTO 2 SECTIONS;
I MADE BOTH POCKETS WITH 2 PIECES OF FARBIC SO THEY ARE ALSO FULLY LINED; AND THE MOST IMPORTANT MOD IS THAT I USED A FUSIBLE STRUCTURAL FOAM INTERFACING ON THE OUTSIDE PIECES TO CREATE STRUCTURE ADN PROTECTION FOR THE LAPTOP. IT CAME OUT TOTALLY AWESOME.
THANKS AGAIN.
Aideen says
Hi Amber, Thank you so much for this pattern. My sister asked me to make a ‘unicorn’ laptop bag for an 8 year old for the next week! You’ve gotta love family. I had seen your pattern ages before and wanted to try it out and this was exactly the right time to try. I found your pattern easy to follow the only change I made was to add tabs to the zip as the one I had was too short. I Loved the way the bag turned out. And the 8 year old was so delighted with it she sent me a video review!! I was tickled pink. Keep up the good work. x
Amber says
So glad!
Julia says
Hello Catherine! I think I can help on your ‘adding a zipper’ problem. Maybe try sewing on one side of the zipper to the top edge of the pocket and then once you basically finish the bag, then go back to the other side of the zipper, fold the edge of it under a bit, and then technically top stitch in place. I think this would work, though I’m not sure :). Hope this helps!
Julia says
P.S. Hi Amber! Love this tutorial! I have a laptop that I might make this for! I had a question though. If we wanted to, and we knew how, could we sew the zipper on a different way? Like I always do my zippers by sewing them on both sides then topstitching them first, then I sew with RST all the way around. Thanks!
Amber says
I think so?
Michele says
This bag looks awesome. I can’t wait to try it. Is there a video tutorial that goes with it?
Jessica says
Hi Amber,
I understand there’s not real “seam allowance” for sewing around the zipper, but when you started sewing the edges of the bag, along with the zipper pouch, what seam allowance did you use?
Thanks! I can’t wait to try it!
Amber says
About 1/2″
Vonni Hardy says
Hi Amber,
I’m trying to make this cute bag but I’m stuck on the sewing part. Your directions say to “sew all the way around each of the pieces of the bag, from the zipper around and back to the zipper”. What pieces are sewn together?
Cheryl says
I made this bag and love it. I have had several people ask me to make them one. For the pocket though, I cut two of the fabric and lined it, rather than hem just the one pocket. I topstiched the edge of the pocket with a decorative stitch, and it looks great. Thanks for the tutorial!
Amber says
Oh I’m glad it went well for you!
Jodie says
Hi Amber. Your laptop bag is so versatile. Like you said, not just for the kiddos! I’ve included your tutorial in our latest back to school crafts roundup. https://craftylikegranny.com/back-to-school-crafts/ Thanks for sharing. Cheers Jodie 🙂
Mary says
I just love this bag Amber! As the others have said, the fabric is so pretty! And the overall designs awesome! Thanks for all of your awesome tutorials…your the best! <3
Amber says
Thank YOU!
Catherine says
I love this and I want to make it, but can I ask you, can I add a zip to the front pocket too? If so, how do I do that?
Amber says
I’m sure you could but it’s a little beyond me how. 🙂 I’m good at basic things.
Breanna says
Hi again! Sorry, I’m looking for a bag to make my mom to hold her coloring books.
For this bag, if I don’t want to do the zipper, would I just hem the top?
Thanks so much!
Amber says
Yes, you could! Or try my Easy Tote Bag. Or Kids Library tote.
Creshone says
What size are the claps that are in the picture? Where did you get them? I’ve been trying to find some for my bag and haven’t had any luck.
Amber says
Mine came from Hobby Lobby I believe and they are about 2 inches I think? I think most craft stores should have them-maybe ask an employee?
Darci says
Hi Amber.
I’m ready to start sewing this, but think I’m missing something. I’ve read through the instructions, and looks to me like the outside pocket is not lined? So the inside of the pocket will just be fusible fleece?
Please clarify.
Thanks so much 🙂
Amber says
The outside pocket is just a piece of fabric folded so that the inside and the outside are the same.
Deb says
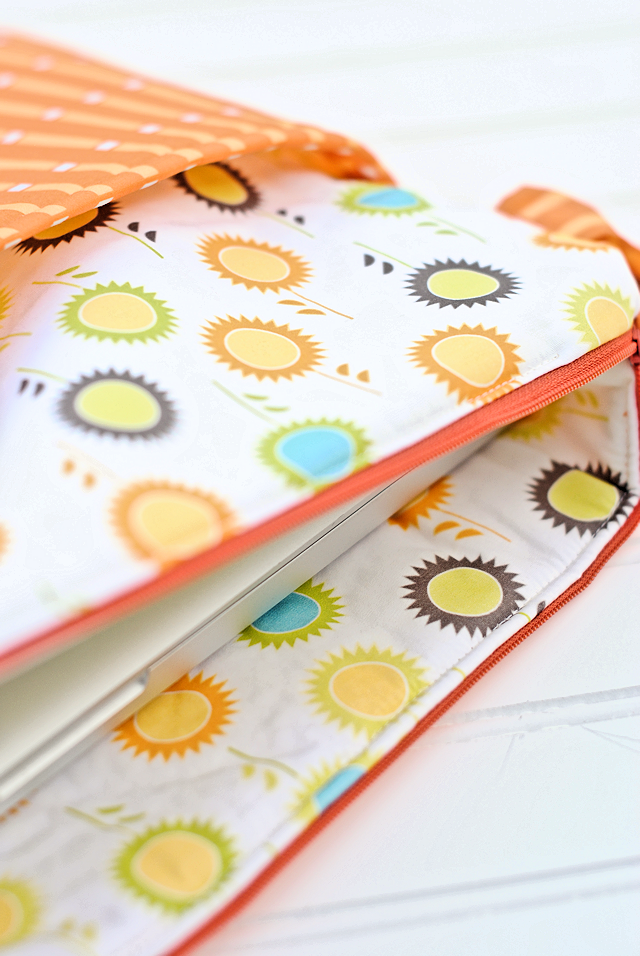
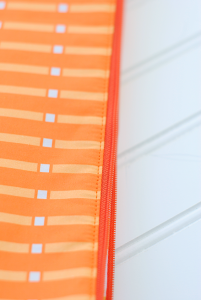
By the way, some of the commenters were asking what the name of the fabrics were, and I looked them up. The striped one is called “Stripes in Orange” (with 3 variations) and the floral is called “Flower in Mix”, also with 3 variations! Can’t wait to make this!
Deb says
Thanks so much for the wonderful project! This will make a great gift for my daughter’s birthday!
Sue says
I’m loving this pattern and excited to get going. Having a brain block in the cutting instructions. Can you clarify for me.
From inner fabric cut 3 pieces ( I cut mine 18″ x 13″ each)
From outer fabric cut 1 piece that is the same size as those? Do you mean one piece 18 x 13?
Round off all corners of the above four pieces?
Cut 1 piece from main fabric that is 13″ wide x 15″ long?
Round the two bottom corners of this piece
Amber says
You’ve got to measure your own laptop and then cut accordingly. I am giving you instructions here based on the size of the laptop that I was using, but yours may differ.
Vickie says
I LOVE this bag! I ran out and bought everything I need, got it all cut out, but… I’m stuck on the zipper step! I don’t understand what the “main” fabric is. Do I put the zipper between the two pieces of fabric?
Amber says
Your main fabric is your outer bag fabric vs inner. And yes, the zipper goes between two layers.
Nancy says
Amber this is an amazing design. I just made one for my new computer and it looks so professional, no one will believe I made it. I do have a question for you though. Your instructions say make the main color pocket piece six inches shorter than the bag’s front and back pieces. I followed those directions but my pocket is only half the height of the pocket in your picture. I think you might have meant to say 3 inches less, not six. Any insight into what I might have done wrong if the pocket piece really is supposed to be six inches shorter? Thanks again for this beautiful design.. I’m making them for my girls for Christmas!!
Amber says
Hmmm, you might be right. It’s been a while since I made this one so I might have made that mistake. Sorry!
Gina Wright says
The instructions say 3-4 inches shorter, not 6 inches.
Dama says
Thank you Amber!!, explicaciones claras y excelentes fotos!
Meirielle Lima says
Thanks for helping other persons. God bless you and your family. Thank you so much.
Denise says
I just made this laptop bag for my self… I LOVE IT! so easy and customizable. thanks for the great instructions
Karen McCormick says
I’m glad for the tutorial, but could also include a PDF file. I love this fabric and thanks for your work.
Crystal says
Such a cute bag! I love the color and pattern you picked out. It turned out super cute!!
Cheryl Pyshos says
I love this bag, thank you!
Can you tell me the names of the fabrics you used?
Amber says
They are from http://www.modernyardage.com
Christine Sherman says
This bag and fabric are absolutely perfect! Thank you!