What’s the Project? Learn how to make an Easter wreath that is simple and festive and will add a nice touch of Spring to your front door.
I love when the tulips and daffodils start to push their little heads up from the ground and the birds start to sing. I need Spring to show up! I just love it.
A few years ago I got ambitious and decided I’d like to make a nice Easter wreath for my door to celebrate the arrival of Spring. I went to the craft store, bought a wreath frame, some little faux flowers, some cute Easter eggs, and I was ready. I don’t remember what happened, but I never got that wreath made. That’s life right?
I’ve got to say that I am no less busy this year, in fact, having gone back to school, I am way busier now than I was then, but I’ve also noticed that sitting down to craft is a good stress reliever for me (and sometimes more fun than doing stats), so I was hoping to fit in some wreath making this year.
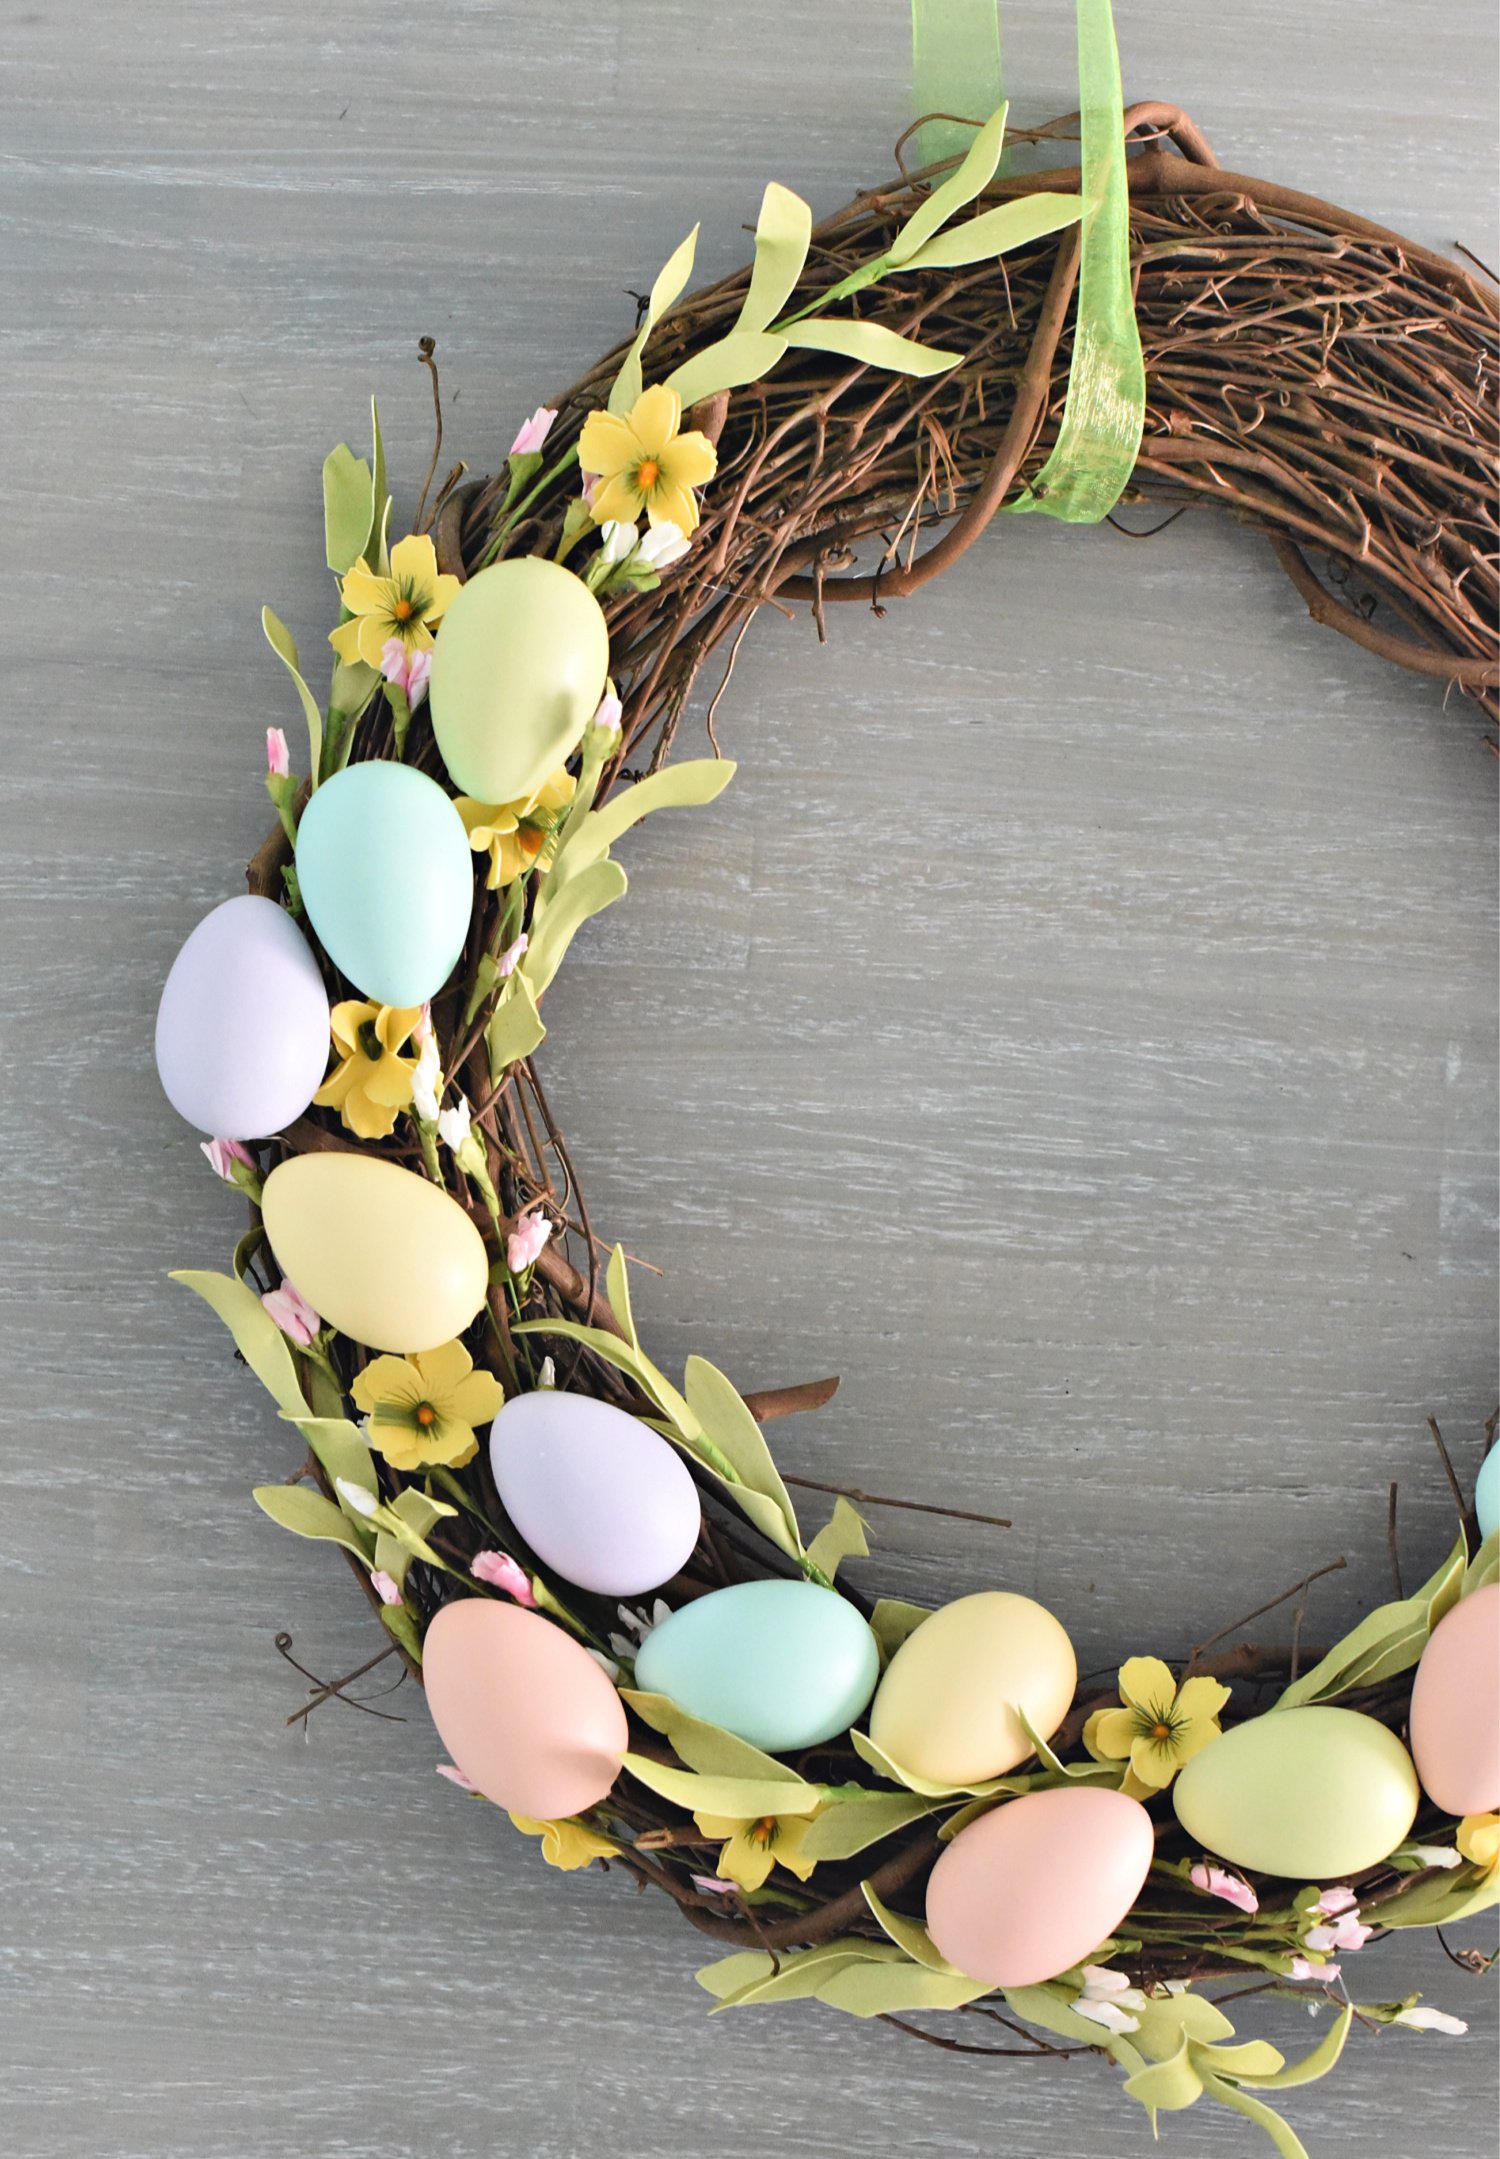
And this week I found the time and made this cute Easter egg wreath! Now it’s hanging happily from my front door, reminding me that it’s Spring! (Even if it is supposed to snow this week.) I really love how this wreath turned out and it was super simple to make, which is always an added bonus. Let me show you how to make an Easter wreath just like this one!
How I love little flowers in the Spring! In fact, this week I’ve been in Southern Utah, where it’s nice and warm and everything is in bloom and I couldn’t get enough of the tiny little flowers by the pool we were at.
I have to admit that I am not a huge wreath lover usually, but my Christmas wreath was my favorite, so I wanted to make something similar. And I have to admit that I also love my Easter wreath from a few years ago which is another great springtime wreath. I guess maybe DIY wreaths are more my thing than I thought.

Anyway, I love how this DIY Easter wreath turned out. It makes me smile every time I drive up to my house and see it. Especially on the “Spring” days that don’t feel so much like Spring, you know? It can add a little bit of cheer to the gloom that sometimes rolls around in Spring.
Want to make one of your own? Follow this easy tutorial and make something you will love too! I am excited for you to have a fun new piece of Easter decor to decorate your home or your front door with!
DIY Easter Wreath:
Here’s the lowdown on how to make an Easter wreath like this one! This is just one fun wreath idea, but you could honestly tweak this a little bit to make it more your thing if you want. Fill the whole thing up with Easter eggs and flowers or just do part. Do glitter eggs or grab some bright-colored eggs or stick to pastels. Pick any type of flowers that you like. Just get creative and see what happens, but in the meantime, here’s how I made mine.
Supplies Needed: (some affiliate links on Amazon)
- Grapevine Wreath form like this one in whatever size you prefer (You can also get these at any craft store and can sometimes find them in various colors)
- Plastic eggs (I got mine at Hobby Lobby and they were similar to these. I just cut off the string. Or you can find some that are the type that you fill with candy.)
- Floral accents—I chose 3: pink flowers, white flowers, and yellow flowers all in a different size to add variety to it. I also used the greenery from my yellow flowers. You can pick whatever flowers you love. The craft store will likely have a ton to choose from.
- Ribbon to hang it from. The way I did it was just with a loop, but you could also do a bow, so consider that when you’re choosing your ribbon.
- Hot glue gun
Instructions:
I played around with this for a little bit to see what would work best and found that my best bet was to hot glue my eggs on first where I wanted them and then to fill in with greenery and flowers after that. So I suggest figuring out your basic design before you start gluing, but then you can build from there.
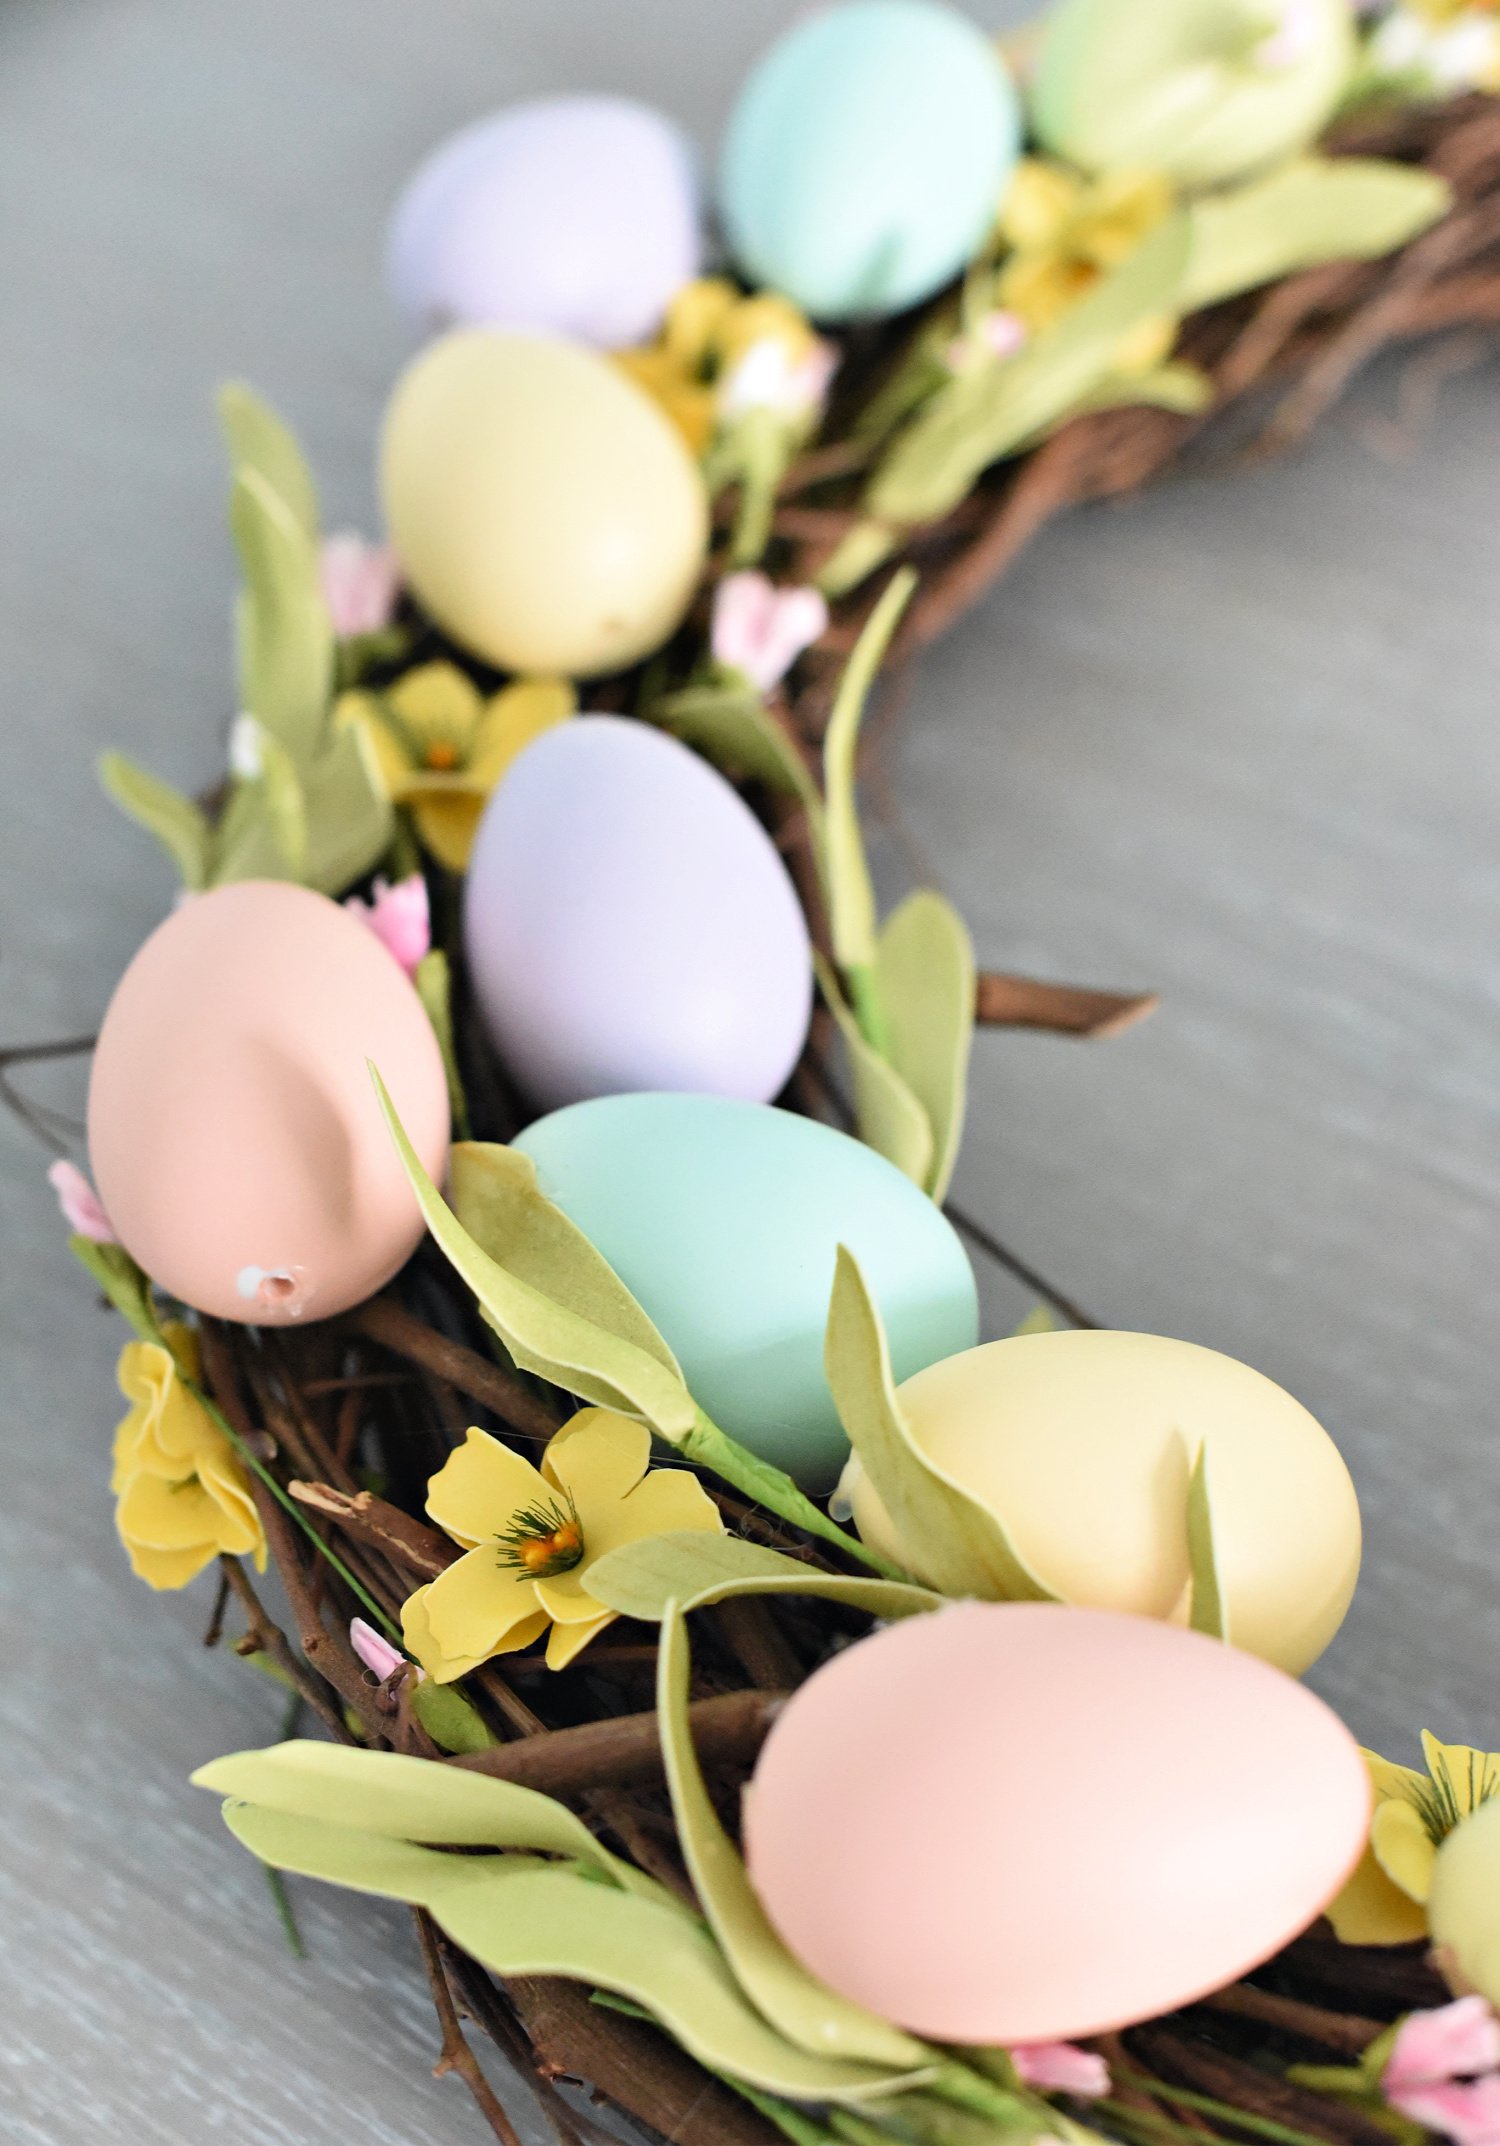
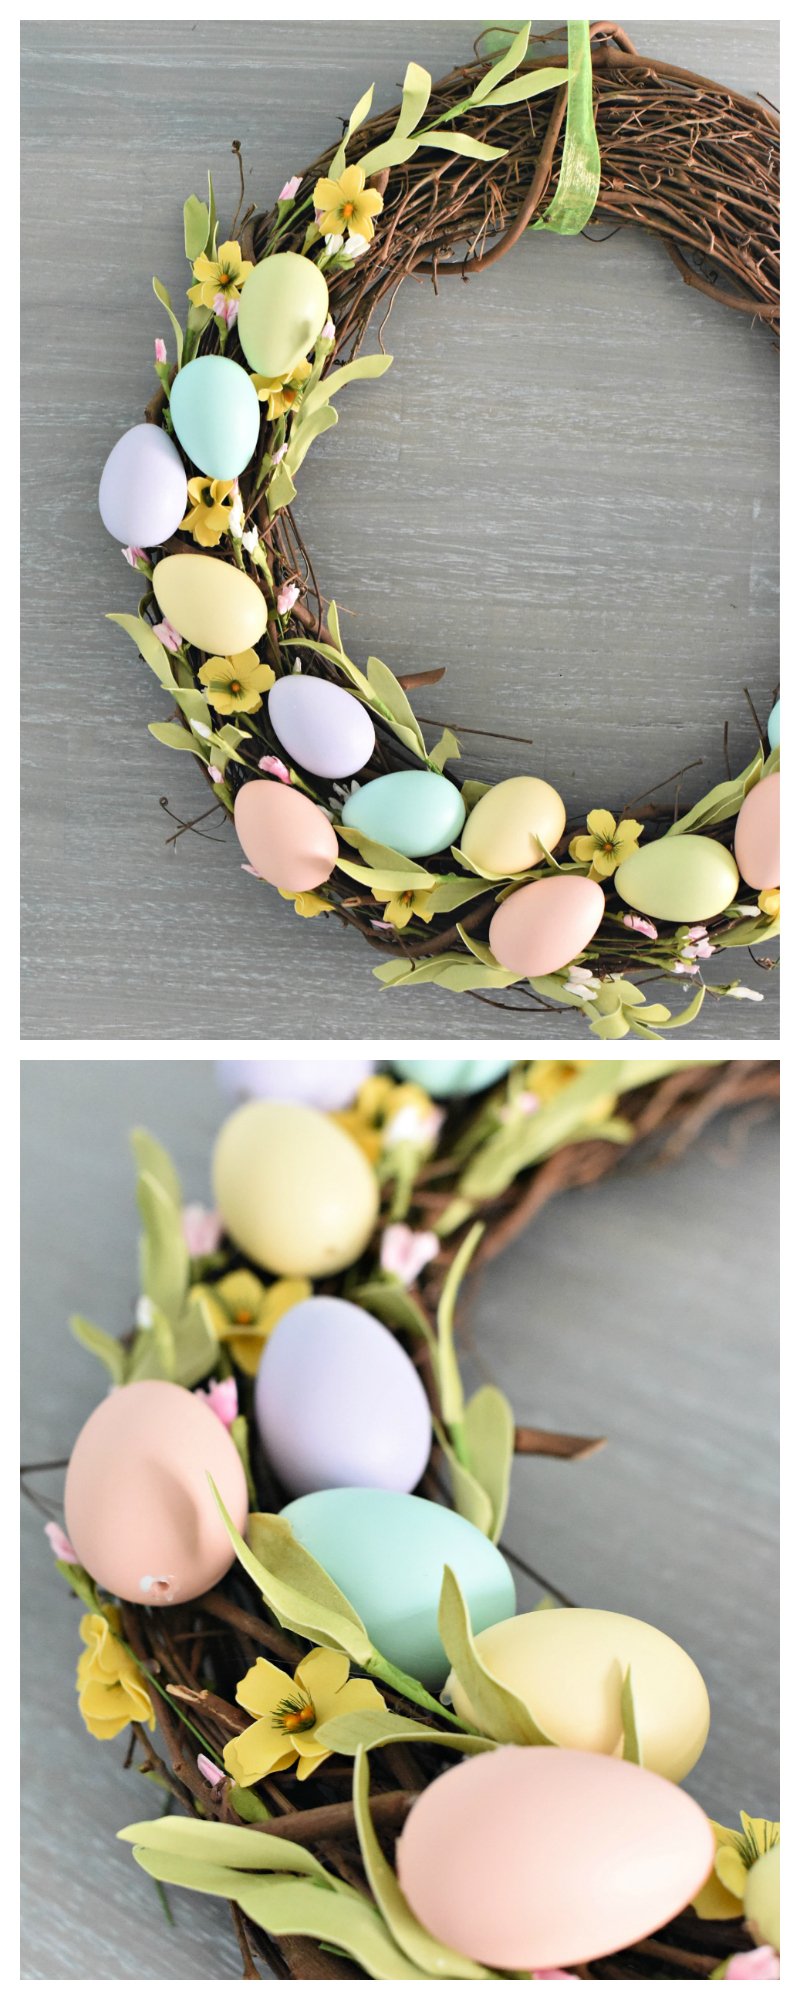
Here’s a close-up look at mine so you can see how I laid things out. After gluing the eggs, I cut off bits of the floral accents and glued them in all around the eggs until I liked the look. Just be careful to tuck leave and greenery and things in and to only put a little bit of glue so that you don’t have it showing. Fill it in as much or as little as you like. It’s really up to you how you want this thing to look.
Now, I did it so that the whole wreath wasn’t full, but just the bottom left 2/3 or so. You can totally fill the whole thing up if you prefer it that way! I couldn’t decide which I liked better. What do you think?
Doesn’t it make you feel so festive and so ready for Spring when you look at this cute wreath? I just love it and hope you do it!!
I hope you love making this cute Easter wreath and love having a new Easter decoration for your home this year! Take a picture and tag me on social media so I can see what you made!
You Might Also Like:

Pin It:


Leave a Reply