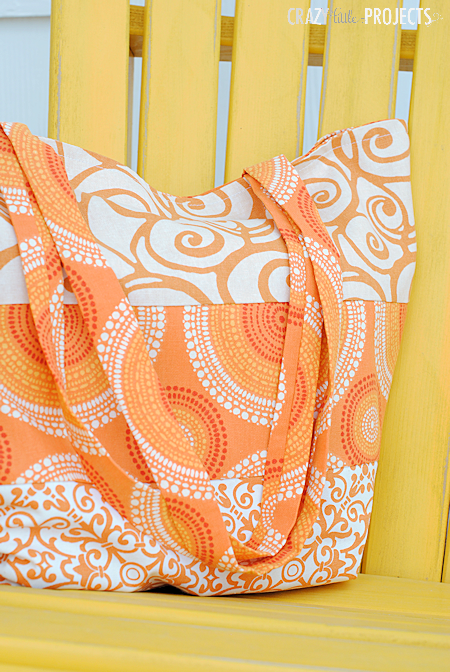
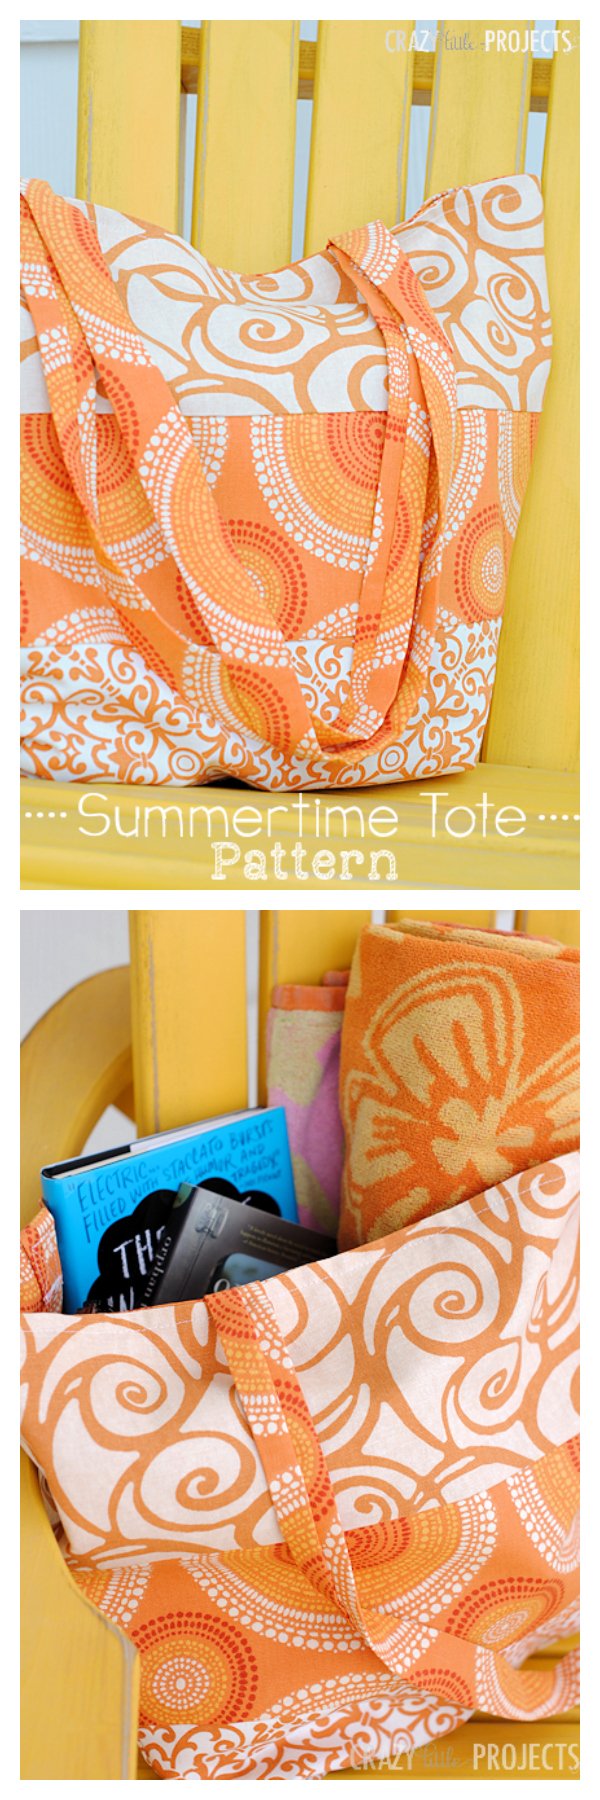
What’s the Project? This easy summer tote bag pattern is perfect for trips to the beach, the pool or the park! If you love sewing, you are going to love this simple sewing pattern. Great for beginners or anyone who loves to sew.
This is an update of an old favorite! This is one of my favorite projects on my blog, so I am bumping it to the top of the blog to make sure everyone sees it.
I am so ready for summer! It’s the most wonderful time of the year! My kids and I have a weekly park day with friends and a weekly pool day, so there’s lots of toting of sunscreen, towels, snacks, buckets, flip flops, you name it.
I thought it would be fun to have a nice, big tote bag to carry it all in this summer, so I put together this easy Summer Tote Bag Pattern:

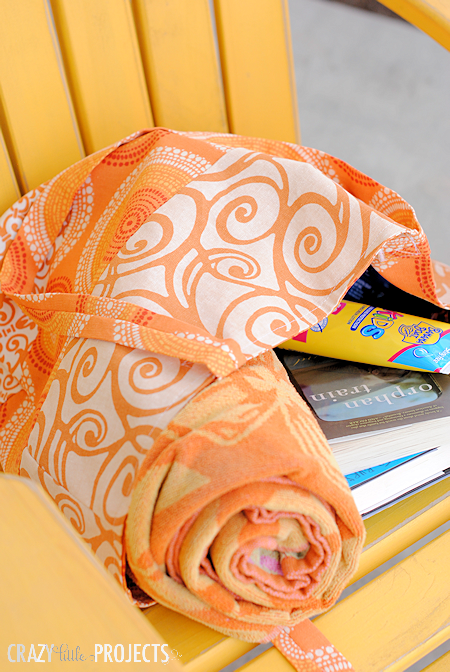
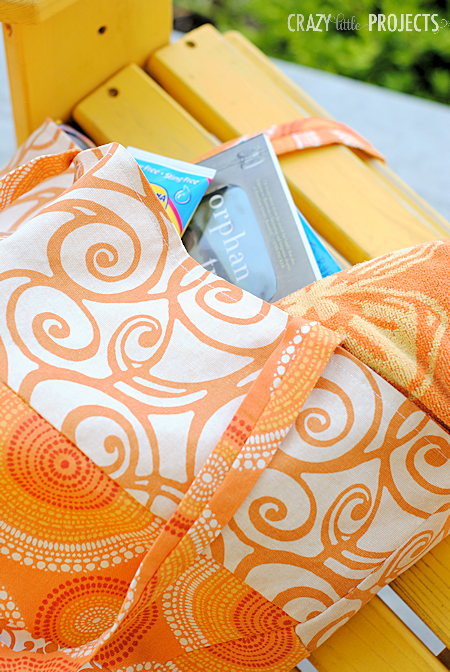
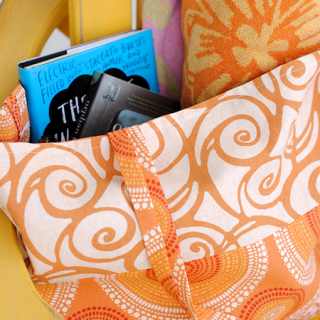
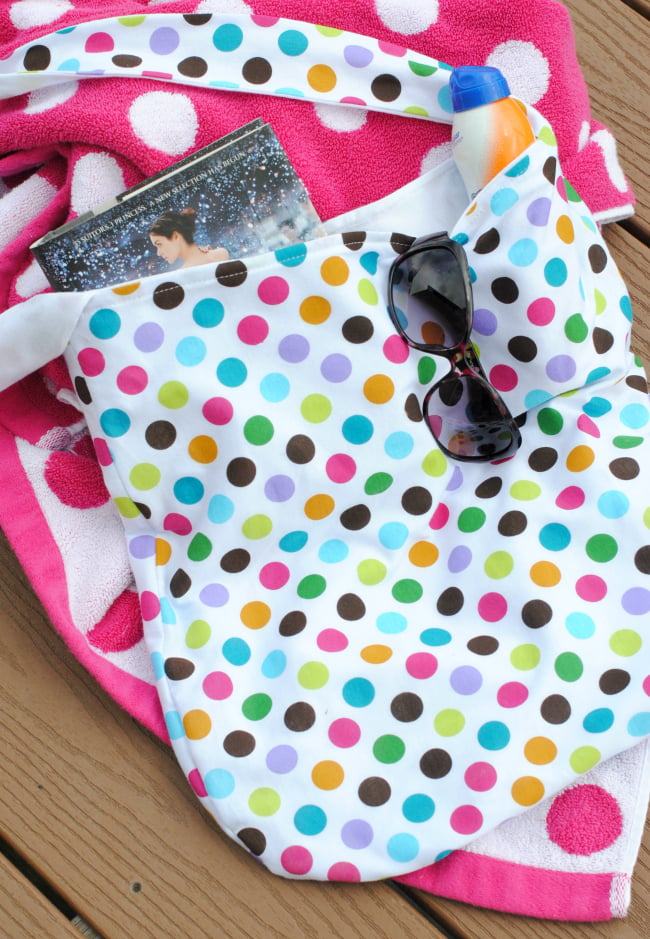
It’s very large and roomy and holds lots of stuff:

I love this easy tote bag pattern!
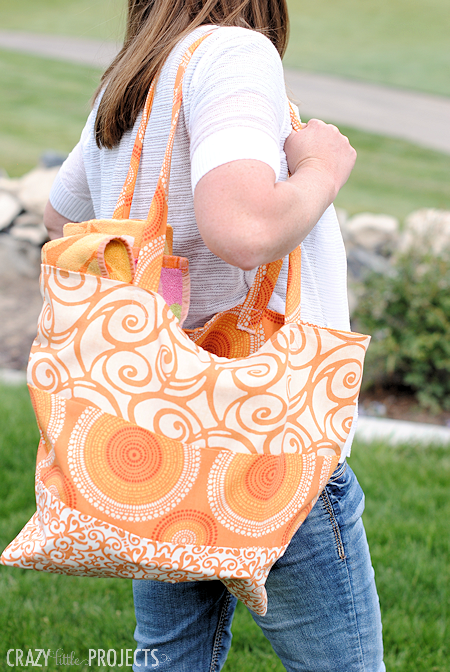
And it’s really easy to throw over your shoulder and carry:
Super excited to carry this cute summer bag!
Let’s make one of these cute bags!!!
Summer Tote Bag
Supplies
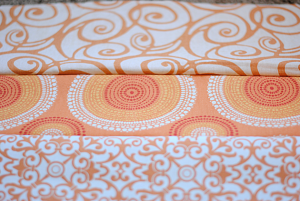
- 1/2 yard each of 3 coordinating fabrics I chose canvas or duck to make it sturdy.
- 1/2 yard of inner fabric Again, I used a canvas-one of the ones from the outer part.
- Optional: Interfacing if you want to make it stiff
Instructions
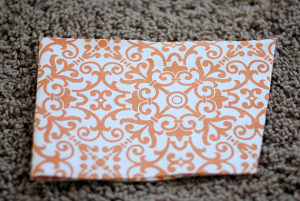
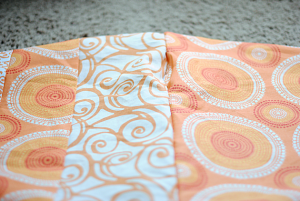
- Select the fabric you want for the bottom layer of your bag. Fold the fabric in half and cut it so that the side edge angles outwards. (See image below.) The bottom straight edge should be 15 inches long total (so half that since you have your fabric folded) and the top 18″ total (so 9″ since it is folded.) Each layer should be about 5 1/2″ wide. Cut 2 of each of these strips.
- Grab your next fabric and do the same thing, but the bottom of this one should match the top of your last one (keep angling outward like before).
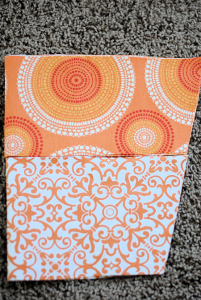
- Do this again with your third fabric. I didn’t angle quite as much outward on this one. The top of my bag (the top of the top strip) is about 21 inches across.
- Now, sew each layer together by placing right sides together and sewing the straight edges.
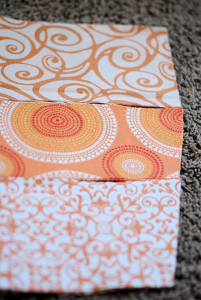
- It should look like this when finished.
- Press your seams flat.
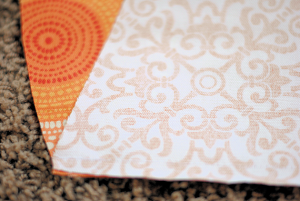
- Do this with the other set of fabric that you have so that you have two sides of the bag.
- Using your pieced together bag as a pattern, cut two pieces of the inner bag that match the outer bag you just created.
- Place both sides of the bag together with right sides touching and sew down each side and across the bottom. Do this with both the outer and the inner bag pieces.

- Now turn your inner bag right side out. Slide it down into the outer bag. Sew all the way around the top of the bag but leave several inches open to turn it right side out.
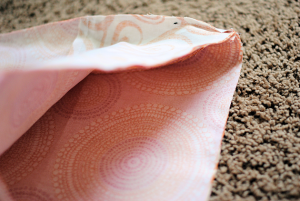
- Reach into the bag and turn it right side out
- Then tuck your inner part down into the outer and press it all smooth. To stitch around the top of the bag.
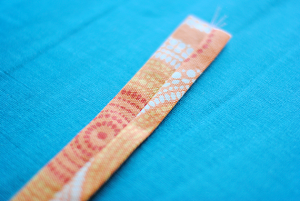
- To create the straps cut two pieces that are 4 inches wide by 33 inches long.
- Fold it so that right sides are together and stitch up the long side. Turn right side out. Press flat so that the seam is centered on the back.
- Pin your straps onto either side of your bag. I placed mine so that the ends are about 10 inches apart and about 5 1/2 inches from the outer edge of the bag. Sew them in place. (I sewed a box with an x through the middle to keep them extra secure.)
- Fill it with stuff and have some summer fun!
You Might Also Like:
Pin It:


Linda says
I love the colours you’ve used. Such a great summer make!
Crystal says
What a super cute bag!! Love the fabric and color!!
mary says
looks lovely Hope to try an make soon
Amanda says
What gorgeous material, really summery.
Thanks so much for the tutorial x
Lynn says
What an adorable bag, you wouldn’t happen to have a pattern for this would you? I am terrible at reading directions!
Thanks for the tutorial, again…….such a lovely and handy bag!
Lynn
Amber says
Sorry-just the directions!
Kim Gaynor says
Thanks for the detailed instructions! I am teaching myself how to sew again after 30+ years! I thought you might like to know that I pinned your blog post. You also might like to know about a vintage fabric giveaway I’m hosting on my blog: http://livingvintageco.com/2015/02/sewing-ideas-using-vintage-linens-giveaway/.
akram says
Hi dear Amber . first , im sorry if my english isnt good. im an iranian girl , and like you , i love baking, sewing, diy project, … . i find your site by search of bag tutorial on google. im so exited and happy to find your website. its ammazing, wondefull.
thank you to share your art with us. exuse me if i cant speak english well.
with love .
Mary Dixon says
I love that bag and hope to make something similar to tote all my yarns and stuff. I was thinking that maybe sewing the different fabrics together and then cut the slanted sides to make absolutely sure that they fit perfectly. It might be easier than trying to make the edges match after the fabrics are cut.
Jen says
I was wondering where you found such cute canvas/duck cloth. I went to Jo-Ann and they said they only have solids…
I’m making four of these bags today, but I’m going to use fusible fleece as a liner to make the fabric slightly more sturdy than just plain fabric…
Amber says
Hobby Lobby is where I got mine
Crystal says
I love this bag! It’s perfect for the beach or pool. Love the colors you chose. Super cute!!
Sheryl says
Great project for my 2 girls to work on this week. Hope I can fine some cute canvas fabric like the ones you used…love it!
Miss Manitas says
Super cool!!!
Anne says
Awesome bag! I’ve got a Craft Gossip scheduled for later today that links to your tutorial:
http://sewing.craftgossip.com/tutorial-summer-tote-bag/2014/05/20/
–Anne
Amber says
Thank you!! 🙂
Patricia S says
Love it! So summery…love the color…reminds me of orange sherbet or creamsicles 🙂
Shila says
Love the fabric!! Fun and summery
Melissa says
What a fun and quick project! Thank you for sharing!