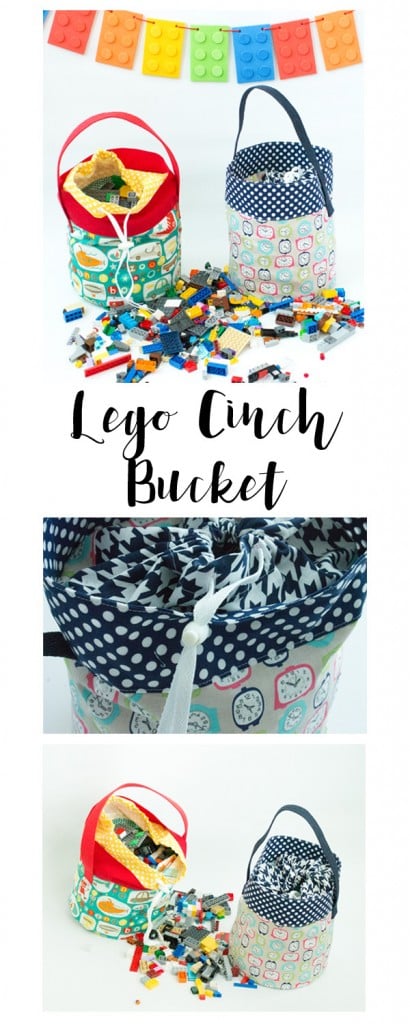
It’s time for a tutorial from Paola over at Sweet Julia Boutique and I think you’re going to love this one! If you’re like me, there are Legos ALL over your house. With 4 little boys, you know they’re popular here. And it’s that time of year when you just want to get things cleaned up and organized right? Here’s a perfect tutorial for you to do just that. It’s a Lego Cinch Bucket and it holds up to 500 Lego bricks!
Who wants to make one? Here’s Paola:
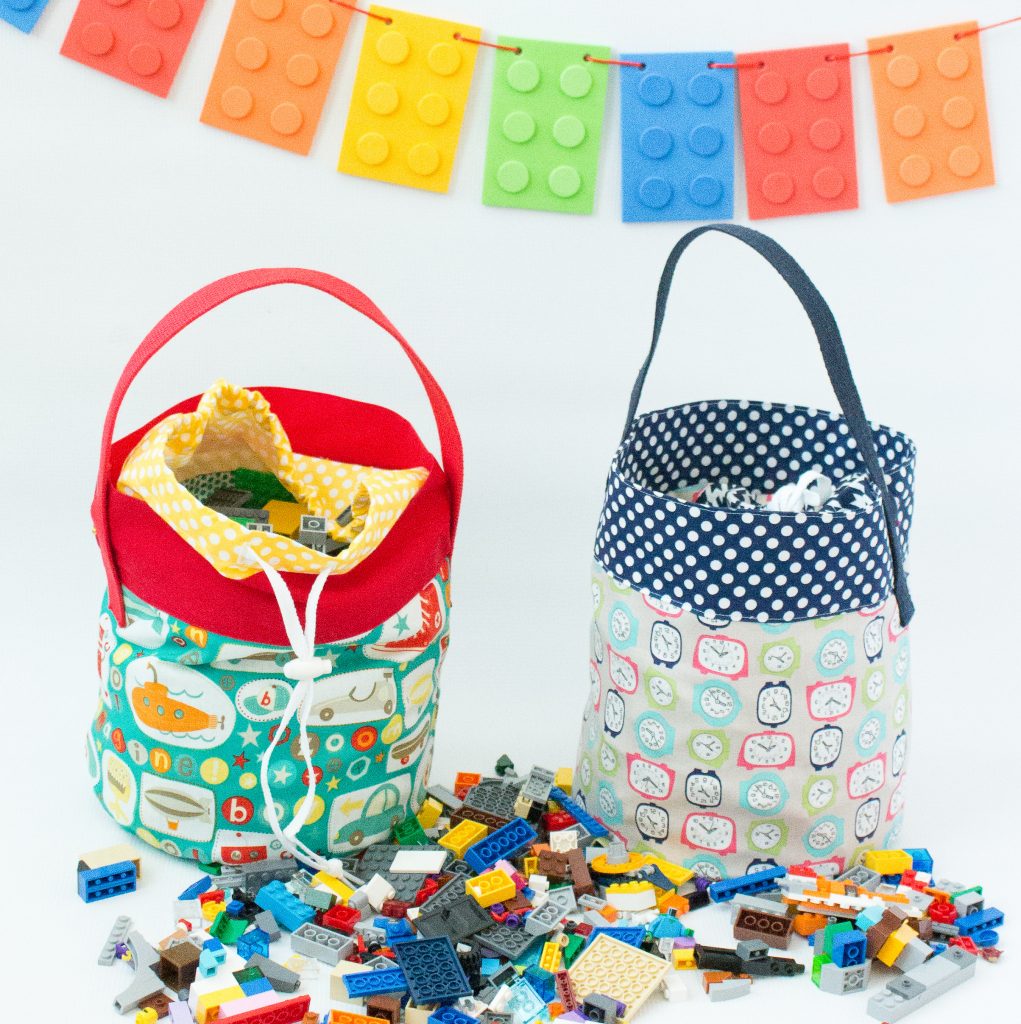
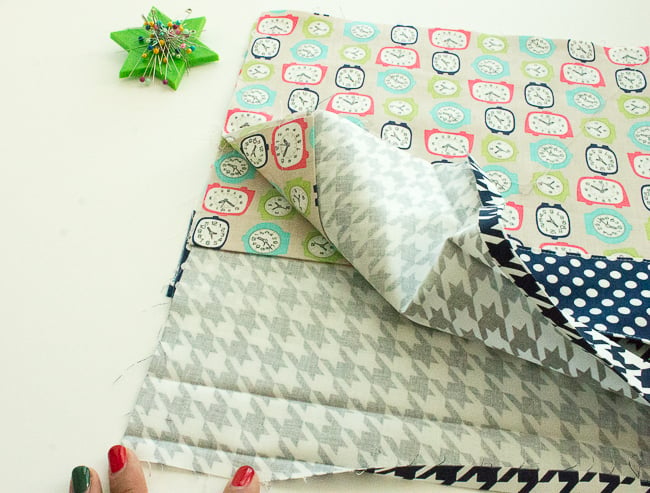
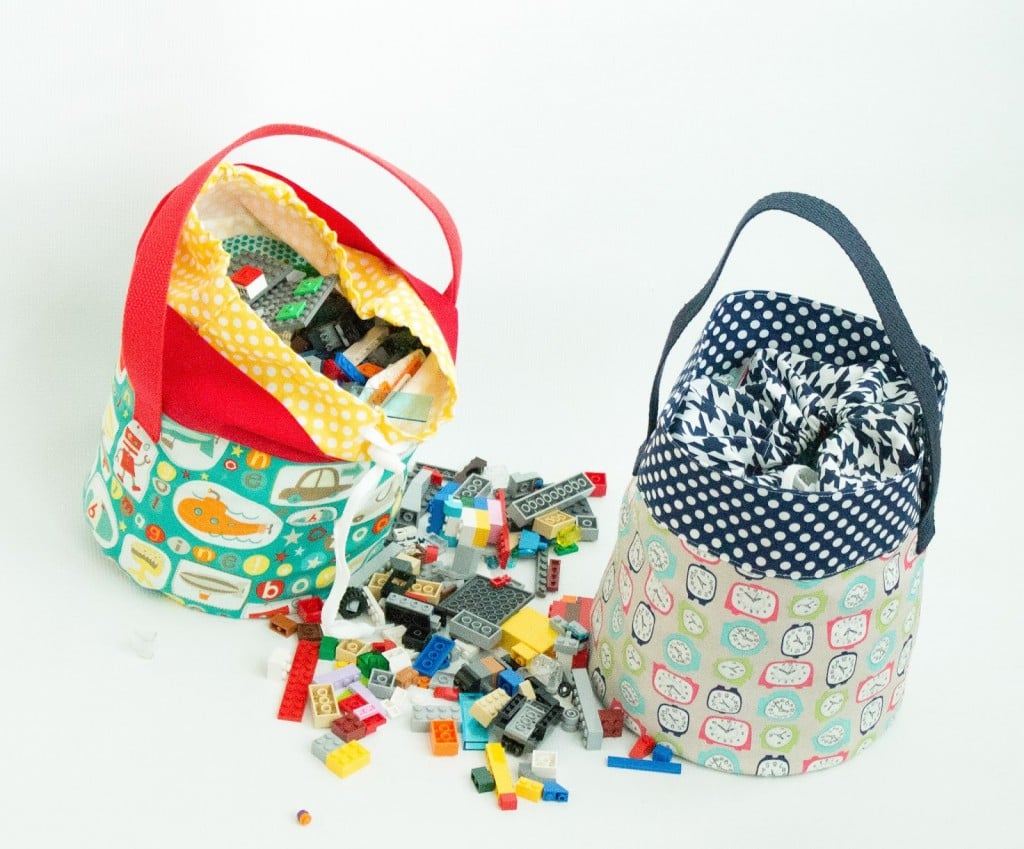
Well, the holidays are behind us and it’s about time to start tidying up! My son got lots and lots of legos added to his already extensive collection, so what a better project than a Lego Carrier, a cinch basket perfect to collect and carry them without dropping a piece, thanks to the cinch closure. This bucket is lined and all seams are hidden using french seams.
Lego Cinch Bucket Tutorial:

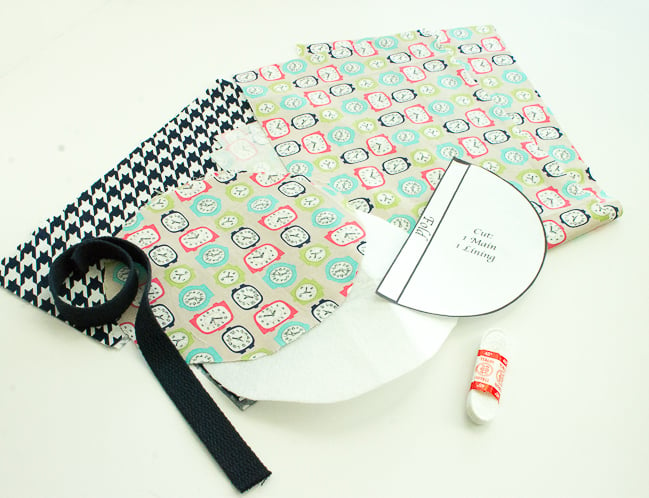
Supplies Needed:
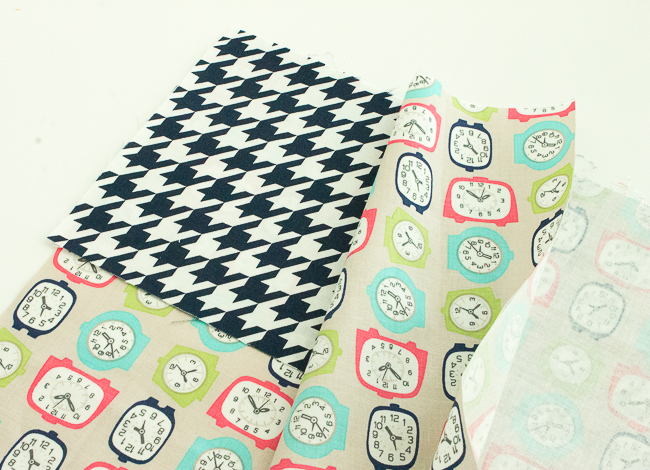
- 1 yard of fabric (Plus scraps for contrasting band and cinch casing)
- 22 ” of cotton webbing
- 1 45″ shoe lace
- 1 cord stop
- Fusible Fleece
- Circle Pattern found HERE
Cutting Guide: Width x Length
Circle piece pattern:
- cut 1 main
- cut 1 lining
- cut 1 fusible fleece
Main body:
- cut 1 piece 27″ x 15.5″ (main)
- cut 1 piece 27″ x 15.5″ (lining)
Casing:
- cut 1 piece 27″x 6″
Contrasting Band:
- cut 1 piece 27″ x 6″
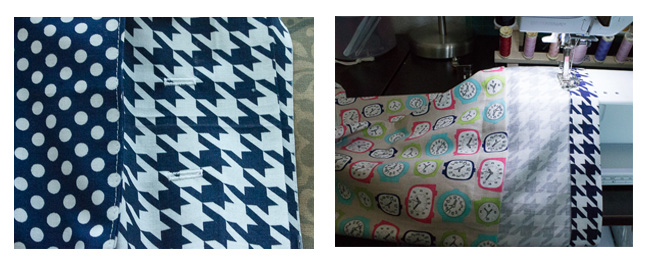
Step 1:
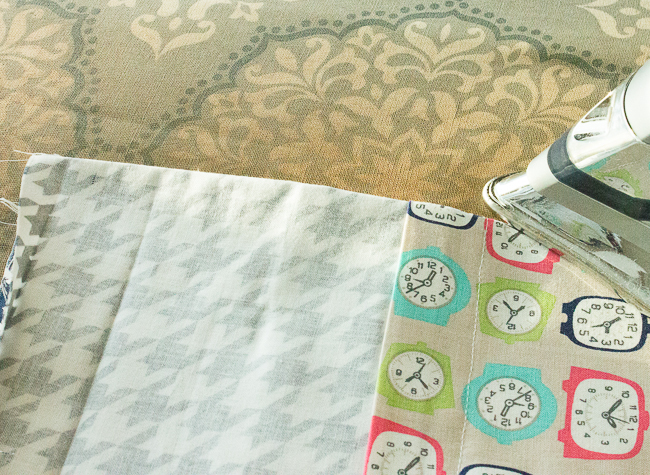
Iron the fusible side of fusible fleece to the wrong side of your main circle piece. Place lining circle piece on top of fleece, right side up. Pin around the circle and baste together if desired.

Step 2:
Pin all three layers together and sew with a 1/2″ seam allowance.
Step 3:
Step 4:
Step 5:
Step 6:
Step 7:
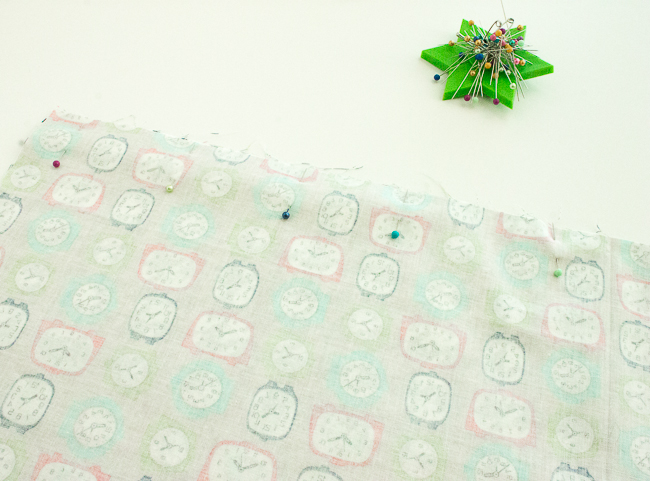
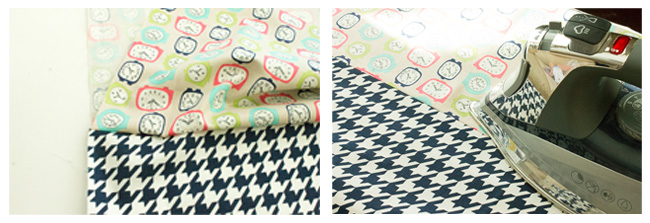
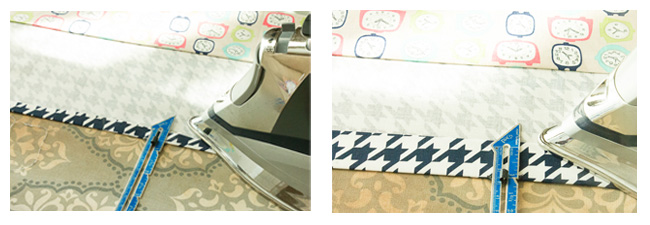
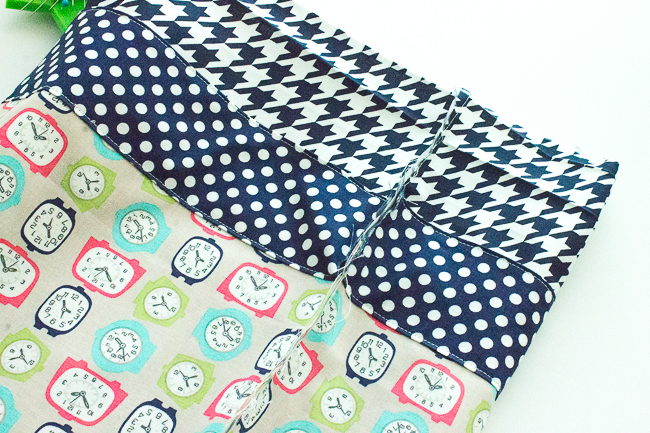
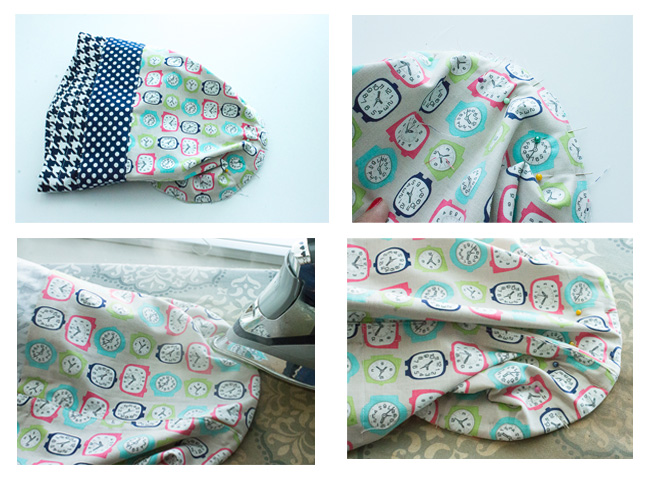
Bring fabric lining sides together and pin along the side. Don’t forget to unfold the memory case you made for the casing for this step. Sew with a 1/4″ seam allowance on the right side of the finished main piece. Press seam open and turn wrong side out. Sew along the side seam with a 1/2″ seam allowance, encasing the first seam. This also known as a french seam. You now have a clean seam, no serger needed!
Step 8:
Step 9:
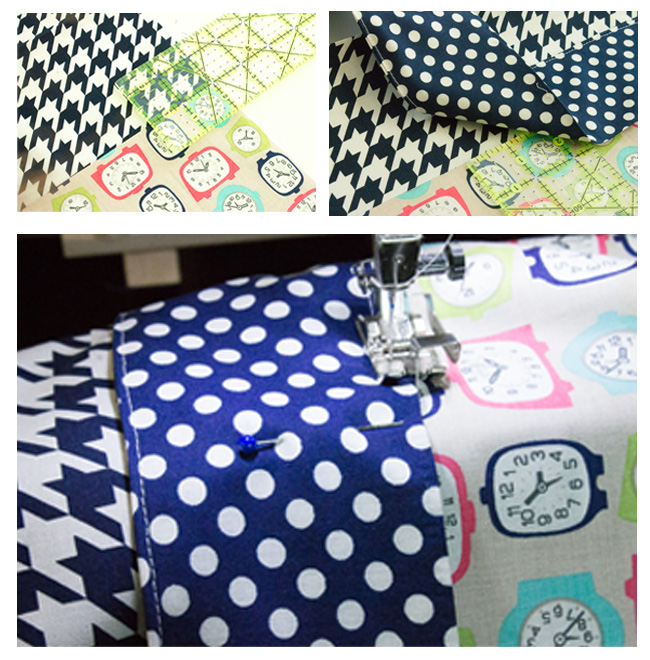
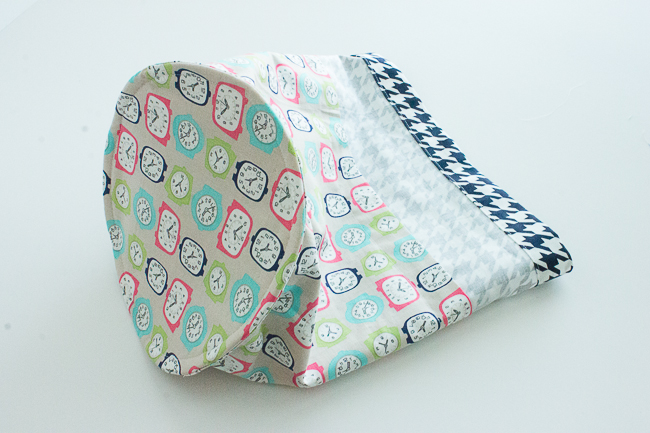
Now it’s time to add our circle piece. Pin the main piece, wrong sides together with the circle piece and sew with a 1/4″ seam allowance. Turn wrong side out and sew with a 1/2″ seam allowance, creating a french seam and fully enclosing the seam. I usually pin to make sure everything stays in place. You are almost there!
Step 10:
Step 11:
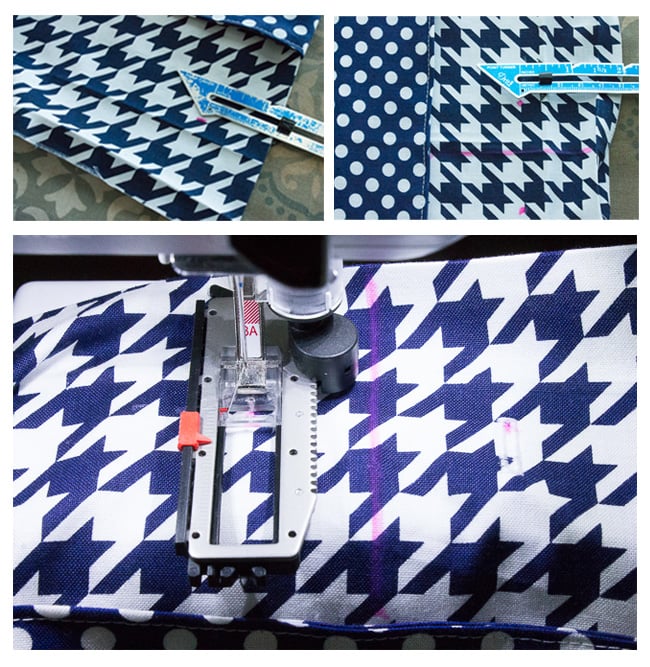
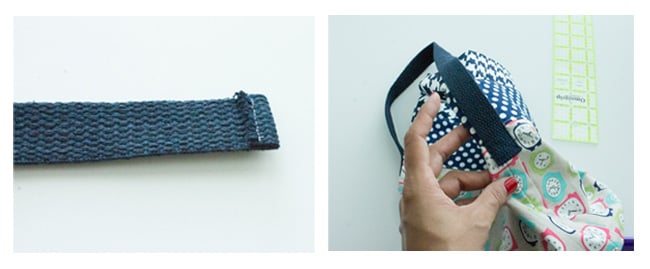
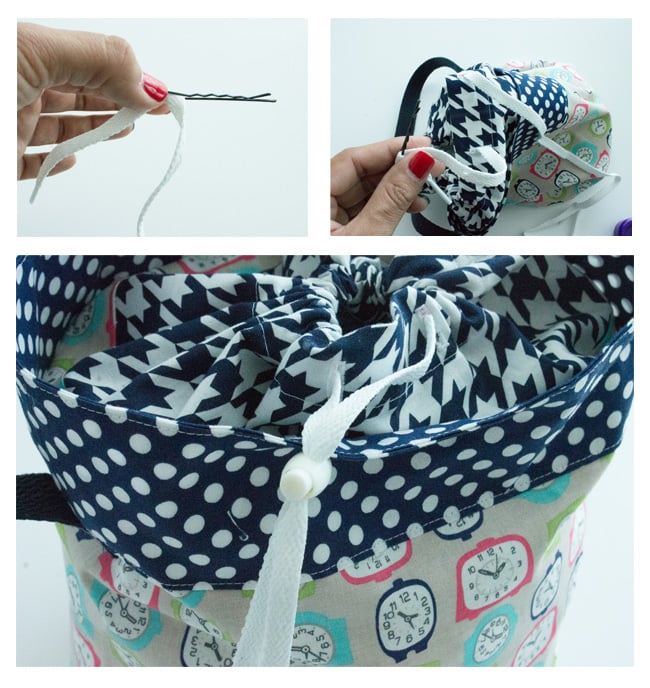
Run the shoelace through one buttonhole until it comes out the other. My mom always used a bobby pin to do this so I do it myself too, it makes it so much easier! Add the Cord stop and tie the ends of the shoe laces.
Enjoy! and have your little ones pick up those Legos! Now they can be stored and carried in nice little buckets! Did I mention each bucket holds about 500 lego bricks?
You Might Also Like:
Pin It:


Jacqui Cole says
What length should the diameter of the circle be please? I can’t work out if it is printing at the correct size or not. I have 2 different versions already!
Amber says
Somebody posted it in a comment above.
Jacqui Cole says
OK, 😊
Lee Orlian says
The cutest Lego bucket ever! Oh my god, these are so good! I have this passion for sewing and your project talks directly to my heart. Thank you for sharing this tutorial. Now, our Legos have a home!
Pat says
Am I supposed to iron the fusible flannel to the lining of the bucket? The photo looks like the bucket is more stable than it would be but I can’t find where it says to attach the fleece to the bucket.
Thanks!
Amber says
Yes, go ahead and iron it on.
Paola says
Here is the link for the circle pattern piece, don’t forget to cut on the fold.
https://drive.google.com/file/d/0B9zBZJvImFZLWGdOOFhkSUgzS0E/view?usp=sharing
Enjoy the project!
Paola
Lerika says
Correction on my last post. — sorry.
I figured the DIAMETER based on a 31″ circumference. It is the diameter that is 9.87 inches, not the circumference.
Sorry if I caused confusion.
Nancy says
The link is not working, what size of circle? Would love to try this. Thanks
Amber says
Got that fixed. 🙂
Lerika says
I worked out the circumference of the circle based on a 31 inch diameter, and it is 9.87 inches. I think I will cut my circle 10.5″ and trim it after sewing. I hope this makes sense.
Again, thank you for this delightful pattern.
Abbie says
I love this idea! Just so you know, the pattern link does not work. I love your blog! 🙂
Amber says
Got that fixed. 🙂
Abbie says
Thank you so much!
Sandra :) says
That’s a very cute project – is there a link for the circle pattern, or what size is it? Thanks!
Maribel says
Is a perfect bucket bag. I’m try to download the pattern but it doesn’t work for me. Can you send me the circle pattern my e-mail please thank you.
Amber says
Got that fixed. 🙂 It’s in the tutorial now.
Maggie says
Great idea! Maybe this will be my first real “quilting project”!
Anneke Vos-Imming says
I Love it !!! And I think it’s for so much more. I will make a few, for my son and myself. Thank you again for a lovely creative project. And also greeting from Holland. I guess we love to be creative.
Bonnie Splitt says
I was not able to get the “Circle Pattern” for the bottom. What is the diameter? Maybe I can make my own circle pattern for the size of the bag.
Thank you!
Amber says
It’s fixed. Sorry about that!
Marita Boutens says
I Think it’s a perfect bucket bag for knitting projects or crochet. Yes I make one for myself :), love the project. Thank you for it. Greetings from Holland.