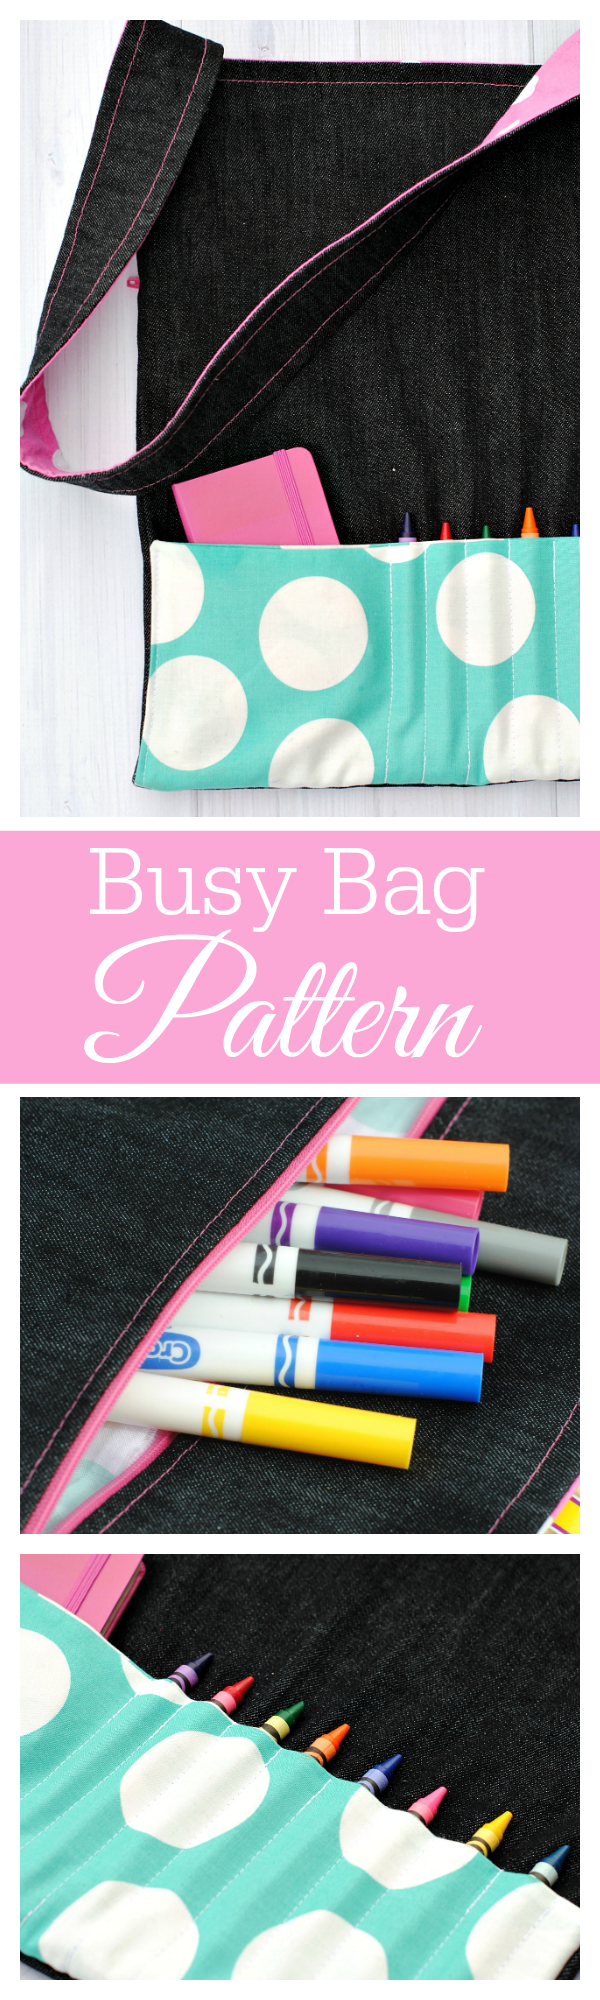
What’s the Project? This cute kid’s tote bag pattern is perfect for a fun bag to take on the go. With pockets for things like crayons and coloring books, this bag is going to be something your kids really love to carry!
Time to make something fun for the kids today! Something fun for YOU to make and for the kids to enjoy which is win-win for everyone!
I think this is one to have a lot of fun with. Pick fun fabrics that match your kid’s personality, maybe even add their name to the bag. It will make a great gift or just something they will really love. It’s a kid’s tote bag pattern that I have for you today and I hope you are going to love it!
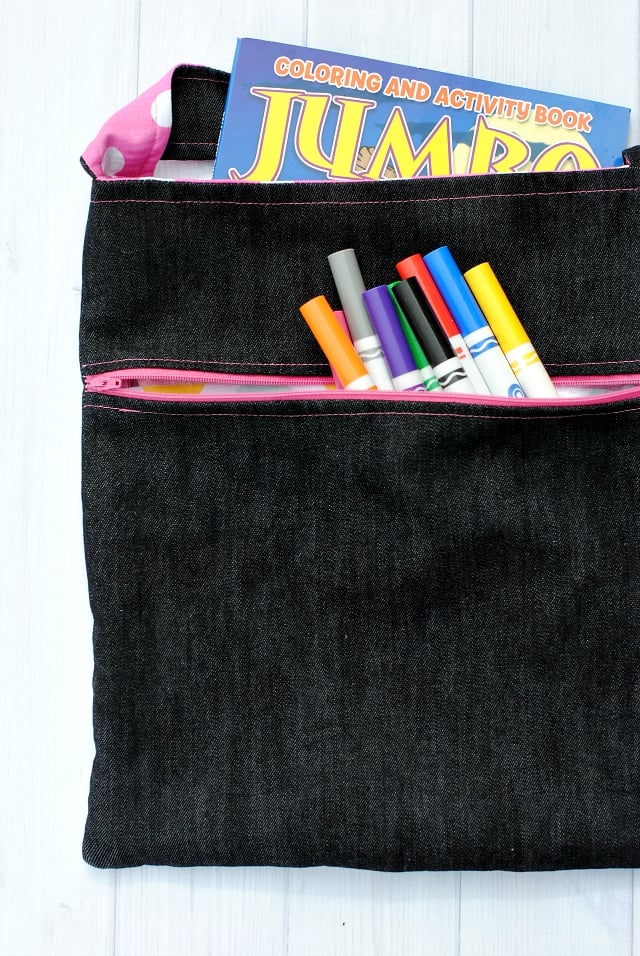
There’s a peek at one side of the tote bag, and here’s a look at the other:
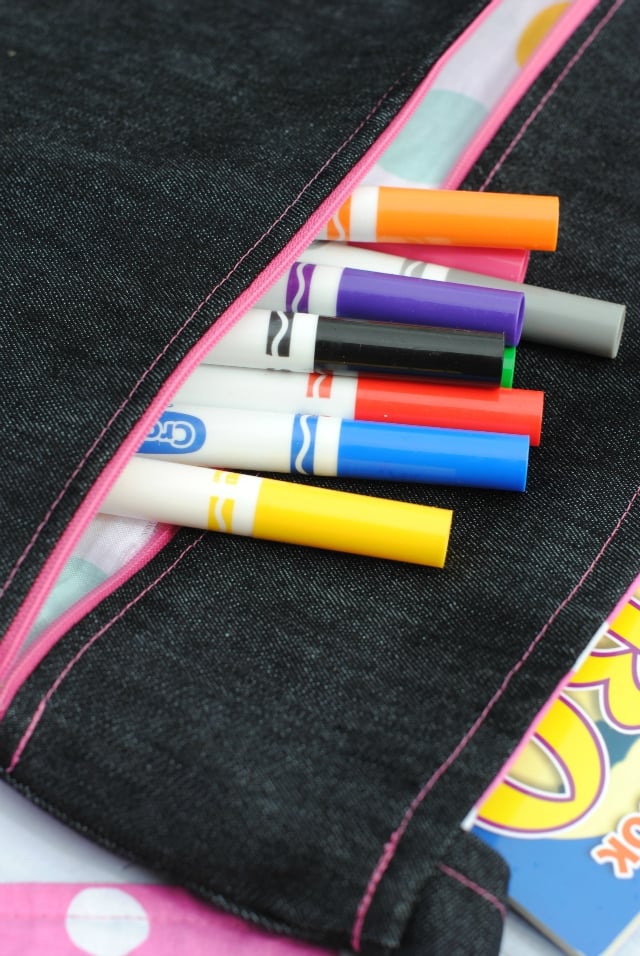
One side has a zipper pocket to hold things like markers or toys:
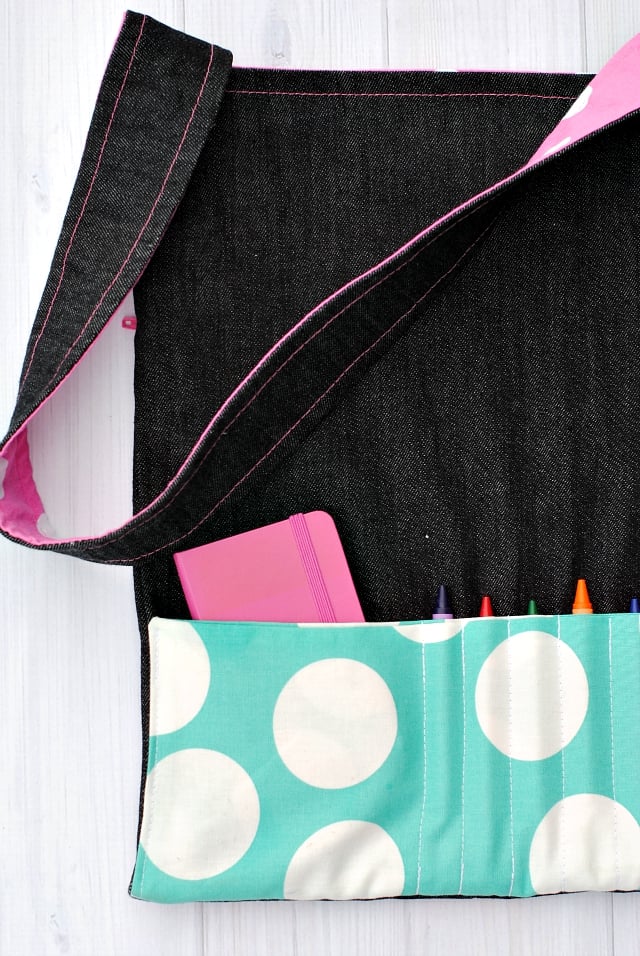
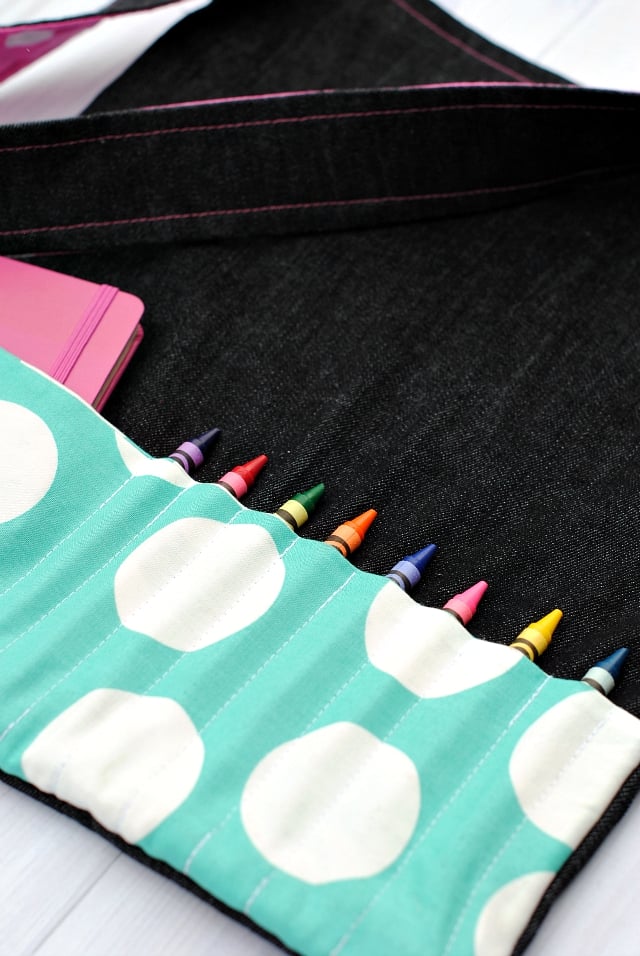
The other side has pockets for crayons and a small notebook:
Or really whatever works for you. Then tuck coloring books or paper or whatever else little one wants to carry with them and off you go!
I’m thinking this kid’s tote bag pattern makes a great Christmas gift or birthday gift or just something fun for the little ones you love! Plus, you can have fun with the fabrics. I used 3 different fabrics plus the denim and mixed and matched. It would be cute for boys with a superhero fabric or just about anything!
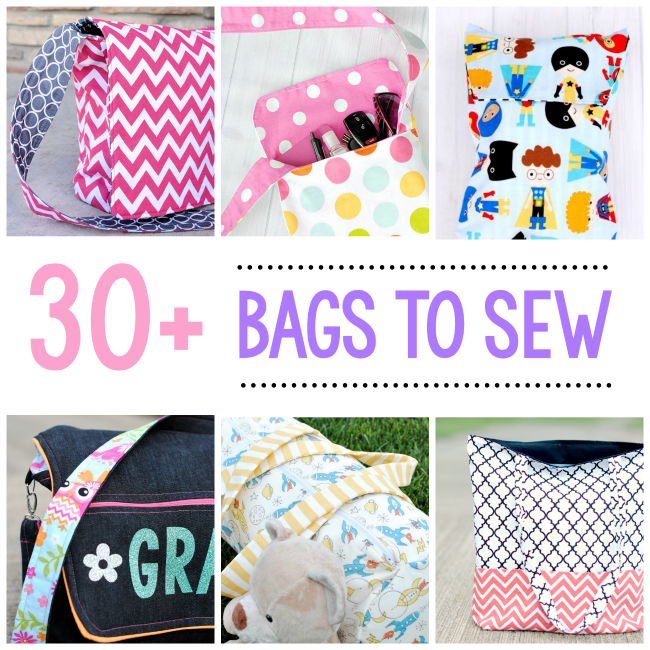
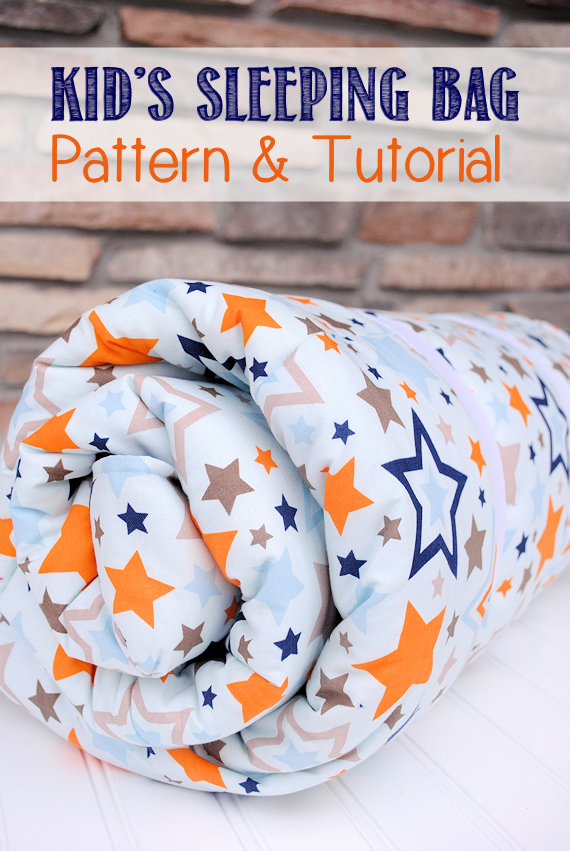
And if you love to sew bags, try these patterns too:
Kid’s Tote Bag Pattern:
Supplies Needed:
- 1/2 yard main fabric (I used a dark denim which worked really well. You want something fairly sturdy.)
- 1/4 yards of several coordinating fabrics (I used 3 different ones)
- 12 inch zipper
Tote Bag Cutting Guide:
From your main fabric (denim) cut:
- 2 pieces that are 15 inches by 12 inches
- 1 piece that is 30 inches long by 2 and a half inches wide
From coordinating fabrics (mix and match however you want) cut:
- 1 piece that is 30 inches long by 2 and a half inches wide (strap underside)
- 1 piece that is 12 inches wide by 10 inches tall
- 1 piece that is 12 inches wide by 11 inches tall (you probably want this one and the above one to be the same fabric)
- 1 piece that is 12 inches wide by 9 inches tall (crayon pocket)
- 2 pieces that are 15 inches by 12 inches (inside of bag)
Tote Bag Sewing Instructions:
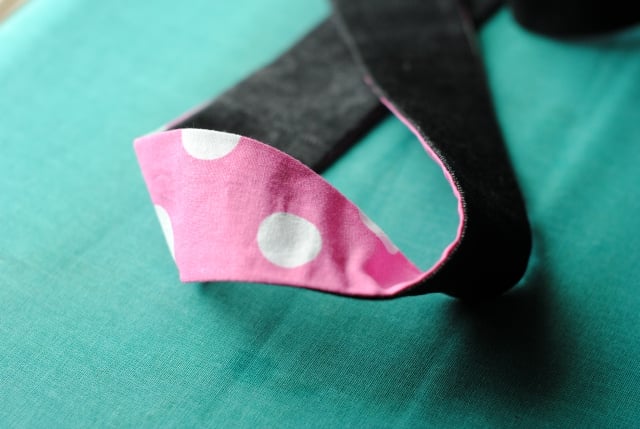
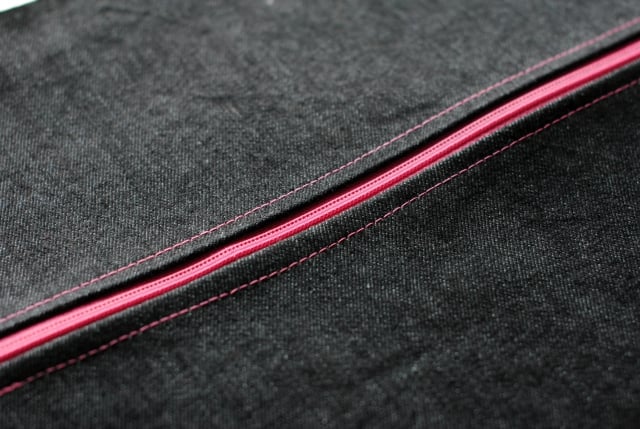
OK, I always like to make the strap first and get it out of the way. So grab your two pieces that are 30 by 2 and a half and put them together with right sides together. Sew up each of the long sides and turn them right side out. Press flat and top stitch along the edges. Set the strap aside for later.
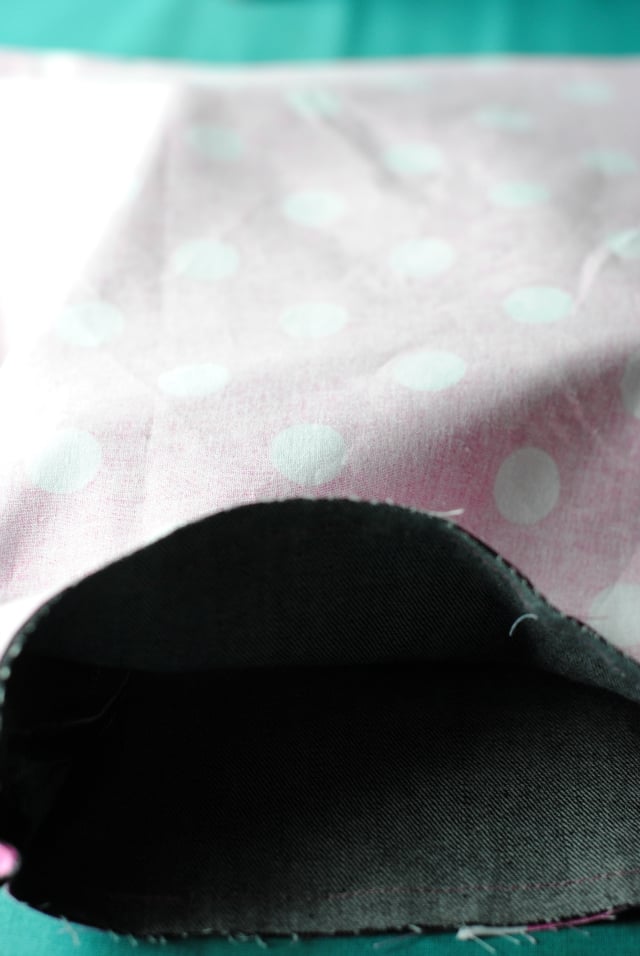
Grab your two pieces that are 12 by 10 and 12 by 11. These are going to form the pocket that goes inside the zipper section. Sew them together with right sides together around the two sides and the bottom. One side should stick up 1 inch farther than the other. This will be the top of your pocket-the part you are NOT sewing right now. Leave this wrong side out.
Also get your piece that is 12 inches wide by 9 inches wide. Fold it in half with right sides together to make it 12 by 4 and a half. Sew all the way around this leaving a 4 inch opening in one spot to turn it on one of the long sides. Turn it right side out and press it flat. Also press the opening to match the rest of the sewing so that it is ready to be sewed closed when we are ready. (Not yet.)
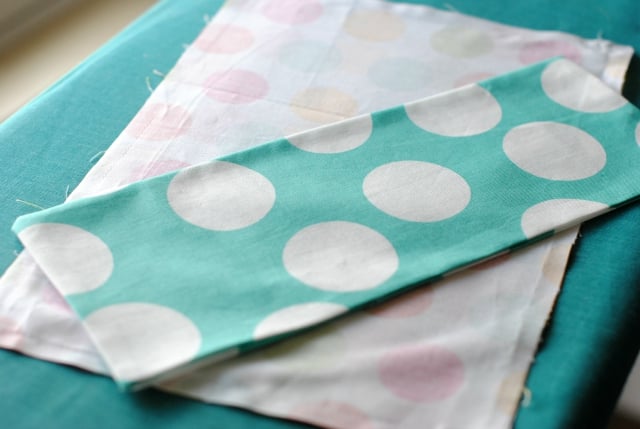
Here are the two pockets:
Now, get your two pieces that are 15 by 12. Cut the top 5 inches off of one of them.
Get your zipper ready. Using your piece that you just cut off, take the piece that is now 10 inches by 12 inches. Place the zipper face down on this at the top. Place your inside out pocket underneath it with the shorter piece (of the top of the pocket) lined up with the top of your denim piece and your zipper. Stitch along the zipper being sure to catch the three layers-zipper, the denim, then pocket layer. (You will need to stop part way through, slide the zipper pull out of your way and keep sewing so that you don’t have to sew past it. )
Now you are going to do the exact same thing using the other side of your zipper, the 5 inch by 12-inch piece of denim but NOT the pocket part yet. So just the two layers this time.
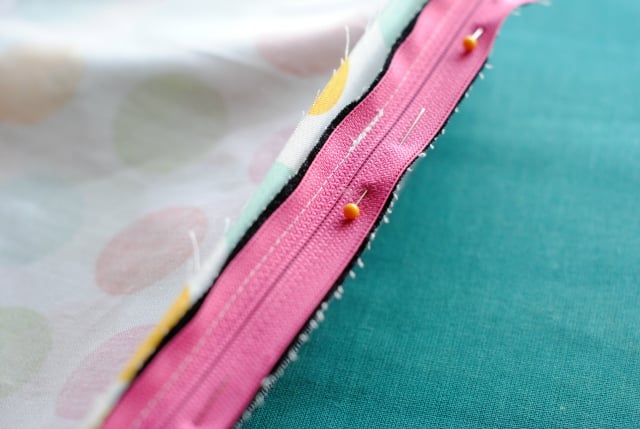
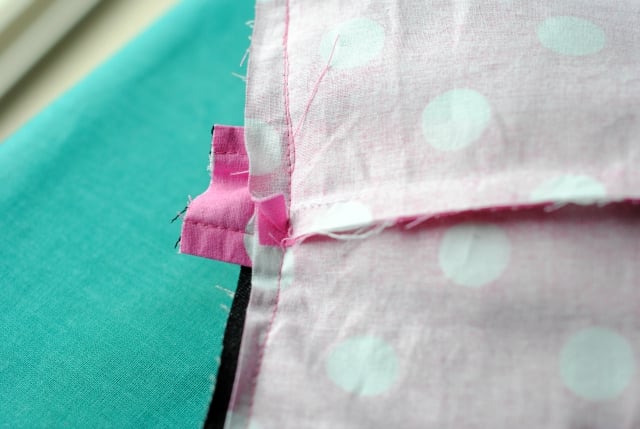
Here is what it will look like all sandwiched into the zipper. You can see that I have the one side that I already stitched and now I have pinned the other side in place and I am about to stitch that:
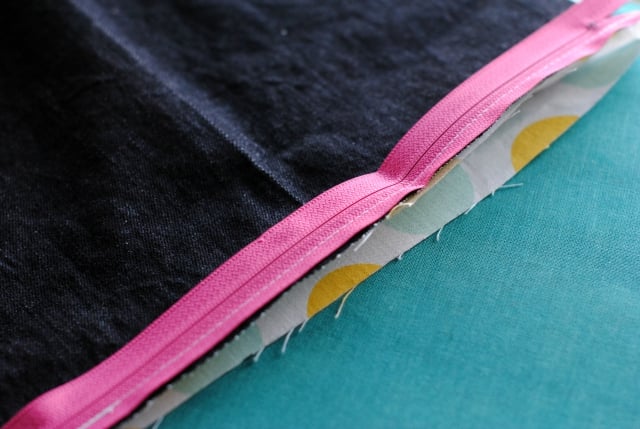
When you get this done you will be able to press it all nice and flat and pretty. Top stitch the bottom part below the zipper to hold everything nicely in place. Then, top stitch the top part as well, BUT, when you do this you need to catch the top of the pocket in your top stitching. This will close off your pocket for you:
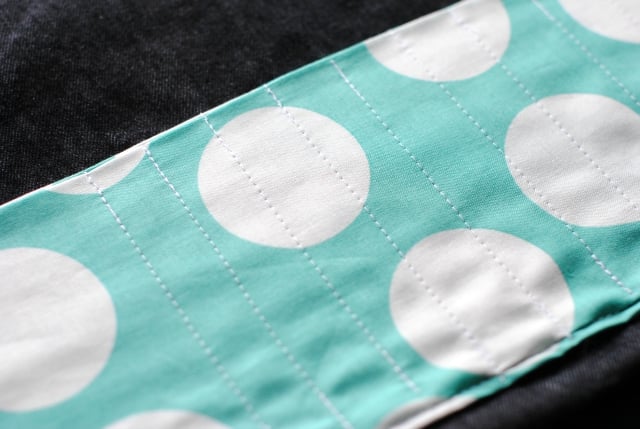
With the other piece of your bag that is 12 by 15 we are going to sew the crayon pocket on. Take your pocket piece that you made earlier that is 12 by 4 and a half now and pin it in place at the bottom of your 12 by 15 piece making sure that the opening you left is at the bottom. Sew along the two sides and bottom. This will close your opening while also securing the pocket in place.
Now, sew lines about an inch apart up the pocket. I left the far edge unsewn for about 5 inches to make space to store a small notebook:
OK, let’s put it all together. Take your two inside pieces and sew them around the two sides and bottom with right sides together. Leave this inside out.
Sew your two outer pieces around the sides and bottom with right sides together as well. Turn this one right side out.
Now, stuff the outer bag (denim with pockets) into the inner bag so that right sides are together.
You need to slide your strap in between the two layers leaving an inch or two sticking out on the two sides of the bag. Make sure the underside of your strap is facing towards the inner part of your bag:
Sew all the way around the top leaving about 4-5 inches in the center part somewhere to turn it.
Turn it right side out and press everything into place nicely. Press the opening and then stitch it closed.
Who are you going to make this cute kid’s tote bag pattern for?
You Might Also Like:


Catherine says
Am not able To put zipper in. Not sure which pieces should be right side up when attaching. Where the end of the zipper should fall….if I should be shortening my 12” zipper. Would you be able to clarify this step for me?
Thank you
Darlene says
WHAT ARE THE SEAM ALLOWANCES??
Amber says
1/2 inch
Veronica says
My grandkids lived these bags! Your instructions are clear and easy to follow. I’d post a picture if I could. Thanks!
Amber says
Oh good! I love to hear that!
Darlene says
Fabric cut out and ready to sew, but no seam allowances specified! Help!
Muzaffer says
I lovetlet sewing
Malia Oswald says
Amber, Thank you for your tutorials. I love seeing what you share! I wish I had seen this bag a month ago. I made my grandson a travel binder with pockets that hold what you show in your bag. He didn’t like it. Too hard to carry on our trip. This would have been perfect:) I know what I’m going to make for Christmas gifts this year. Thanks again for all you do.
Amber says
Thank YOU for your kind words. They mean a lot!
Lisa White says
Hi Amber,
I love all of the bags you are posting about, and I love that I can adapt them for my beginning sewing class in the Jr. High where I teach!
I’m wondering if you can tell me where you buy your adorable polka dot fabrics? Are they quilters quality or just something from a big box store?
Amber says
Hmmm, these all came from my stash so I am trying to think where I got them. I usually shop either at Hobby Lobby or online at Stitch Stash Diva, so probably there.