What’s the Project? This tote bag tutorial is easy to follow and helps you make the cutest bag! You’ll love these easy to follow instructions and you will really love the bag you can sew with this tutorial.
My beautiful messenger bag has bit the dust. It was well used but it was time to move on, so I needed a new bag.
I came up with something new and fun and I LOVE how it turned out! I’m calling it a Cross Body Tote Bag tutorial:
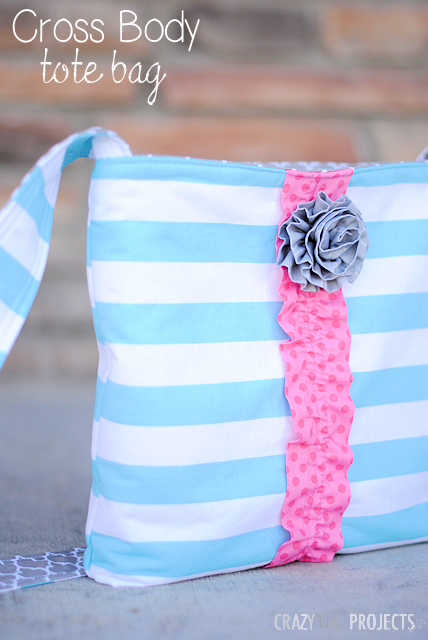
It’s cute and it’s easy and YOU can do it! This would make a great dance bag or could be great for teens and tweens too!
Cross Body Tote Bag Tutorial:
Supplies Needed:
- 1 yard of main fabric (you will have leftover) I got my fabric from The Ribbon Retreat
- 1 yard of inner fabric (you will have leftover)
- 1/4 yard of accent fabric
- 1 yard of fusible fleece interfacing
- Tiny piece of felt (optional-for flower)
- Hot glue (optional-for flower)
Tote Bag Pattern Pieces:
From main and inner fabrics and fusible fleece cut the following:
- 2 pieces that are 14″ wide by 12″ tall (of each fabric and fleece)
- 1 piece that is 4″ wide by 43″ long (of each fabric and fleece)
For the pocket cut from main and accent fabrics: (optional)
- 1 piece from each fabric that is 10″ wide by 6.5″ tall
Sewing Instructions:
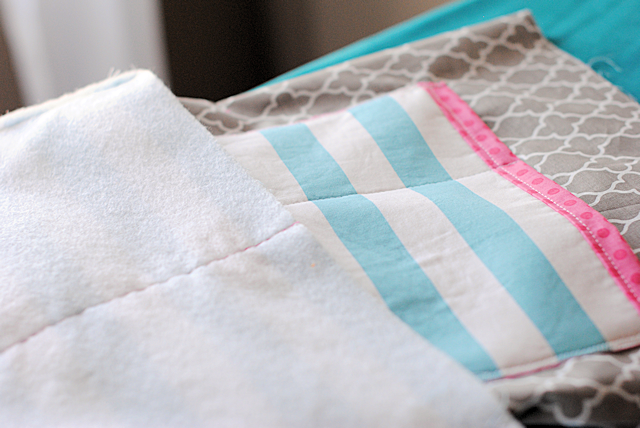
Iron your fusible fleece to your main pieces with the fleece on the back. You iron on the top of the fabric: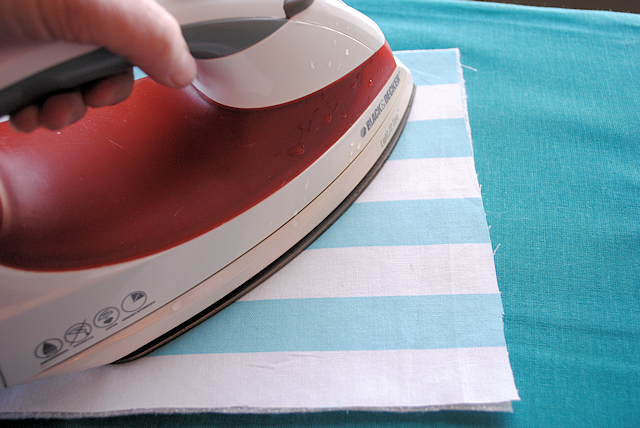
Let’s start by sewing the strap. Grab your two long pieces (4 inches by 43). The main fabric should have the fleece ironed on already. Put right sides together and then sew along the two long sides:
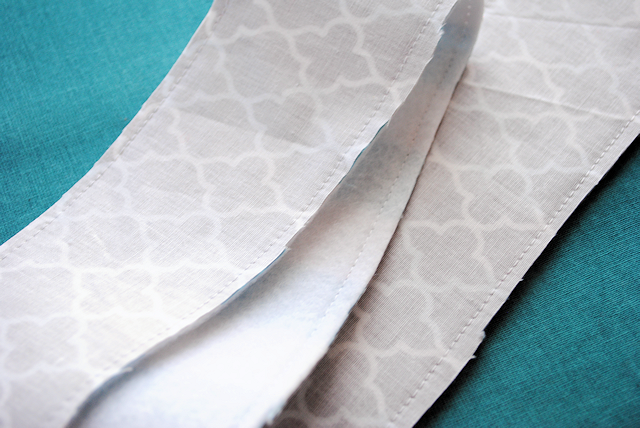
Turn that right side out and press it flat, then top stitch along the two long sides. You are done with the strap, so set it aside for now.
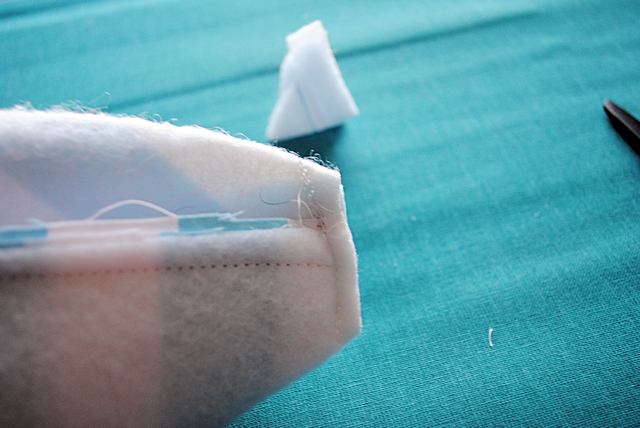
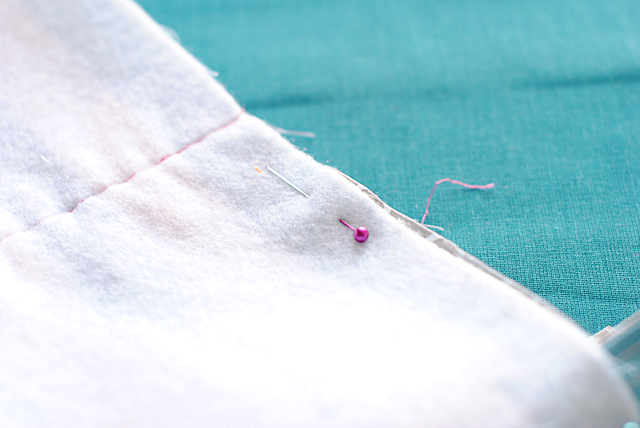
If you would like an inner pocket, let’s put that together now. Take your two pocket pieces and place them right sides together. Sew up the top and the bottom. I wanted my pocket a little fancy with the accent fabric showing at the top. To do this, after you have sewn the top and bottom, turn it all right side out and press it flat, BUT, do it so that the accent fabric is showing at the top a little like this:
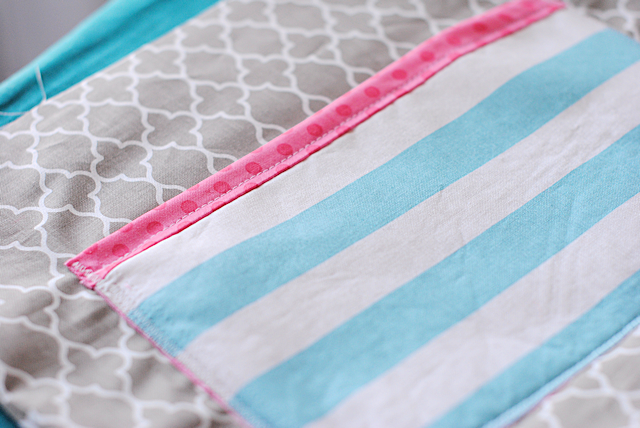
Get it all pressed how you want it and then turn it back inside out and sew up the two sides but leave a small opening in one spot so you can turn it right side out. Turn it and press it flat again, closing the opening with the ironing. Top stitch the top seam of the pocket to keep it all in place well (see image below).
Now, grab one of your pieces of inner fabric that is 14 by 12 and center the pocket on it and sew around the side, bottom and other side, leaving the top open. I also like to sew a line down the center of the pocket to create compartments:
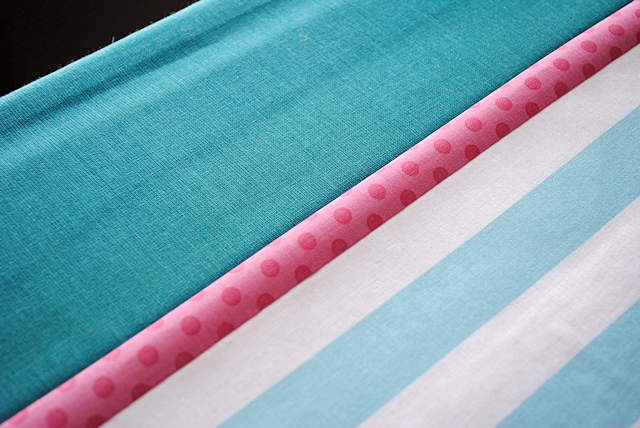
If you want to create the ruffle, it’s time. Cut a piece of fabric that is about 5 inches wide and about 17 inches long.
Fold it so that right sides are together and stitch up the side:
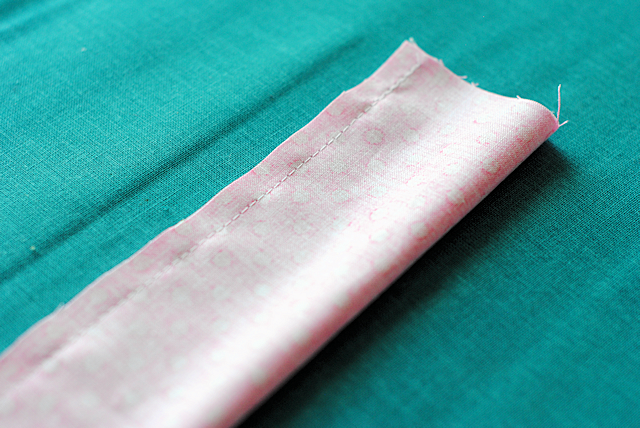
Turn it right side out and press it so that the seam is centered like this:
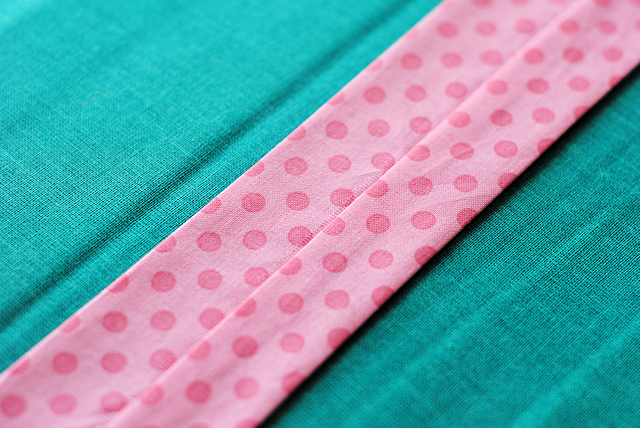
That seam will be the BACK of your ruffle.
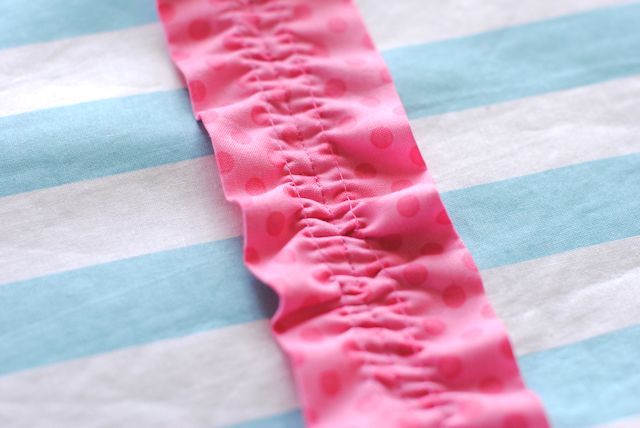
Now, run a basting stitch up the ruffle. I did two-you can do either one or two. (If you are new to ruffling, here is a tutorial to help you.)
Leave your threads hanging at the end. Grab the top two and gently pull and slide your fabric along it to ruffle the fabric:

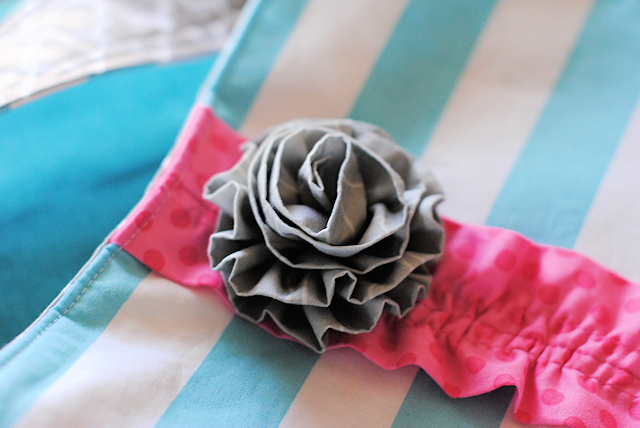
Ruffle it to your desired ruffle amount (I just did a little, nothing too fancy) and then pin it in place on the outside of one of your main pieces. Sew a straight stitch right up the middle. You should have some overhanging the top and the bottom. Just let it hang for now.
So pretty right?!
OK, time to assemble the bag.
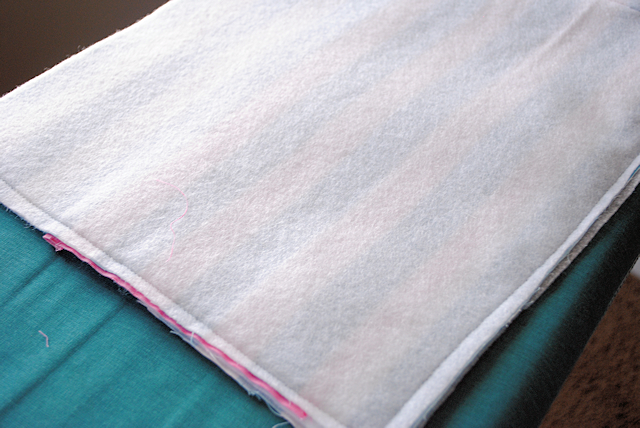
Grab your two main pieces and place them together with right sides touching. Sew around the side, then the bottom and then the other side. Your ruffle will be hanging out the bottom. You can snip off the excess once you’ve sewn this step:
Now, I added box corners to mine to make it a little roomier inside. This is how.
Take one of the corners of your bag and turn and pinch the fabric so that it ends up looking like this:
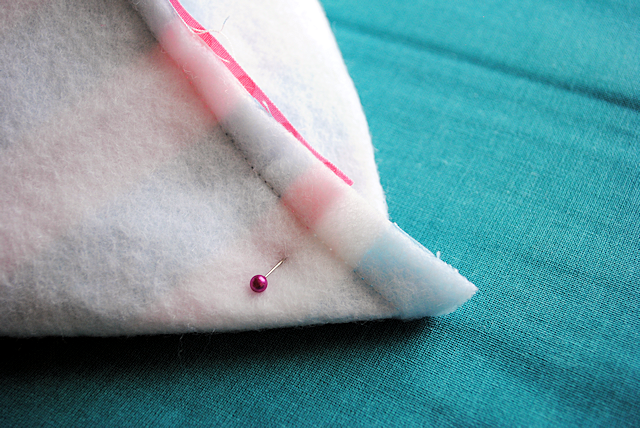
Here’s a view of the whole bag so that you can see what I mean better:
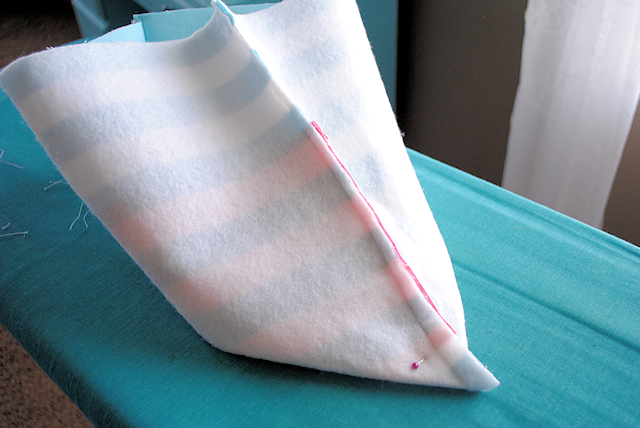
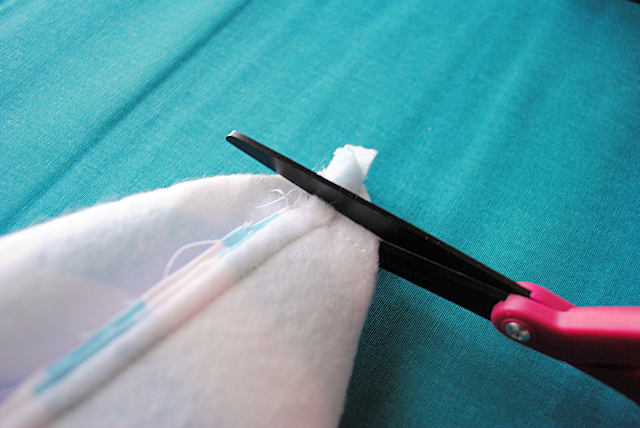
Then, sew a straight line along that part to form a triangle tip. Snip off the tip of the triangle:
And that’s it! Do that to the other corner.
Then do all of this to your inner pieces as well. Sew them together and make the box corners.
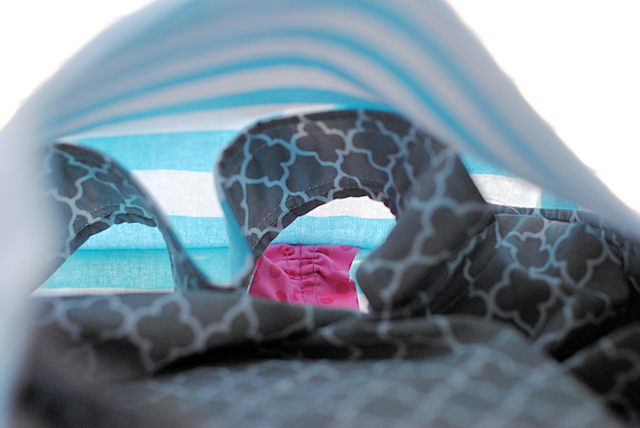
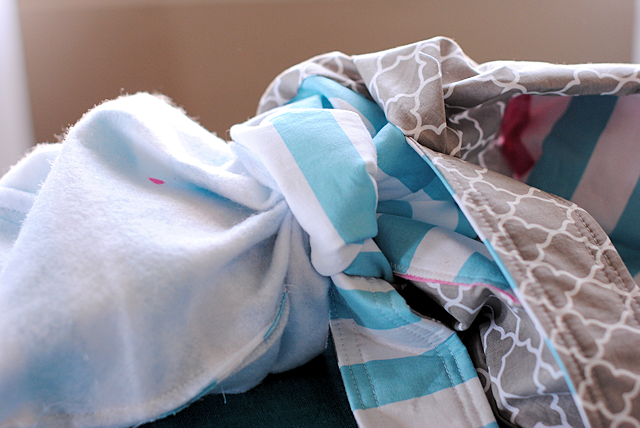
Now, turn your INNER pieces right side out and slide them down into your main pieces (which are still inside out):
Grab your strap and insert it between the two layers of fabric so that the ends are sticking out like this:
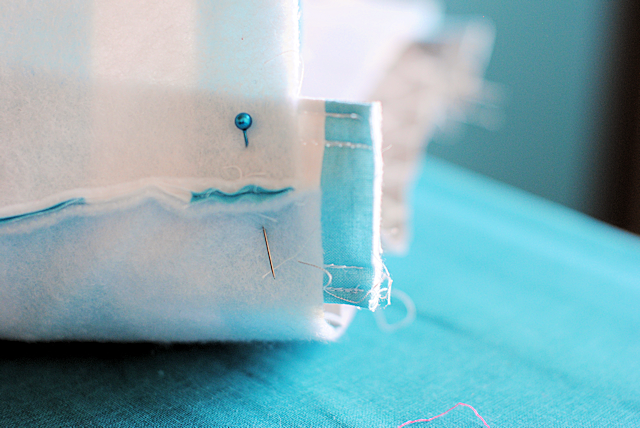
And the strap itself is nestled down inside the bag between the two layers like this: (Make sure it is NOT twisted inside though)
Pin all the way around the top making sure to match up the top of the bag evenly:
And sew all the way around the top leaving a small (about 4-5 inches) opening in one spot (not where the straps are) to turn it. Then, reach through that opening and start to pull the inside out and turn it right side out:
You’ll need to do some nice pressing and straightening now to get it all to lay flat. In particular, press the top well to make sure that the fabrics line up evenly and that you get your opening closed. Then, top stitch all the way around the top. This will sew that opening closed AND make your bag look pretty.
Then, if you want to add a flower, here is a tutorial. Create it and then hand stitch it on and enjoy!
Hopefully, you’ve loved this tote bag tutorial!
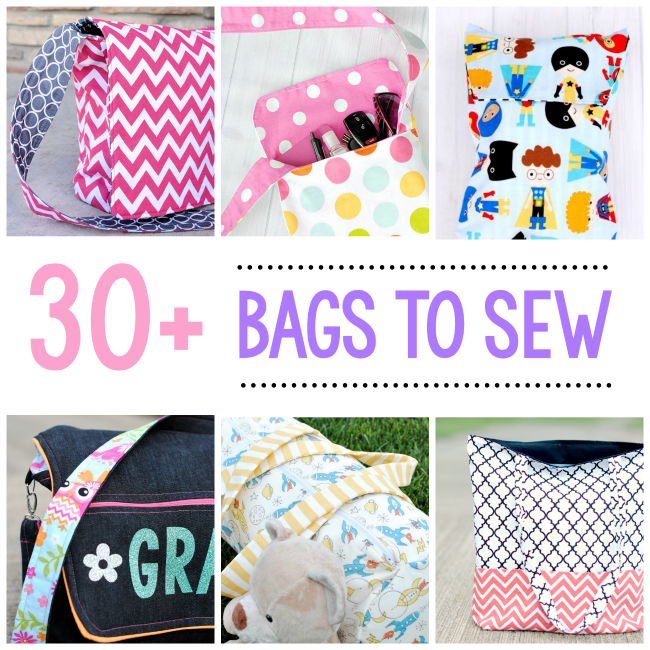
You Might Also Like:


Sara says
would love to see this bag with a zipper. Do you have a tutorial for that?
Amber says
I don’t but you could definitely add one!
Lauren Kubler says
hi – do you have a printable version of this? I’m probably missing it!! Thank you!
Amber says
I don’t-sorry!
Gina says
Hi! How would you add a zipper closure to the top of this bag?
Amber says
Check the laptop bag tutorial. It’s similar. https://crazylittleprojects.com/laptop-bag-pattern/
Courtney says
I’m confused by what you mean by “sew all the way around the top..” as part of the last steps. To me, that would mean sewing the bag COMPLETELY closed, in which case…how would you use it?
Amber says
No, just around the top edges to make it nice and clean and finished. You can skip this if you want though.
Jackie says
Love the simplicity of this cute bag! Any suggestions about how to add a zipper?
Amber says
Check out my laptop bag pattern-you could do kind of a combo of the two: https://crazylittleprojects.com/laptop-bag-pattern/
loribell says
Thank you for the clear and concise directions. I would love to show you my completed bag, but don’t see how, so take my word for it – it is wonderful. I appreciate the assistance.
Amber says
Love to hear that! 🙂
Jaden Dobbelare says
Pretty and cute!! Can you hand sew it???
Amber says
Sure-it will just take longer.
Katharine says
Urgg I can not make the ruffle it keeps breaking I have never made one before. Someone help. Ktate1482@gmail.com.
Fiona says
Change the tension on your sewing machine to the highest setting then set the stitch length to the longest length. The fabric will gather by itself and it’s way faster than the basting stitch way.
Kath says
Very cute. The fabric is great!
Karly VanKomen says
This bag is darling, can’t wait to make it….can you give me a link to the flower you used, I can’t seem to find one that looks just like yours?
Amber says
Here it is: http://crazylittleprojects.com/2014/01/five-minute-fabric-flowers-tutorial.html
dana strickland says
I just made this bag…I am very happy with how it turned out. I left the ruffle off because I couldnt get it just right. Loved that I learned how to do pockets!
Amber says
Happy you liked it. 🙂
Frederique says
Hi Amber ! I read your blog from France and i love it !!!! my English is not so good… but I think i understand the main 🙂 Pleasure. Fréd.
Renee says
Hi Amber, what are the finished dimensions on this bag? I love this one, but I just can’t get an idea of the scale from the pics, and I would love to use it as a small purse if it fits the bill.
Amber says
It’s about 13 by 11 but you can size it up or down as needed easily!
Jasmine says
I just finished this purse!!! It was the first “hard” sewing project I’ve done other than pillows or a makeup brush holder! It turned out so well!! Your tutorial was so helpful for a beginner sewer (is that a word??) like me!!
Thanks a ton!!!
Amber says
Way to go!!!
V! R! says
I love your blog, the pictures for this post are so cute.
Thanks!
Jana Cruse says
I too enjoy making bags. Your tutorial is very clear and i like all the photos. I like to put the magnetic closures in my bags but i end up doing after the bag is completed because I have not figured out at what stage in the construction would make it easier?
I find that without the mags, the top seems to sag open. Velcro will keep it closed but doesn’t look very professional. Can you shed some light on how you think this should be done?
Thanks so much
Jana
Amber says
I’ve actually never tried that but it’s a great idea. Not sure how it is done though. Sorry!
Stefanie says
Jana, if I may…. to answer your question about in what stage of the bag making process to add a magnetic snap. The short and sweet version, using your tape measure, measure 1/4-1/2 inch in on both sides, from that measurement for your seam find the middle, drop down 2 inches from the top. This will give you room for your seam and topstiching. Remember when measuring, take into account the seam allowance, this is the 1/4-1/2 inch.
Now, if you want your snap exposed on the outside with a flap to close, after you use your interfacing/stabilizer etc. then you do the measurements and add your magnetic snap. Okay, now if you want your magnetic snap to be “hidden” on the inside of your bag, do your measurements on the inside material of the bag add a small piece of interfacing/stabilizer, then put in your snap. You have to use some kind of stabilizing material so your magnetic snap does not rip through the material. All measurements and the snap should be done before the bag is assembled. I hope this helps. ~~Stefanie
Susan says
Excellent. Thanks!
betty says
This looks just like the I Pad Cover except with Handles!
Brittney says
This is so cute and easy! Thanks for the tutorial!!
Sarah Milliken says
What are the seam allowances?
Amber says
On a bag it doesn’t really matter, but I do about 1/2″