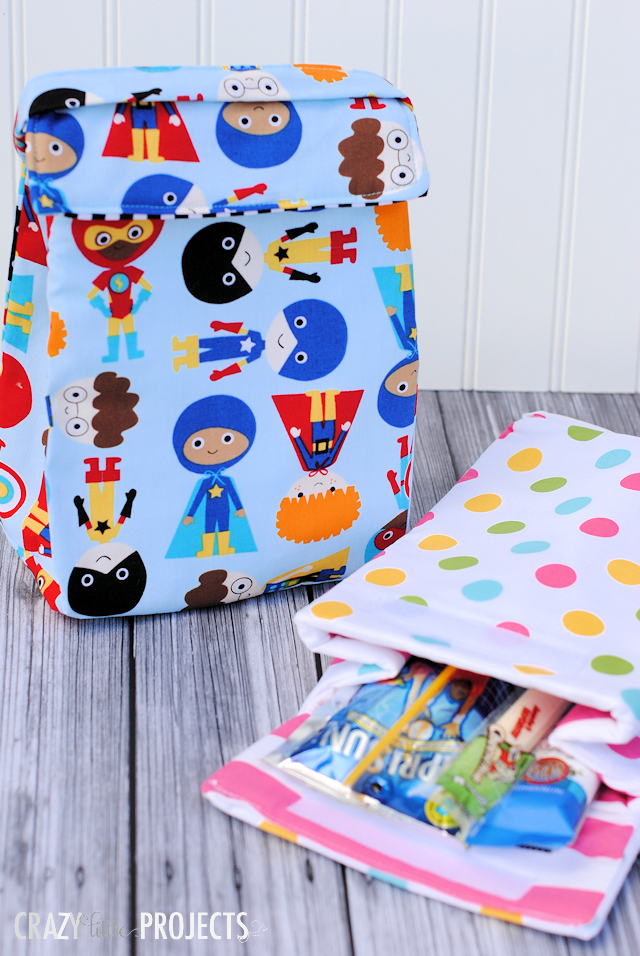
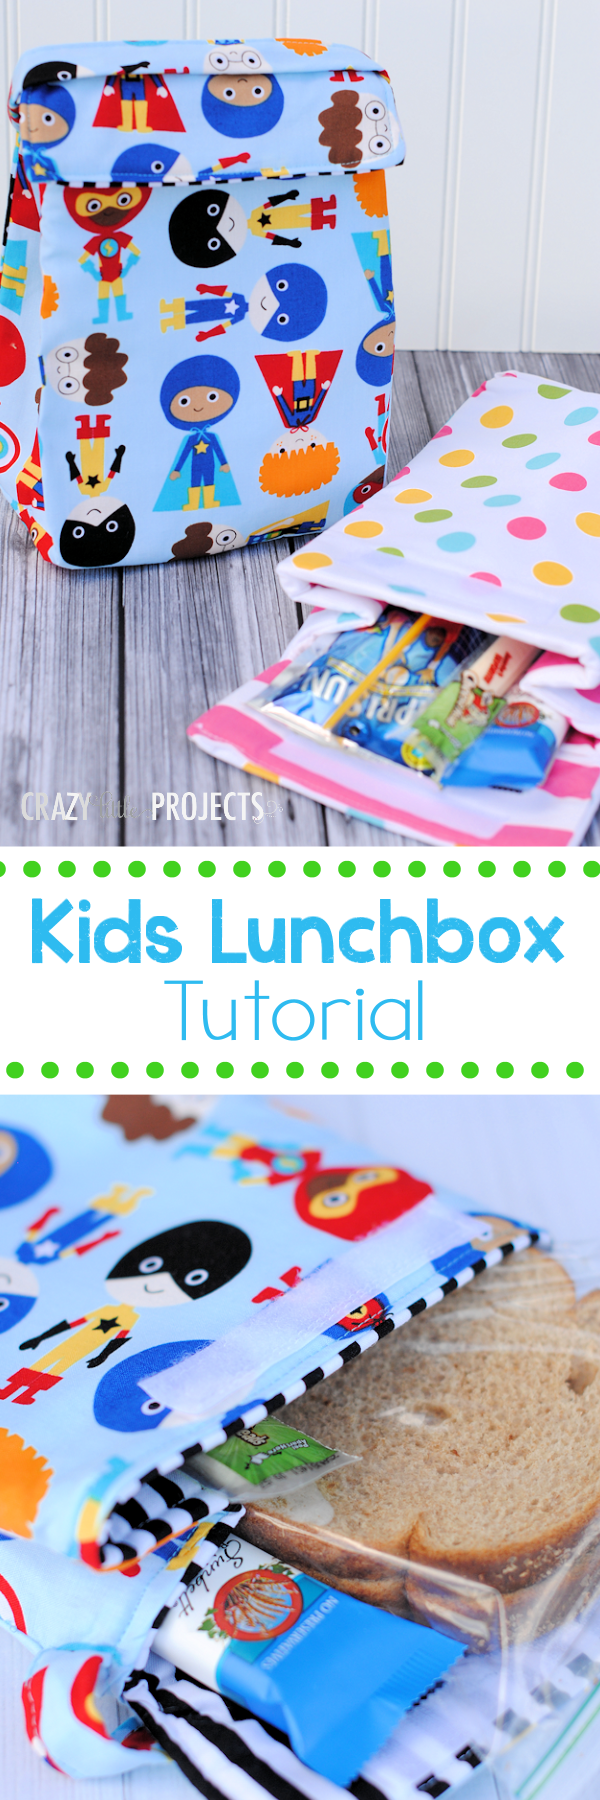
What’s the Project? This cute kid’s lunch bag pattern is insulated to keep the lunch cool while your kids head to school. An easy pattern to follow and it turns out so cute! Your kids will love it!
It’s still July so I am definitely not ready to start thinking about that event that happens in August where kids load backpacks and books and head off, out of my world and all the fun that is summer. (I will not say the words yet.) I hate it! I need summer to last so much longer! But, I know some of you are already counting down, so, I’m going to start giving you a few things to think about, sew or do to get ready! (That part is at least fun right?!)
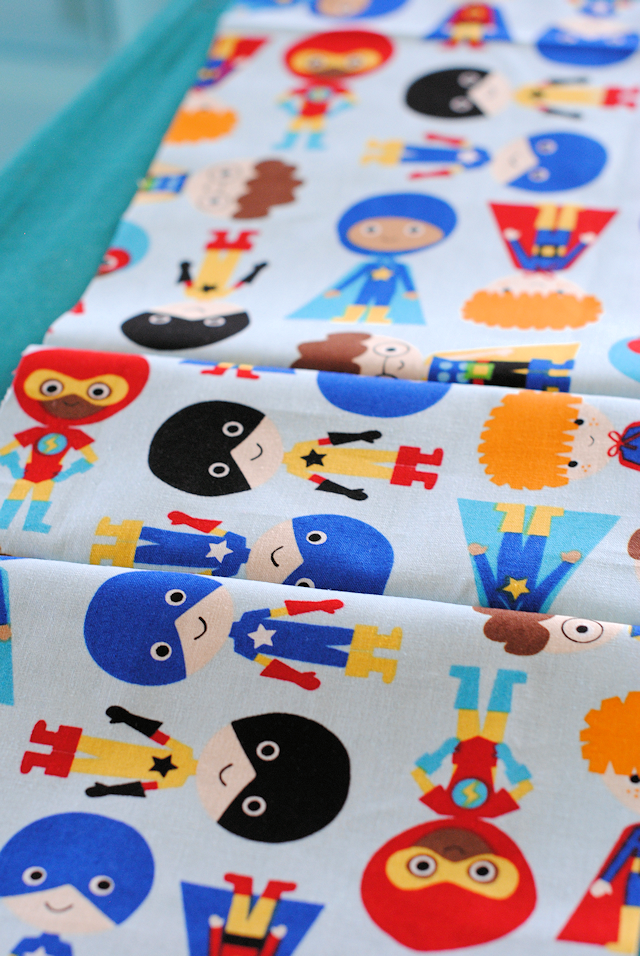
Today I have a darling little kids insulated lunch bag pattern and tutorial to sew. It’s fairly simple to sew and turns out really cute! Like I just keep looking at it because I am so in love with it! And isn’t this fabric fantastic!?
I am a little bit in love with these! Aren’t they cute?! Wait, I already said that earlier didn’t I?
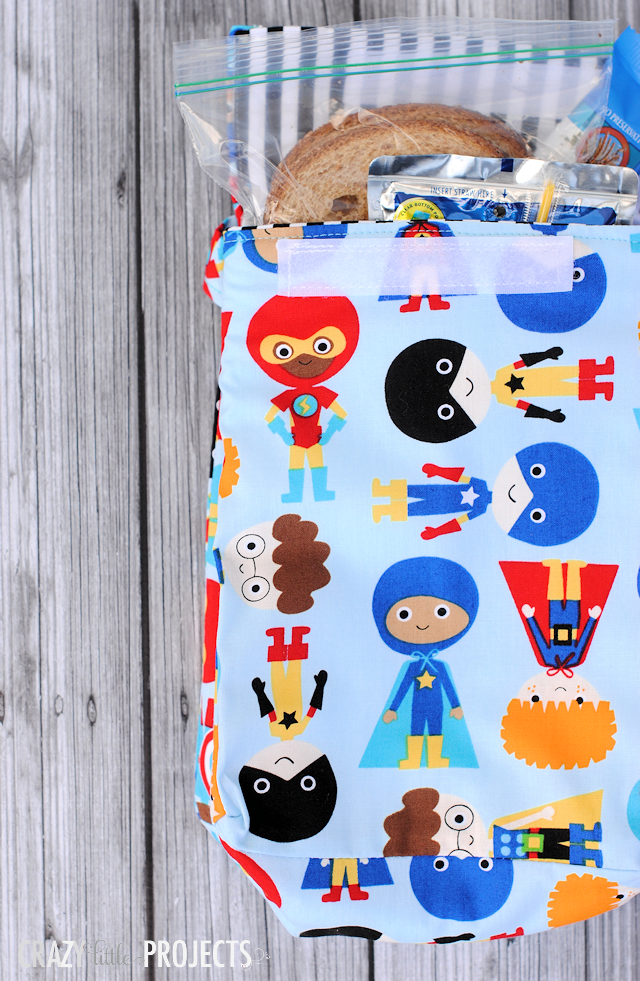
It should fit a good size lunch for the kiddos and it is insulated. Throw an icepack in there and you should be good to go!
Kids Insulated Lunch Bag Pattern and Tutorial:
Supplies Needed:
- 1/2 yard of fabric (you make have some extra) I got my fabric at Stitch Stash Diva
- 1 yard of thermal interfacing
- Small strip of Velcro
Cutting Guide:
From each of your fabrics and your thermal interfacing, cut-
- 1 piece that is 8 x 13 1/4 inches
- 1 piece that is 8 x 10 inches
- 2 pieces that are 10 x 4 1/2 inches
- 1 piece that is 8 x 4 1/2 inches
From your main fabric cut-
- 1 piece that is 11 x 4 1/2 inches
Lunch Bag Pattern Sewing Guide:
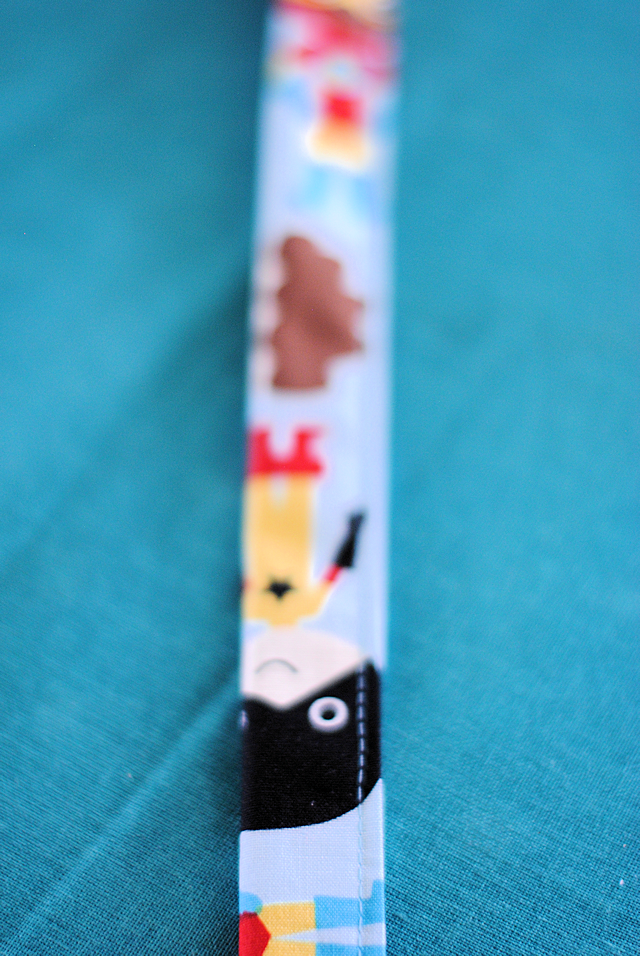
First we are going to make the strap. Take your piece of fabric that is 11 x 4 1/2 inches. Fold it in half lengthwise so that right sides are together and sew up the long side:
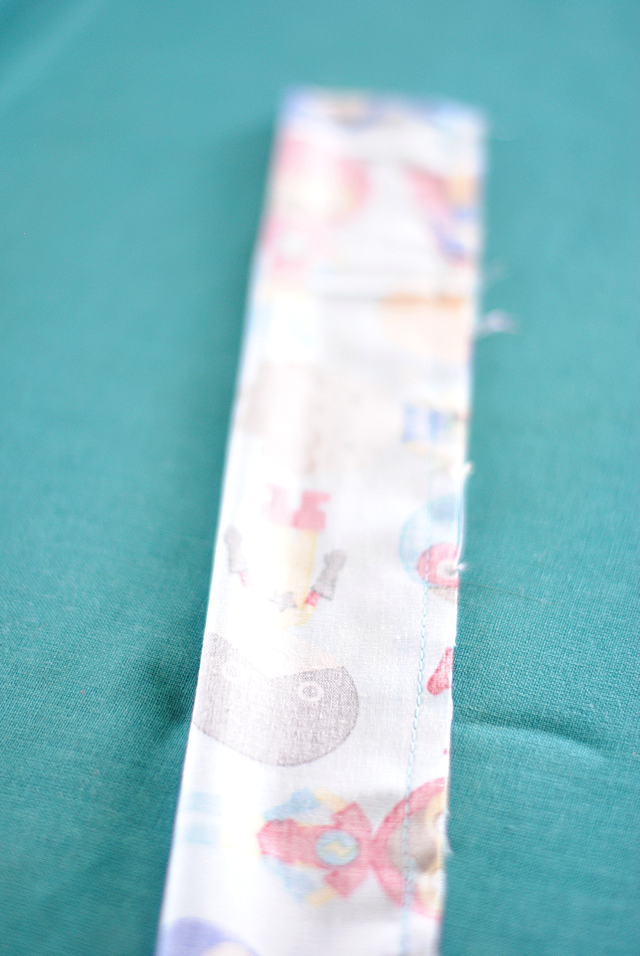
Turn it right side out and press it flat.
Then, fold that in half lengthwise again and press. Sew up the long side one more time. It should now be 4 layers thick:
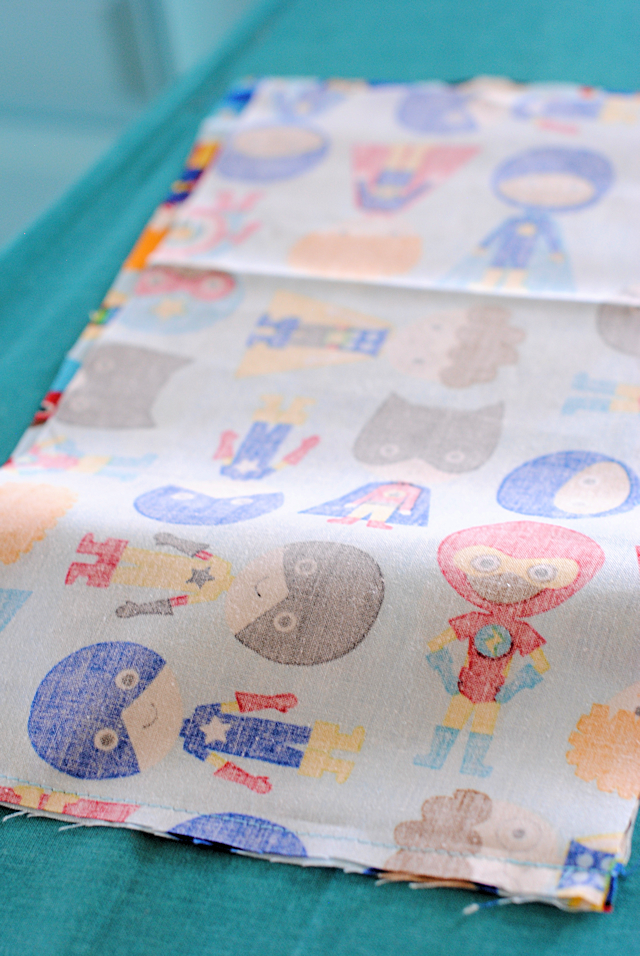
Now, grab your main fabric pieces. Begin to piece them together by taking your front piece (8 x 10 inches) and placing the 10 inch side of it along the side of one of your side pieces (10 x 4 1/2 inches) with right sides together and sew up the 10 inch side:
Then grab your back piece (8 x 13 1/4 inches) and sew it to the other edge of the side piece so that the excess fabric from the back piece is left hanging at the top, BUT, as you do this, you need to sew the strap in place as well. To do this, place it between the back piece of fabric and the side piece right near the top of the side piece-just about 1 inch from the top. Just pin it in place and sew it in there between the two layers: (Sorry, I forgot to take a picture of this step while I was sewing, so I am showing you what it looks like when the bag is complete. Hopefully this still makes sense.)

Then sew the second side piece to each of the front and back pieces in the same way.
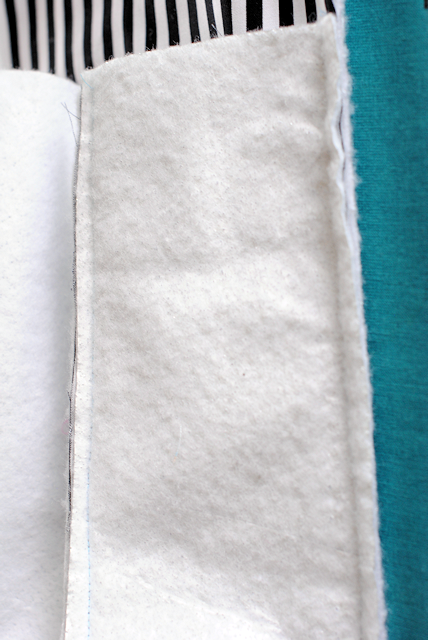
You are going to do all of this now with your inner fabric AND your thermal fabric. Simply place the thermal interfacing on the back of the inner fabric and sew it in place with it as you follow the above steps.
Once you have all of your sides and front/back sewn together, we need to add the bottom piece (8 x 4 1/2 inches). To do this you need to carefully pin it around the bottom opening of your bag: 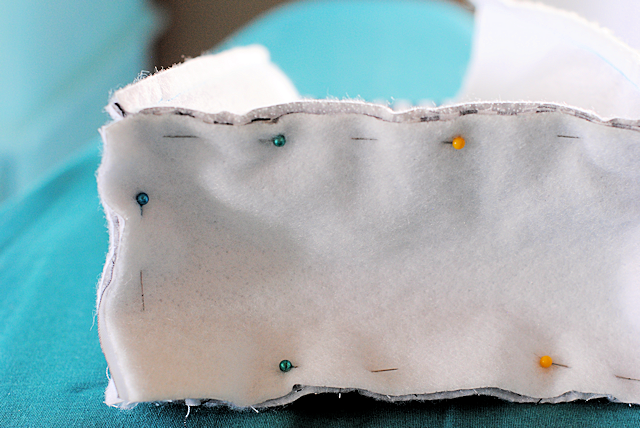
Then carefully sew that in place.
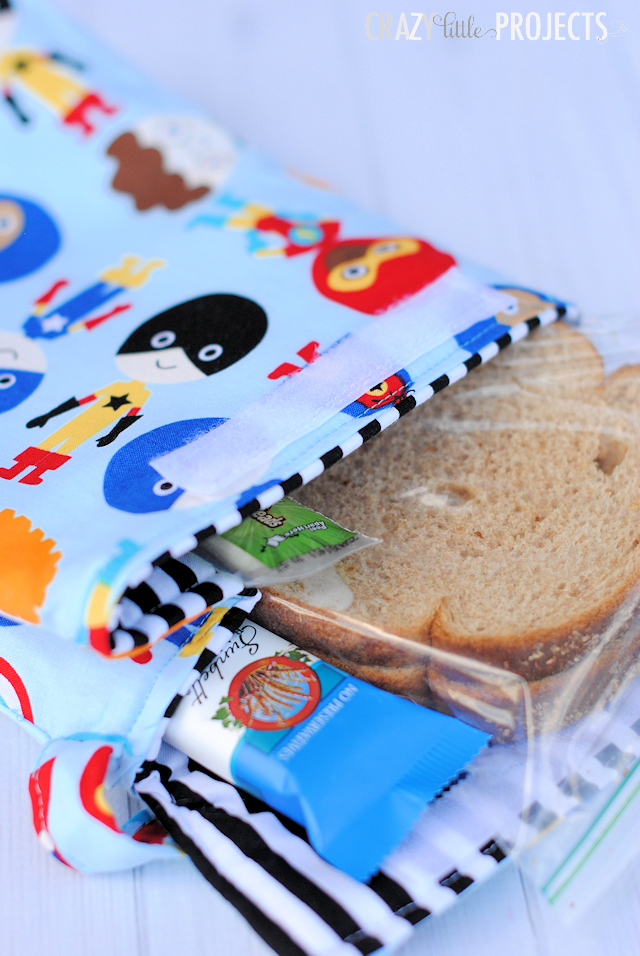
Now you have the inner and outer parts prepared. Let’s sew some velcro in place. Cut a piece that is about 4 inches long. Place on piece on the front part of the main fabric: 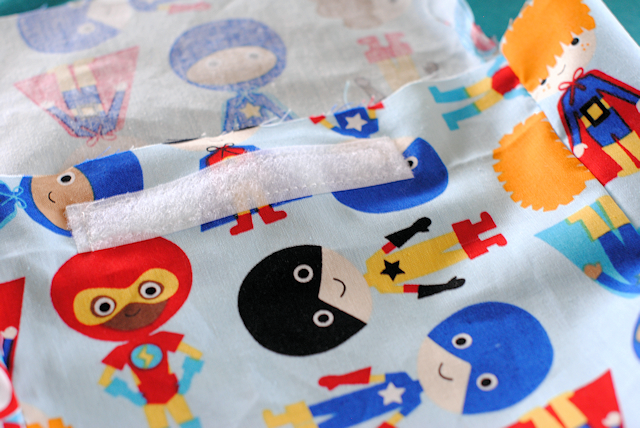
And one piece on the back piece of the inner fabric: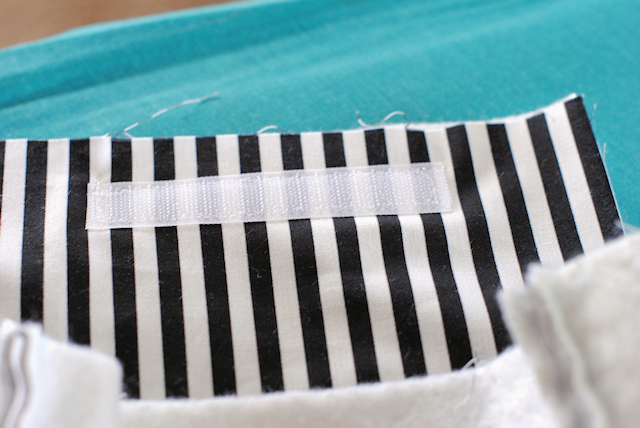
Then sew those in place.
Now let’s put it all together!
Turn the outer/main fabric inside out and stuff it down into the inner part:
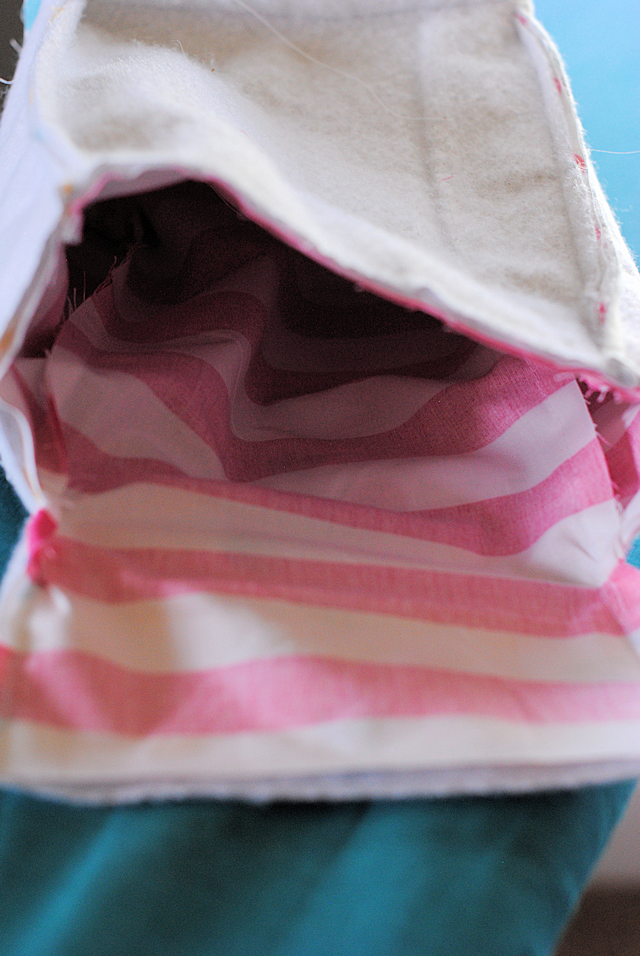
Now you are going to pin it so that the sides of the outer and inner match up as well as the front and back.
Then you will sew beginning at flap. At the top, left side of the flap sew down the side of the flap, then turn and go across the side of the lunch box, across the front, and then up the other side and flap LEAVING THE TOP OF THE FLAP OPEN.
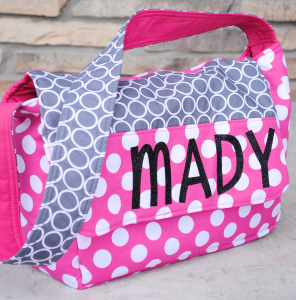
I have a video tutorial of this, but it’s from the messenger bag tutorial. It’s the same concept though, so if you need a better visual of this, try this video tutorial here.
Before you turn this right side out you need to clip the corners. (This means, cut a few small slits in the fabric right up to but not through the seam, at the corners. This helps it lay flat when you turn it.)
Now, reach inside and pull the inside out and turn it all right side out and get it tucked in how it should be.
Now you will need to do lots of pressing to get it all nice and flat.

Fold the top of the flap inward (so that each of the fabrics is tucked inside) and sew that part shut.
Last, you need to really press the sides. We want to form a pleat on the sides, so fold them in and then grab your iron and really, really press it until it holds its shape:
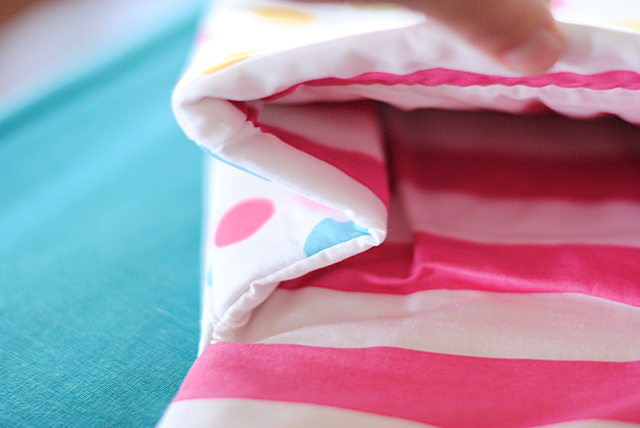

And now you are done! Hope you love this cute lunch bag pattern.
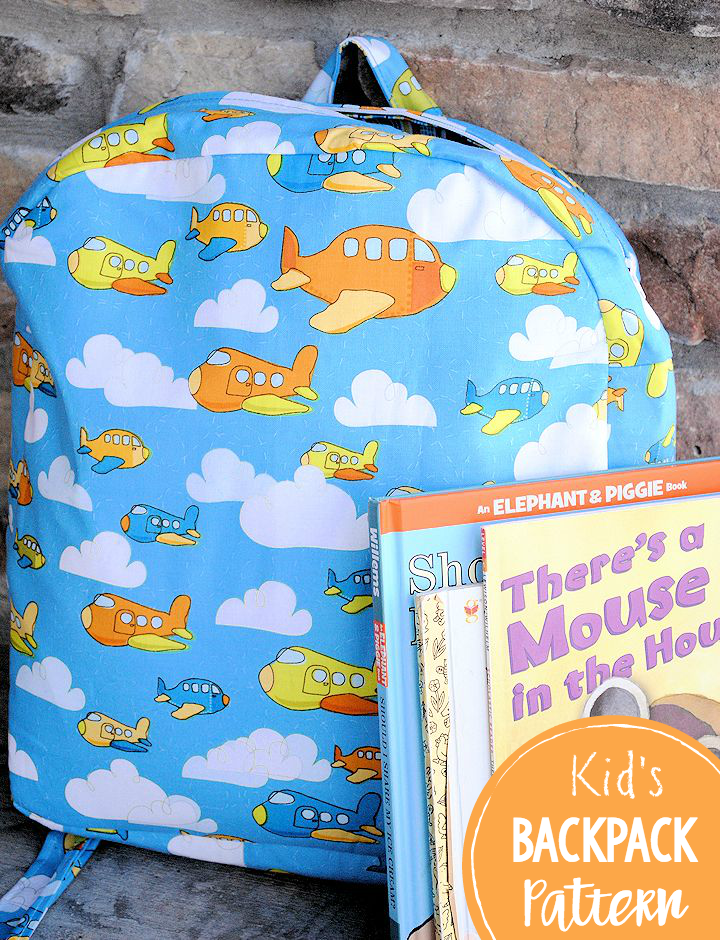
You Might Also Like:
Pin It:


Helen says
Maggi, To print this or any other tutorial, you could copy and paste the info needed to a word document – provided there is nothing to say not to copy it!
APG says
Hello! I have to do a class project where my group and I have to make a lunchbox that will keep food items hot or cold. I saw this, but will the lunchbox keep things hot or cold??? I really want to get a good score!
Amber says
The insulation should help it do that!
Kay W. says
Hey, this project is not just for kids. Many women here are making them for: the office, short trips by oneself, a quick lunch between friends, or while getting together to make projects . We love these. They can also be used as med kits on trips, game holders for trips or overnighters, makeup kits, small book or supply bags for school, quick comfy shoe or scuffs bag, etc. This is one hot little gift to make. Thanks.
Amber says
True!
Laura says
The lunchbox should be washable correct?
Amber says
Yes.
Carin says
Ok so, Im doing this lunch bag and it says that i have to thurn the outter bag INSIDE OUT and stuff it into the inner bag that is with the insulated fabric facing me, OK. So I do it and when I turned it, its all backwards. The “liner” fabric is in the middle. Its main fabric, liner and then the insulated fabric.
Nicole says
Did you wash your fabric before you started?
Amber says
I never do but technically you should.
angel says
Does that keep your food cold/hot?
Amber says
If you put something in there like an ice pack it should.
Maggie says
I would love to make this for my grandson starting kinder in two weeks using the Air Force fabric as his daddy is career AF.
When trying to print the directions, it says that there are 29 pages!
Any suggestions???
Amber says
Sorry, I didn’t really make them printable.
Maggie says
thank you
Jennifer says
Maggie – If you do a print preview, you can see which pages have the info on them, instead of printing pages of comments also.
Maggie says
Thank you!
I brought the computer to my sewing room and had the tutorial up while I was sewing.
Lisa says
I wish you did videos. I have no freakin idea what I’m suppose to do. These look like so much fun.
Melinda says
What is the dimensions of the finished product?
Amber says
It’ll be about 7 by 9 inches
Lorie says
Finished one up pretty quickly last night.
The only thing I have to say is you can make this with 2 fat quarters and a lot less insulated interfacing. This is considerably less than the instructions call for.
Unless I did mine wrong.
Lorie says
I assume the bottom piece needs to be sewn in the outer fabric too before adding the inter section I don’t see it mentioned in the directions, to goes from sewing the sides to front & back of the outer fabric, to the inter fabric and insulated interfacing. It does mention & show the bottom being added to the inter section. Just verifying before I need to get out the seam ripper 🙂
Thanks
Amber says
Yes, you do the same thing for the outer and inner
Jennifer Jensen says
So cute!!
Heidi @ Happiness is Homemade says
LOVE these, Amber! That superhero fabric is so stinkin’ cute! Great job!
Tori says
Sew cute! I am making my messenger bag from your tutorial today. Thanks!
Anne says
Love it!! I’ve got a Craft Gossip post scheduled for tomorrow evening that links to your tutorial:
http://sewing.craftgossip.com/tutorial-insulated-lunch-box/2014/07/30/
–Anne
Julie says
My kids need new lunch bags, these look very do-able! 🙂
Helen says
I can’t wait to get started!
Melissa says
CUTE!! cannot wait to make these for my girls 🙂 Thank you!!
Emily says
I keep telling myself I should learn to sew. These lunch boxes are so cute and perfect for little lunches! Let me know when you have an etsy shop selling them 🙂
Terri says
Where did you find thermal fabric. ?
Amber says
I get mine at Hobby Lobby. I know some of my readers have found it at Joann too. They had to ask for help finding it though.
Amy says
What kind of thermal interfacing do you use? Is it insulbright?
Amber says
Yes-that’s the stuff!
Michelle@TheRibbonRetreat says
These are so cute Amber! I love them!!!
Margaret H says
Your instructions are so clear and precise, even I should be able to make these.
Thank you for all you do.
June says
Just clarify. Do you need 1/2 a yard of your inner fabric AND a 1/2 yard of your outer fabric?
Amber says
Yes
Sheila Perl says
What a great tutorial and I just love the fabrics! So cute!
carolyn says
I’m so going make this. thanks bunches