This project was made using my Silhouette (which I love). Don’t have a Silhouette? That’s ok, you can still make this.
Raise your hand if you have any birthdays in June. I’m raising both hands and both feet. I’ve mentioned this before, but we have 4. Three of my sons and my husband. Brace yourselves people. My life’s about to get crazy!
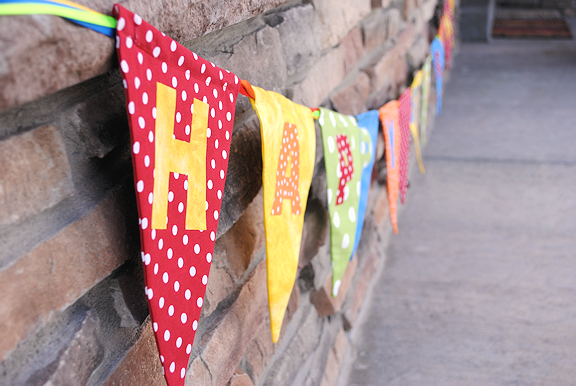
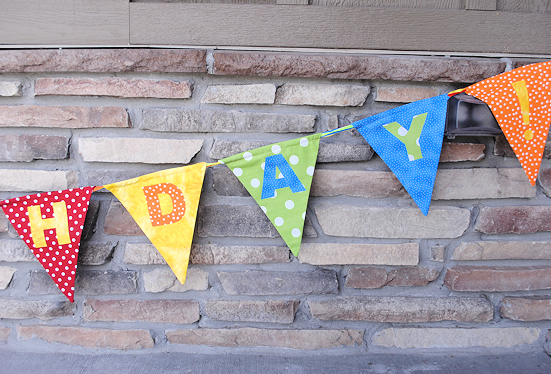
I’ve always wanted to have a fun birthday banner to hang up on the big day but I’ve never made one. This year I did. To go along with last year’s birthday wreath. Here’s my birthday banner:
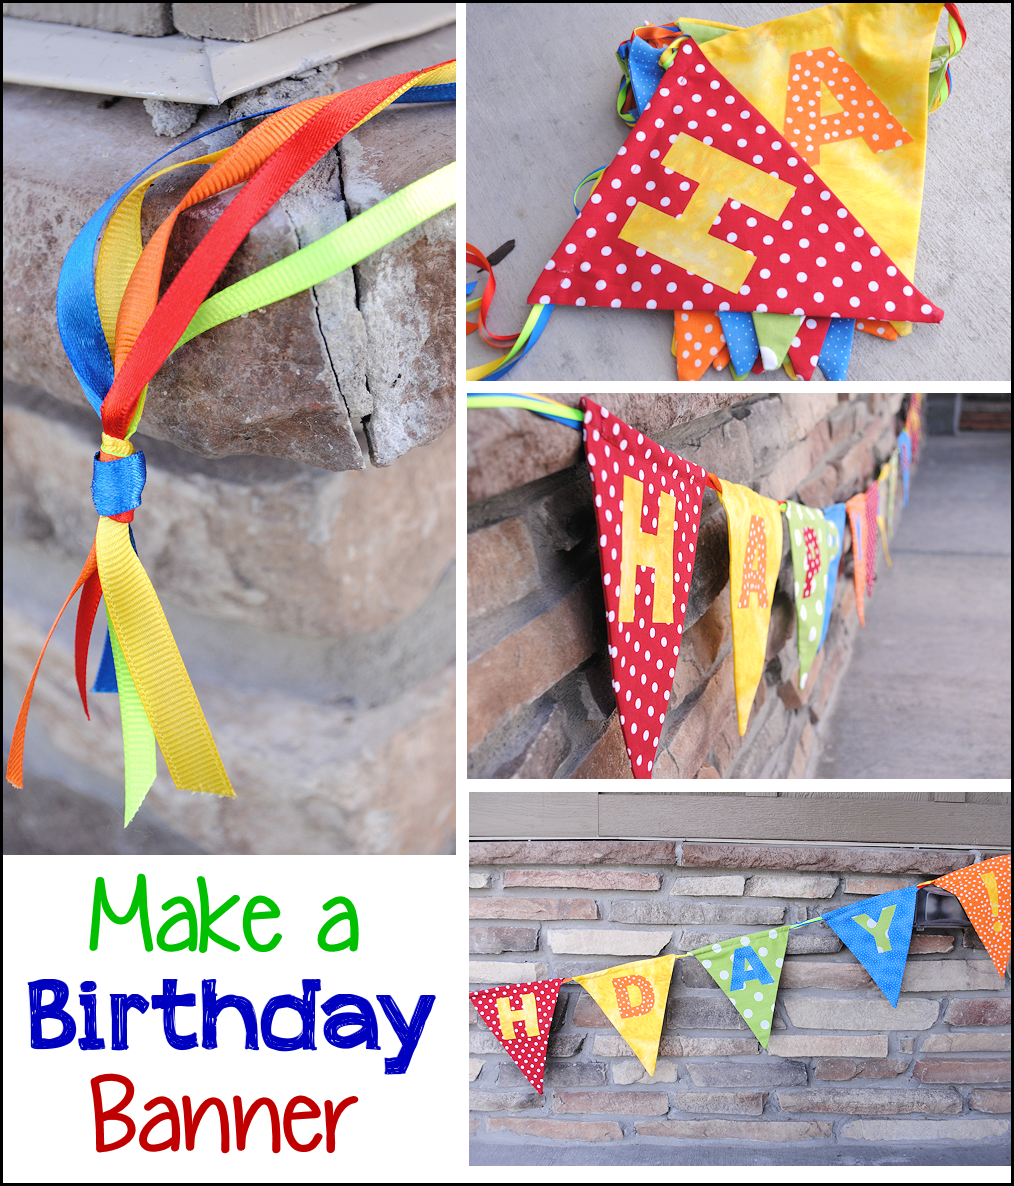
That was a bugger to try to take pictures of because it’s so long, so I broke it down into little pictures. I love that it’s so fun and bright and colorful. Who wants a birthday banner tutorial?
Birthday Banner Tutorial:
Supplies Needed:
Fabric: I used about 1/4 yard each of 5 fabrics. You can use more fabrics, you can use less.
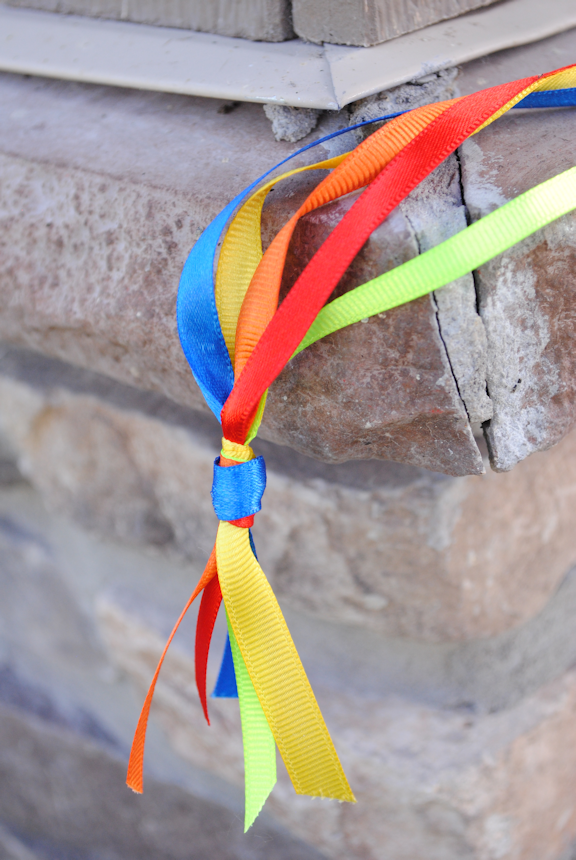
Ribbon (I used all 5 colors in the ribbon too. It would work just as well (maybe better) with a long, thick single ribbon. I used a full spool of ribbon.
Fusible fabric interfacing (Silhouette sent me some of this to try-see below)
Instructions:
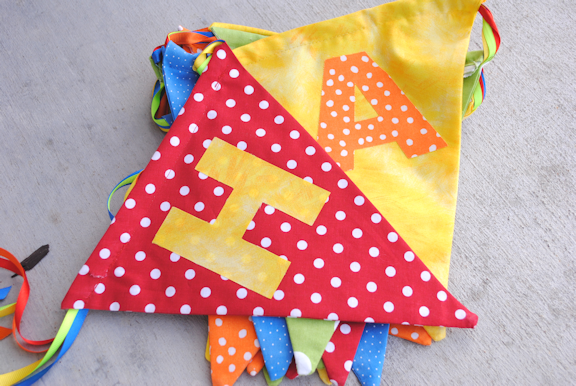
Start out by cutting out your pendant pieces. Mine are about 10 inches across the top and 12 inches on the 2 long sides. You will need 2 triangles for each pendant. I did 20 of them. One for each letter of Happy Birthday with one in the center that is blank to separate the words and an exclamation mark at the end. You should note that my banner is very long. Probably about 10-15 feet long. If you want yours shorter, size down the pendant pieces a little.
Next you need to cut out your letters. Mine are each 6 inches tall. Before you do this you will want to add your fusible interfacing to the back of the fabric.
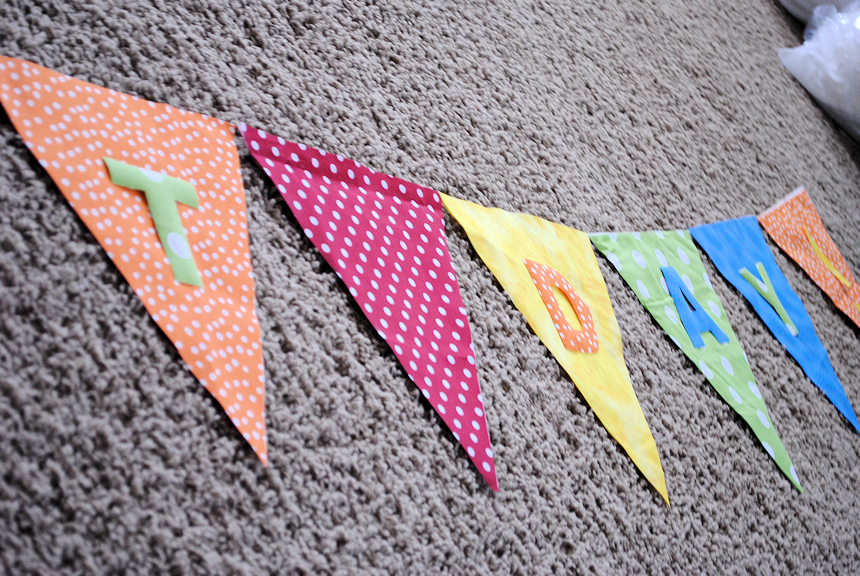
Decide which colors of letters you want on which pendants. I laid it all out on the floor so I could decide:
Then cut your letters. I used my lovely Silhouette machine and fabric blade to cut mine (they’re on SALE! See below!).
If you don’t have one, I recommend getting one. 🙂 But in the meantime you can also just cut with scissors. Just pick a font you like, print out the letters and use that as a template.
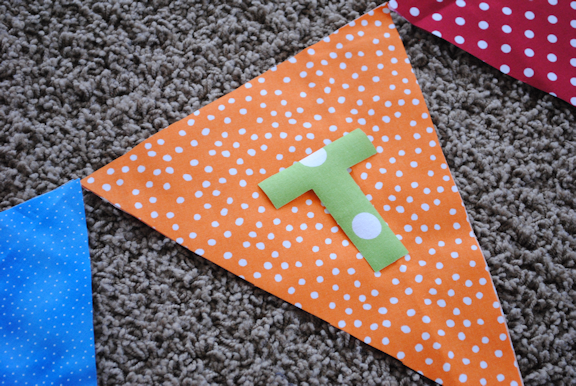
Iron the letters onto your pendants following the interfacing instructions.
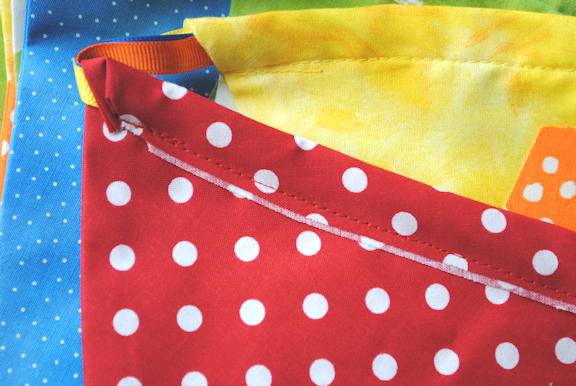
Now you will need to sew your pendants together. Place right sides together and stitch along the 2 long sides leaving the top open. I snipped the tip of each one before turning right side out to reduce bulk.
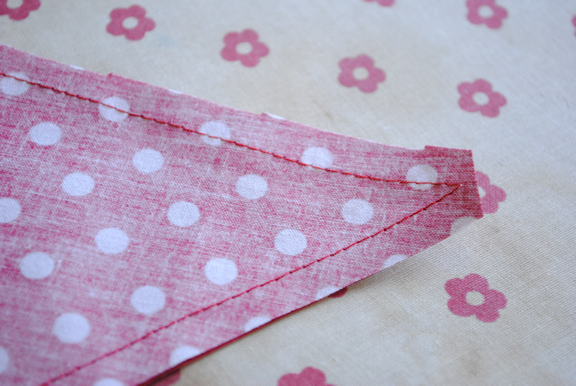
Turn right side out and press.
Then I got my ribbon and started string them on. I just folded the tops over and sewed a straight line. I didn’t worry about the raw edge on the back because I don’t plan on washing this so it shouldn’t really fray.
I tied a cute knot at the end of the ribbon and it was done!
Time to party!!


Blair Richards says
This is going to be my first sewing project, using the new machine the hubby bought me! This looks like a good starter project! <3 Thank you for sharing.
Carrie says
I am in the middle of making this and 20 is way too much! What did u do with the extra 5 pennants?
HAPPY BIRTHDAY!
Is that all you did above? (with of course the space between)
Thanks!
This is super cute by the way, easy to make!
Amber says
Shoot-it’s been a couple years since I made this so I can’t remember. Sorry if I gave you the wrong number!
Sue says
I am a beginner sewer. I plan on making this one of my first projects. I have an embroidery machine that I will use for the lettering.
Jenna says
This is what I have been looking for to make for my daughter’s room. So cute and easy! Thank you! I just made a practice triangle and I am wondering if you folded the tops over and sewed a straight line with the ribbon connecting to the triangle or pulled the ribbon through so the triangle “slides” on the ribbon? Thank you!!
Amber says
I sewed through the ribbon so that it would stay in place.
Nikki says
I don’t have a silhoulette or a cri cut. Do you think I could cut material out and paint letters on using stencils? I don’t know that I would be able to cut out all the letters by hand. I am trying to get an idea on making a birthday banner to match my daughters birthday theme of Minnie mouse.
Amber says
No, you definitely don’t have to have a cutting machine. Just cut them by hand. 🙂
Suri says
With the letters, is there a particular name to this font? I am not familiar with the cutter. I have gone to the site and considering making a purchase , could you please provide all of the fonts and extra cutters required to complete this project?
I very interested in your reply, I quilt too so I think this would be a great addition to my sewing room.
Amber says
With this particular cutter you can use any font or clipart on your computer and you can also buy designs online. I love it. It’s all done digitally. I think I maybe used Arial or something for this project.
katie says
super cute banner! I’ve never made a fabric banner before… only paper!
Pat K says
Great tutorial, love it!
Sheila Perl says
I have never heard of the Silhouette! Thank you for the information and the great tutorial!
Jackie Sorich says
Thanks for the great tutorial. I really appreciate the measurements of the triangles, that is helpful for me. Your color choices are great. Brilliant to learn that the Silhouette cuts fabric. WOW. I did not know that.
Jackie
Carmen Viera says
this is so great! I have never had a banner! I am going to make one soon, but more importantly, I want a Sillouette! I am watching the youtube video about it now. I may have to get one. Keep your fingers crossed. 🙂