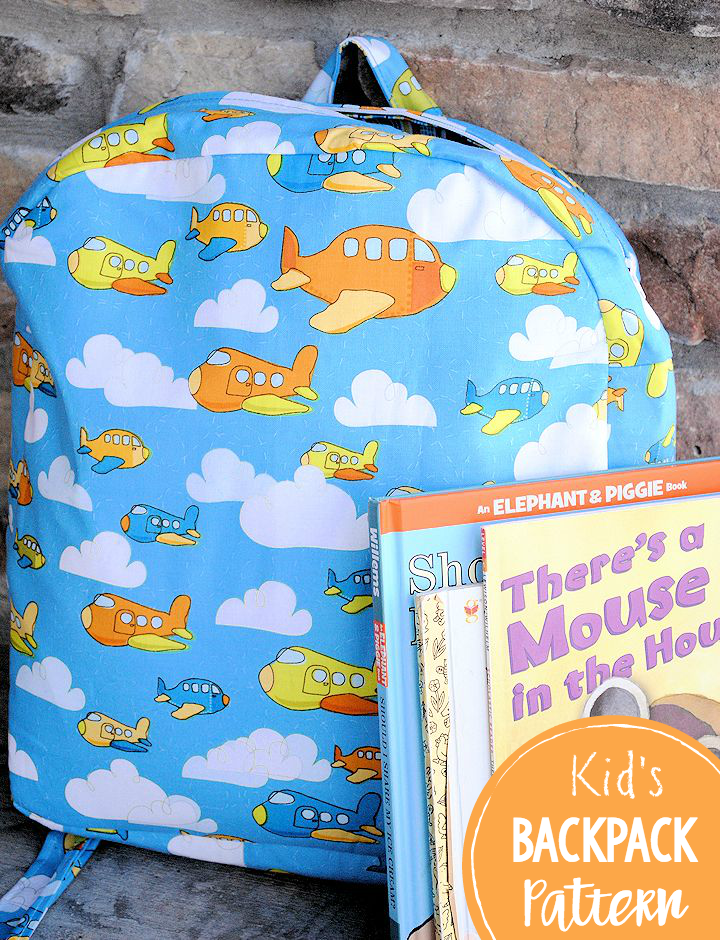
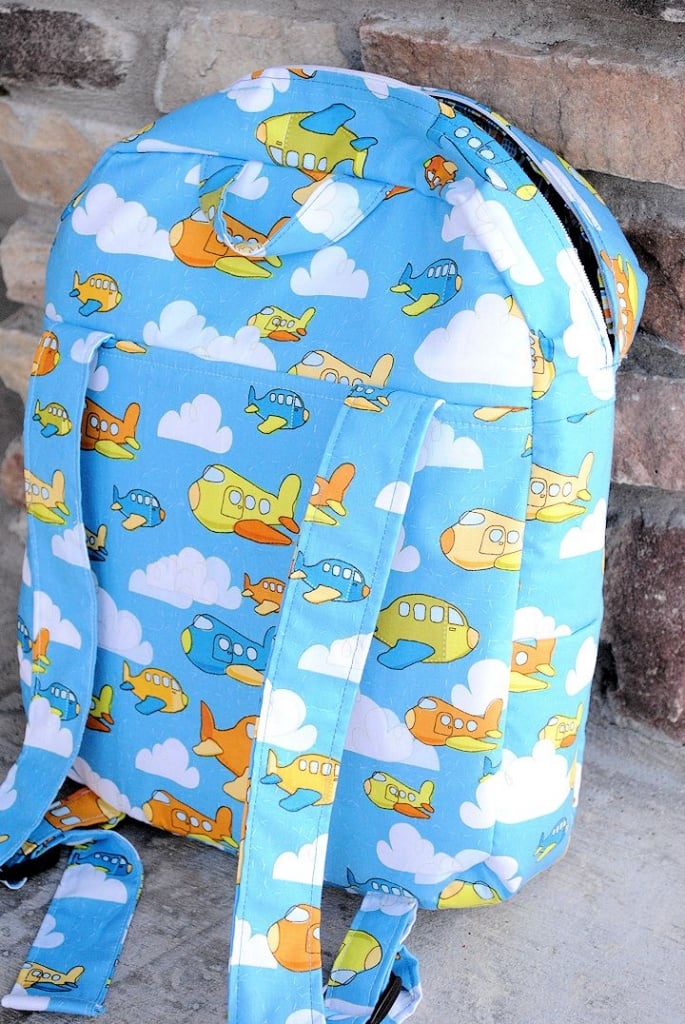
What’s the Project? This cute backpack pattern is perfect for young kids-toddler and preschoolers will love to throw this fun bag on their back as they head to school.
You’ve got to love something cute like this! It’s a toddler backpack pattern and it’s perfect for things like trips on airplanes or to Grandma’s house or to preschool or daycare (it can be a preschool backpack too). And it’s adorable and kid friendly and fun.
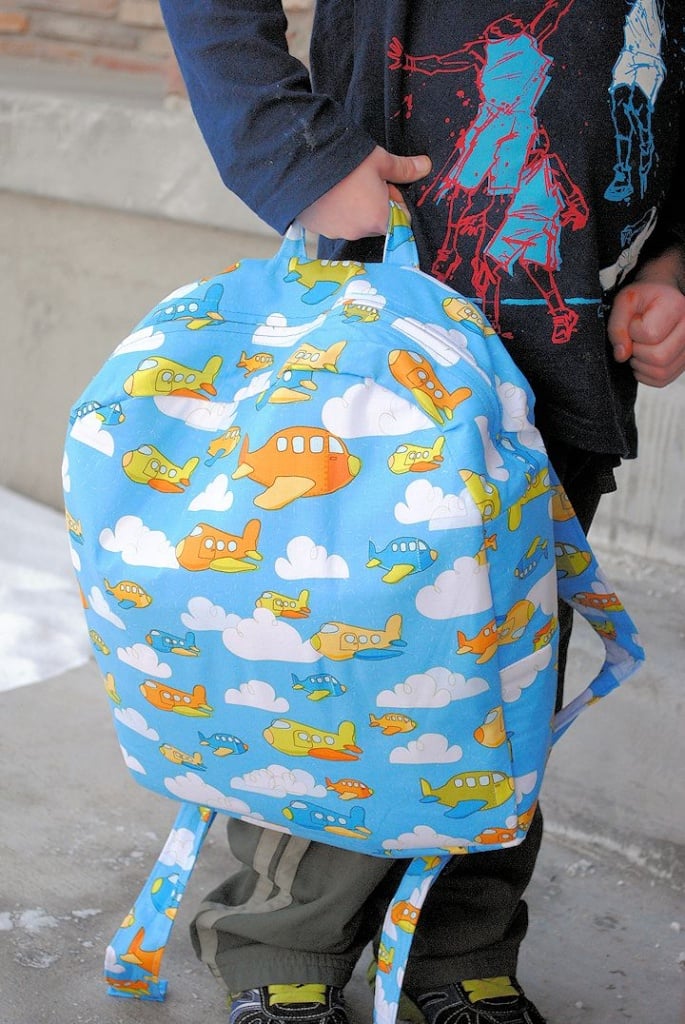
Perfect for little people!
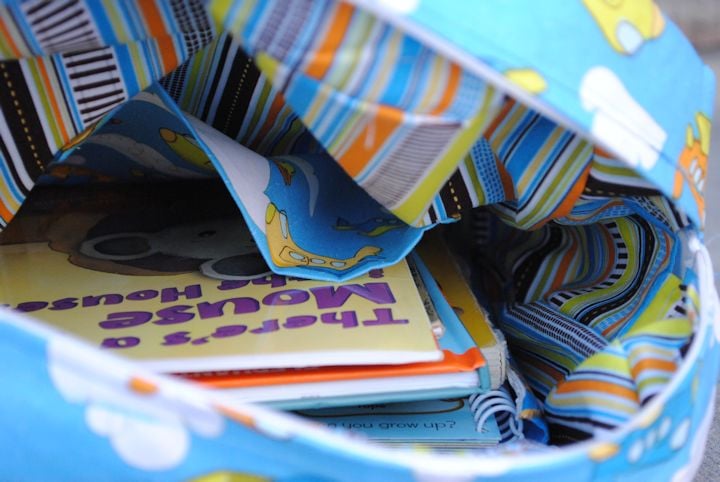
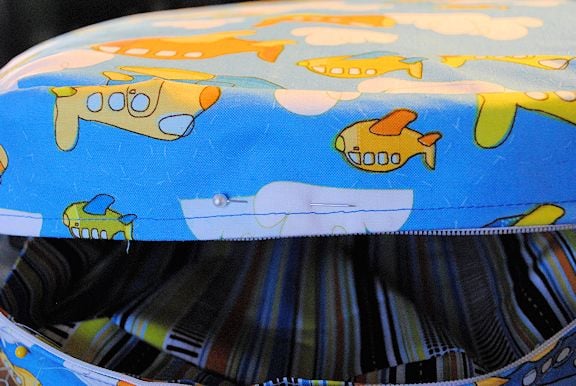
Fully lined and an inner pocket:
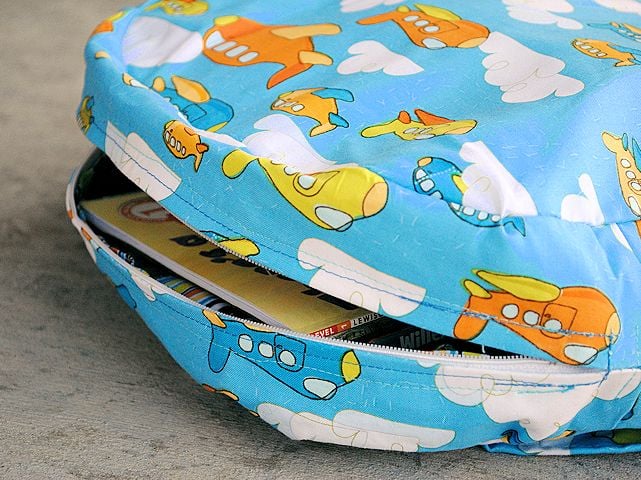
Zipper closure:
And adjustable straps.
I thought this could be a fun project for plane rides or going to Grandma’s. It would also be great for preschool or daycare of just for fun!
Please Note: I want to be clear up front, especially since I am teaching the Learn to Sew series right now, that this is not a beginner’s sewing project. You are going to need some basic sewing skills. I’m not saying it’s impossible and not to try it, but it’s a little tricky in a few spots. Practice up on other projects first and then when you are ready, try it.
Kid’s Backpack Pattern:
Supplies Needed:
- 1 yard of main fabric
- 1 yard of coordinating lining fabric
- 1/2 yard of heavy interfacing (optional-use this only if you are using a lightweight fabric for your main fabric and you want to make the backpack more sturdy. You could choose to use a canvas or other heavier weight fabric to make the backpack and then you won’t need the interfacing)
- 2 backpack strap adjusters (in the accessories area of your store) These have caused some confusion for my readers. I used these ones seen here. Those should work for your straps. Your straps should turn out one inch wide. If you use a different width of backpack adjuststers you will need to adjust the width of your straps to match.
- 1 zipper (needs to be between 11-14 inches)
- Small amount of fusible lining
**Update: I apologize-I had a typo on the cutting guide that was causing a lot of problems. It is fixed now. Hopefully, that will help.
Backpack Sewing Instructions:
1. To start out we need to cut out all the pieces. There are a lot of pieces to cut out, so get ready for this! Here is a Pattern/Cutting Guide to help you make sure you’ve got everything and to give you the measurements. This is not to scale but will give you a plan for what you are cutting.
From your main fabric you will cut: 1 large piece for the front, a back piece (which is in 2 segments), 2 zipper panels, 1 side panel, 2 long straps, 2 small straps, 1 pocket and 1 small carrying strap.
From your coordinating fabric you will cut: 1 large piece for the front, 1 large piece for the back, 2 zipper panels and 1 side panel.
From your interfacing (use interfacing only if you are using a lightweight fabric and want to make the backpack more sturdy) you will cut: 1 large front piece, 1 large back piece and 1 side panel. You need to either fuse this with heat n bond or fusible interfacing to your main fabric pieces that coordinate OR you can baste it around the edges.
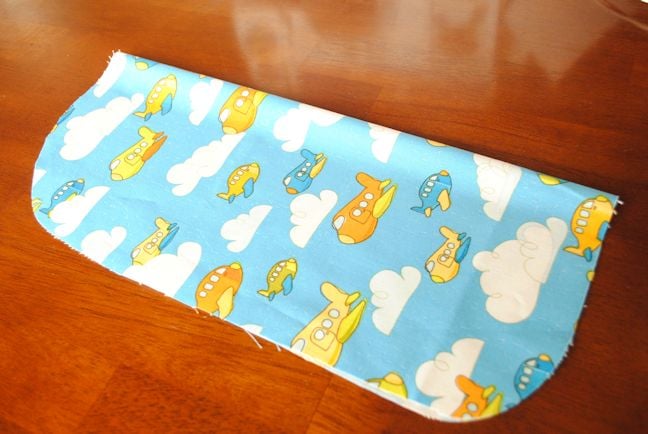
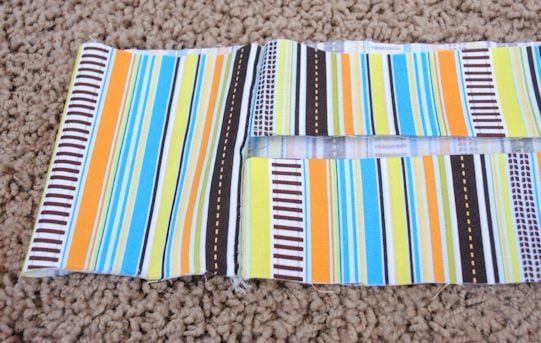
Here’s what some of your pieces will look like:
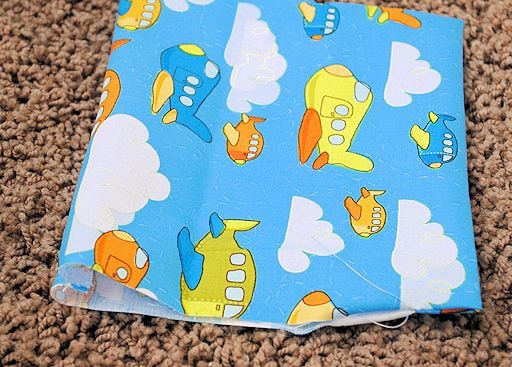
Here’s your main front piece (folded in half so that I could be sure to cut it evenly):
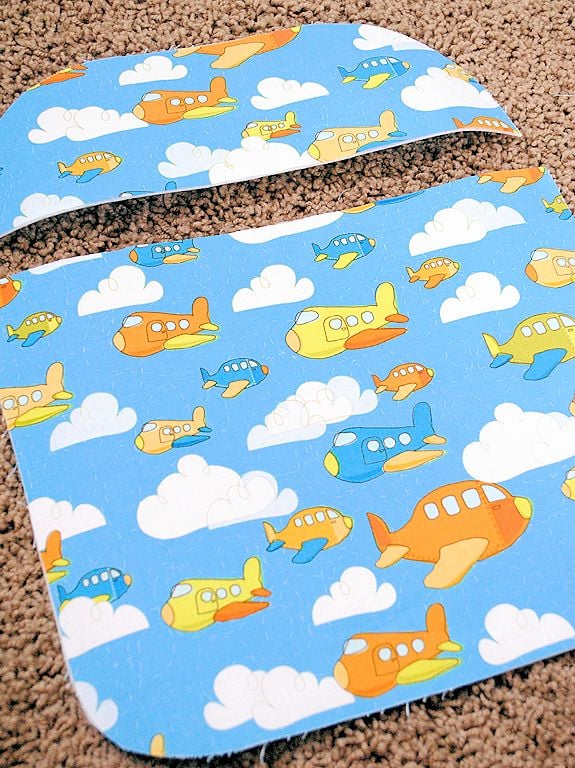
Here’s the top and the bottom of your back piece:
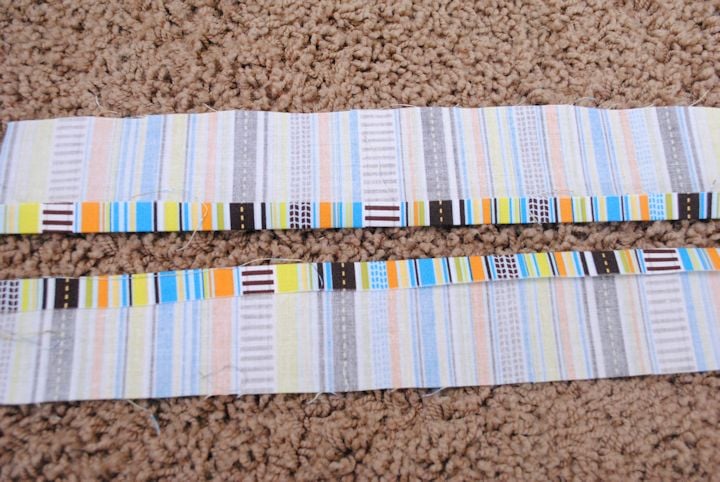
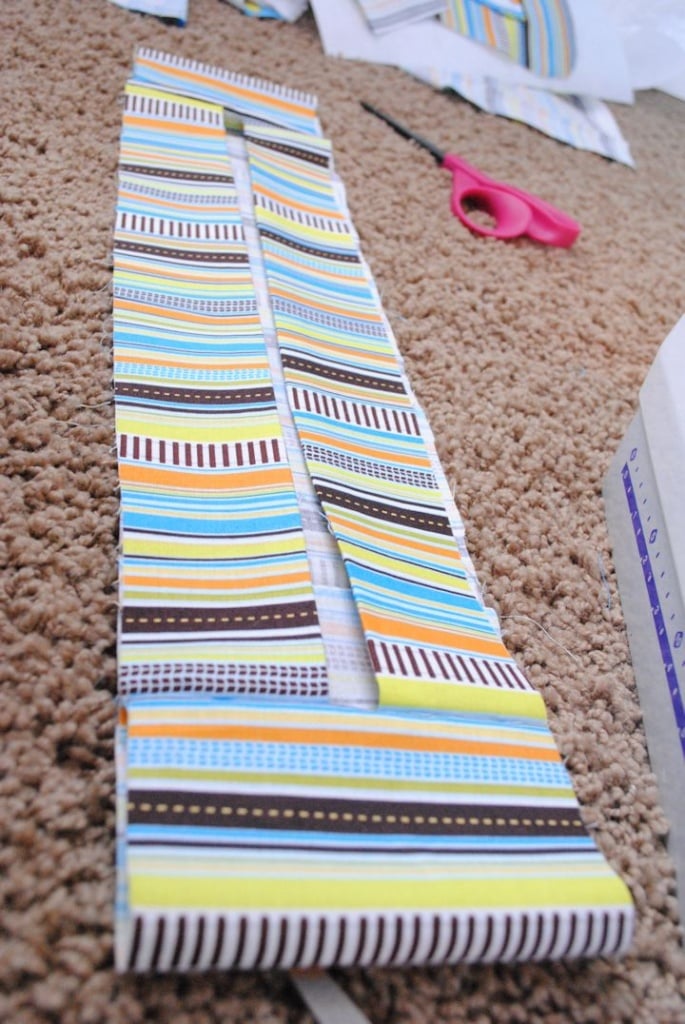
2. Let’s start out by making the straps. Take your 2 long backpack straps that are cut from your main fabric. Fold them in half vertically and iron them to form a crease that marks the center of the strap:
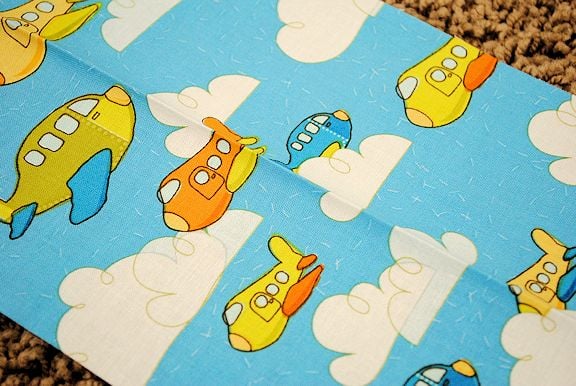
Then, flip it over and fold each long edge in to meet at the crease in the middle and press them in place:
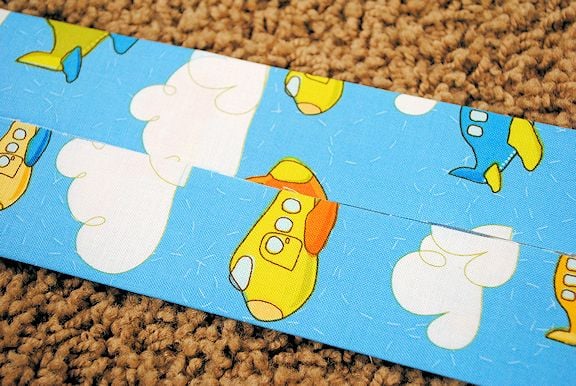
Fold that in half one more time along the center crease line that you made so that all of the raw edges are enclosed inside the strap. Press it in place and then top stitch each of the long sides:


Repeat this same process with your short straps and your carrying handle.
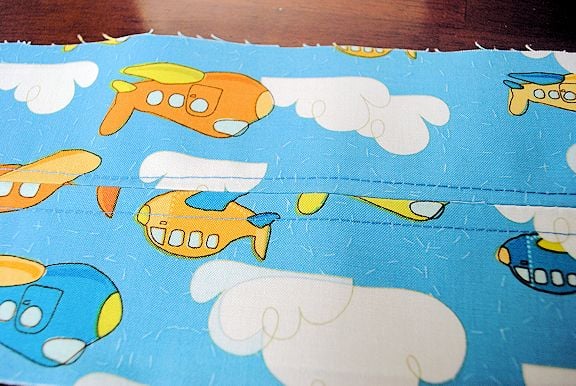
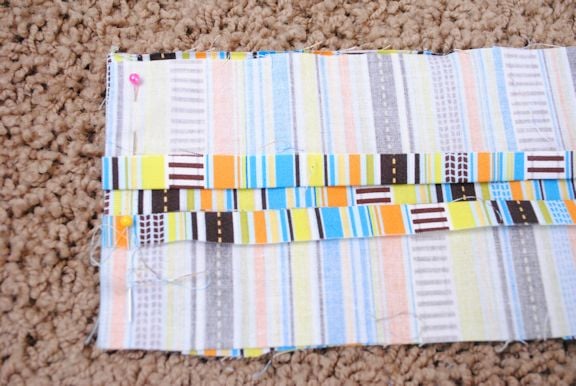
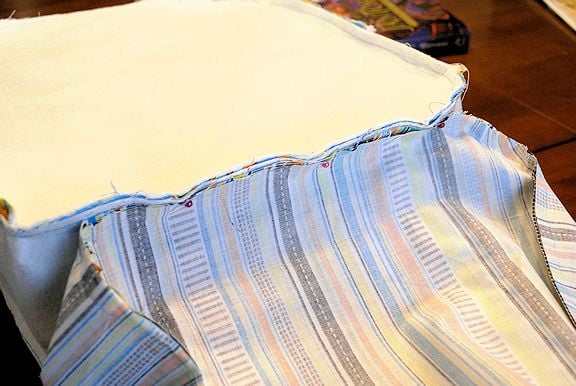
3. Take your long straps and insert the top of them between the top part of the main back piece and the bottom part with right sides of the back pieces together. (If you are using interfacing make sure you have that there too-on the back of your fabric- like I do in my pictures. It’s the white that you see there.)
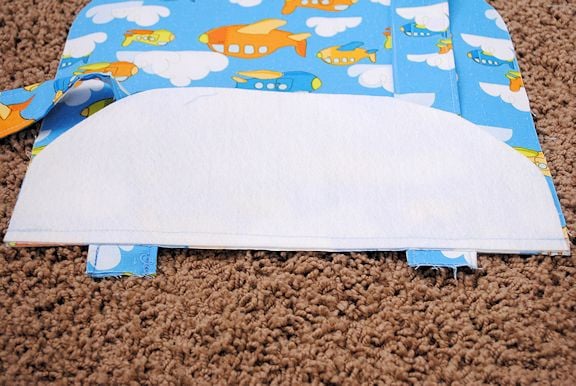
Stitch a straight line across the 2 back pieces so that your straps are sewn in place and the 2 back pieces are now connected. Then, on the right side top stitch near the seam so that you straps are held in place nice and firmly:
At the bottom of your back piece fold your small straps in half with the backpack adjusters on them and stitch them in place so that they form a loop at the very bottom of the back. (Make sure they are lined up right under where you inserted your straps above them):
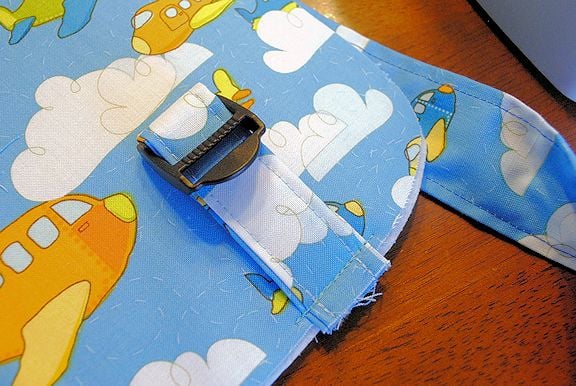
Go ahead and fold the ends of your long straps under twice and stitch them to finish the edges (kind of like a hem). Now you can thread the straps through your backpack adjusters.
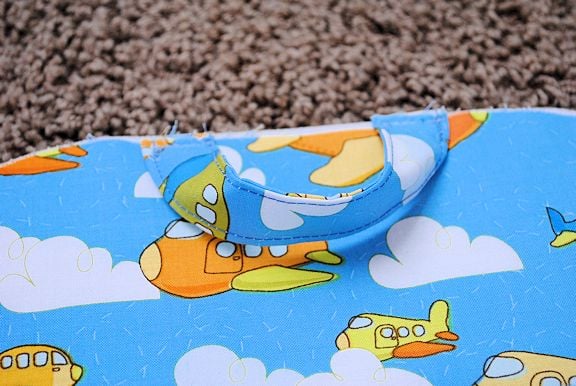
At the top of the bag stitch your carrying handle in place:
And now the back of your backpack is DONE! Before you go any further, place your front piece on top of your back piece and make sure they match up now. Trim them to match if needed. Also make sure they match up with your inner lining pieces.
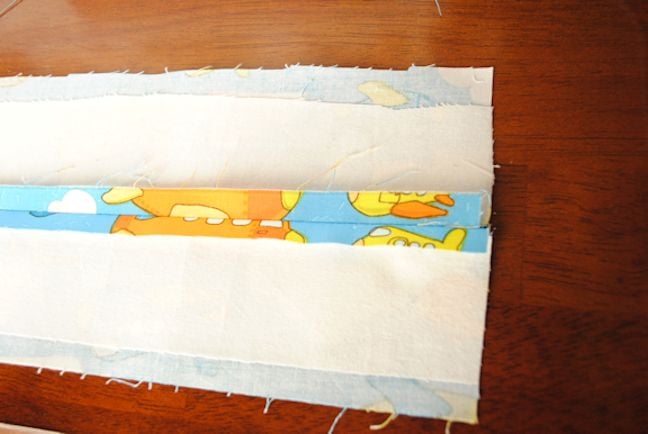
5. Now we need to sew in the zipper. To do this you need to start out by adding fusible lining to the wrong side of your 2 main fabric zipper pieces.
Then, baste your 2 zipper pieces together along one of the long sides. I used a nice wide seam allowance (5/8″) to make sewing the zipper in easier.

Press this seam open and then pin your zipper in place so that the zipper opening lines up with the center of the seam:
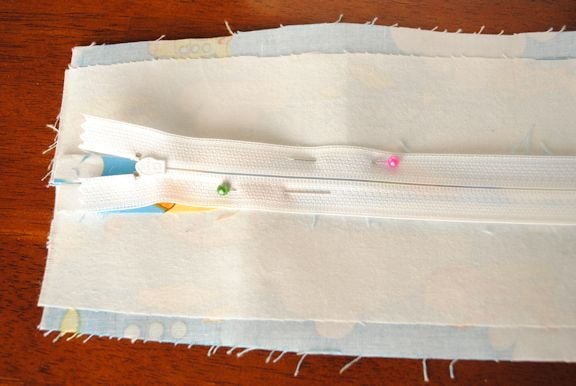
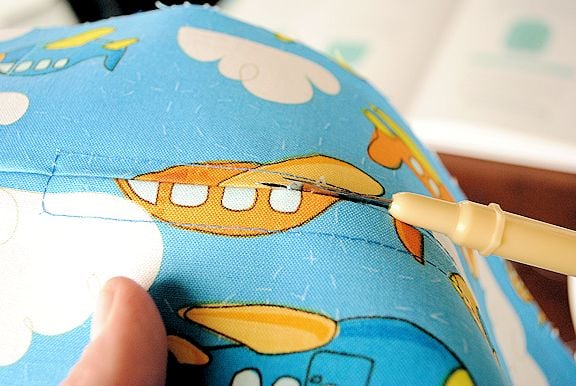
Put your zipper foot on your machine and stitch down both sides of the zipper tape and across the bottom AND the top to hold the zipper in place.
Then seam rip the center seam (the one you basted) open and you’ve got a zipper!
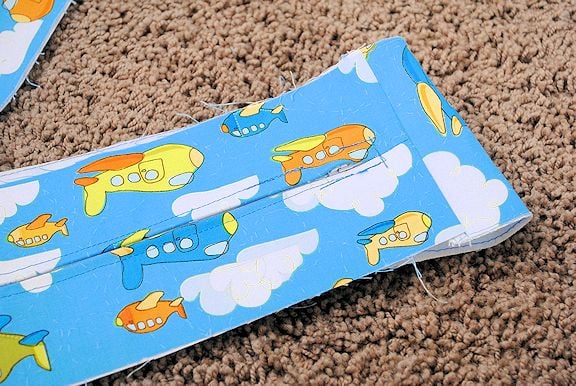
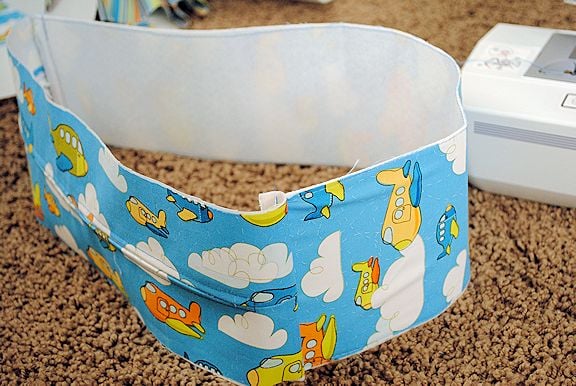
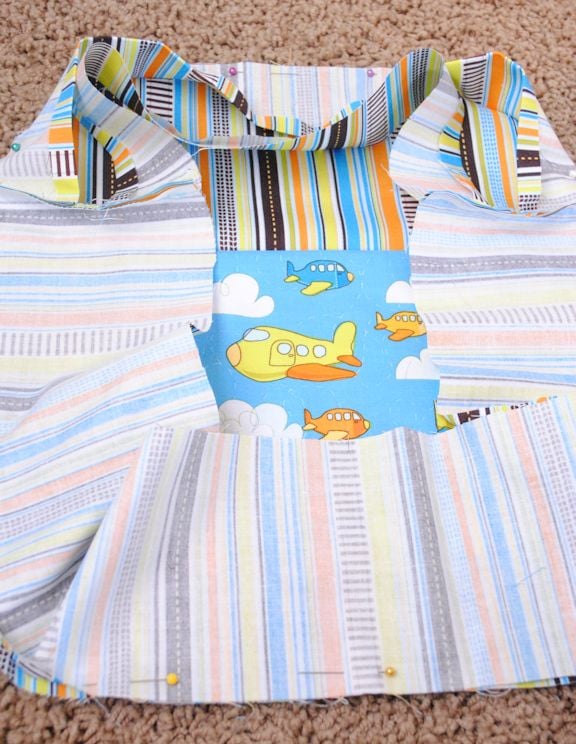
6. So let’s assemble the front of the bag shall we? First you need to grab your side panel piece and attach it to your zipper piece you just made. Do this by putting right sides together and sewing the zipper piece to the panel piece on both ends so that it forms a big loop:

Now take that loop you just made and the front of your bag and pin them together all the way around (start at the center of the bottom) with right sides together:
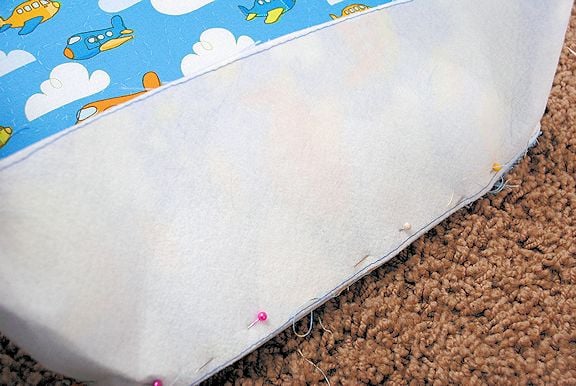
Sew that all the way around. Make sure your zipper is open and do the same thing with the back piece (make sure to keep your long straps out of the way while sewing):
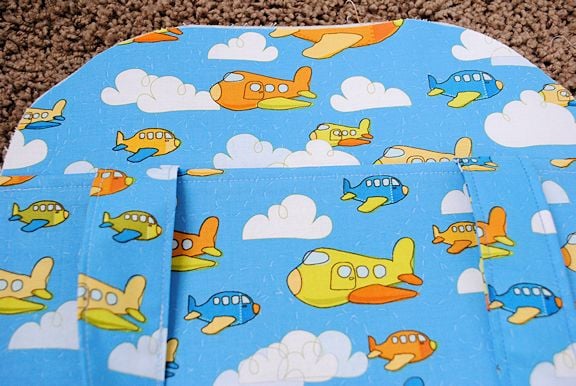
7. That’s done! Now let’s do the inside of the bag. Starting with the pocket. Grab your pocket piece and fold it in half so that right sides are together. Sew around it so that only about 4 inches of it is unstitched on one side. Turn it right side out:
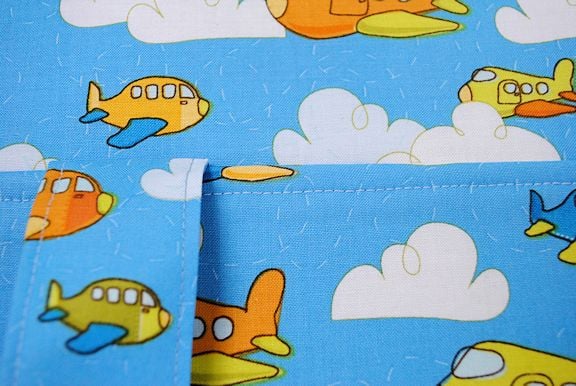
Turn under the opening and press the whole thing nice and flat. Then center it on your inner backpack piece and sew around the 2 sides and the bottom (this will also close your opening from earlier): 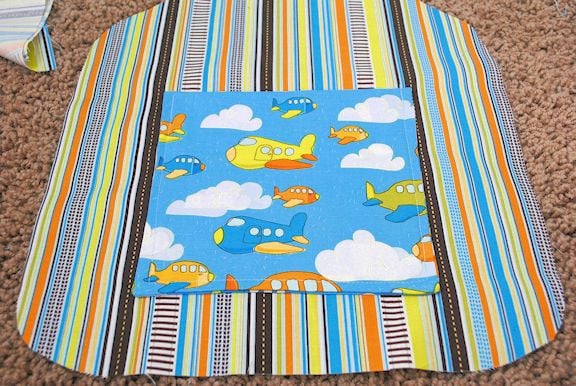 Now you need your coordinating fabric zipper pieces. On one side of each of them fold the fabric under about 1/2 inch and press it in place:
Now, just like you did earlier with the main fabric pieces, sew the 2 zipper pieces to the side panel piece (just the same only there’s no zipper in this case):
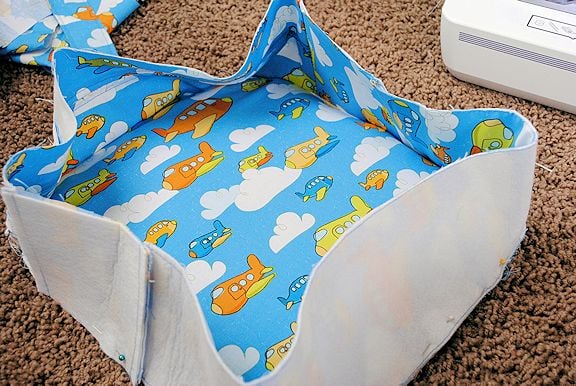
Now you know what to do-same thing as before. Pin your loop to the front of your coordinating fabric and sew all the way around and then again with the back:
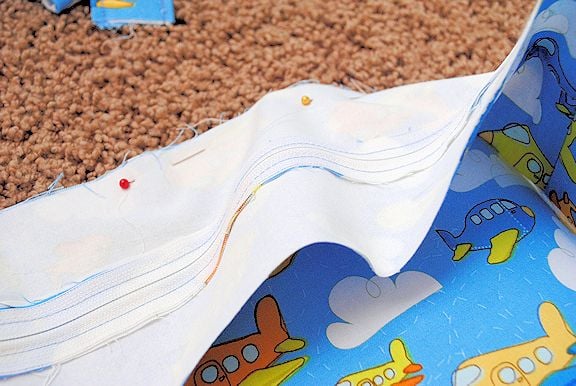
8. Now you have completed the outside and the inside. All that’s left to do is attach them. With both of them inside out you are going to pin the outer bag to the inner bag by the seams down at the bottom:
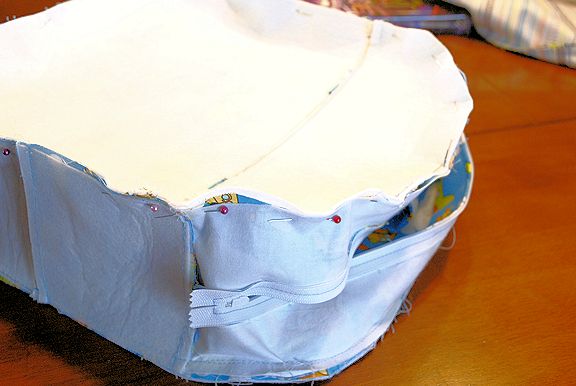
And then sew it on both sides so that they are attached. Now flip it so that the outer fabric is right side out and the inner fabric is right side out but on the inside of the bag.
Pin the two together along the zipper and stitch the whole thing all along the zipper:
And guess what? That’s it! You are done! I bet your little toddler or preschooler is going to LOVE this cute kid’s backpack pattern!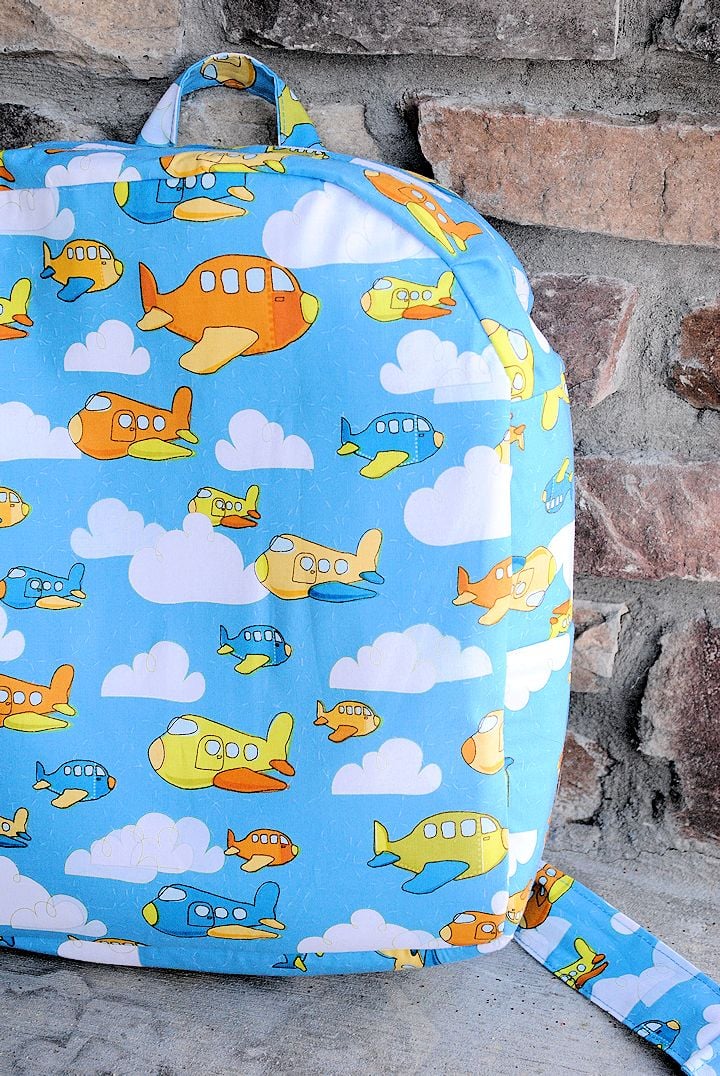
I hope you love this kid’s backpack pattern!
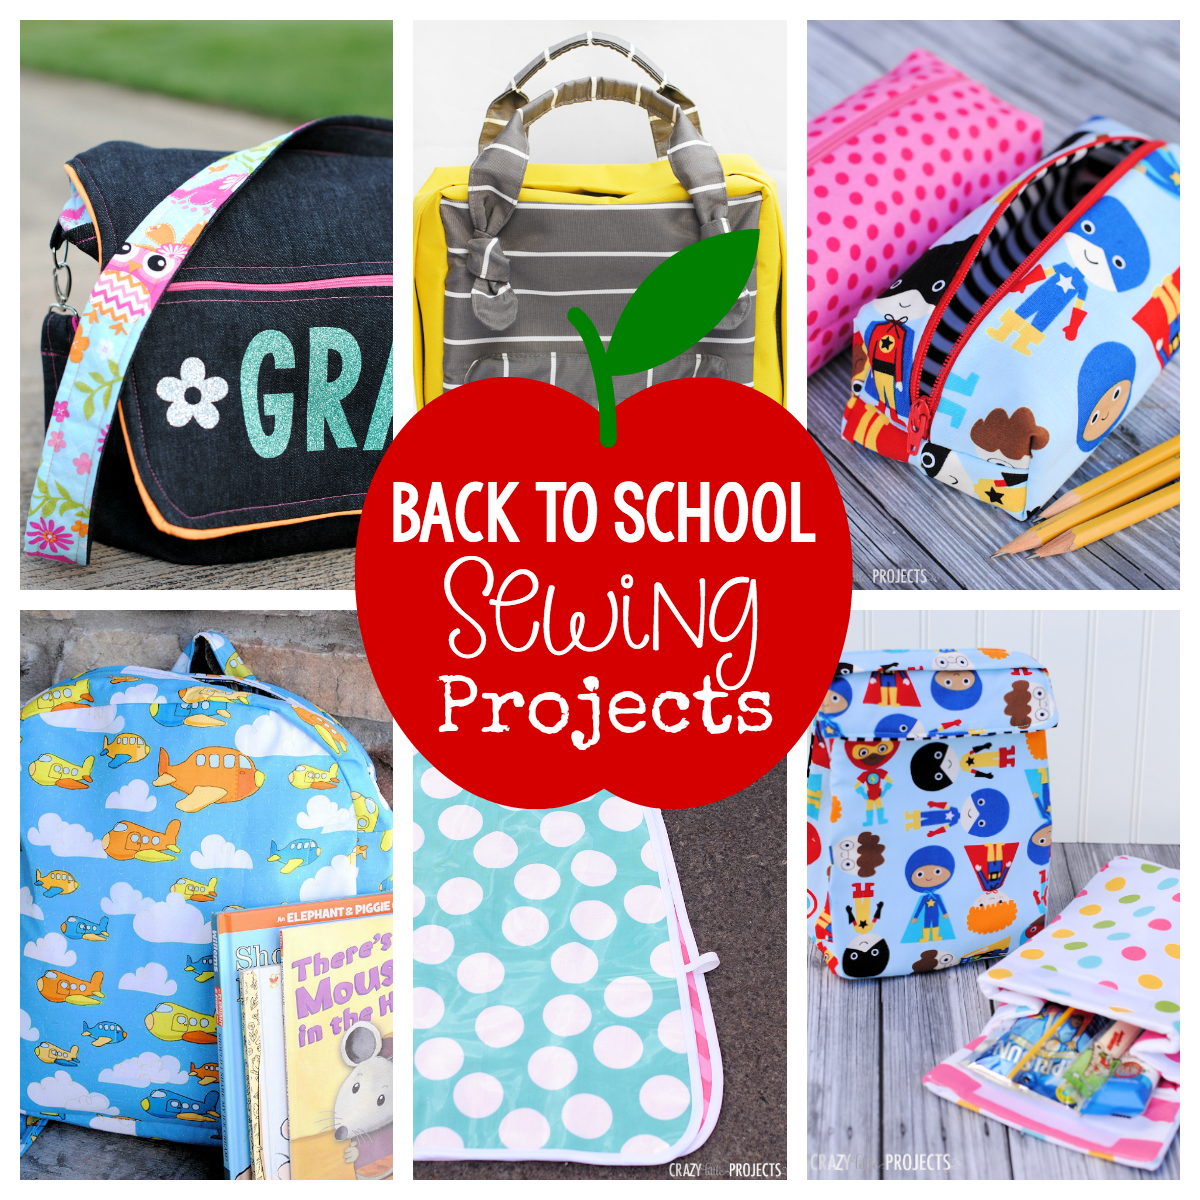
You Might Also Like:
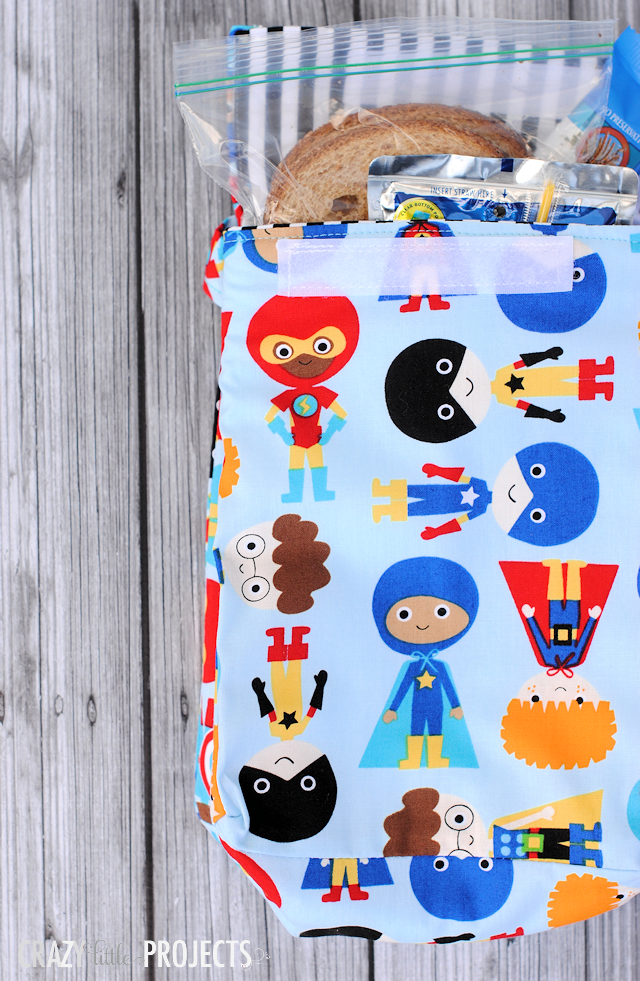
Things to Sew for Back to School:


Patti A. says
Another keeper for the grandchild and great grandchild when the time comes. Thanks again for all the work you put into writing these!!!
Amber says
You’re welcome! 🙂
Lynne says
Trying to figure out the adjustable straps. I had the same question as Pat on Mar 20, 2014. Per the instructions are you pulling the long strap upward to adjust? Then the strap is kind of flopping over and not laying flat. From the toddler backpacks I have looked at online, the adjusting strap is at the bottom so when pulled to adjust it lays flat and downward. So should their placement be reversed? – short strap at top and long at the bottom?
Lisa says
Thanks so much! We made it bigger, added front zipper pockets and side pockets and it came out perfect! My first time making a backpack. 🙂
Rachial Hendels says
Perfect size for a purse!!!!
Sharon says
Love, love, love this pattern! I made a dinosaur-themed backpack for my grandson and it turned out beautifully!
Amber says
Awesome! Glad you liked the pattern!
Sheila Robson says
I think it’s easier to use bought webbing for the straps – it goes through the strap adjusters muxch easier too.
Lis Baston says
To add to my comment from the previous one, I also added tabs at both end of the zipper so you can hold it while opening or closing the zipper. Easily done when you sew the zipper panel and side panel together.
Thanks.
Lis Baston says
I just finished making a back pack for my grand-daughter who is 3. Thanks so much for the pattern and instructions. I did sew a few stitches at the bottom to keep the lining and outer shell together. It was a simple pattern and you were very clear with the instructions. Thanks again.
Lindsay says
Hi – Thank you for share this pattern, it is great however i am really struggling to understand the straps. Which you say to fold in half, open fold into the centre then stitch which all makes sense, however the pattern shows cutting at 6 1/2 ” wide then further on you say that it will come down to 1″ but mathematically it cannot be accurate…………so is it just me or is that an error in the measurements? I do appreciate your design but just really confused !!
alka says
very easy to follow instruction for a naive like me. faced issues with length of side panel but i think it was to do more with shape of bag than with instructions. loved making it. thank you for same
Zulma M. de Gavalda says
Can the straps be 4″ x 25″? They will end being 1″ wide. Will that look OK on the backpack?
Amber says
You can always tweak if you want them bigger or smaller.
Anna says
This is an awesome tutorial! I love the airplane fabric. My little guy starts preschool next August and he likes simple, nothing too glaring (think character back packs). I will be keeping my eyes peeled at the fabric store. Do you find that you can wash it with the heavy interface? What needle size do you recommend? I have an #80 that is supposedly for jeans but I haven’t used it yet.
Amber says
Truthfully I made this and gave it away so I don’t know how it stood up. I just used a normal needle.
Susan Houston says
I just made this wonderful backpack for my preschooler. I used a old pair of jeans and added some embellishments to make it look like a penguin. He can’t wait to show off his new back pack at school. Thank you for sharing such an easy to follow tutorial. This may be a yearly thing to give him a customized look to suit his personality as he grows.
Amber says
Super cute!!!
Lucia says
I have just finished sewing this backpack… It’s really easy to make… Thanks for the pattern! The only thing I don’t like about this backpack is that it’s TOO BIG for a toddler… So I’m making another one tomorrow… Half the size should be fine… 😀
Thia Marie says
Great tutorial! One question- She shoes the back piece cut at the top so that the straps can be sewn in…
how much (measurement) do I cut off?
H C says
Hi Amber, thanks so much for the tutorial, just finished a backpack for my little girl, just in time for her first week at daycare. It was really easy to follow, and i’ll never sew a zip the same way again!
Amber says
Fun! I hope she loves using it!
Bev says
The side panel plus the zipper panel do not seem to be long enough to fit around the front or back pieces. Do I need to round the corners more? Not sure how to make it fit.
Kristen says
Hi! Working on this backpack now. I’m using the measurements provided. When complete, the long straps are about 1 3/4″ inches wide when completed. The small straps are 1″ wide. You cannot use the same size adjusters for both. Is there a typo in the pattern for the width of the large straps? You tell people to adjust or use strap adjusters that fit but as far as I can find, 1″is the standard size. Did you make your backpack and have the resulting long straps measure 1 3/4″? If so how did you feed your straps? – it’s not shown. If not, and your finished long straps measure 1″ there is a typo in our pattern – that might by why so many people are asking about the straps. Hope you can help!
Lerika Bourget says
Thank you for designing this backpack! I want to make one for my grandson but am not sure it is the right size for him.
Could you tell me what the finished size measurements are?
I can’t wait to get started on it!
Cheryl says
It’s OK, I think I have now worked out how to increase all the dimensions.
Cheryl says
I am new to sewing and I made a half decent bag ! Thank you. Anyone have any suggestions as to how I can make the same bag in the same way but a larger version? Is there an easy easy to calculate increasing all the measurements? Many thanks.
Christine says
I have a few questions. Does this fit a standard folder? Also- do ou think it would make a significant difference if I use 12 inch width fabric instead of 12.5 (I’m using remnant pieces)? What seam allowance did you use while sewing the main parts together? lastly, is there a reason you chose to cut the back piece into two pieces instead of sewing the straps into the seam of the Side piece and back piece while keeping the pack piece in one piece? Ankhs for the help.
Amber says
It’s a little small for a folder I think. You could certainly sew the straps into the side if you prefer. I use a 1/2 inch seam allowance.
Natalie (QSOgirl) says
Thank you for an awesome tutorial post! I used your directions combined with another blogger’s to make a backpack for my little girl!
https://vegetablog.wordpress.com/2015/03/26/butterfly-backpack/
Joy says
Found a remnant of some NASCAR fabric and just had to find a way to use it for a project for my girlfriends 2 yo grandson since his daddy gave us tix for the race in Atlanta this weekend. Decided this backpack would be perfect. I did have to rip out the long straps to make them narrower and I hand sewed the lining to the zipper area. Wish I had read the comments first–live and learn! I also added heavy interfacing to the straps. Turned out great. Wish I could attach a pic!
Jena says
Are you supposed to thread the long strap through the 1 inch strap adjuster, my long strap is 1.5 inches wide
Amber says
If you have a one inch wide strap adjuster you need to adjust your straps to fit.
Nicole says
Hi,
I am looking into making this bag. what is the seam allowance?
Thanks
Amber says
1/2″
Nicole says
Thank you 🙂
Hopefully it turns out.
Maria says
Thanks Amber, One successfully completed backpack last night. Made this for my 2 year old who starts playschool next week. I haven’t downsized this bag as it needs to have capacity for wet wipes, nappies, waterproofs, spare clothing, and anything else a toddler may need in case of emergency for school, haha. I shall be adding a slight adjustment by way of fluorescent strap across the breastbone area with a clasp to hold the straps on his shoulders when he actually carries it.
See pictures attached.
Am wanting some advise or if anyone knows of a suitable product to ‘waterproof’ the bag. Currently looking at Tent waterproofer, i.e. fabisil or similar, but if you have any recommendations that would be great.
Hope you like his bag 😀 I am so pleased with it thanks again x
http://i884.photobucket.com/albums/ac41/OldskoolsMrs/10636682_10152662555239725_9139751276957030937_o.jpg
http://i884.photobucket.com/albums/ac41/OldskoolsMrs/10644788_10152662555884725_3945115163280571880_o.jpg
http://i884.photobucket.com/albums/ac41/OldskoolsMrs/906370_10152662556534725_8265256074451740882_o.jpg
Amber says
Oh I love it!! I love that you used all of those different fabrics. As far as waterproofing, I am not sure? Any readers have ideas?
Angela says
You could try using a shower curtain as waterproof fabric.
Nannette Elizabeth Nielsen says
I am definitely not new to sewing, but I have to admit I feel intimidated. But son (3.5 years) has requested a Thomas back pack so I am going to give it a try. When I am done with this I hope I will be a pro so I can back a back pack for my 13 year old daughter. She picked out her material and is excited for me to make it. I am not so excited. Wish me luck.
Kim Jewkes says
I did it!!!
I made this at 60% scale for my tiny 2 year old. I wish put the straps closer together because they fall off his shoulders, I haven’t done the inside lining yet in case I decide to move the straps. I added some piping as well, it was my first time so it’s not perfect.
Thank you for this tutorial!!! My little boy is obsessed with his “pack pack”. He picked out the color green.
http://scontent-b.cdninstagram.com/hphotos-xfp1/t51.2885-15/10499124_689752091074153_703478025_n.jpg
Amber says
That is soooooo cute!
Kim J says
I just want to say thank you for this guide and pattern. I have it all printed out and made sizing adjustments so I can scale it down to 60% for my 2.5 year old (who is still in 12m clothes). Maybe he can tote his own potty seat around town now!
This is only my second “intermediate” sewing project. I had some problems with the zipper my first go-around, so fingers crossed I can get it right this time! Thanks again. I will come back to let you know how it turned out.
Amber says
Best of luck!
Erin says
Thanks so much for an easy tutorial! Just commenting to say this was my first solo sewing project, and I didn’t have any problems thanks to your excellent instructions. It was a great way to practice sewing a straight line (haha), zippers, iron-on interfacing, etc. – an excellent choice for a first project, I think. Thanks again!
Amber says
Love to hear that!
Zarina says
Hi Amber! Thank you so much for this tutorial! Look how it helped me to sew a backpack: http://feles-fairy-tale.blogspot.com/2014/05/sewing-ukrainian-ethnic-backpack-and.html
I like you blog and looked through all 43 pages of it 🙂
Amber says
Oh that’s so cute!
Sue says
Thank you for the adorable backpack pattern Amber! I just finished one for my two year old grandson last night, and will be making one for my four year old grandson as well. I really appreciate the time it must have taken for you to put this all together!! 🙂
Adrie says
Awesome, thank you!
Jennifer says
Hi, I love this little backpack! I am trying to figure out if this is big enough to hold a standard size notebook? My son is only 3, but attends preschool and carries a standard notebook back and forth to school. I made the backpack he uses now, but it’s a drawstring bag and the notebook has really taken a beating from that bag. Please let me know, thanks 🙂
Amber says
I think it does pretty well. Might be a slightly tight fit.
Jennifer says
Thank you! I’m going to be trying this out soon 🙂
Aliska says
i just finish making the back 4/24/14 for my 3yr old grandson so he can carry his hot wheels around wherever he goes . how can i post a picture
Amber says
Post in facebook or other social media and tag me. I would love to see it!!
Pat says
I just complete 2 of these backpacks for my twin grandsons. I read and reread the instructions to be sure before starting, and I referred back to your tutorial and photos often (which were great). I did make alterations in sizes (the boys are 3), so I adjusted the measurements. These are my final measurements:
– front piece 12.5 x 10.5
– back piece 13.5 x 10.5 (I cut this about 3.5″ down)
– carry strap 6 x 3
– small straps 6 x 4
– long straps 6.5 x 25 (although this was way too long)
– zipper panel 16. x 2.75
– size panel 4.5 x 27
I still had to adjust some, and the lining near the zippers is a bit weird, but works fine. I wondered if maybe the long/shoulder straps shouldn’t be permanent, and the smaller straps adjustable on the strap adjuster??
I wish I had read the comments prior to making this, as I too was confused about the width size difference between the long and small straps. Overall I am very pleased with my first backpacks, and my daughter LOVES them!! I am also passing your link on to a friend.
Thanks for your tutorial and instructions!
Amber says
Thanks for the tips. I will refer readers to the comments!
Anne says
Amber, Thank you so much for the adorable backpack pattern. I made it up for my 2 year old granddaughter’s birthday this past week using Elmo fabric for the body of the backpack, and contrasting plain (dark green) fabric for the straps and zipper panel. I solved the strap adjuster width problem by making the wide padded straps in the measurements you suggested, using orange 1″ purchased webbing added on for the adjusters, and at the bottom of the strap. I also used orange piping to tie the whole look together. I also added a pocket to the front of the backpack with an Elmo motif fused to the underside of the pocket flap (upside down) so that Elmo greets her when she opens the pocket. It was fun to make, and my granddaughter loves it!
Now, on to making an Elmo hooded towel for Christmas!
mandy says
i love your pattern and have bought all the fabric and cut them. i am having the same problem with the adjusters. i bought the one inch adjusters which works beautifully with the small straps on the bottom but won’t fit the big one. if i buy the 2 inches one it would just be too big for both and look kind of whacky. do you have any suggestions.? thanks
Amber says
Just make the straps the size of the adjusters that you got. 🙂
rachael says
The cutting guide states that the two lining zipper panels are 4.5″ x 30″, which is the same dimensions as the side panel. Am I misreading something?
Amber says
Ugh-I think I have some typos. Those should be 2.5 by 17. I will get that fixed. Thanks for the heads up!
Deidre says
I am a little confused about the adjusters. I can’t find the plastic ones but have found some metal ones at Hobby Lobby. The small straps at the bottom are only about an inch wide and the the long straps are about 1 3/4″ so how do they fit in the adjusters?
Amber says
I think I emailed you right? But if you find other sizes, just adjust the size of the straps to match.
Maggie says
I used your tut to make a perfect medium-sized backpack for my 4 year-old. (Well, the lining was a little wonky, but that was my own fault.) The pictures were a very helpful reference. Thank you!
cucicucicoo says
That is so sweet! I’m going to be needing a new backpack for my preschooler, so I’m pretty sure I’ll be doing this one of these days! 🙂 Lisa
Cindy Prince says
Love this pattern! And thanks for making it free!!!
One question: do the strap adjusters come in more than one size? I only saw one package at Hancocks & got them. They fit in the small loops just fine, but they don’t look like the long straps are gonna go through those-
And yes, I’m right in the middle of the project-lol!
Amber says
Hmmm, I don’t know. Did you get them to work?
Cindy Prince says
Yes, I did get them to work, but I did have to change the measurements on the zipper panel lining to match the measurements of the main zipper panel piece (3.5 x 17)
Cindy says
Finished a cute pink chicks (as in chickens) bag for my granddaughter. She’s very proud of her new backpack.
PS I agree with Geri S. I changed mine to match the main fabric and it works beautifully. Next version will have exterior pockets.
Carol says
Hi would you be able to tell me the finished dimensions of the rucksack please, I need to make one for a 7 year old . Thanks carol
Amber says
It will be on the small side for a 7 year old. It’s really more sized for preschooler age at the oldest I think.
Kaity says
I’m a freshman in college and need a new backpack this year. How could I enlarge this to be the size of a standard backpack? Or is it already that size?
Amber says
No, it’s toddler size. So you’d have to enlarge it quite a bit…
Kathleen says
This is adorable! You did a lot of work on this tutorial and you make it seem so easy! Thank you.
Kathy Jacob says
Amber, I am in the midst of cutting out my pieces for this and am confused about the back pieces. You have it cut in 2 pieces but there is no measurement for the top and bottom piece just the total measurement. Have I overlooked it? Can you help me with this. please? I cannot wait to make this for my grandsons!!
Thank you!!
Amber says
What I did was cut out the back all as one piece and then cut the top part off.
Lisa says
I understand cutting the top part off but how much do you cut off?
Amber says
About 4 inches. Basically cut it where you want your straps to go at the top.
photosarah says
I used this tutorial as a starting point and made a couple additions and modifications to make a backpack for my godchild who is starting kindergarten this fall and it turned out great! Thanks so much for this tutorial!
http://sarahdudik.wordpress.com/2013/06/30/backpack-for-anthony/
Amber says
Oooh I can tell that you are have some serious talent! That looks NICE!
Jennifer says
I am in the midst of sewing this backpack for my little man. But when I start to attach the zipper loop to my bag it isn’t long enough to attach around the entire front. I double checked my measurements and they match your pattern instructions. ?? Any ideas?
Amber says
I am not sure what you mean? Which zipper loop?
Geri S. says
In the cutting guide/dimensions, you list the inner zipper panel lining pieces as needing to be 4.5″ x 30″ each. Just guessing, but shouldn’t they be 3″ x 17″ like the outside pieces? They just seem too big to be able to match up properly so I thought I’d double check! Thanks!
Amber says
Nope, those are correct measurements. It all works out. Did you go ahead and do it?
Cindy Prince says
I’m having the same problem here-
Cindy Prince says
Geri S., did u get this figured out?
Taylor F says
I am making this right now but confused about your measurements. The carrying handle turns out pretty small and the small straps are not as wide as the long straps. Also, the zipper panels do not match up. If you can help me out I would greatly appreciate it! Thank you 🙂
Amber says
The carrying handle should be about 4 inches or so when it’s done. And yes, the small straps shouldn’t be as wide. They just loop at the bottom. Have you gone forward with it and gotten it to work at all?
Taylor F says
Yes I got it all figured out and it turned out great! I added an appliqué name for my niece 🙂
Aprile M. says
Pinned and added to my to-do list. Thanks for the tute!
Deepa says
This tutorial is done so well , thank you so much ! Just what I ( and my preschooler ) need ! Am on the hunt for suitable fabric now .
Natalie says
This is such a great tutorial! I’m definitely pinning this for future use! Stopping by thanks to your BYBC13 business card!
Amber says
Hello! Wasn’t that conference GREAT!?
Amber S says
I will make this! Thank you for the wonderful tutorials. You have been a great mentor, truly an inspiration.
Lynn says
This is darling. I LOVE the fabric. I think this is the first backpack that I can understand how to assemble the entire project. I will be on the lookout for fabric as darling as yours and give it a try.
Amber says
I got this fabric here: http://www.theribbonretreat.com/Fabric/on-the-go.aspx
If you use the code Crazy15 you can get 15% off right now too. 🙂
Kathy says
I also love, love, love this!! On the must do list!
Ashley says
Ah!!! Love, love, love this!!!! I love the fabric you chose. I can’t wait to make one 🙂
Brooke says
This is super cute! Can you tell me about the fabric? This is perfect for my airplane obsessed two year old son so I MUST find some! Thanks!
Amber says
Got it here: http://www.theribbonretreat.com/Fabric/on-the-go.aspx
Use the code Crazy15 for 15% off too. 🙂