I think a lot of us probably made pajama pants in 7th grade Home Ec. Do you still remember how? The thing is, pajamas are pretty easy to make and are very forgiving because it doesn’t really matter if they fit all that great so they are a good beginner’s project. Every year I make my boys’ Christmas pajamas, so I figured why not give you a pajamas tutorial? This tutorial is done using no pattern, just copying a pair of pants that you already have on hand.

That’s a cute little set of legs too isn’t it?
Pajamas Tutorial:
Supplies Needed:
Fabric-The amount will vary depending on the size of the person you are making them for. About 1/2 yard for little kids, 1 yard for older kids and up to 2 yards for an adult.
Elastic
Large Safety Pin
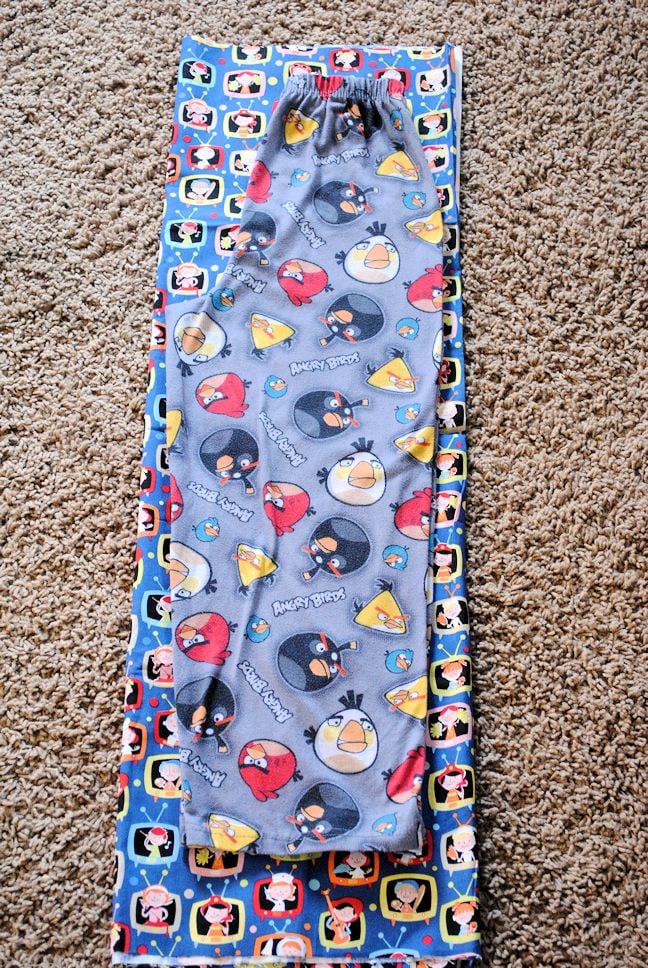
First of all you need to find a pair of pants that currently fit the person you are making these pajamas for. (If you are not comfortable with this you can absolutely get a pattern for these. The stores are full of patterns for pajamas.)
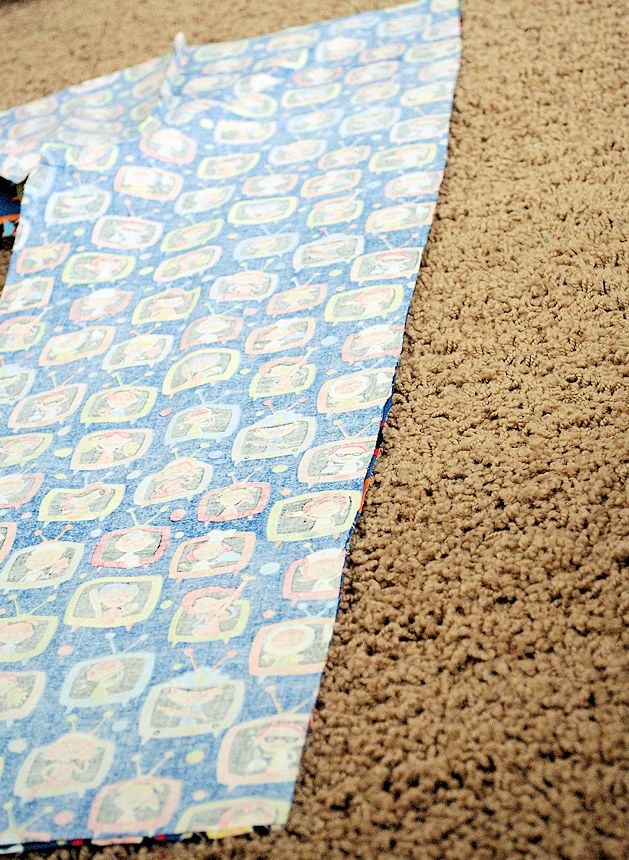
Fold you fabric so that you will be cutting through 2 layers at a time. Then fold your pants as shown in the picture and lay them on your fabric: (I definitely recommend that you allow yourself more excess fabric than I have in this picture. I used what I had to work with but I wish I had had more)
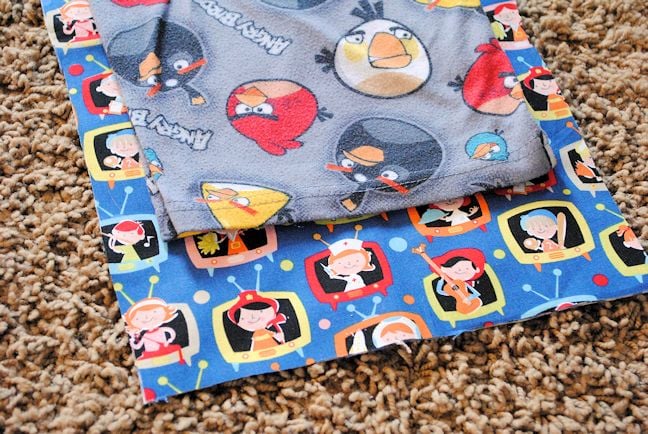
Now you are going to cut around the pants giving yourself a generous amount of fabric excess on each side. At least 2 inches, I would recommend even more. You can always size down if needed but you can’t really add more fabric if you make them too small.
A couple of parts to be extra generous on-leave at least 4 inches extra at the bottom of the pants for the hem: (again, you can always size down if needed so cut it long just in case):
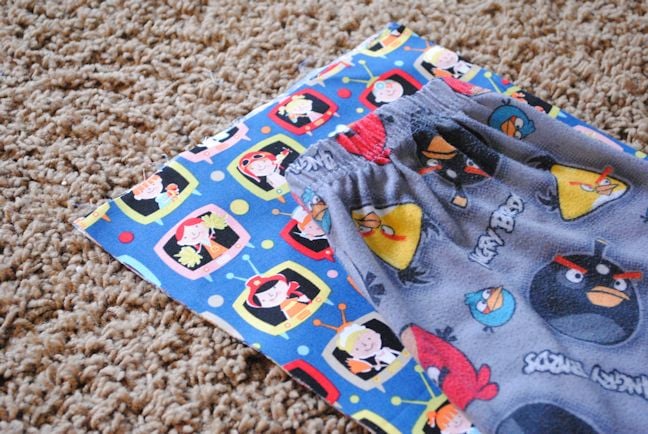
And this is VERY IMPORTANT. At the top of the pajamas that you are using as your guide they are going to be cinched in already with elastic. You need to cut as if they are NOT cinched in with that elastic since you will be adding that later. So make them NICE AND WIDE up top and also allow at least 4 inches extra to the height because you will be folding down the waistband. See how I have gone way wider than the waist? Do that. Maybe even add more space than I did.
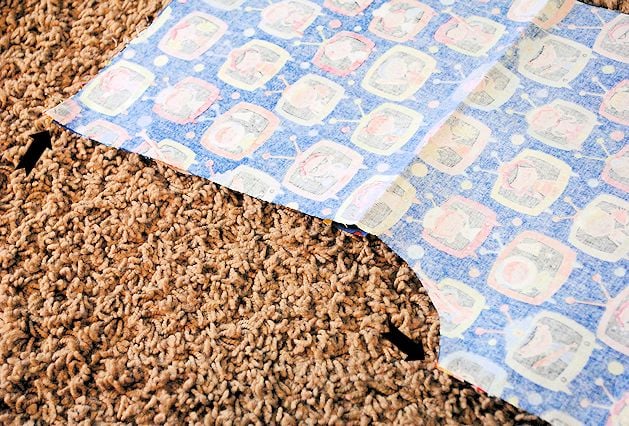
Now, you need to cut out 4 total pieces that all match. So take the 2 pieces you just cut, fold more of your fabric again and cut around them so that you have 4 pieces.
Take 2 pieces and put right sides together. You are going to sew up the curved part from where I have 1 arrow to the other:
When you lay them out they will now look like this:

So you know have a front and a back of your pajamas. Grab them both and put them together so that right sides are together. Stitch up the outer leg part from the top of the waist to the very bottom of the ankle. Do this on both sides:
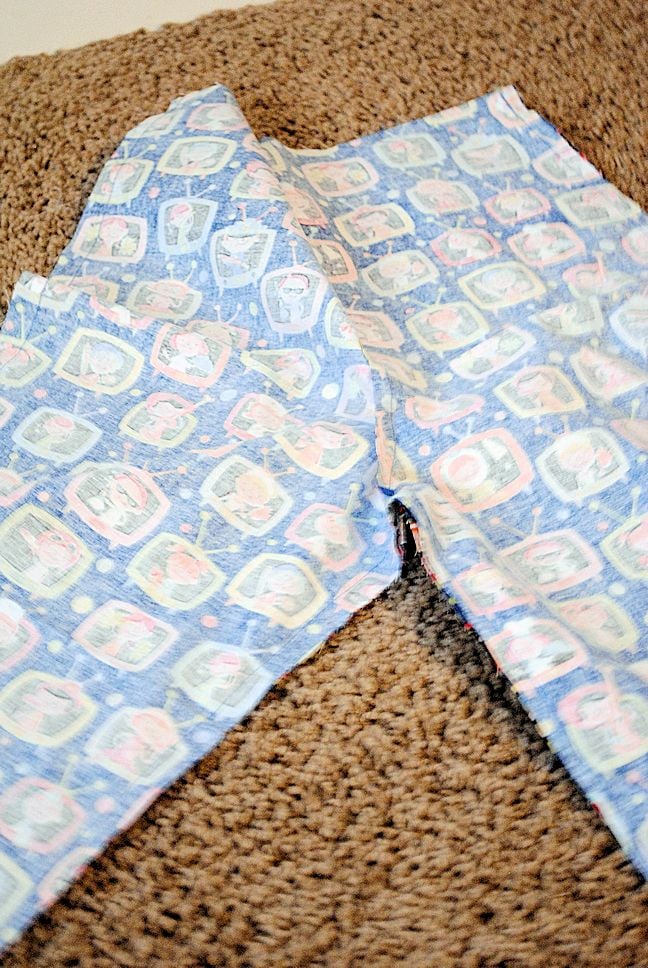
Now you need to sew the inner legs. You will sew from one inner ankle, up through the crotch of the pants and down to the other ankle (the part that is shown at the bottom of this picture):
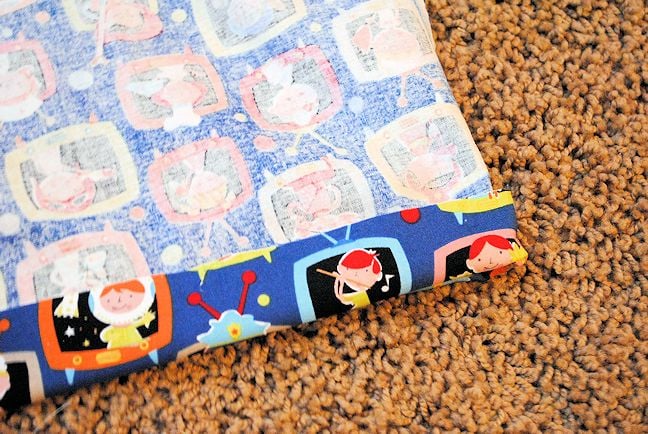
You’re already almost done! Now hem each leg by folding the fabric up about an inch so that wrong sides are together. Do that twice and then stitch it in place.
Now you just need to add the elastic waistband. To do that I am going to refer you to my Learn to Sew Lesson #4 since I give instructions clearly there.
And that’s it! You’re done.
Now, I want to give a disclaimer. This is not fool proof. I have made these pajamas and had them not fit my kids. Not saying that happens a lot, it’s rare, but it does happen. So, like I said, if you don’t trust yourself, get a pattern to at least help you with the cutting. You will still follow the same steps to make it. BUT, if you decide to do it yourself, which you really, really can, most importantly, just remember to cut everything big and size down if you need to.
You can do it. I promise.


Vectorya Assila says
I absolutely love this tutorial, I just did it step by step. Thank you sooo much!
Jinx says
Would you just use the zigzag stitch in the elastic part and the holes of the legs or somewhere else?
Amber says
No, you can use a straight stitch everywhere.
Diane says
Re: inserting elastic. I put a large safety pin on both ends of the elastic, prevents the elastic From getting away from you and slipping inside the casing.
Amber says
Yes!
Hannah Kelly says
Thanks for the tutorial. I’d love to make these for my daughter. I don’t suppose you have a top tutorial too? I guess I can just make her the bottoms and put any top or vest with them 🙂
Amber says
I don’t. Sorry!
Colleen says
Just finished lesson 2 and the purse with my 7 year old. She used Christmas money to buy a sewing machine. Now we are both learning to sew. straight lines and turning corners it where my knowledge dries up. Thanks so much for these lessons. We are pumped to go shop for some fun fabric for these pants and the best it if we mess it up and they are too small then we can give them to her younger sister 😉
Patricia says
I absolutely love this tutorial, I just did it step by step. Thank you sooo much!
Melody says
Awesome tutorial!!!!
I’m very excited to try this for my little 4yr old!!!
But, as I’m truly terrible at sewing, I was wondering if you think I might be able to do this with 2 pieces instead of 4?
Like cut a whole front piece then a whole back piece?
Melody says
Also, if I’m doing this with fleece, what should I be using for stitching??
I’m a novice lol!!!
Amber says
Use a stretch stitch or long narrow zigzag
Amber says
No. You will need all four
Mital says
Thank you for posting this. Made my nephew Star Wars Jammie’s for his birthday. Pajama pants with appliqué on a matching black t shirt. They are out of this world. Great easy directions. I just took up sewing a few weeks ago, and had no problem with these at all.
find.hamptonroads.com says
When I initially commented I clicked the “Notify me when new comments are added” checkbox
and now each time a comment is added I get four emails
with the same comment. Is there any way you can remove people from that
service? Bless you!
Amber says
Oh yikes! I have no idea!!! Maybe when you get the email there’s a unsubscribe spot?
carol says
really cute! I used to make these for my kids when they began to crawl… saves the knees! and now will make them for my 2 new grandbabies…. thanks!
Kellie says
I am so excited.. my husband and I were just discussing me moving on to pants.. god knows we don’t need anymore blankets or pillows haha 🙂 thanks so much.. !!!
Reena says
The project was easy. We made a little change by making it in one seam. It turned out really good.
Rara says
Just made the PJs! They are brilliant. Never made anything before so I’m amazed at myself. Thanks for making it so clear and easy!!
Amber says
I love hearing that!
Loz585 says
Just finished maKing these for my 2yo little miss…They were so easy! Thanks so much for the great tut, I am a total beginner but your instructions were so clear even I could pull it off, my MIL was impressed so that’s saying something! Thank you xx Ruffled skirt next!
Sarah says
Thank you for one of the easiest tutorials ever, so easy to follow.
Today I made pants for both of our girls, I grabbed a long sleeve t shirt for each of and popped a co-ordinating love heart on the front of the shirt to match the pants. HAPPY KIDS
LonnieQ says
I think that Kathy’s problem is that she should have sewn her seam with a straight stitch then zigzaged it close to the straight stitch on the seam allowance. Zigzag stitches have a tenancy to pull loose in the stress area. If you use the straight stitch you won’t get this. You may also want to shourten your length of your zigzag
Kathy says
Thank you so so much! I will do this. I only used a zig zag no straight stitch and I didn’t shorten the stitch either. I’m so excited to try! Thank you so much!
Kathy says
I did this tutorial last night and it came out looking awesome 🙂 I do have a question, the thread is showing a little more than it should in the curved part area. I used a light weight cotton fabric, could it be the wrong size needle or the zigzags not being close/tight enough? How would I correct this for the next pair?
Amber says
Hmm, I’m not really sure. Are you using a standard needle?
Kathy says
Yes, I used the standard needle and I used a zigzag stitch. I was thinking maybe my zigzag needed to be tighter. I used it on the standard setting. It’s all new for me, thank you for any suggestions to help 🙂
Amber says
I don’t know! Sorry. I’m at a loss.
carol says
do try adjusting the tension.. sometimes that is all you need… don´t be afraid to “fiddle” with your machine! read the manual and adjust it if necessary! Happy Sewing!
Montse says
Love this!!! Making them today for my twins!!! Love all your explanations!! Thank you!!!!
Amber says
Oh fun!
Mira says
Thanks, this tutorial was great!! I made some fleece pants for my little guy during nap time with some clearance remnant fabric 🙂 he loves them!!
Julie says
great tutorial! exactly what I needed- sometimes it’s just getting the sewing order correct, you know? Pajama day at school this week, and we are going to look AWESOME! 🙂 thanks!
Amber says
That’s so cool!
Janet says
This was a really good post!!! Thank you soooo much!
amber cavalier says
Cannot wait to make these! all of these projects are being.added to a box for my sisters birthday gift! (she will be 5, easy age to.please.. lol)
Amy says
awesome….I have been wanting to make pants and was never able to find an easy tutorial. I can’t wait an actual pattern for anything so this great! thank you!
Amy says
whoops….”read not wait”